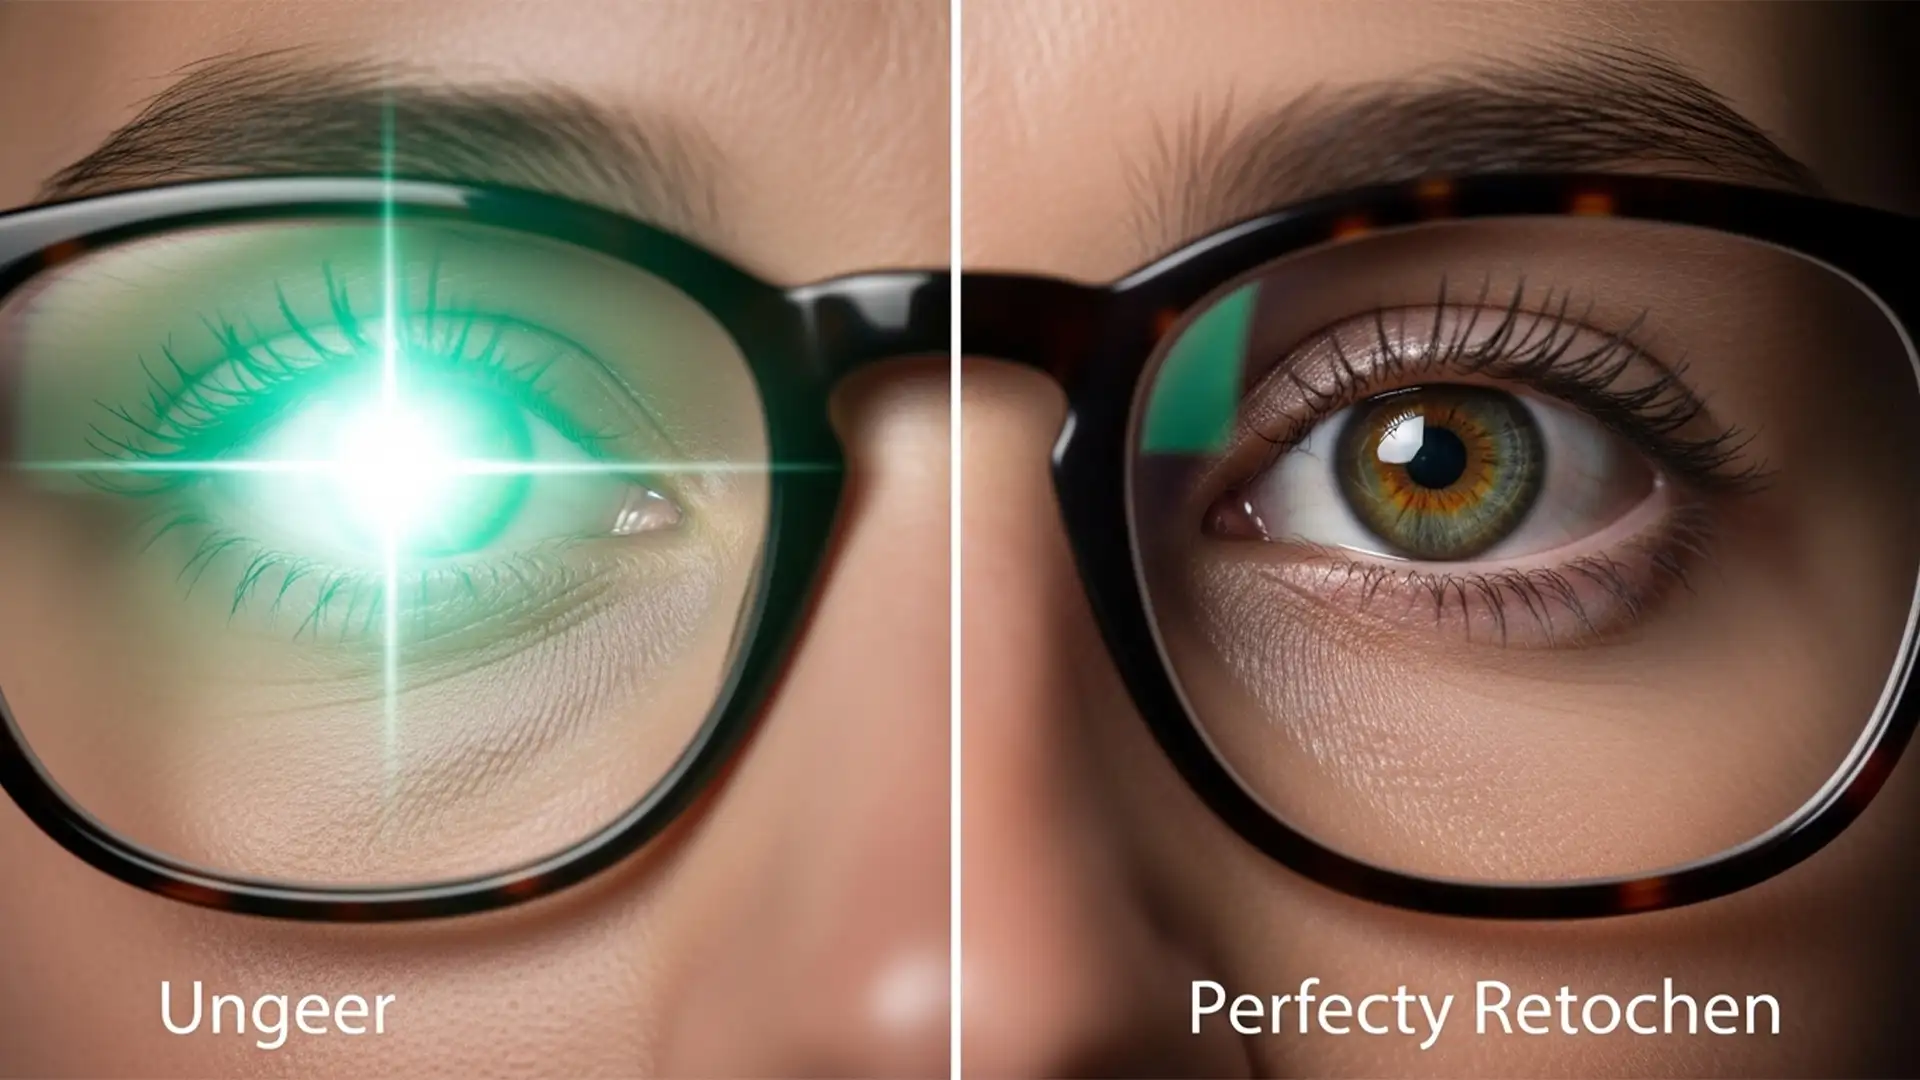
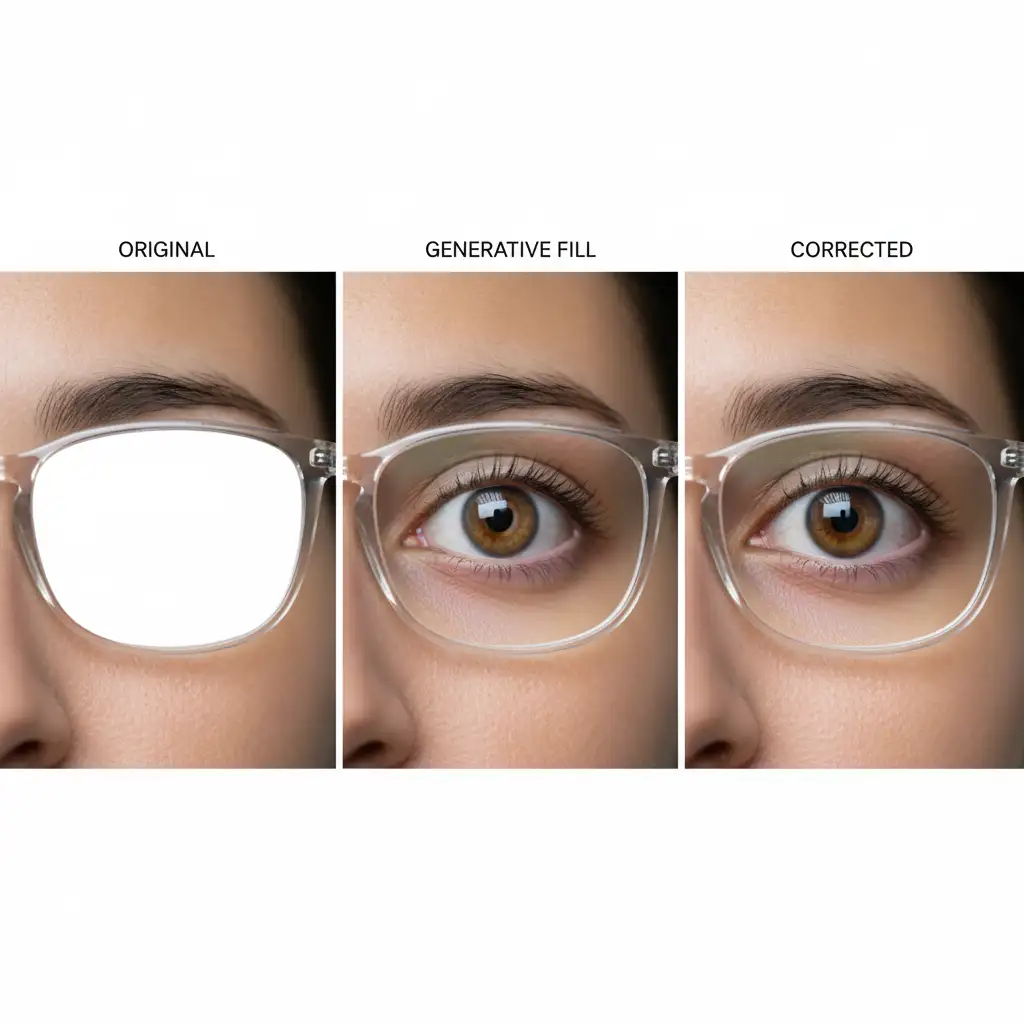
You’ve just shot a stunning portrait, but stubborn glasses glare is ruining the shot. You fire up Photoshop, lasso the glare, and hit Generative Fill. The result? A horrifying, asymmetrical pupil and a warped iris that plunges your subject straight into the uncanny valley.
If you are struggling with fixing AI eye distortion glare removal, you are not alone. While Adobe’s AI is incredibly powerful, it frequently hallucinates micro-anatomical structures, leaving portrait photographers with unusable results. In this guide, we will show you exactly how to bypass these creepy AI eyes and restore natural, flawless catchlights and textures using three professional retouching workflows.
Why Photoshop Generative Fill Fails at Eyes
In Adobe Photoshop v25.0 and later, Generative Fill works by analyzing the surrounding pixels and your text prompt to synthesize new image data. However, the AI struggles significantly with highly detailed, micro-anatomical structures like the human eye.
When an eye is obscured by glasses glare, the AI cannot “see” the underlying structural anatomy. Because it prioritizes the prompt and the immediate surrounding pixels (like the glass lens and frames), it often hallucinates pupil shapes, misaligns the iris, or generates asymmetrical catchlights. To achieve a high-end commercial result, we must combine the heavy lifting of AI with manual, pixel-perfect retouching techniques.
3 Methods for Fixing AI Eye Distortion & Glare Removal
Depending on the severity of the glare and the resolution of your image, you can choose between a quick prompt adjustment, a hybrid masking approach, or a complete manual override.
Method 1: The Quick Fix (Prompt Engineering and Opacity)
If the glare is minor, you can often guide Generative Fill to a better result by being hyper-specific and blending the result with the original layer.
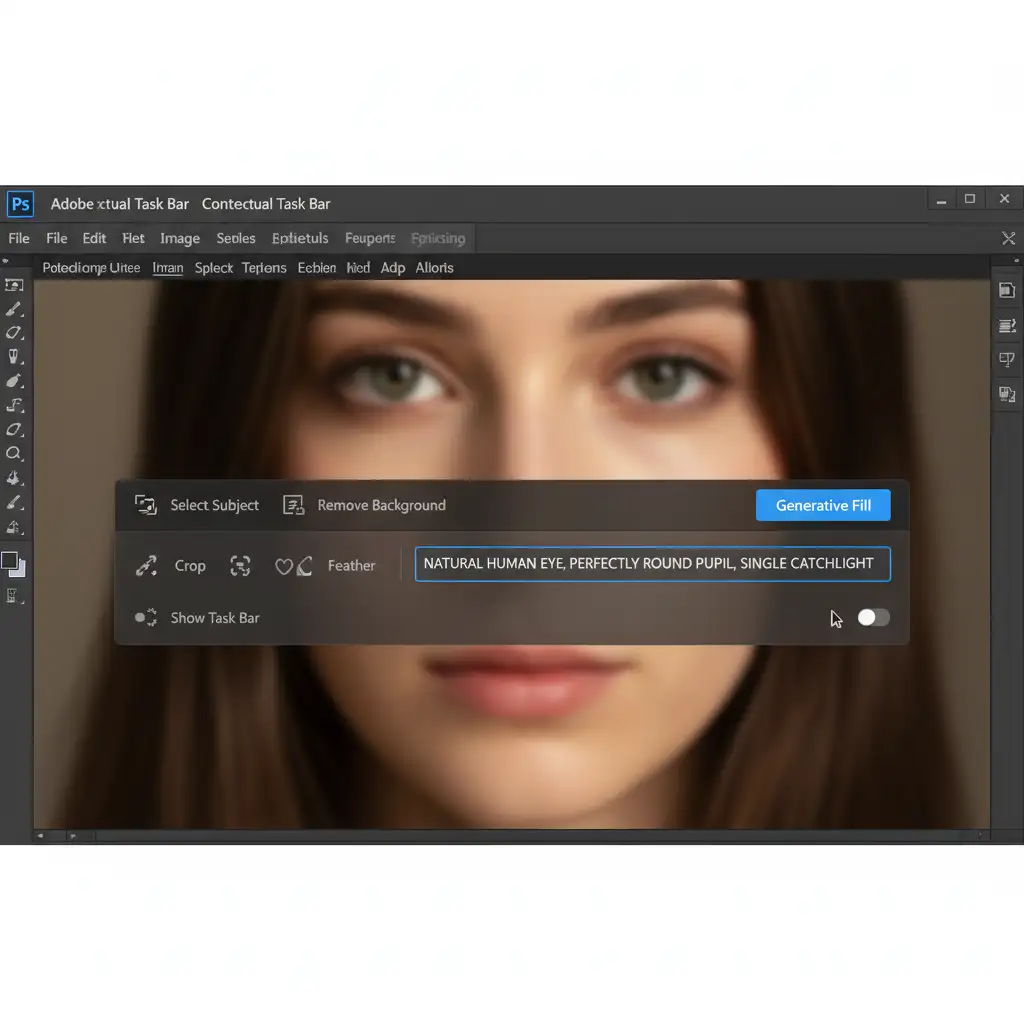
- Select the Glare: Use the Lasso Tool to make a tight selection around the glasses glare.
- Use a Specific Prompt: Click Generative Fill on the Contextual Task Bar. Instead of leaving the prompt box blank, type: natural human eye, perfectly round pupil, single catchlight.
- Generate and Adjust: Generate your variations and select the best one.
- Reduce Opacity: Lower the opacity of the Generative Layer to 70-80%. This brings back a percentage of the original iris texture and sclera, grounding the AI generation in reality.
Method 2: The Pro Workaround (Hybrid Layer Masking)
When the glare is heavy, Generative Fill is excellent at cleaning up the surrounding skin, frames, and sclera (the white of the eye), but terrible at the iris. This method gives you the best of both worlds.
- Remove the Glare: Use Generative Fill to remove the glare, accepting the creepy, uncanny valley eye it creates.
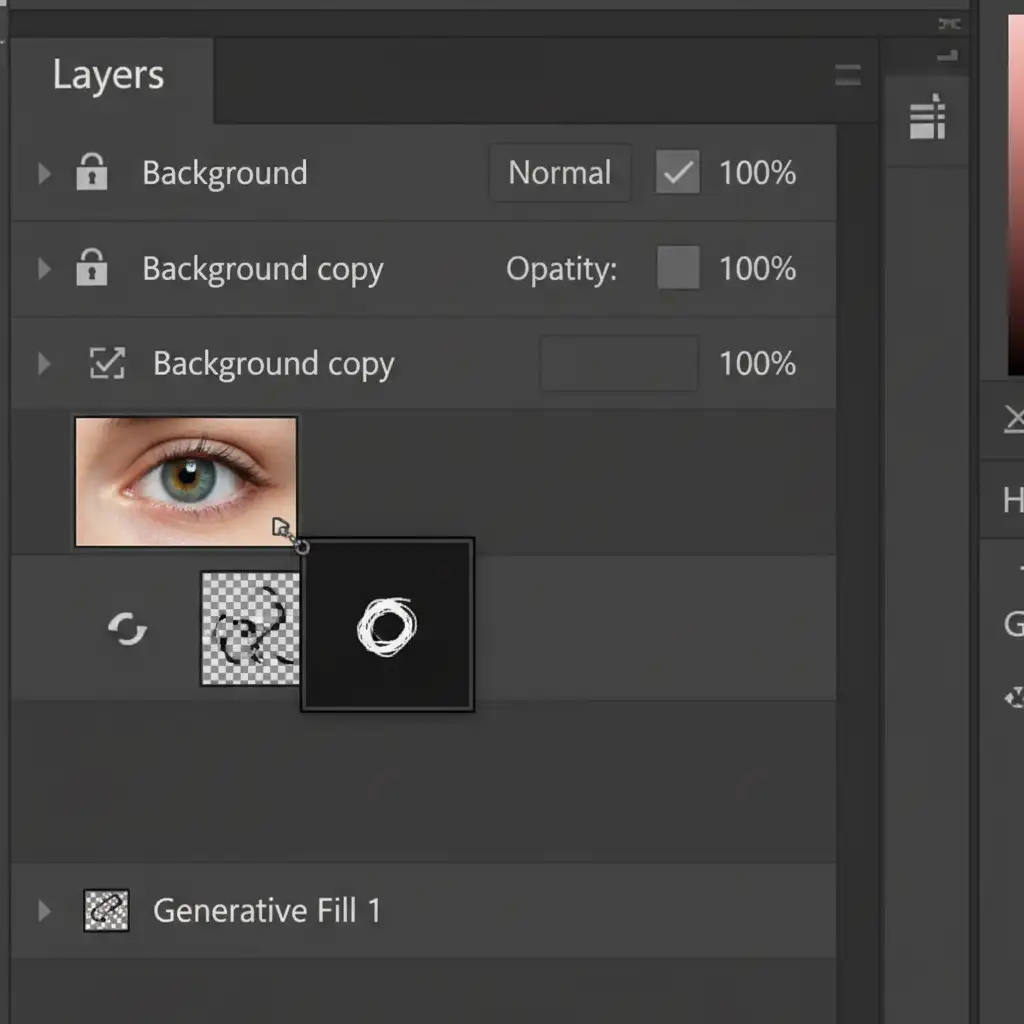
- Duplicate Original Layer: Duplicate your original background layer and drag it above the Generative layer in your Layers panel.
- Apply Layer Masking: Hold Alt (Windows) or Option (Mac) and click the Layer Mask icon to add a black layer mask, hiding the original layer.
- Paint Back the Anatomy: Select a soft round brush, set your foreground color to white, and carefully paint back only the original iris and pupil. This hides the AI-distorted anatomy while keeping the AI-cleaned sclera and surrounding skin.
Method 3: The Technical Deep-Dive (Frequency Separation)
For high-end beauty and commercial retouching, bypassing AI entirely for the eyeball is often the safest route. Frequency Separation allows you to fix the color of the glare independently from the texture of the eye.
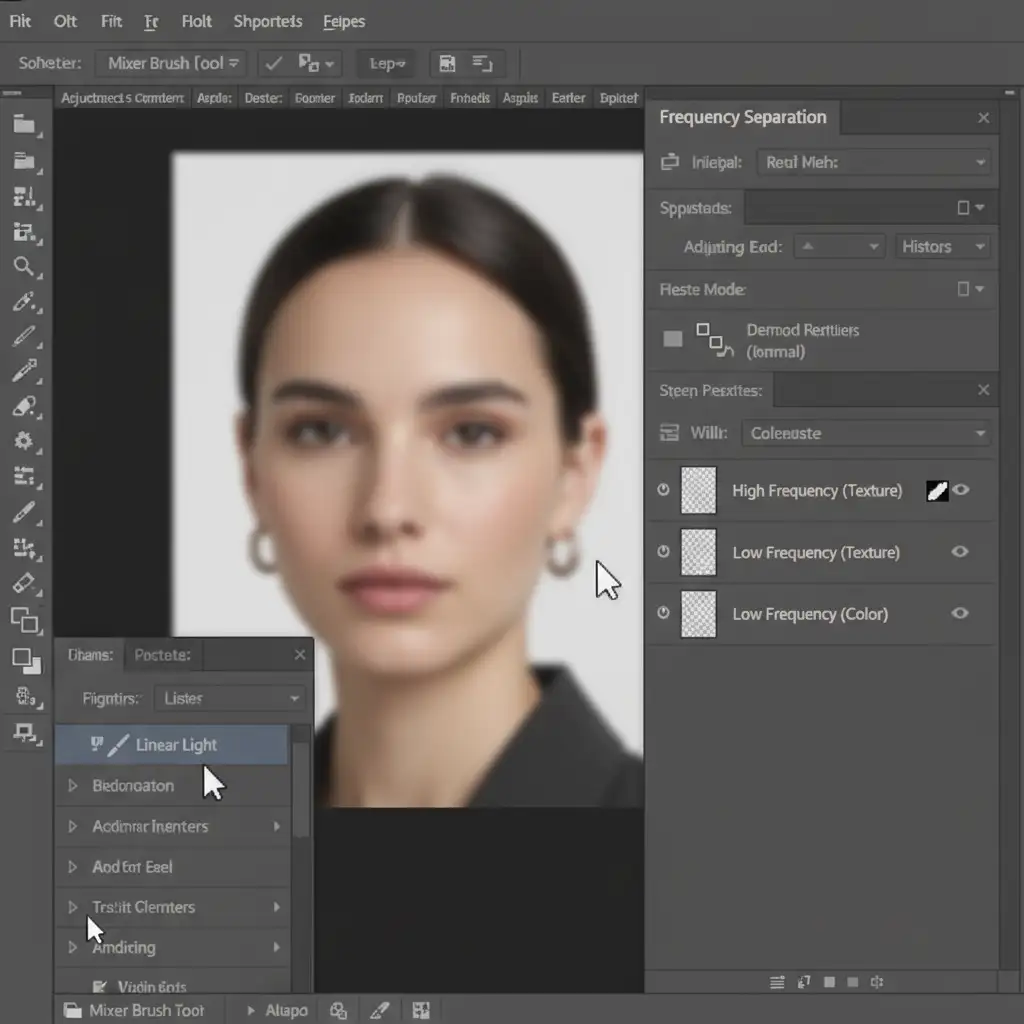
- Setup Frequency Separation: Run your standard Frequency Separation action (ensure you select 16-bit or 8-bit depending on your image).
- Correct the Color: Select the Low Frequency (Color) layer. Grab the Mixer Brush Tool, sample a clean color from the surrounding eye, and gently blend away the white or green color cast of the glare.
- Restore the Texture: Switch to the High Frequency (Texture) layer. Use the Clone Stamp Tool to replace the damaged glare texture with healthy, native eye texture. This retains 100% of the original anatomy without relying on AI.
Stop Fighting AI-Let the Experts Handle Your Retouching
Fixing AI eye distortion glare removal requires patience, an understanding of facial anatomy, and advanced Photoshop skills. While Generative Fill is a fantastic starting point, relying on it entirely will often compromise the quality of your final image.
Struggling to get flawless, natural-looking portraits at scale? Let the expert retouchers at Image Work India and Cloud Retouch handle your high-end photo editing. We specialize in complex portrait retouching, layer masking, and frequency separation-fixing exactly what AI breaks.
Don’t let uncanny valley eyes ruin your portfolio. Contact us for a free trial today and experience pixel-perfect retouching tailored to your brand!