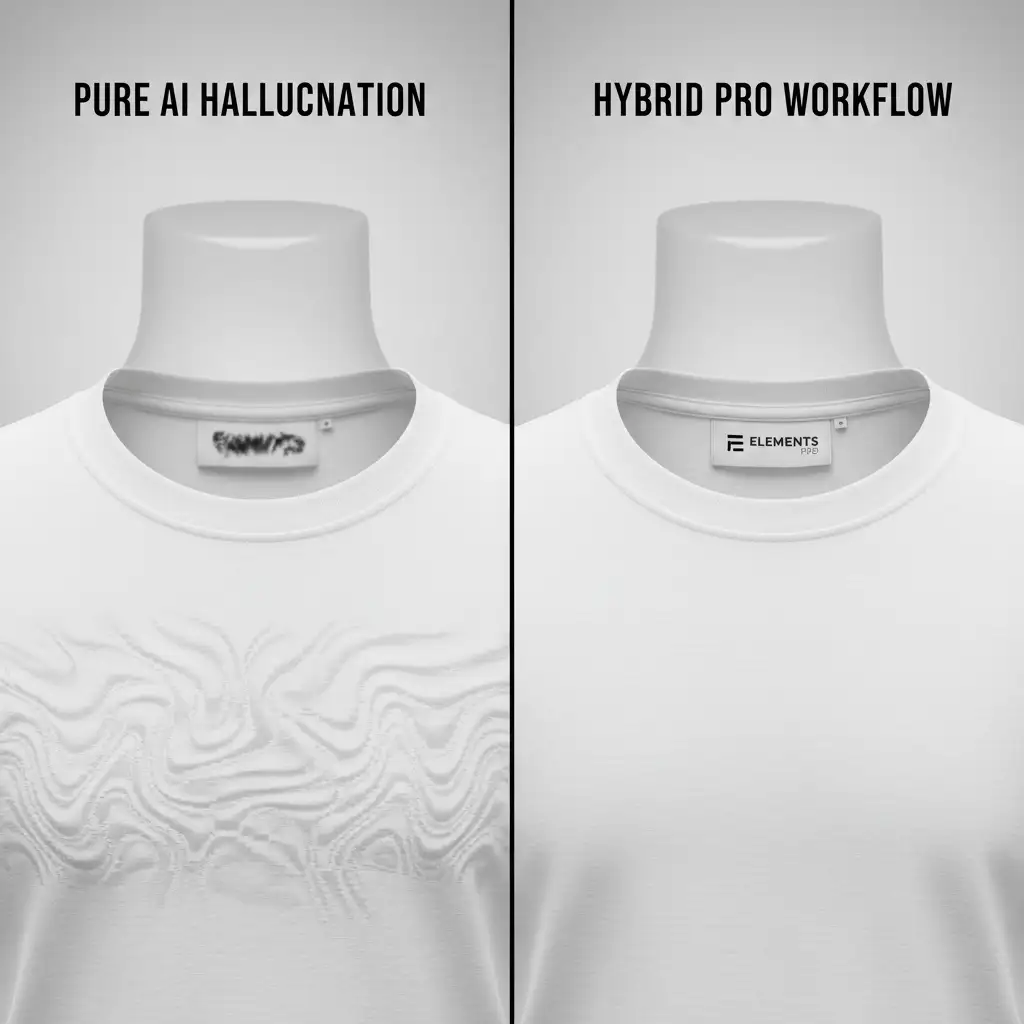
Are you tired of Photoshop’s Generative Fill turning the inside of your garments into anatomical blobs? When you are editing high-volume eCommerce photography, relying purely on AI to create a ghost mannequin effect is a recipe for disaster. Fully automated tools in Photoshop v25 through v27.x frequently hallucinate textures, erase crucial brand labels, and generate unnatural lighting that instantly ruins product authenticity.
For strict eCommerce standards, fabric fidelity must be 100 percent accurate. The solution isn’t abandoning AI—it’s mastering the AI Ghost Mannequin Workflow in Photoshop. By bypassing pure AI reliance and integrating traditional neck-joint compositing with targeted AI-assisted seam blending, you can achieve perfect results in half the time.
Here is the professional technical breakdown of the ultimate hybrid workflow.
Why Pure AI Fails at the Ghost Mannequin Effect
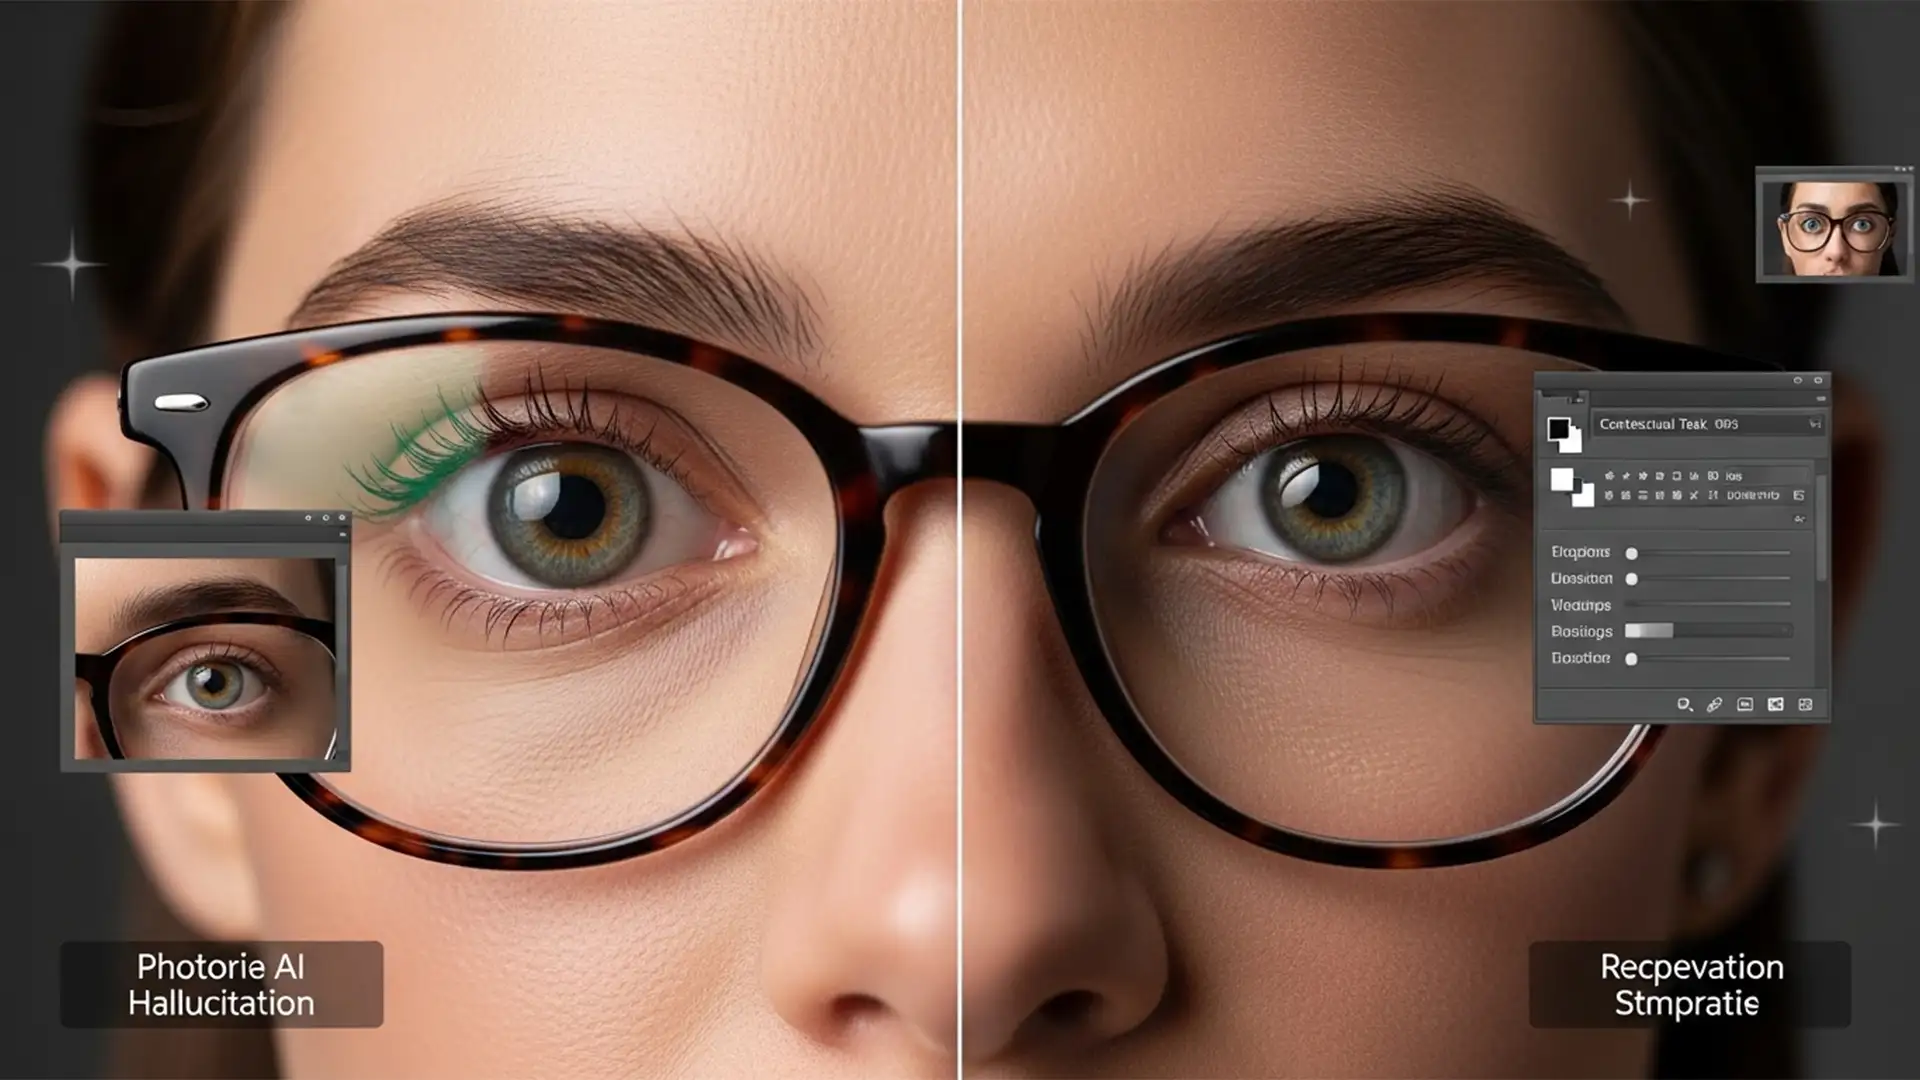
When retouching apparel, the “ghost mannequin” (or invisible mannequin) technique requires combining a shot of the garment on a mannequin with a separate shot of the inner collar or lining.
While tools like Generative Fill are incredible for extending backgrounds, they lack the contextual understanding required for complex apparel structure. If you lasso the mannequin’s neck and hit generate, the AI attempts to guess what the inner fabric looks like. The result? Warped weaves, missing tags, and lighting that doesn’t match the studio strobe setup.
To maintain absolute authenticity, professionals use a hybrid approach: manual paths for structural boundaries and AI specifically for edge blending and shadow mapping.
The Professional Hybrid AI Ghost Mannequin Workflow
Depending on the complexity of the garment and the quality of your studio shots, you can scale this workflow across three distinct methods.
Method A: The Quick Fix (Simple Backgrounds)
If you are working with a solid, high-contrast studio background and a garment that doesn’t require complex inner-collar recreation, you can leverage Photoshop’s selection AI.
- Select the Object Selection Tool and hover over the main garment to mask it.
- Refine the mask using the Select and Mask workspace to ensure the edges are crisp.
- Invert the selection to target the visible mannequin parts (like the neck or bottom hem).
- Use the Remove Tool to paint over the mannequin. The AI will sample the clean background and delete the mannequin hardware seamlessly.
Method B: The Pro Workaround (Hybrid Masking & Neck Joint)
For true eCommerce standard ghost mannequins, you must composite a real inner neck piece. This method combines the precision of manual Layer Masking with the speed of AI Layer Blending.
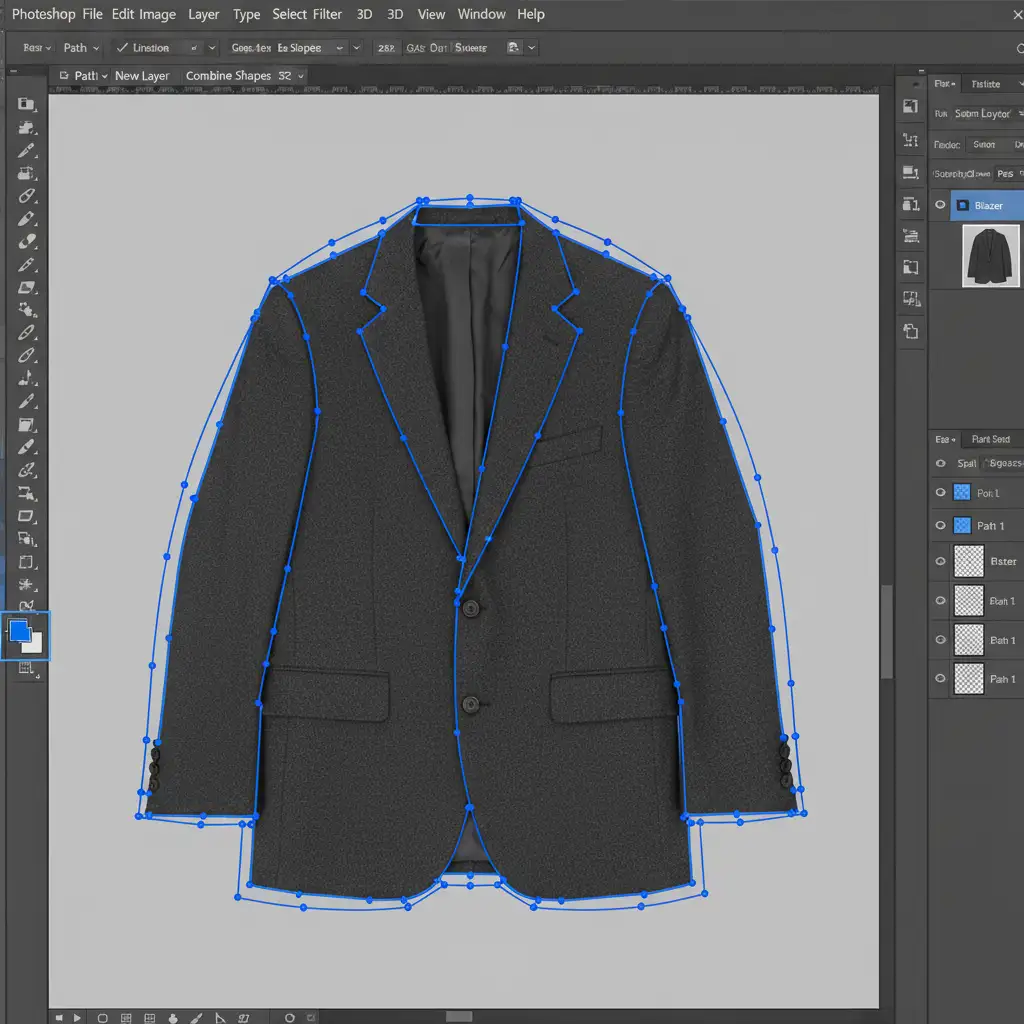
Step 1: Isolate the Garment Never trust AI to cut out a garment perfectly. Use the Pen Tool to draw a precise Clipping Path around the exterior of the main product. This guarantees sharp, professional edges without the “halo” effect AI selections often leave behind.
Step 2: Composite the Neck Joint Open your secondary image (the garment turned inside out or shot flat to reveal the inner collar). Cut out the inner neck piece and paste it on a new layer behind your main garment layer. Align the shoulders and collar line.
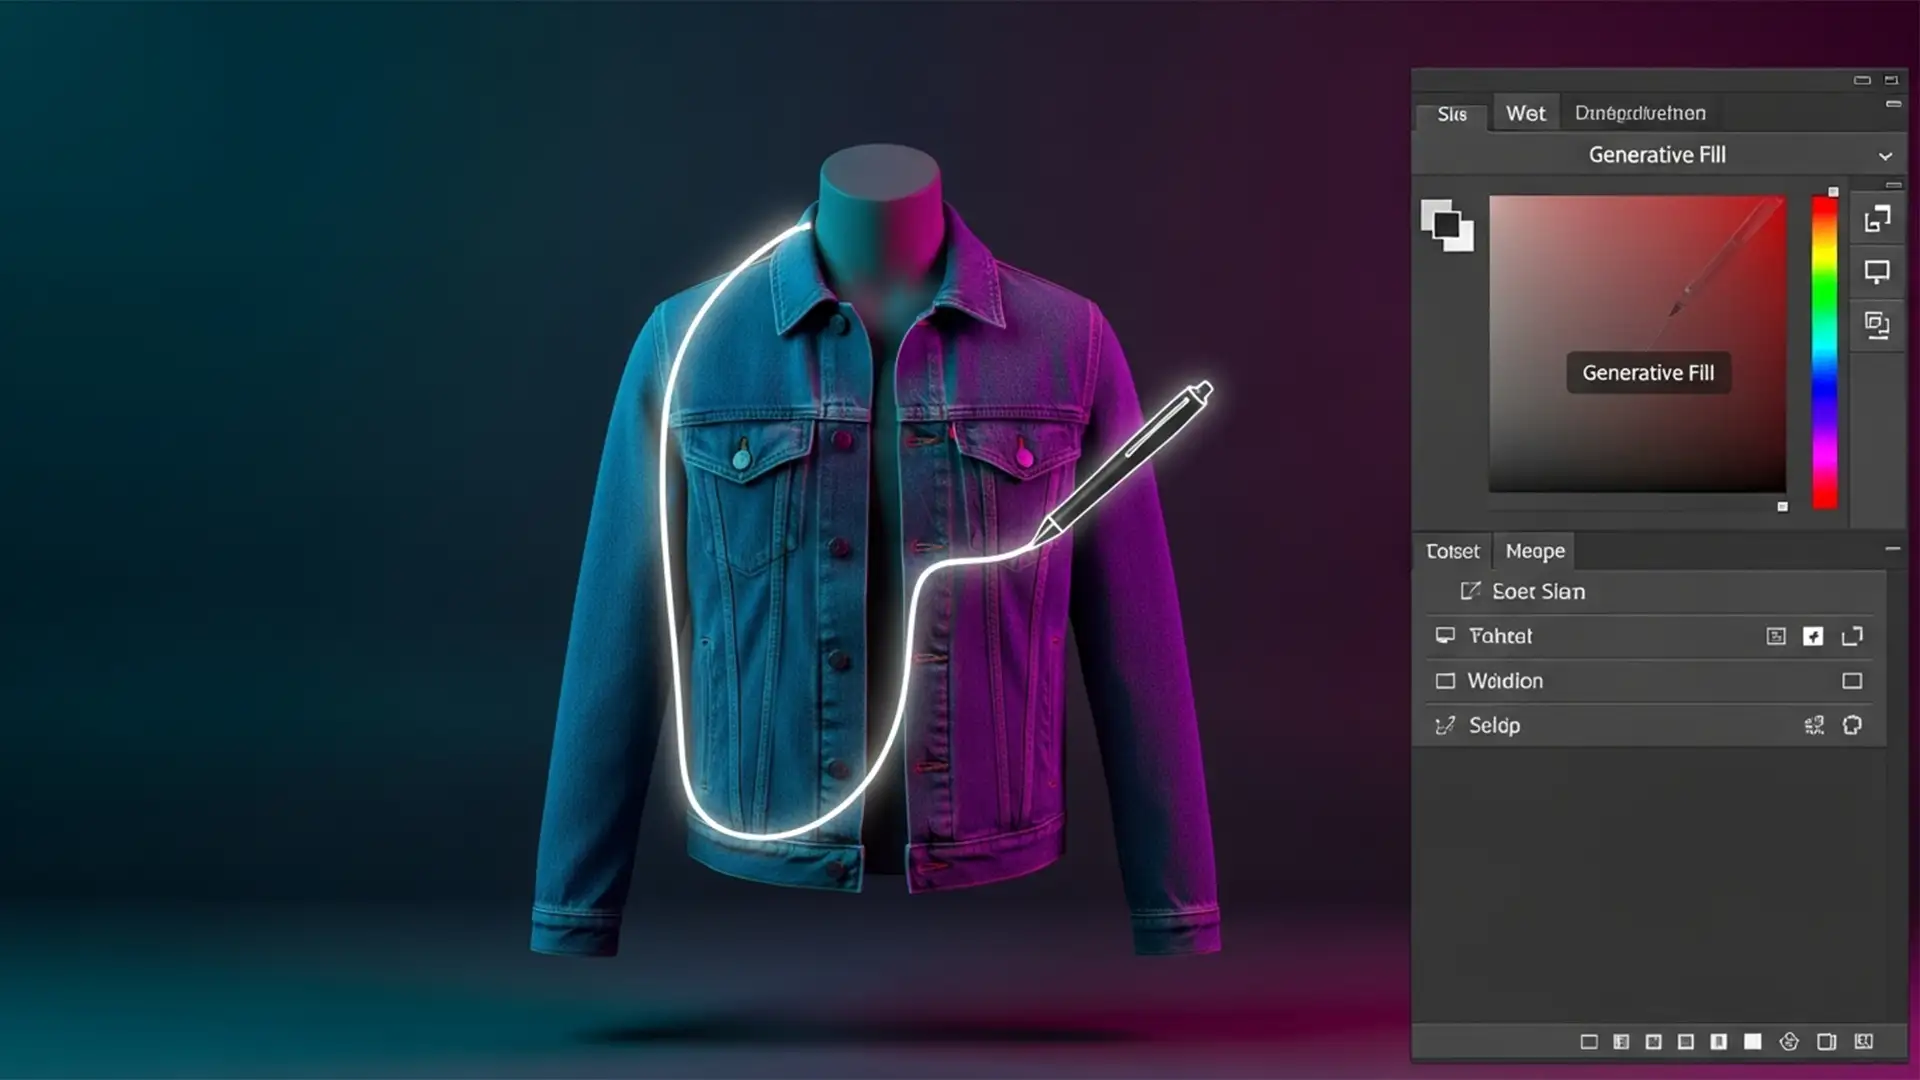
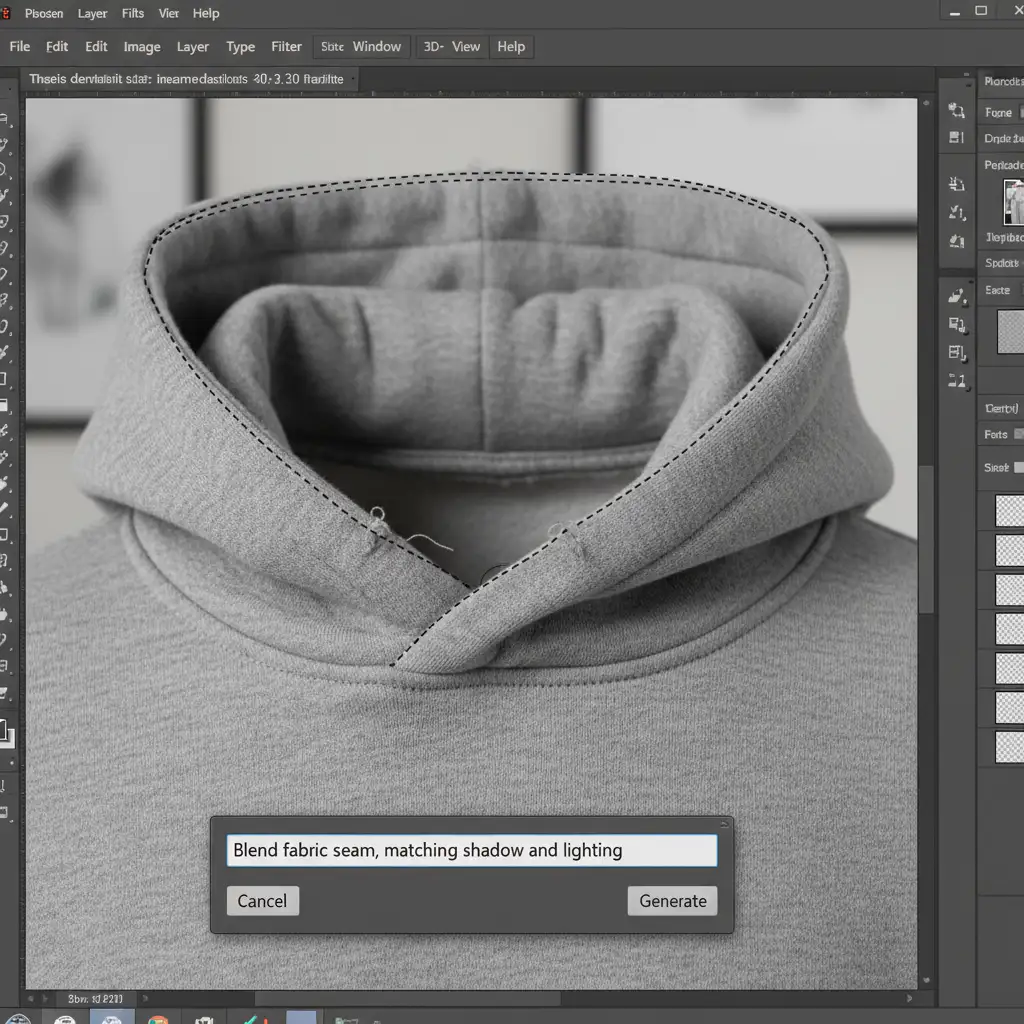
Step 3: AI Seam Blending This is where Prompt Engineering and AI shine. Instead of asking the AI to draw the whole collar, ask it to fix the seam.
- Make a tight lasso selection specifically over the seam where the front collar meets the back neck joint.
- Click Generative Fill.
- Use a constrained prompt like: “Blend fabric seam, matching shadow and lighting.”
- The AI will generate a flawless transition between the two real photographic layers without hallucinating the core fabric.

Method C: The Technical Deep-Dive (Frequency Separation)
When working with complex patterns (like houndstooth or ribbed knit), even a constrained Generative Fill might leave subtle texture artifacts or blur the weave. To fix this, we combine AI with Frequency Separation.
- Group your composited Composite Image (Main Garment + Neck Joint + AI Blend) and duplicate it.
- Run a standard Frequency Separation action to split the image into a Low-Frequency (Color/Lighting) layer and a High-Frequency (Texture) layer.
- If the AI generated great shadows but ruined the texture, go to the High-Frequency layer. Use the Clone Stamp tool to manually clone real fabric weave over the AI-generated area.
- If the texture is fine but the lighting is flat, use a blank layer clipped to the Low-Frequency layer to paint in natural shadows, or use Generative Fill only on the Low-Frequency layer to map realistic ambient occlusion inside the collar.
This strict separation ensures your product retains 100 percent authenticity while still benefiting from AI-generated lighting and shadow fills.
Scale Your eCommerce Production with the Experts
Mastering the AI Ghost Mannequin Workflow in Photoshop requires a deep understanding of traditional compositing, clipping paths, and strict AI constraints. While this hybrid method guarantees a flawless, true-to-life product image, doing it manually for hundreds or thousands of SKUs drains internal resources and slows down your time-to-market.
Need pixel-perfect ghost mannequin edits at scale? Stop wasting hours fighting AI hallucinations. Outsource your post-production to Image Work India and Cloud Retouch. Our expert retouchers utilize proprietary hybrid workflows to deliver 100 percent accurate, high-volume eCommerce image editing with rapid turnaround times.
Contact Cloud Retouch today to elevate your product photography and let us handle the technical heavy lifting.