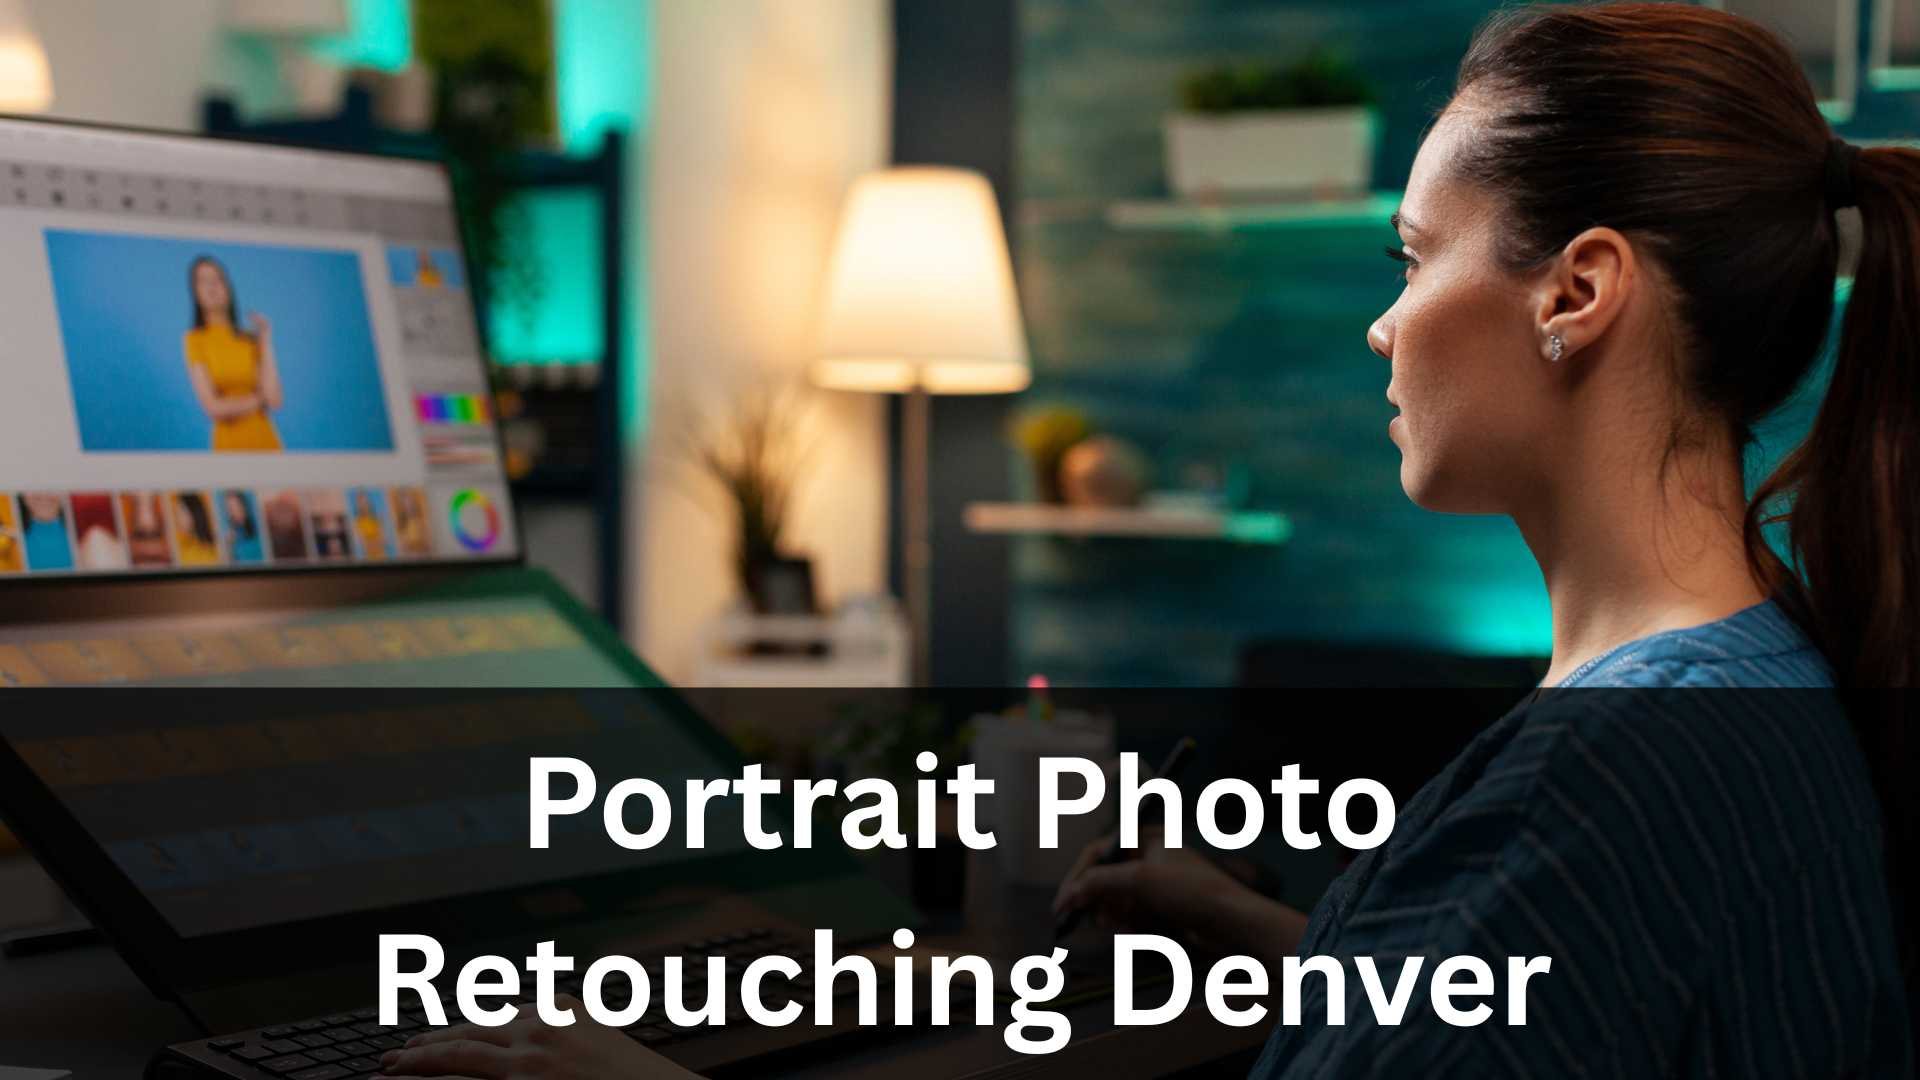
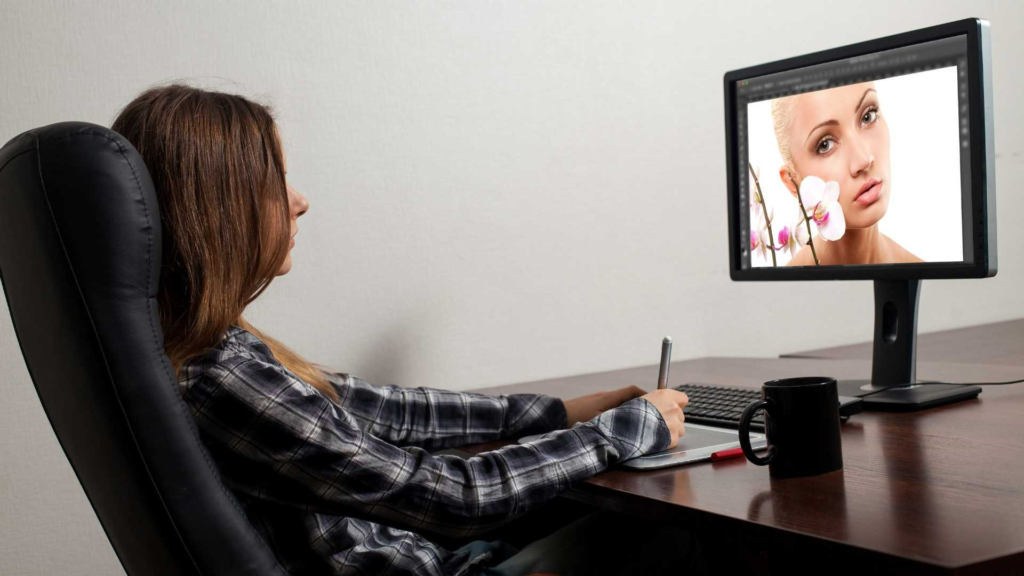
Portrait retouching has become one of the most essential parts of modern photography. Whether you are a beginner, hobbyist, or professional editor, understanding strong Portrait Retouching Techniques can transform everyday photos into clean, polished, and natural-looking images. In today’s world, people want retouching that enhances the subject-not changes who they are. That’s exactly what this guide will help you achieve.
In this easy, friendly, and deeply detailed guide, we’ll walk through the most effective Portrait Retouching Techniques used by professionals, why they matter, and how you can apply them without making your photos look artificial or over-edited. This article is designed for readers who want a complete explanation rather than confusing jargon. Think of it as having a one-on-one conversation with someone who wants you to learn the craft comfortably.
As you read, you’ll notice many reminders about keeping edits natural, subtle, and true to the original person. The goal of all strong Portrait Retouching Techniques is not perfection-it’s enhancement. And that approach creates results that feel smooth, realistic, and professional.
Image Work India provides professional portrait retouching and image editing services, and throughout this guide, you’ll also find helpful references where you can learn more or explore outsourcing options on our website.
Understanding the Core Purpose of Portrait Retouching
Before we jump into specific Portrait Retouching Techniques, it’s important to understand why retouching matters. Portrait photography captures a moment, a story, and a personality. But cameras don’t always see people the way our eyes do. Lighting, lens distortion, shadows, and environmental distractions often affect how the final image looks.
Retouching helps balance these issues. However, you must always respect the authentic features of a person. The goal is not to erase identity but to elevate the photo while keeping the subject recognizable. Natural retouching builds trust between editors, photographers, and clients, especially for professional use such as commercial portraits, actors’ headshots, beauty shoots, corporate profile photos, or editorial images.
Good retouching blends technical skill with artistic judgment. It involves analyzing what needs to be fixed, what should remain untouched, and what enhancements will make the portrait look its best.
Why Natural Results Matter in Portrait Retouching
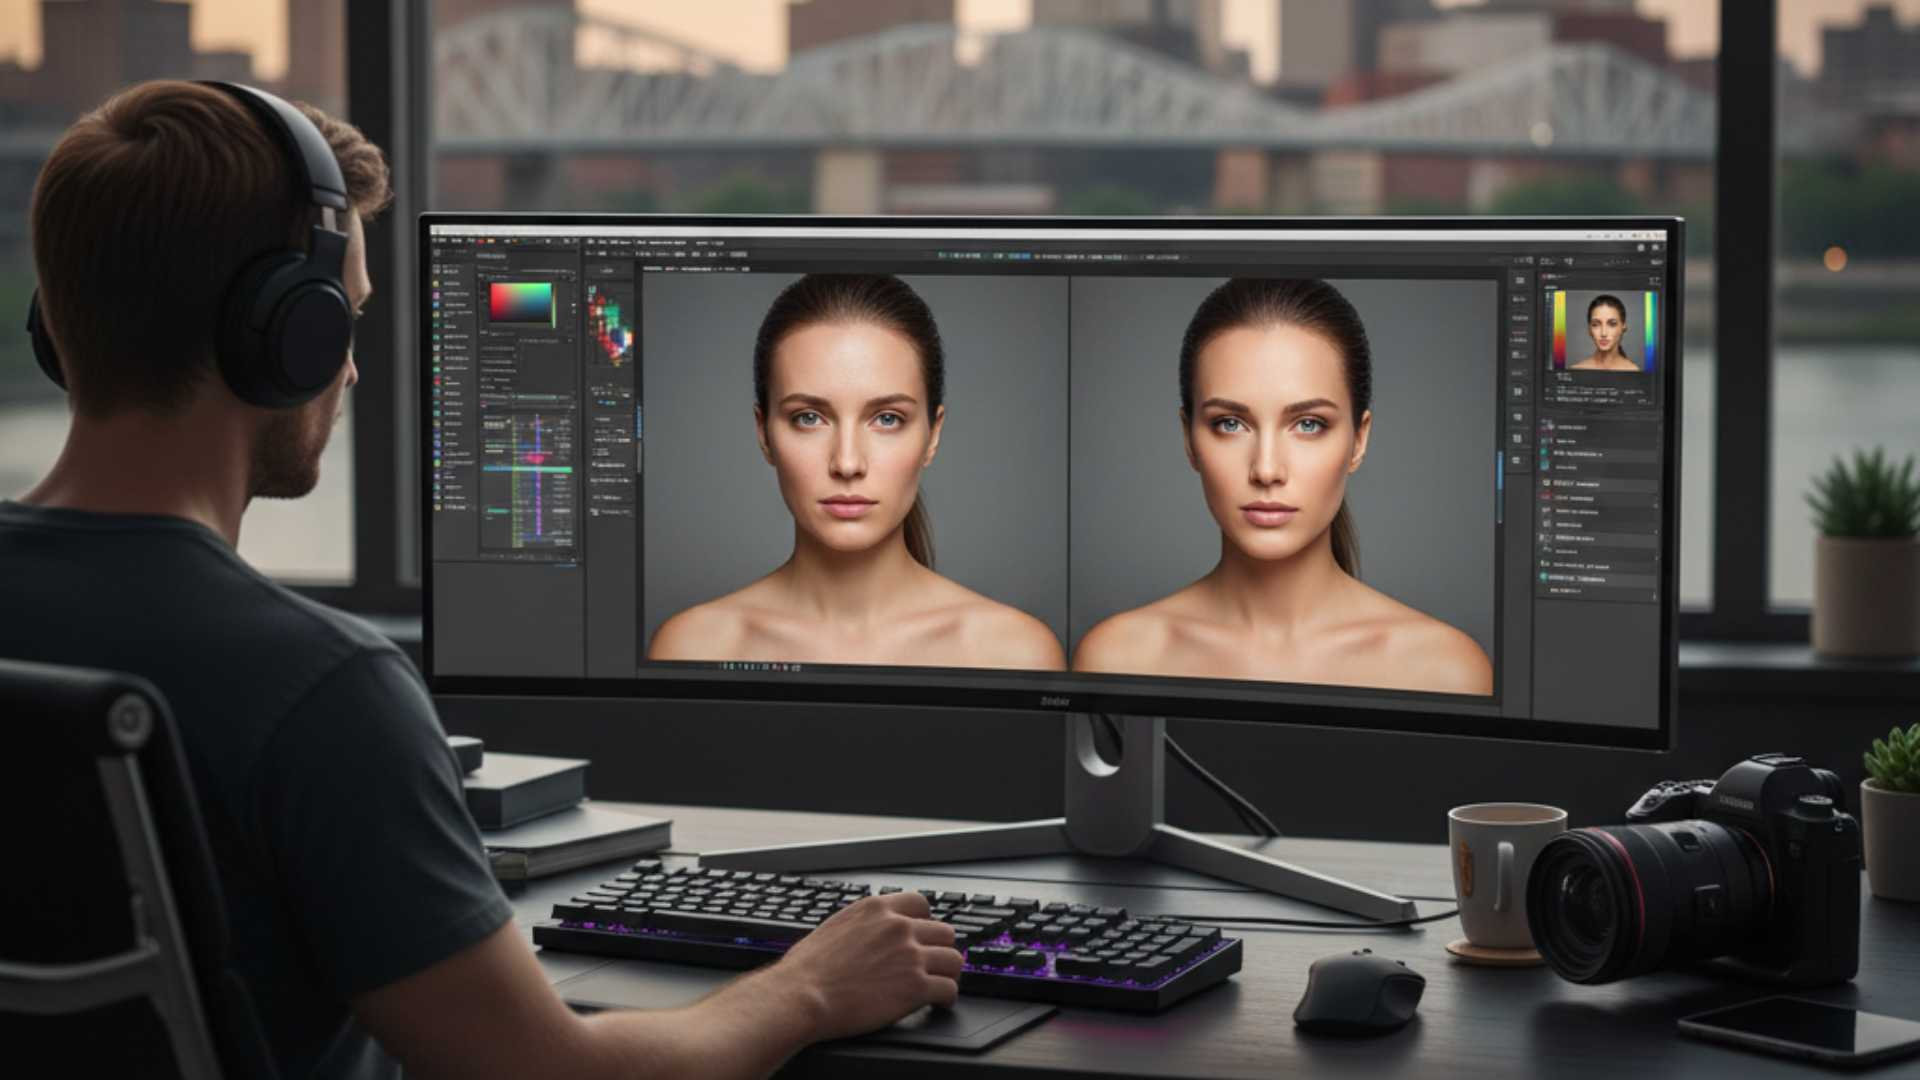
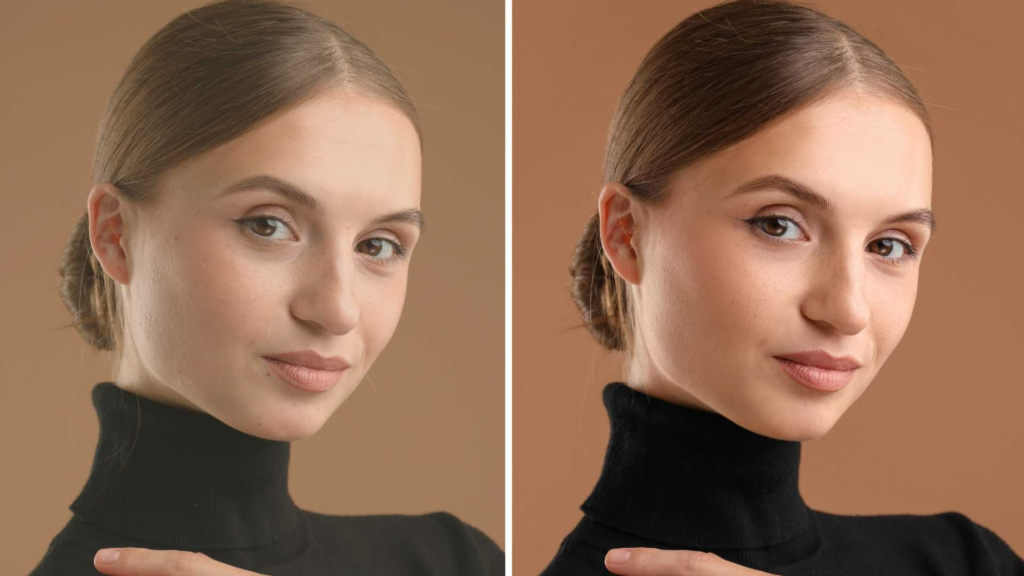
Natural-looking results are more valued today than ever before. Audiences-and clients-notice when a portrait looks fake. Over-smoothing skin, removing too many details, or reshaping facial features aggressively can destroy the character of the photo.
Modern editors strive to apply Portrait Retouching Techniques that create subtle improvements while keeping realism intact. When you maintain texture, keep proportions accurate, and focus on correcting-not reconstructing-the portrait feels stronger and more professional.
Platforms like Instagram, LinkedIn, portfolios, modeling profiles, and even wedding albums prefer authentic retouching. Clients expect polish, not plastic. This is why understanding balanced techniques is so important.
Starting with the Basics: Cleaning the Image
Almost every portrait edit begins with cleaning. This involves removing distractions or imperfections while protecting the natural look of the skin. This is one of the most important foundations of any Portrait Retouching Techniques workflow.
Cleaning includes tasks like fixing stray hairs, removing dust spots, eliminating temporary blemishes, and correcting minor discolorations. The idea is to clear anything that distracts from the subject’s natural beauty without altering their identity.
Many editors prefer doing this step manually because it gives more control. Light tools such as the Healing Brush or Spot Removal tools in major editing software tend to deliver soft, believable corrections. The trick is to avoid repeating patterns or blurring important texture.
Cleaning should always be done slowly and carefully. Rushing creates obvious patches and unnatural blending. When done correctly, cleaning sets the foundation for all the remaining retouching adjustments.
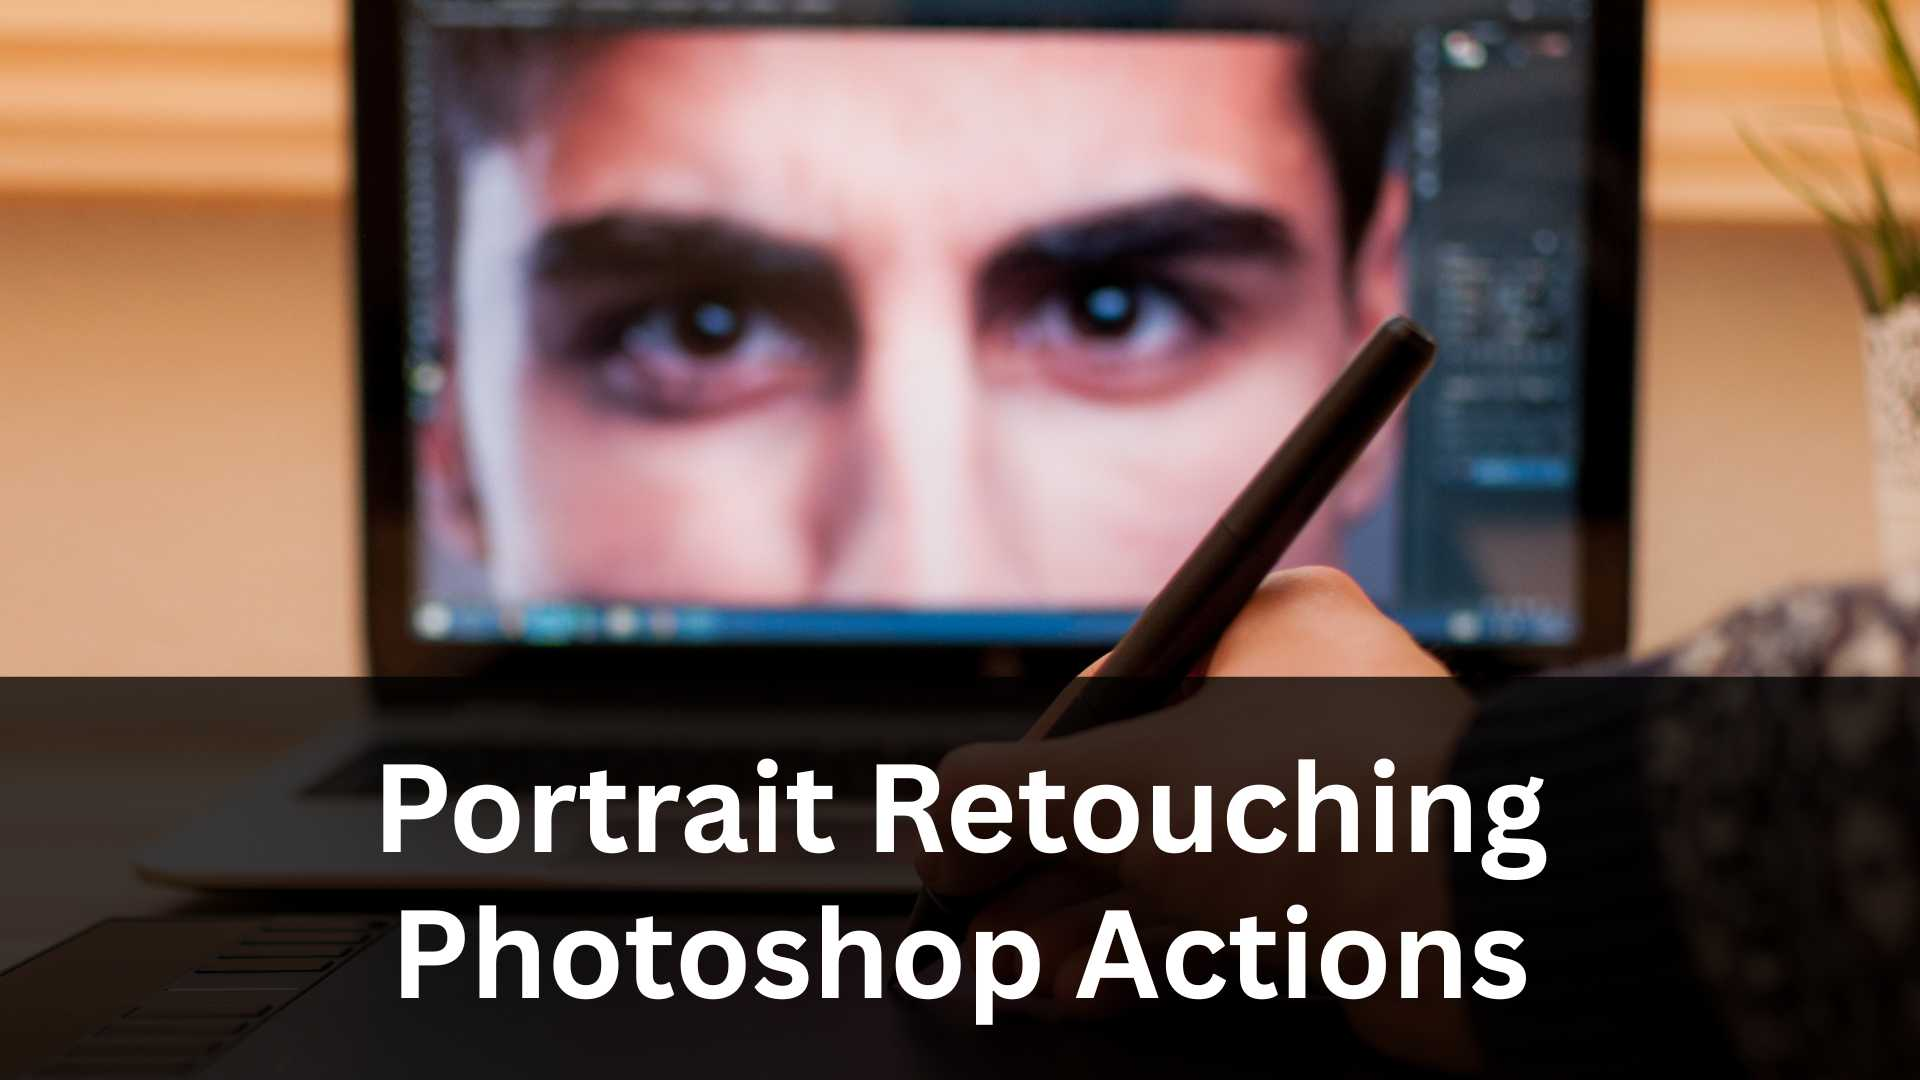
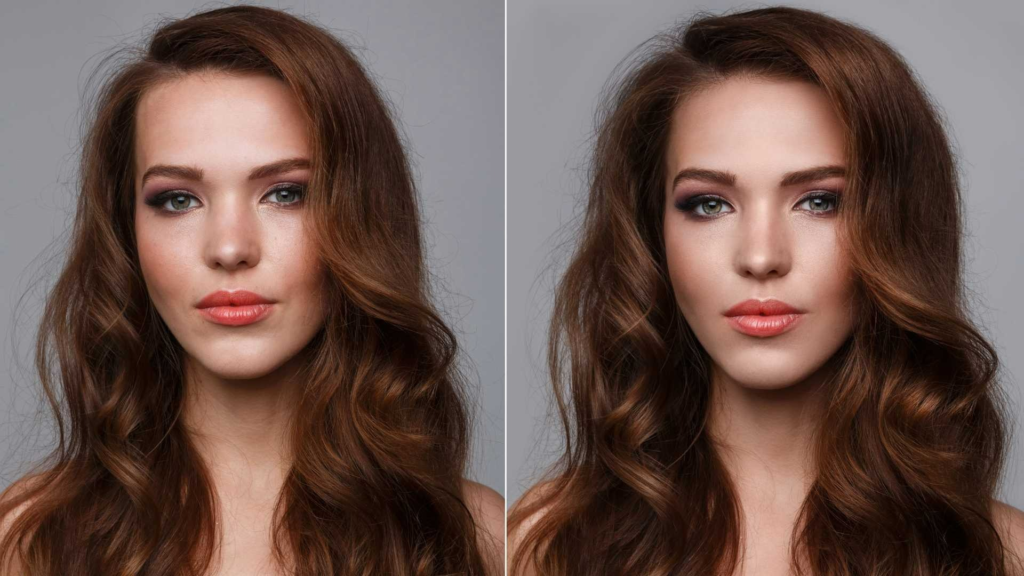
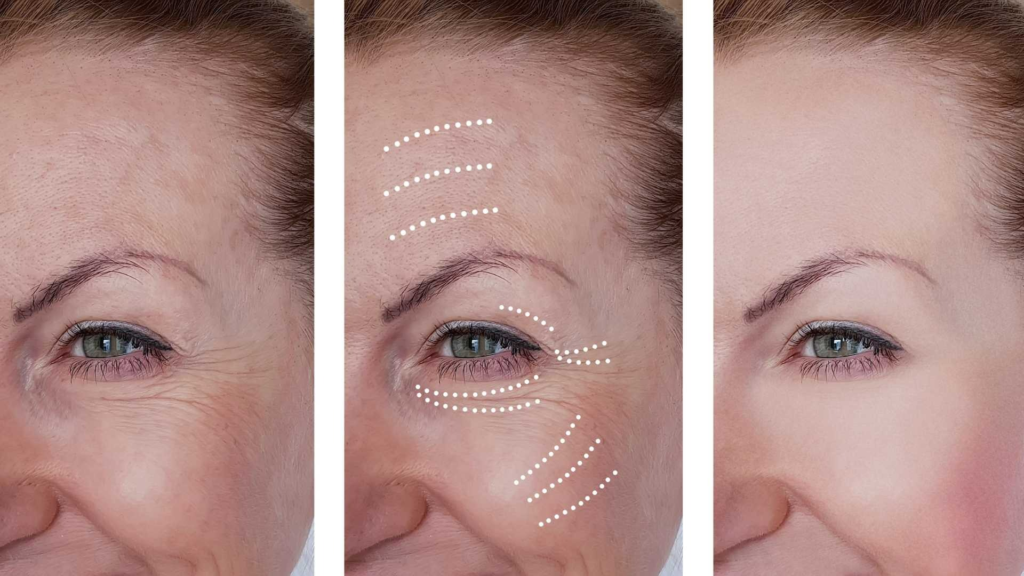
Skin Retouching: The Heart of Portrait Editing
Skin retouching is the main focus in most Portrait Retouching Techniques, and it requires a balance between enhancement and realism. Skin naturally has pores, fine lines, and texture-and your job is to smooth imperfections without removing these natural features.
One of the biggest mistakes beginners make is heavy blurring. It smooths too much, removes depth, and makes skin look plastic. Instead, editors rely on more refined approaches that keep texture intact.
Retouching skin properly requires patience. You should zoom in to work on details but also zoom out frequently to see the overall effect. This prevents over-editing and helps maintain harmony across the entire portrait.
Lighting also affects how skin is edited. Strong studio lighting highlights more texture, while softer lighting hides imperfections. Editors should adjust their techniques based on the image style, mood, and overall lighting conditions.
Frequency Separation and Why Professionals Use It
Frequency separation is one of the most talked-about Portrait Retouching Techniques, and for good reason. It allows you to edit texture and color separately, creating highly controlled and precise results.
Texture sits on one layer, while tones and color gradients sit on another. This separation means you can fix blotchy skin, uneven shading, or harsh lighting without affecting pores or fine details. Likewise, you can remove texture imperfections without changing skin color.
It’s powerful-but also easy to misuse. Overdoing frequency separation can still create unnatural results, so moderation is essential. Professionals use it gently, focusing on subtle refinement rather than drastic transformation.
Dodge and Burn: Sculpting the Light
Dodge and burn is a classic method used in nearly all professional Portrait Retouching Techniques. It works by brightening or darkening certain areas of the photo to create balance, dimension, and shape.
In portraits, dodge and burn helps enhance features like cheekbones, jawlines, and eyes. It can also smooth transitions in skin tone without blurring texture, making it one of the most effective ways to achieve natural-looking retouching.
There are two main styles:
- Global dodge and burn, which adjusts the overall light balance in the portrait.
- Micro dodge and burn, which focuses on tiny imperfections like uneven shadows or highlights.
Both methods demand patience and accuracy, but they deliver beautiful, realistic results when applied correctly.
Enhancing Eyes for Impact
The eyes are the most expressive part of a portrait, so enhancing them carefully can significantly improve the final result. Not every portrait needs dramatic eye edits, but subtle improvements help the viewer connect more deeply with the subject.
This area should always be handled gently. A little sharpening, soft brightening, and cleaning around the whites of the eyes is usually enough. Avoid overly whitening the sclera or adding artificial shine, as this makes portraits look edited.
Because every face is unique, eye enhancement should always match the mood of the portrait. For natural portraits, keep edits minimal. For commercial beauty edits, you can push the effects slightly stronger-but never to the point of losing realism.
Perfecting Hair Without Over-Editing
Hair is one of the most challenging areas in portrait editing because it behaves unpredictably. Stray hairs, uneven volume, frizz, and gaps are common issues, and strong lighting often highlights these imperfections. In natural-focused Portrait Retouching Techniques, the goal is not to reshape the entire hairstyle but to clean and refine it. Start by removing distracting flyaways that cross the face or stand out against a contrasting background. Use small, soft brushes so the adjustments blend smoothly into the original image.
For areas where the hair looks too thin or uneven, a subtle darkening or lightening adjustment helps restore balance without adding fake strands. Some editors prefer light cloning around the edges to fill in small missing areas while keeping texture authentic. Hair should never look overly perfect-realistic portraits still show some natural movement and irregularity. Smoothness is helpful, but too much precision can make the image look artificial, which goes against the purpose of natural Portrait Retouching Techniques.

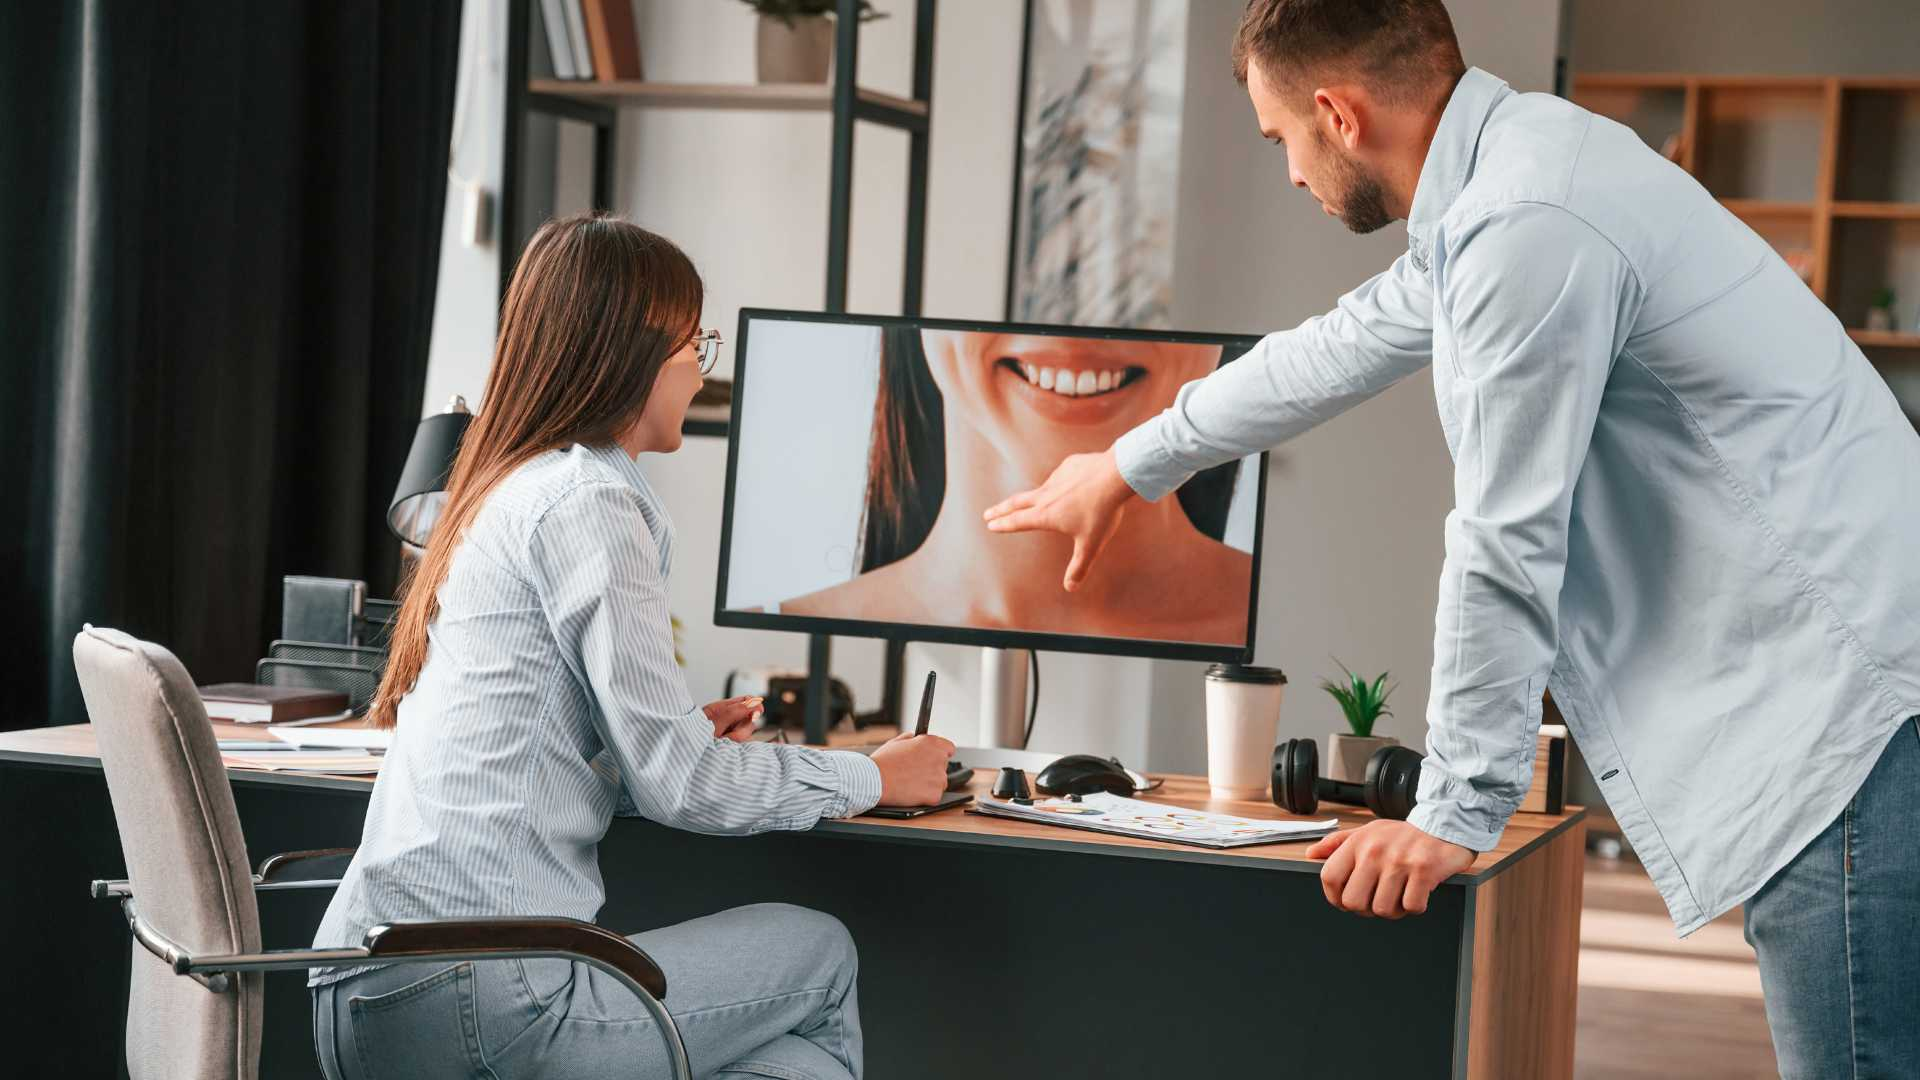
Fixing Makeup and Enhancing Facial Features
Makeup correction plays a major role in polished portraits, especially in professional or commercial shoots. Even well-applied makeup can reflect harsh lighting or show slight unevenness on camera. Retouching helps even out skin tone, sharpen makeup edges, and reduce unwanted shine.
A careful approach is necessary because makeup defines facial structure. Over-editing undermines the makeup artist’s work and changes the model’s identity. For example, enhancing lip color should involve slight saturation improvements rather than repainting the lips entirely. Similarly, eyebrow definition should maintain the original shape instead of creating perfectly symmetrical lines.
Highlighting and contouring can also be adjusted, especially if the lighting changed their appearance. Using dodge and burn with a gentle hand enhances bone structure while keeping the model’s real features visible. These balanced adjustments show why Portrait Retouching Techniques focus on enhancement, not replacement.
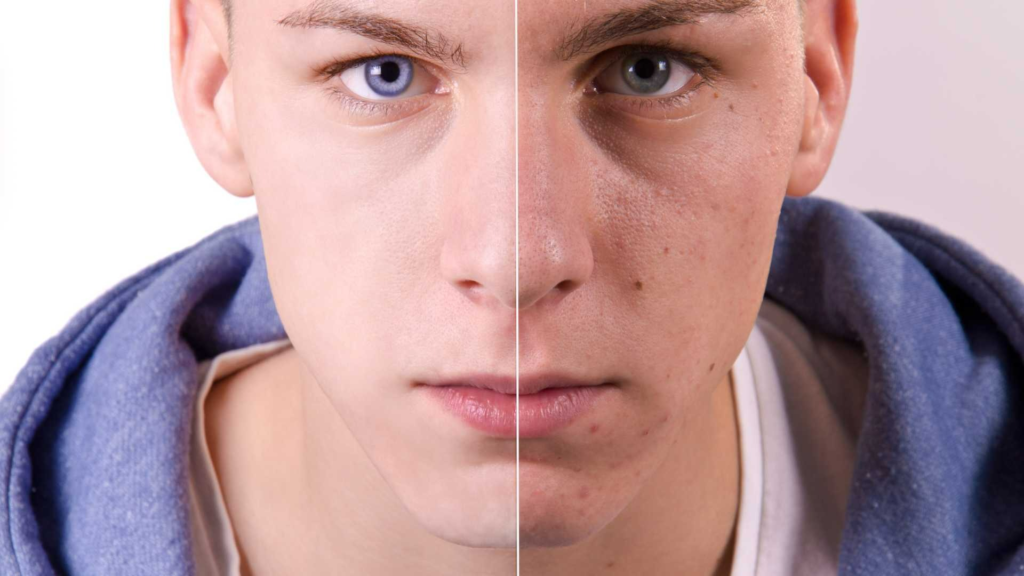
Color Correction for Natural and Balanced Skin Tones
Color correction is one of the most essential parts of any advanced retouching workflow. Camera sensors can capture skin tones incorrectly depending on the environment, lighting temperature, and camera settings. Color correction helps restore accurate, natural skin tones while keeping the final portrait harmonious.
The first step is identifying color problems: redness, discoloration, greenish shadows, or uneven warmth. Each issue requires a different approach, but the best editors use selective color adjustments instead of global filters. This keeps skin tones realistic and avoids affecting the entire image.
Subtle adjustments in hue, saturation, and luminance help refine tones without introducing flatness. Skin should always have life-removing all color variation makes subjects appear unrealistic. Professional Portrait Retouching Techniques maintain a careful balance between smoothness and natural variation.
Matching skin tones across the face is also crucial, especially when areas around the eyes, forehead, or chin appear different due to lighting. Soft brush adjustments allow editors to blend these zones without losing depth or texture.
Correcting Clothing for a Cleaner Portrait
Many people don’t think of clothing as part of portrait editing, but it directly affects the final image. Wrinkles, dust spots, uneven fabric folds, or lint can distract from the subject. Cleaning clothing requires similar patience to skin retouching but uses slightly different tools.
Start with simple fixes like removing dust and small stains. For larger wrinkles, use a mix of cloning and dodge and burn to reshape the lighting on the fabric. Overediting clothes can make them look like CGI, so always preserve texture and weave patterns.
If the clothing has logos or distracting patterns that take attention away from the face, softening or toning them down helps keep focus on the subject. These careful Portrait Retouching Techniques make the portrait look more professional while staying true to the original outfit.
Enhancing the Background Without Losing Realism
While the subject is the focus, backgrounds influence how a portrait feels. Retouching the background should complement the subject, not overpower it. Sometimes the background is too bright, too textured, or contains distracting elements.
Softening the background slightly using controlled blurring creates separation and visual depth. However, excessive blur looks unnatural unless the camera originally captured shallow depth of field. The best technique is selective masking-apply adjustments only where necessary and keep transitions smooth.
Color correction also helps the background match the skin tones and the overall mood of the portrait. A warm portrait looks better with a subtle warm background tint, while cooler portraits benefit from balanced cool tones. These are subtle steps, but they contribute strongly to good Portrait Retouching Techniques because they enhance the visual storytelling.
Sharpening and Final Texture Enhancements
Once all major edits are complete, sharpening brings back crispness. Portrait sharpening should be gentle. Over-sharpening makes pores, fine lines, and small imperfections more visible. Professionals use a combination of global sharpening and selective sharpening.
Selective sharpening-usually applied to eyes, eyelashes, eyebrows, and hairline-adds focus to the key features without introducing harshness. Texture should feel real but refined. Final texture enhancements help maintain clarity and balance, ensuring your Portrait Retouching Techniques produce a clean, natural-looking result every time.
Choosing the Best Export Settings for Portraits
The last step is exporting the final image correctly. High-quality portraits require strong resolution, correct color profile, and optimized file size. Exporting depends on the image’s purpose-social media, printing, portfolios, or commercial use.
For printing, a higher resolution and wider color profile like Adobe RGB or ProPhoto RGB is preferred. For online use, sRGB offers the most consistent display across different devices. Keeping portraits high-quality while avoiding overly large file sizes ensures faster loading times without sacrificing detail.
Proper export settings are part of professional Portrait Retouching Techniques, because even the best edits fail if the final output quality is poor.
Common Retouching Mistakes to Avoid
Many beginners struggle with knowing when to stop. The most common mistakes come from doing too much instead of too little. Over-smoothing, excessive reshaping, fake colors, or unrealistic lighting all make portraits look edited instead of enhanced.
A simple rule:
If the change is noticeable immediately, it’s probably too strong.
Zooming out frequently and comparing before-and-after versions helps maintain realism. Professionals spend years mastering subtlety, and avoiding drastic changes is part of developing your own editing style.
How Image Work India Supports Your Portrait Editing Needs
If you want professionally edited portraits-whether for business, personal use, modeling, or commercial projects-Image Work India offers high-quality, natural retouching services. Our team specializes in Portrait Retouching Techniques that maintain texture, enhance features, and create balanced, realistic results tailored to your style.
We handle everything from skin retouching and color correction to advanced enhancements like dodge and burn, frequency separation, hair refinement, and background cleanup. Whether you need hundreds of images or a single portrait, our service ensures consistent quality, quick delivery, and professional results.
You can learn more or contact us through our website at Image Work India, where we offer a range of advanced photo editing solutions.
Conclusion
Portrait retouching is both an art and a technical skill. Mastering Portrait Retouching Techniques requires patience, practice, and an understanding of how to balance natural beauty with professional refinement. By focusing on subtle enhancements-rather than extreme transformations-you can create portraits that feel real, expressive, and high-quality.
With this complete guide, you now understand skin work, color correction, hair editing, dodge and burn, makeup refinement, clothing cleanup, background adjustments, sharpening, and export settings. These techniques will help you confidently edit portraits that look polished but natural.
Whenever you need expert support for any portrait editing project, Image Work India is here to help you achieve stunning results with professional care.