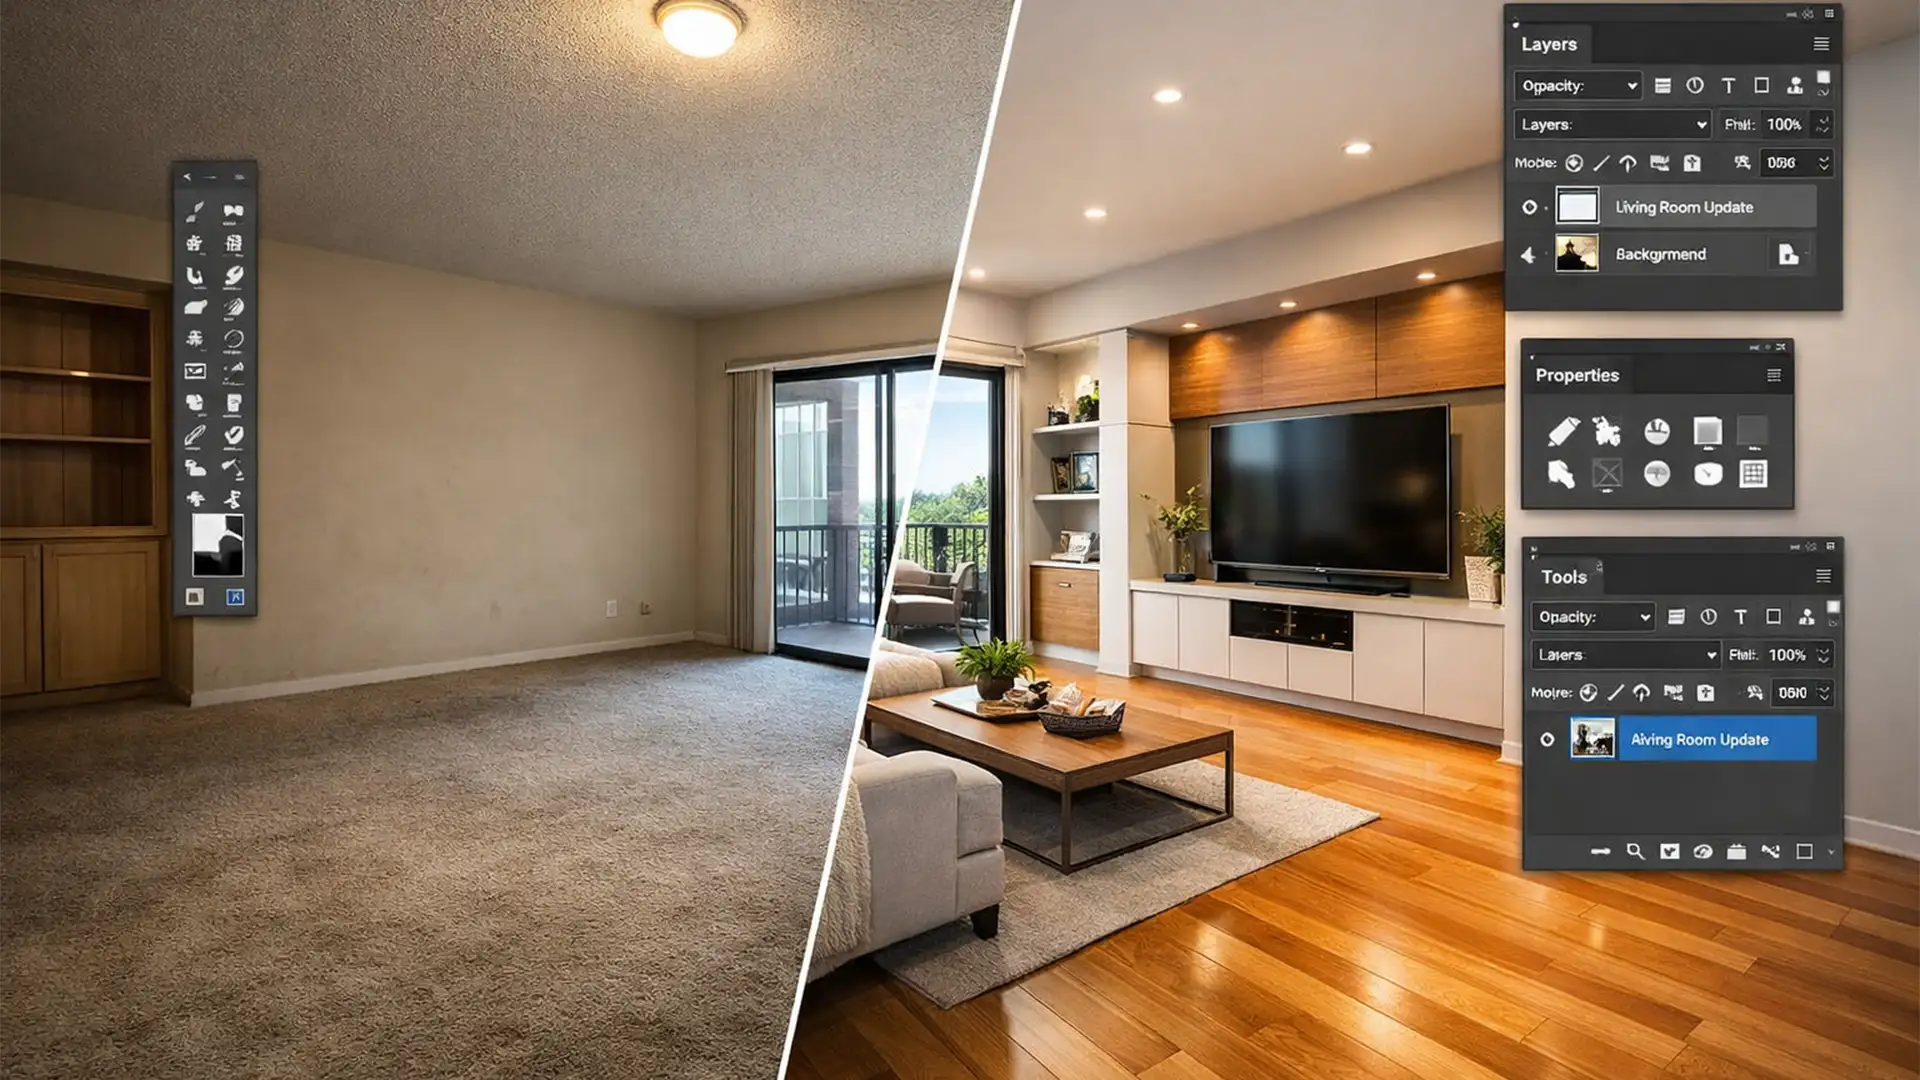
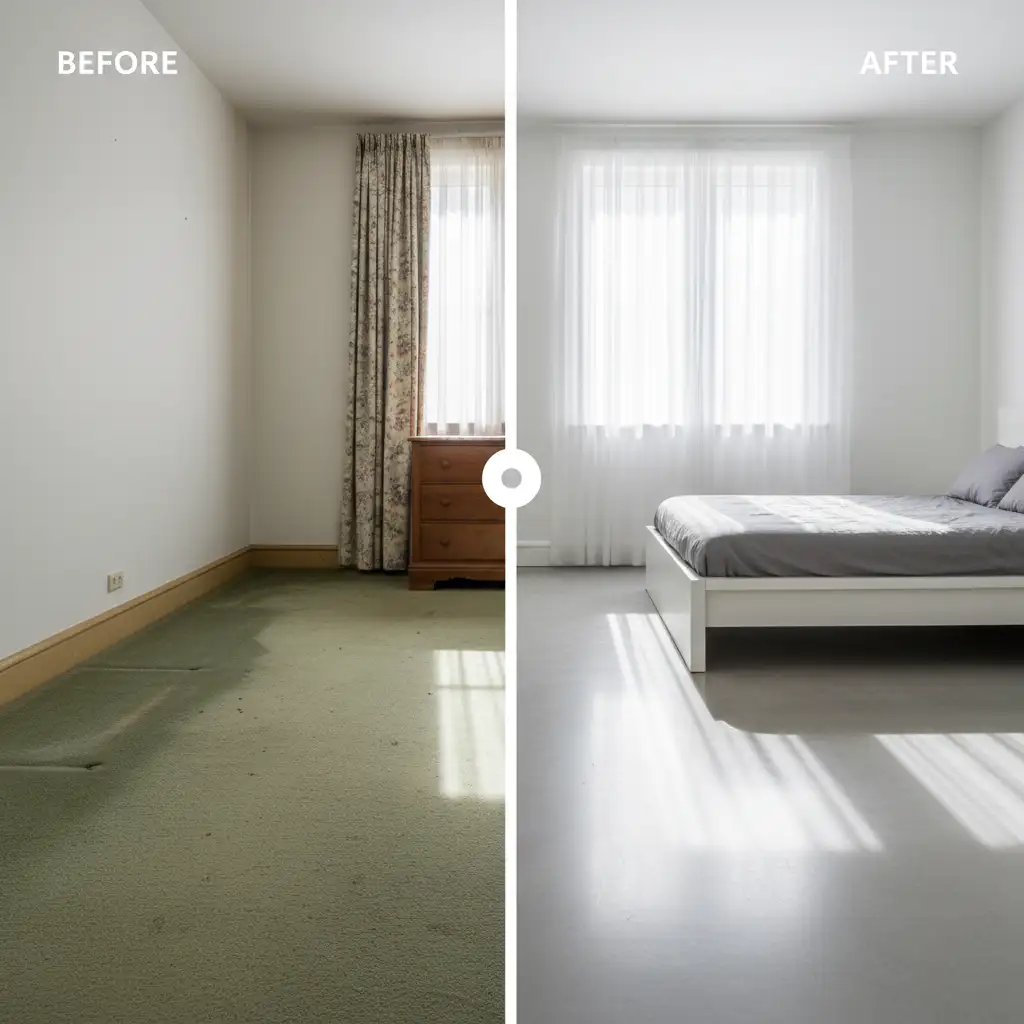
Real estate photo editors know the frustration: you use the latest AI to replace a dated kitchen cabinet or swap out old carpet for hardwood, and the result looks completely fake. The “uncanny valley” effect instantly ruins the illusion for potential buyers. In Photoshop v27.x, standard AI tools often fail to cast accurate bounce light or respect the physical depth of a room, leaving you with flat lighting and mismatched perspectives.
If you want to meet the strict real estate virtual renovation 2026 standards, you cannot rely on basic copy-paste workflows. Achieving absolute realism requires a hybrid approach. Here is exactly how to fix perspective misalignment and lighting mismatches using advanced depth-mapping and 3D-assisted 2D workflows.
The Flaw in Standard AI Generative Tools
When swapping complex textures like hardwood floors or intricate kitchen cabinets, most editors notice two glaring issues:
- Perspective Misalignment: The AI does not inherently understand the physical geometry of the room, causing the new flooring to look like a flat sticker.
- Lighting Mismatch: Generative tools struggle with global illumination. They fail to calculate how directional light from a window should bounce off a newly installed glossy cabinet.
To overcome these limitations, professional editors must force the software to respect the room’s precise geometry and lighting conditions.
3 Proven Workflows for Hyper-Realistic Virtual Renovations
Here are the exact technical steps to upgrade your virtual staging process in Photoshop v27.x.
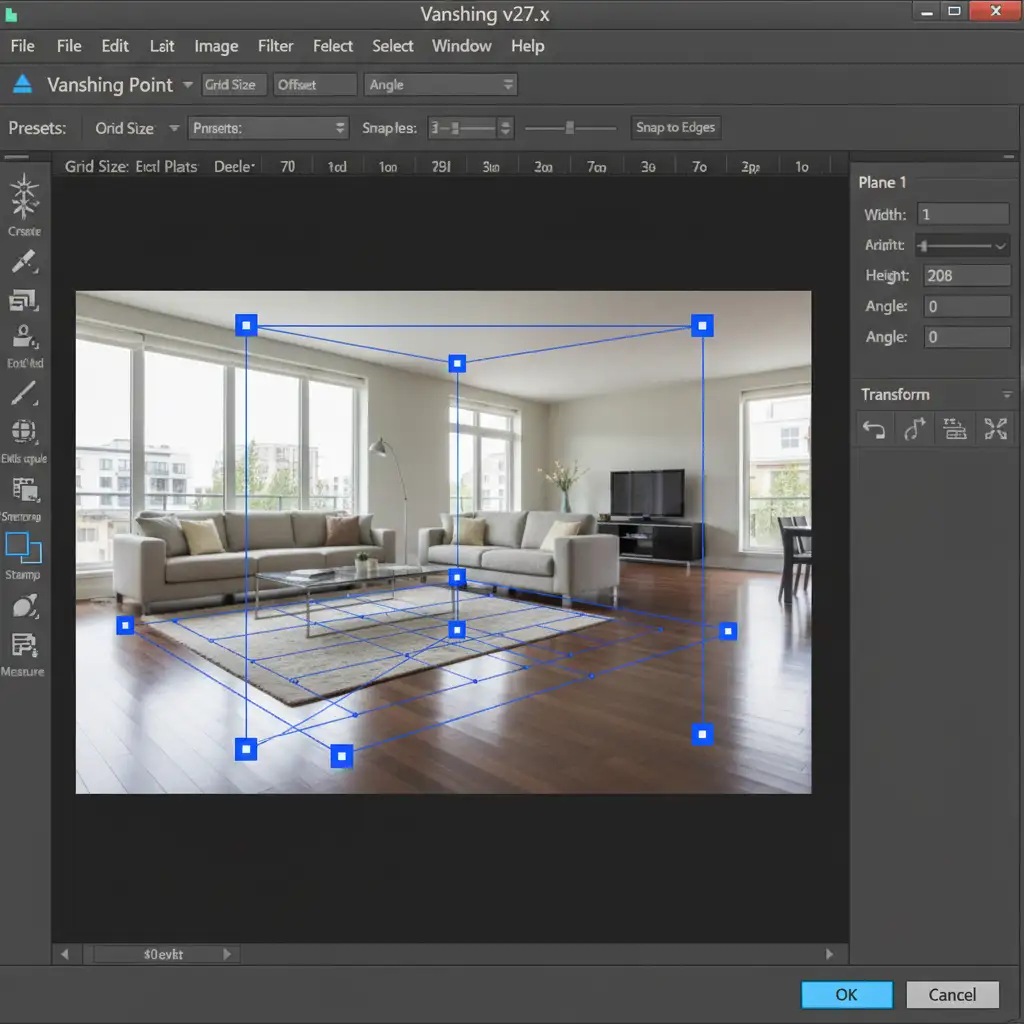
Method A: The Quick Fix – Generative Fill 3.0 & Vanishing Point
Standard generative prompts often ignore room depth. To fix this, you must define the perspective grid before generating the new elements.
- Open your image and create a new blank layer.
- Navigate to Filter > Vanishing Point.
- Use the Plane tool to map out the floor or wall. Ensure the grid nodes turn blue, indicating a mathematically sound perspective.
- Make your selection within this active grid.
- Apply Generative Fill 3.0, typing your prompt (e.g., “seamless oak hardwood flooring”).
By constraining the AI within the Vanishing Point tool, you force the generated pixels to adhere to the room’s actual vanishing lines.
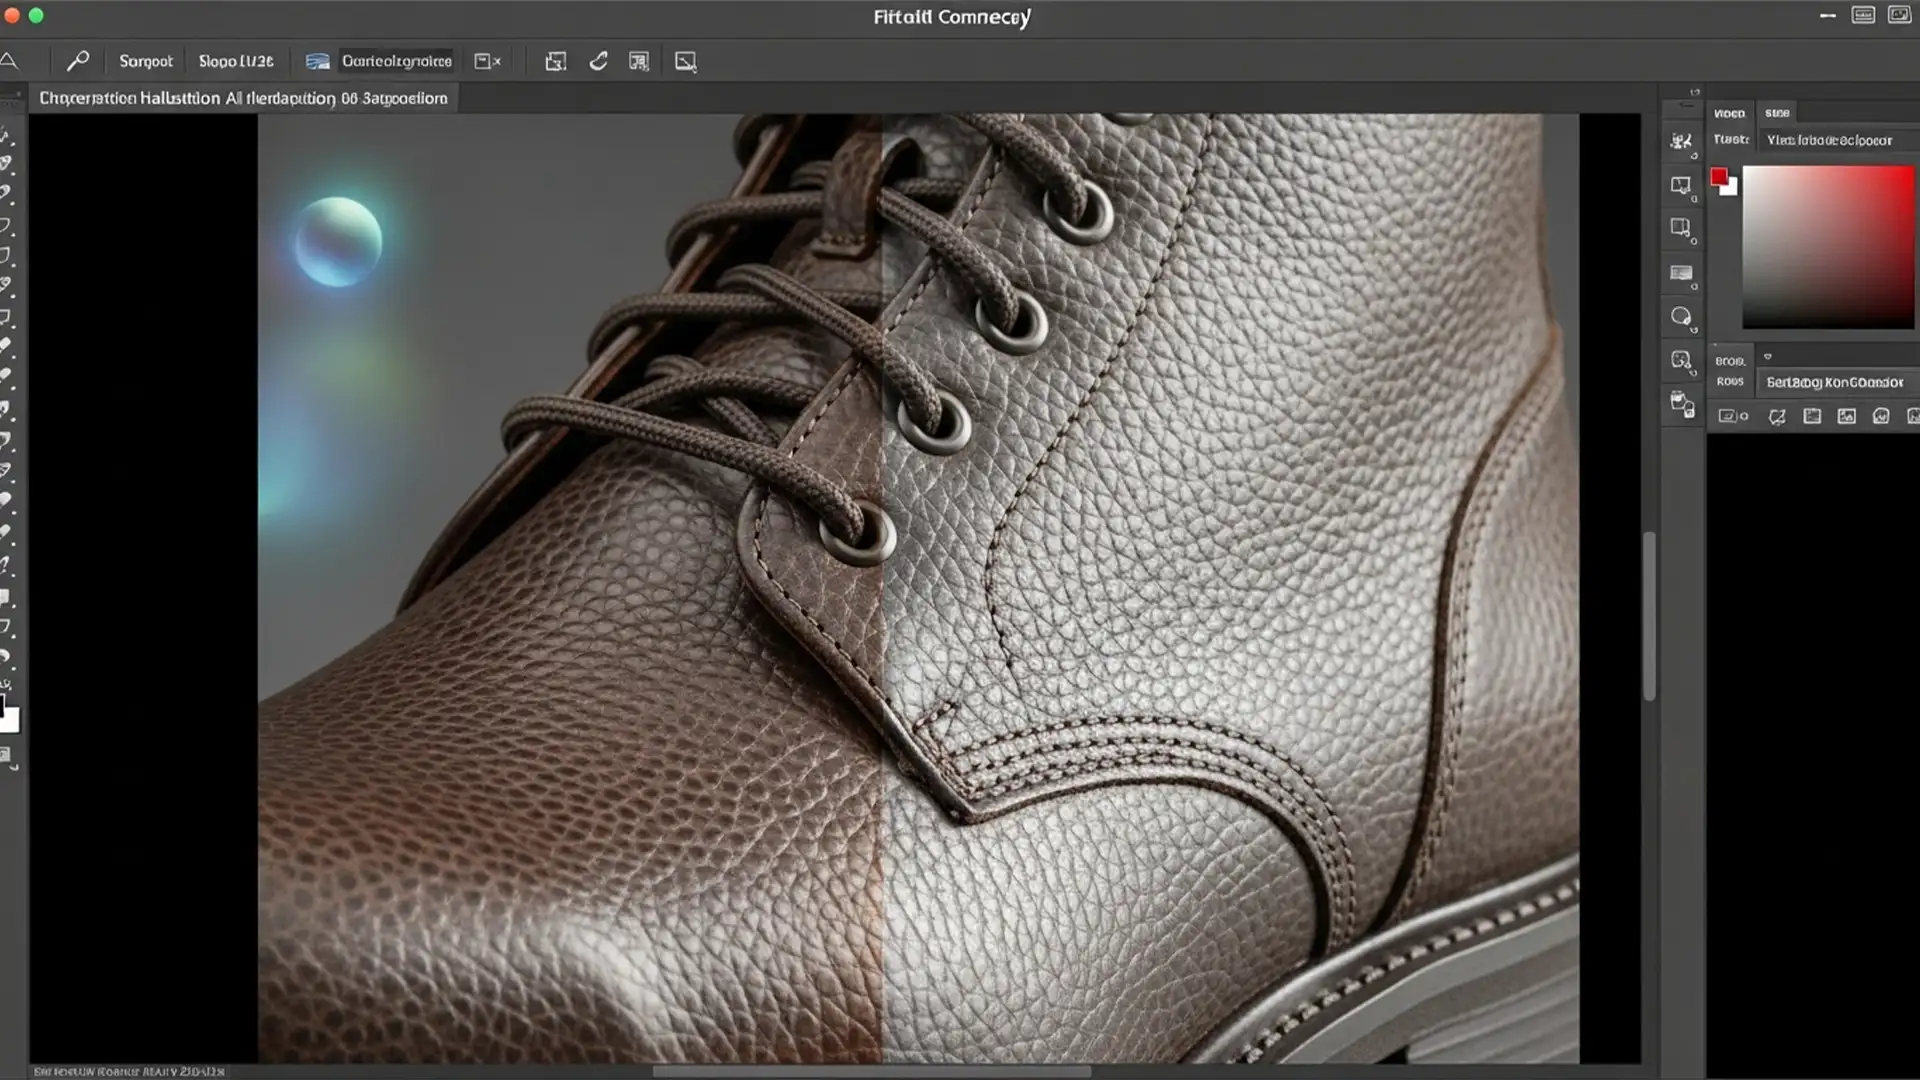
Method B: The Pro Workaround – Smart Objects & Custom Displacement Maps
When you need exact control over texture wrapping-such as placing a specific manufacturer’s tile into a scene-Generative Fill isn’t precise enough. You need to manually warp the texture while maintaining its natural bumps and grooves.
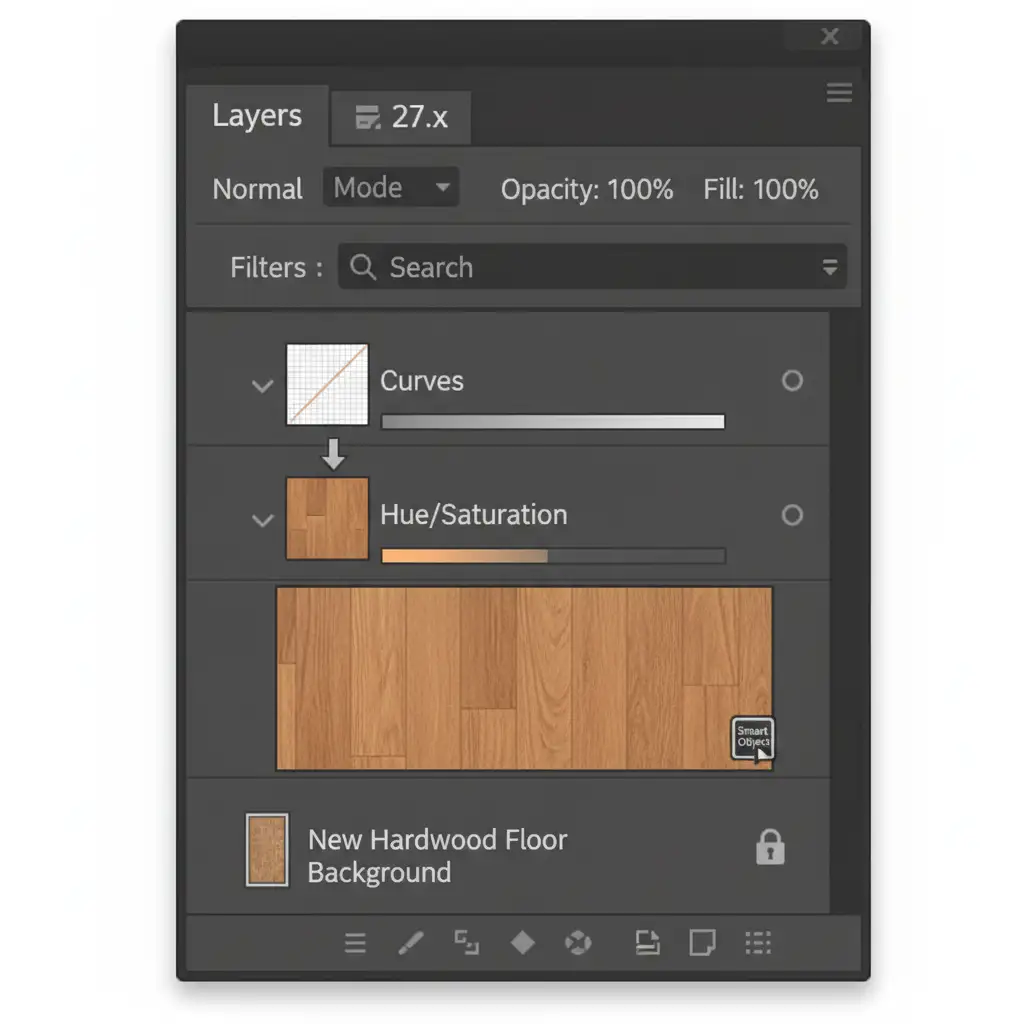
- Import your new flooring or cabinet texture and convert it into a Smart Object. This protects the original resolution.
- Use the Vanishing Point filter to lay the Smart Object out flat against your perspective grid.
- Duplicate the original background layer, desaturate it, and crush the levels to create a high-contrast black-and-white image. Save this as a separate .psd file.
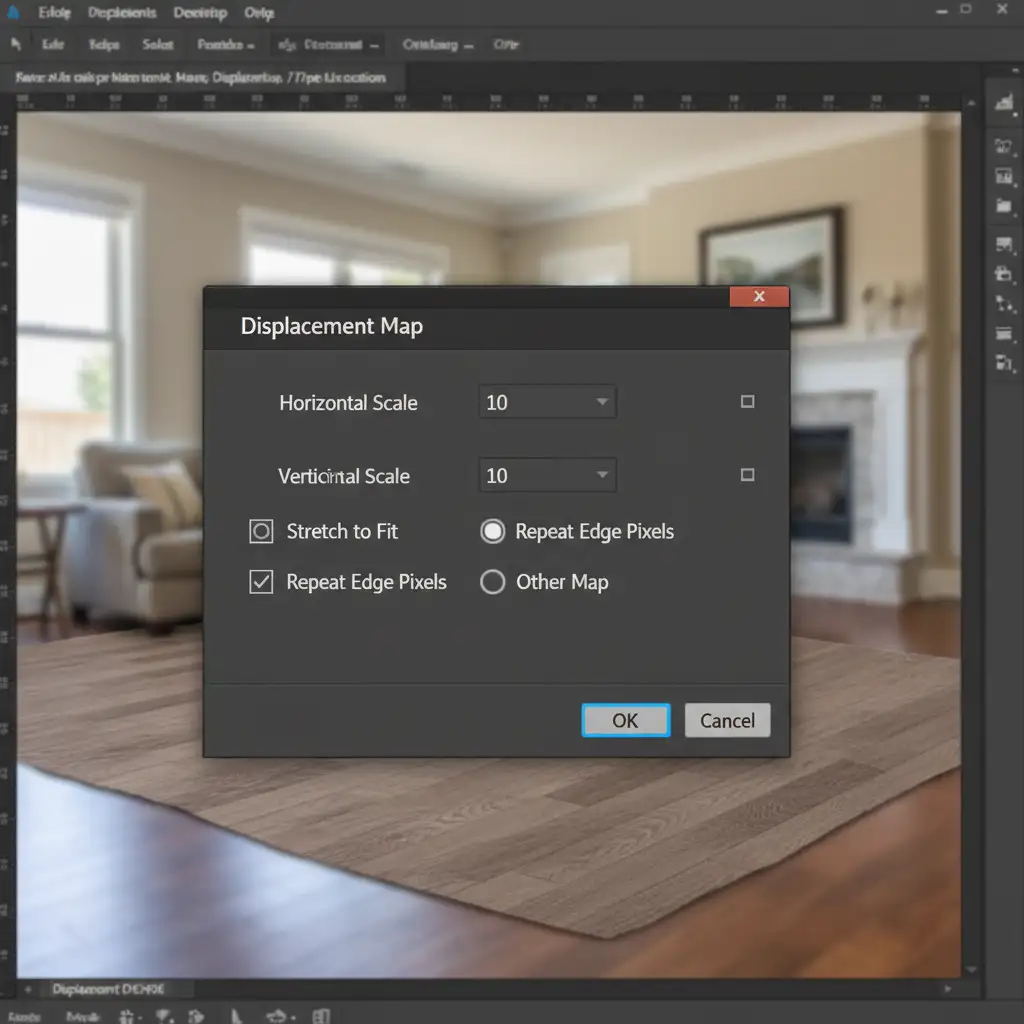
- Apply Filter > Distort > Displace to your new texture layer, loading the black-and-white .psd you just created.
This displacement map forces your pristine new texture to wrap around the microscopic bumps, carpet grooves, or structural imperfections of the original room, instantly grounding it in reality.
Method C: The Technical Deep-Dive – Depth Mapping & Luminosity Masking
The biggest giveaway of a fake virtual renovation is flat lighting. To match the original directional light, you must build a custom lighting rig using the room’s actual depth data.
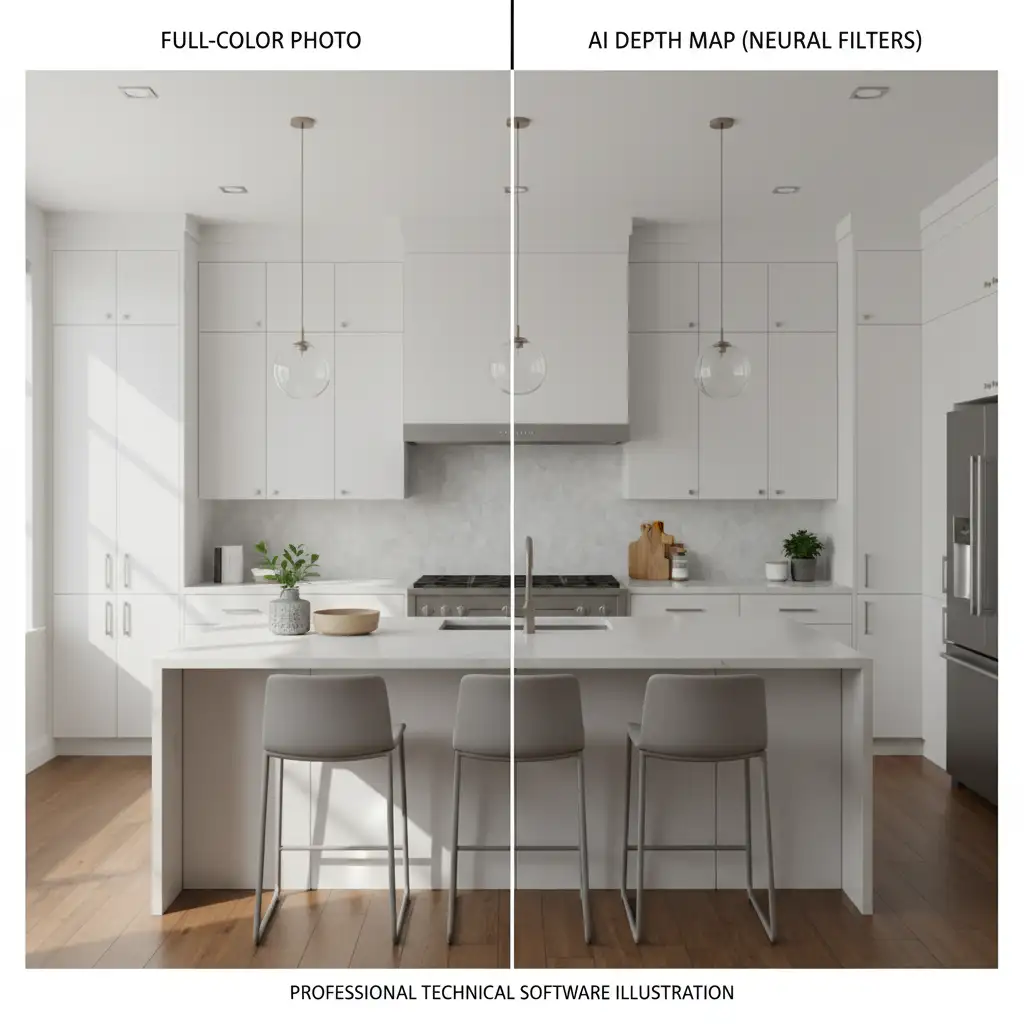
- Go to Filter > Neural Filters and activate the Depth Blur or dedicated Depth Mapping filter to extract a grayscale depth map of the room (where objects closer to the camera are white, and distant objects are black).
- Output this depth map as a new channel.
- Use this channel to generate precise luminosity masking selections.
- Apply Gradient Maps and localized exposure adjustments through these masks.
By tying your color grading and exposure tweaks directly to the AI-generated depth map, you ensure that shadows deepen naturally in the corners and highlights blow out correctly near the windows.
The Final Polish: Perspective Warp and Quality Control
Before exporting, always double-check your vertical lines. Use the Perspective Warp tool to ensure cabinets and newly placed kitchen islands sit perfectly plumb. The difference between a rejected proof and a finalized sale often comes down to these micro-adjustments in perspective and lighting.
Scale Your Real Estate Editing with Image Work India & Cloud Retouch
Meeting the real estate virtual renovation 2026 standards requires a deep understanding of perspective geometry, 3D texturing, and advanced Photoshop techniques. Executing Method C perfectly can take hours for a single room-time that high-volume real estate photographers simply do not have.
If you want to deliver hyper-realistic, jaw-dropping virtual staging and renovations without the tedious manual labor, let our experts handle the heavy lifting. At Image Work India and Cloud Retouch, our dedicated teams specialize in complex architectural retouching, ensuring perfect lighting, flawless perspective, and seamless texture integration on every single image.
Stop losing hours to the uncanny valley. [Contact Image Work India and Cloud Retouch today] to outsource your virtual renovations and scale your real estate photography business faster.