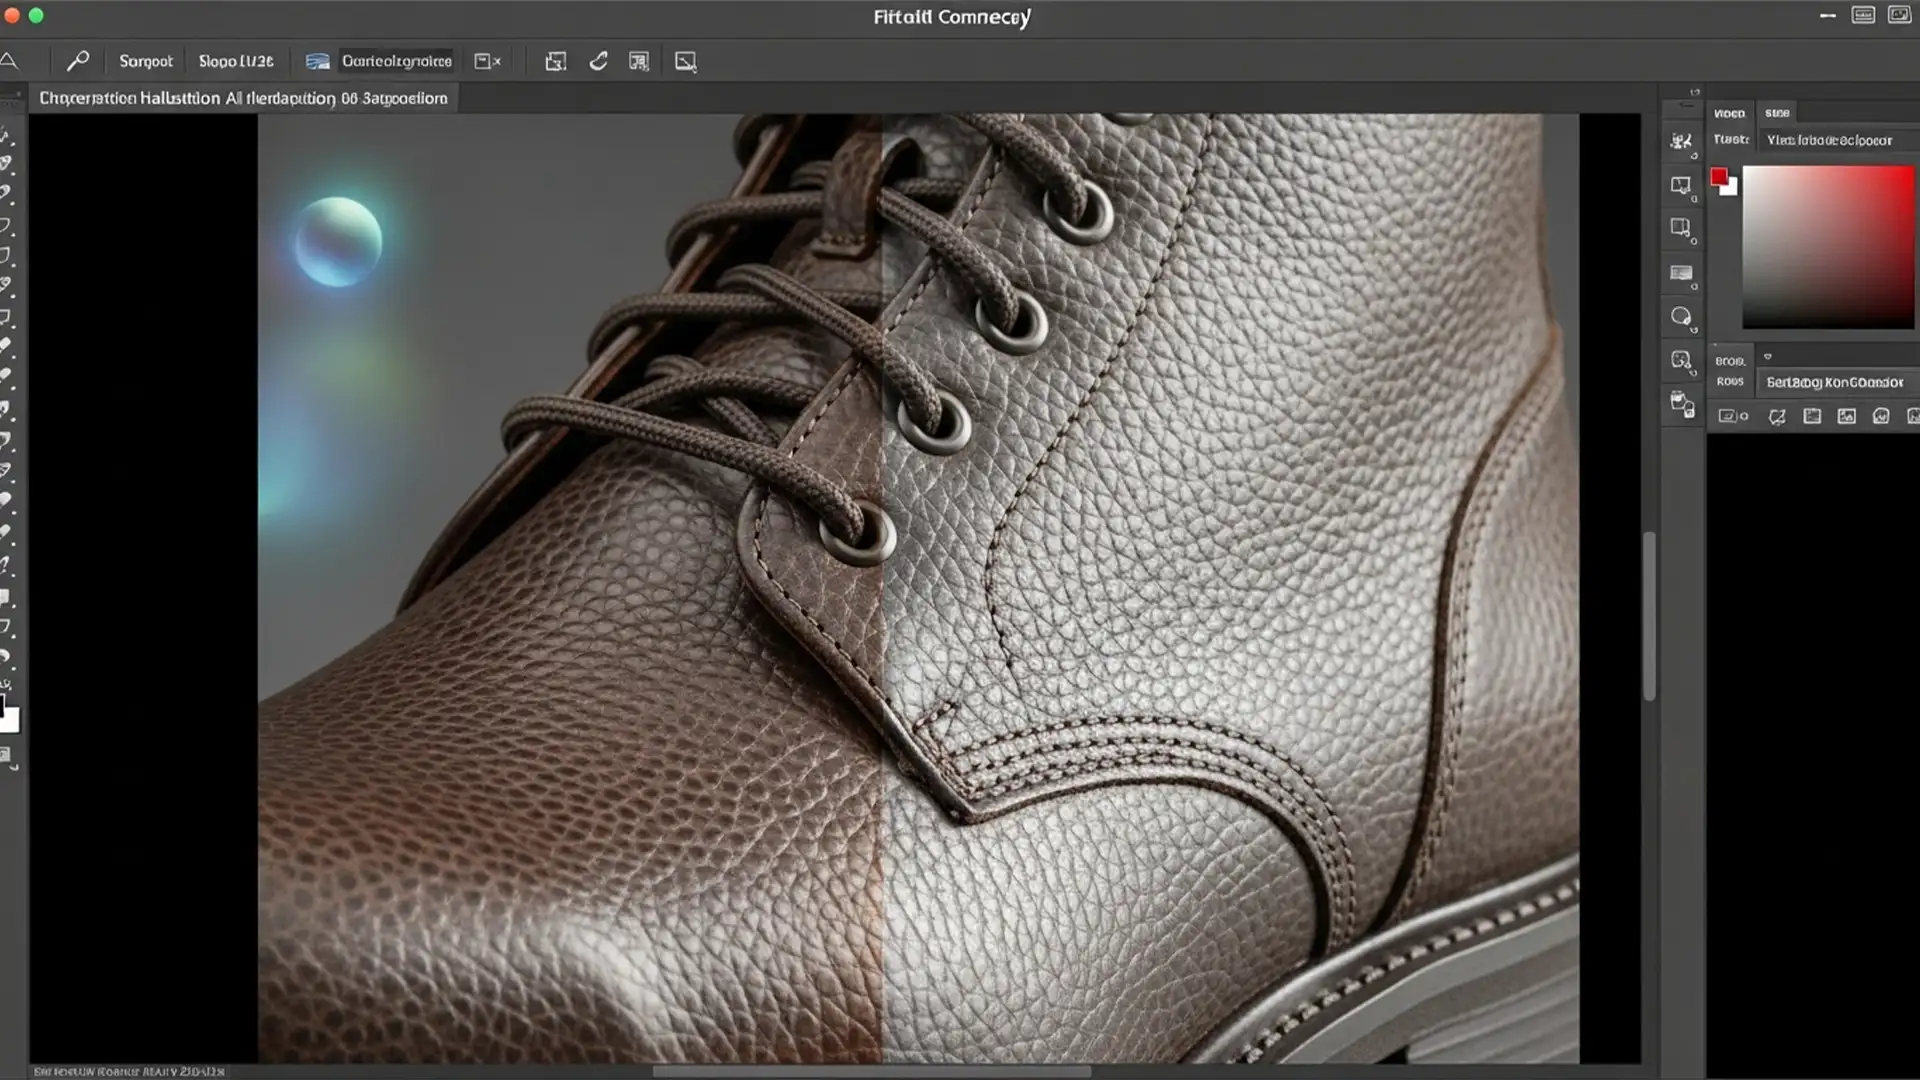
You are editing a high-end leather bag or finely woven fabric for an e-commerce campaign. You use Photoshop’s Generative Fill to extend the canvas or swap the background. The new environment looks incredible, but your product’s edges are ruined. The AI has blended the pixels, causing texture hallucination and blurring away the commercial fidelity you worked so hard to capture.
If you are struggling to preserve product texture in generative fill, you are not alone. In Photoshop v25.x and later, maintaining intricate details like leather grains or metallic brushing requires more than a text prompt. Here is exactly how to stop AI from degrading your high-resolution product photography.
Why Photoshop Generative Fill Destroys Edge Textures
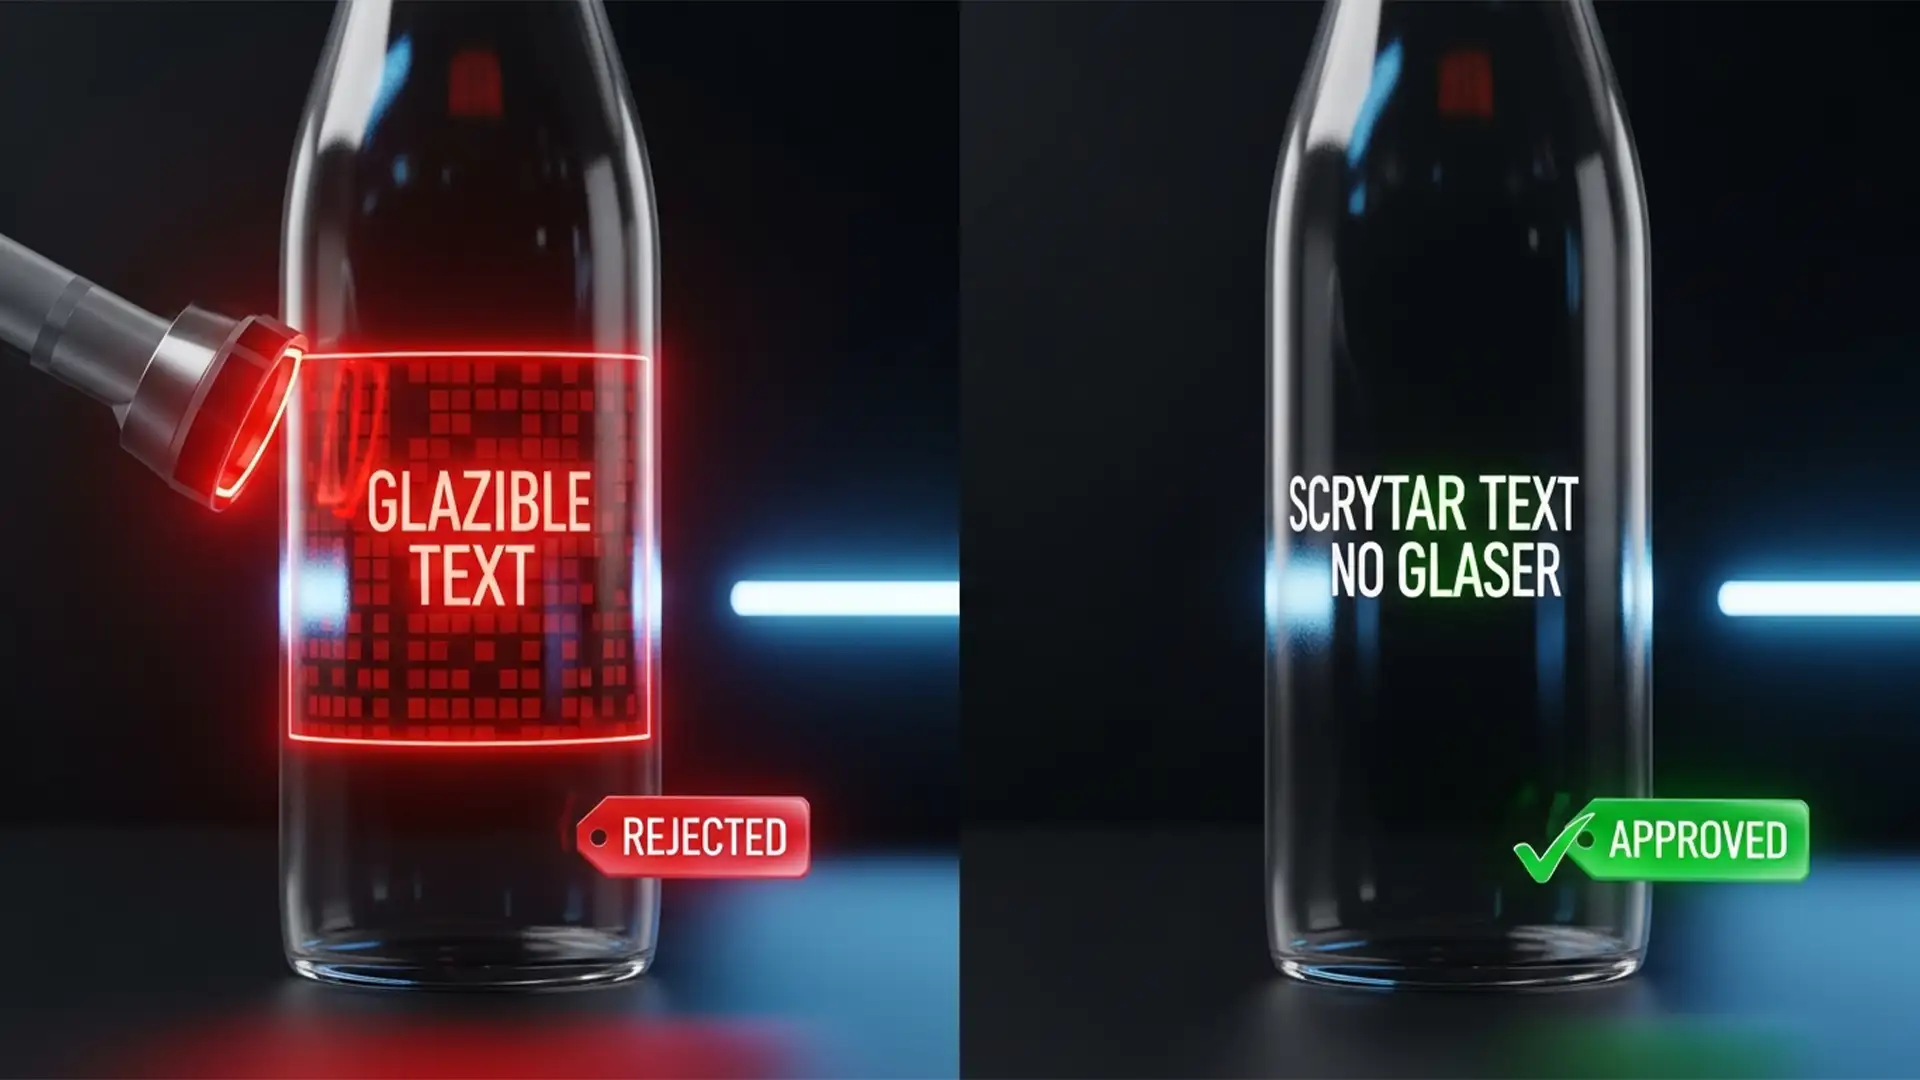
When Photoshop generates a new background, it attempts to blend the new pixels seamlessly with your existing image. While this is great for landscapes, it is disastrous for e-commerce photography. The AI analyzes the boundary edges and often smooths out high-frequency detail—the micro-textures that make fabrics look real and metals look reflective.
This results in a phenomenon known as AI hallucination, where the software invents soft, plastic-looking pixels at the product’s edge. To maintain professional standards, you must force Photoshop to separate the background generation from the physical product texture.
Method A: The Quick Fix (Selection Expansion)
If you are dealing with a product that has relatively smooth edges but complex internal textures, preventing the marching ants from touching the product is your first line of defense.
Step-by-Step Selection Workflow
- Open your image and select the Object Selection Tool.
- Click Select Subject in the top options bar.
- Navigate to Select > Modify > Expand and expand the selection by 1 to 2 pixels.
- Navigate to Select > Inverse (or press Shift + Ctrl + I).
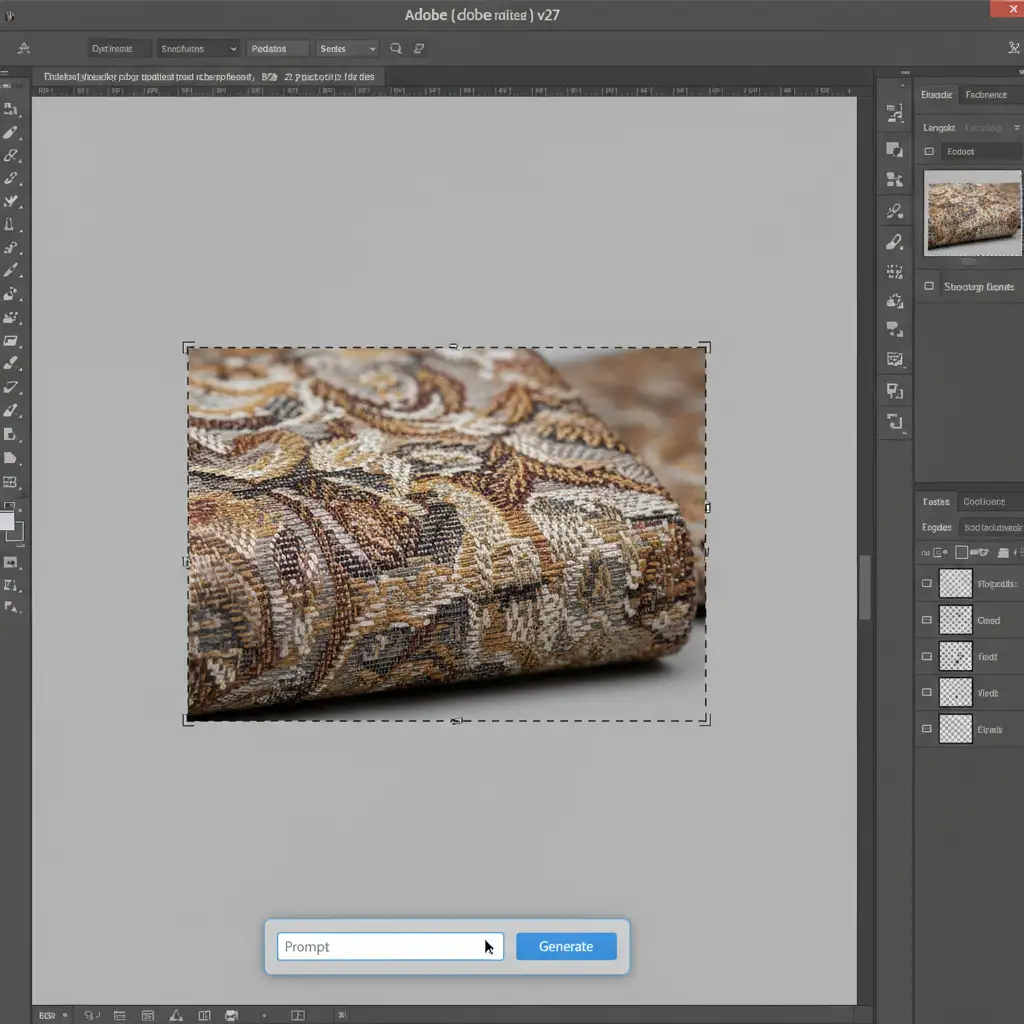
- Click on the Generative Fill taskbar, enter your prompt, and generate.
By expanding the selection slightly outward before inverting, you force the AI to generate the background outside the actual product boundary, leaving the original edge pixels untouched.
Method B: The Pro Workaround (Layer Masking)
For products with complex silhouettes—like frayed denim or jewelry—Method A isn’t enough. You need to isolate the product completely and overlay it on top of the AI-generated background.
Executing the Layer Overlay
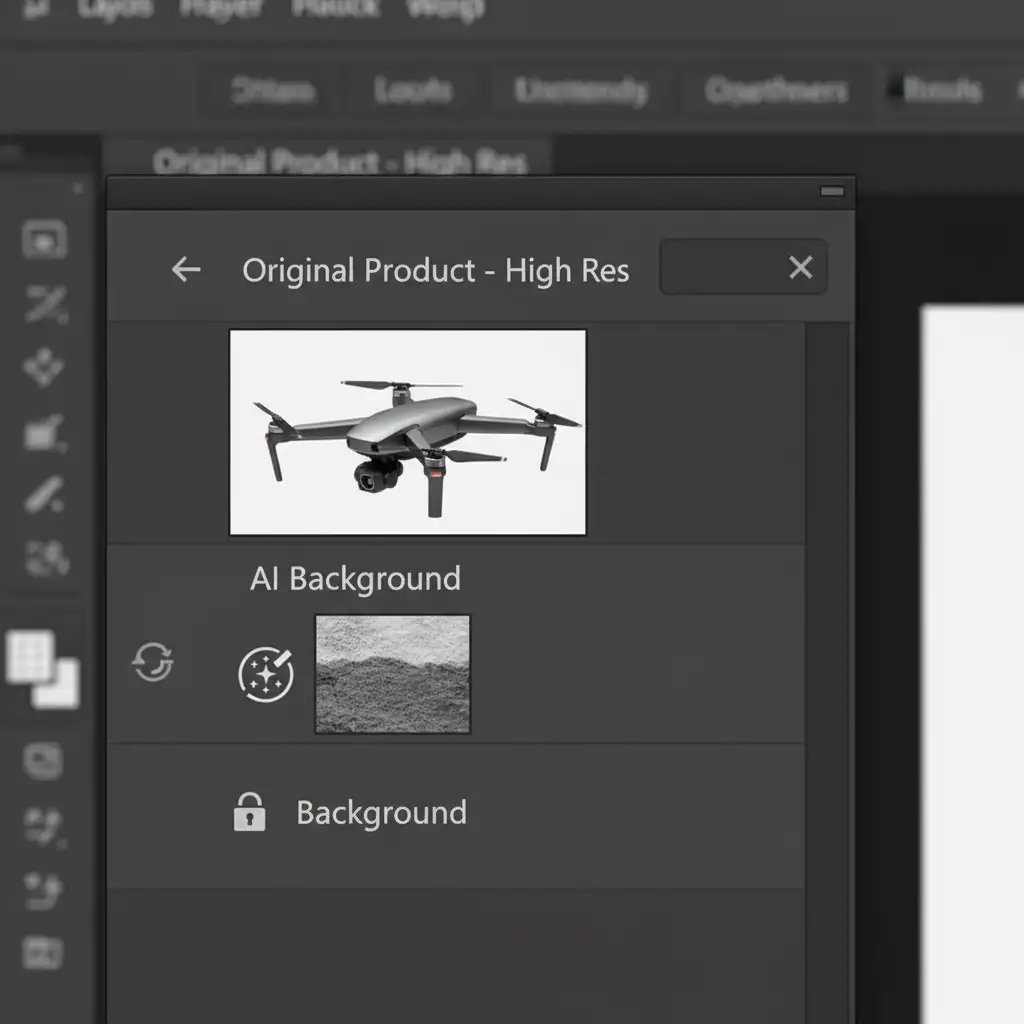
- Before using Generative Fill, duplicate your original background layer (Ctrl + J).
- Move this duplicated layer to the very top of your layer stack.
- Hide the top layer temporarily, and run your Generative Fill on the layers below to create your new background.
- Turn the top layer back on. Use Select Subject and apply a precise layer mask or vector mask to isolate the product.
- Open the Select and Mask workspace to apply precise edge refinement, ensuring no background halos remain.
Because your pristine, untouched original product is sitting on top of the AI layer, the Generative Fill artifacts are completely hidden beneath it.
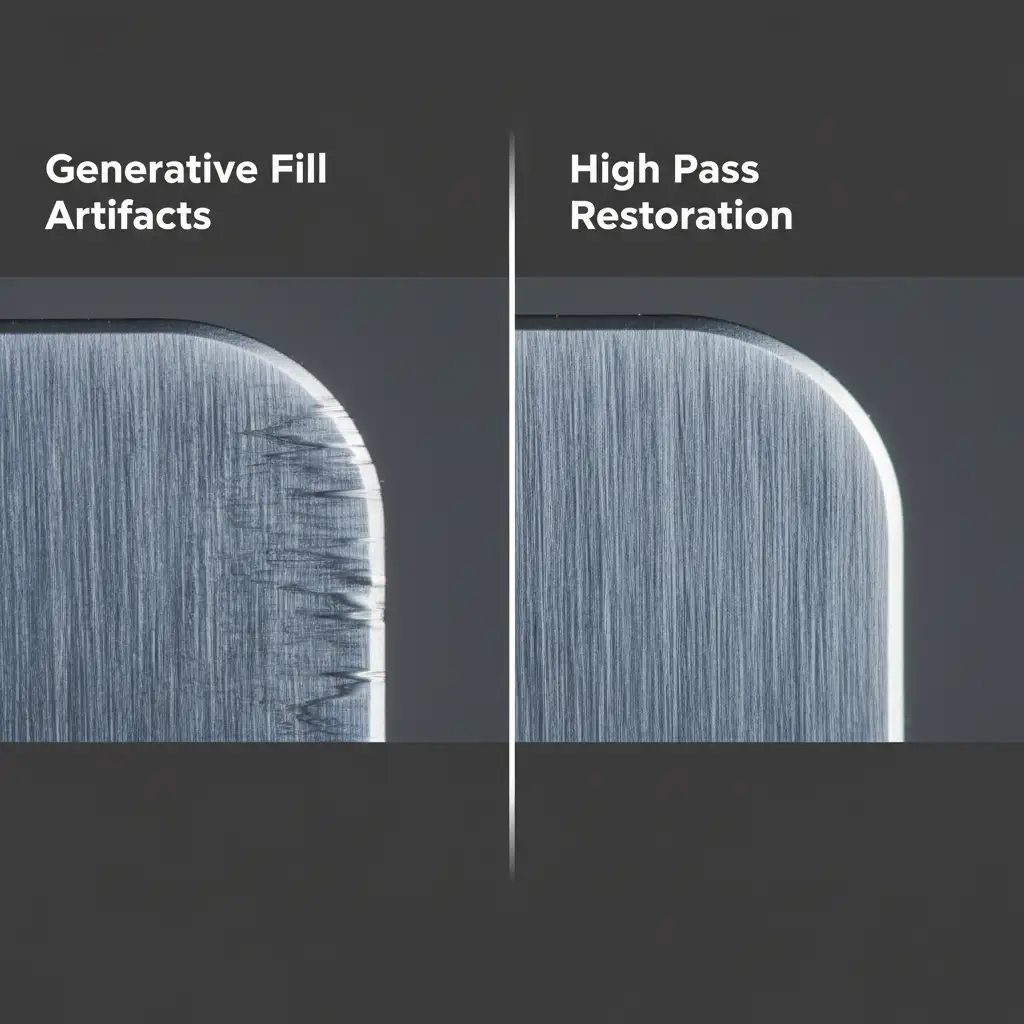
Method C: The Technical Deep-Dive (Frequency Separation for Micro-Textures)
Sometimes, you need the AI background to interact with the product edge (e.g., generating realistic shadows or reflections), but you still want to retain the high-frequency detail of the product’s surface. This requires using a High Pass filter.
Restoring Detail with Blend Modes
- Generate your new background using Generative Fill.
- Duplicate your original, unedited product layer and bring it to the top of the stack.
- Desaturate this top layer (Shift + Ctrl + U).
- Go to Filter > Other > High Pass. Adjust the radius until you only see the fine textures (usually between 1.5px and 3.0px).
- Change the blend mode of this High Pass layer to Linear Light or Overlay.
- Clip this layer (Alt-click between layers) to your masked product layer, or mask it so it only affects the edges where the AI blurred the texture.
This technique forces the original micro-texture back over the AI-generated edge. The AI background provides the lighting and color blending, while the High Pass layer provides the physical texture.
Scale Your E-Commerce Editing with Image Work India & Cloud Retouch
Learning to preserve product texture in Generative Fill requires a deep understanding of layer masks, edge refinement, and frequency separation. When you are processing hundreds or thousands of SKUs for an e-commerce catalog, manually applying High Pass filters and vector masks to every single image simply isn’t scalable.
Don’t let AI hallucinations ruin your brand’s commercial fidelity. Image Work India and Cloud Retouch specialize in high-volume, pixel-perfect e-commerce image editing. Our expert retouchers combine the speed of AI with the precision of manual masking to deliver flawless background replacements and premium texture preservation.
Ready to eliminate AI artifacts and showcase your products in stunning detail? Contact Image Work India and Cloud Retouch today to streamline your post-production workflow.