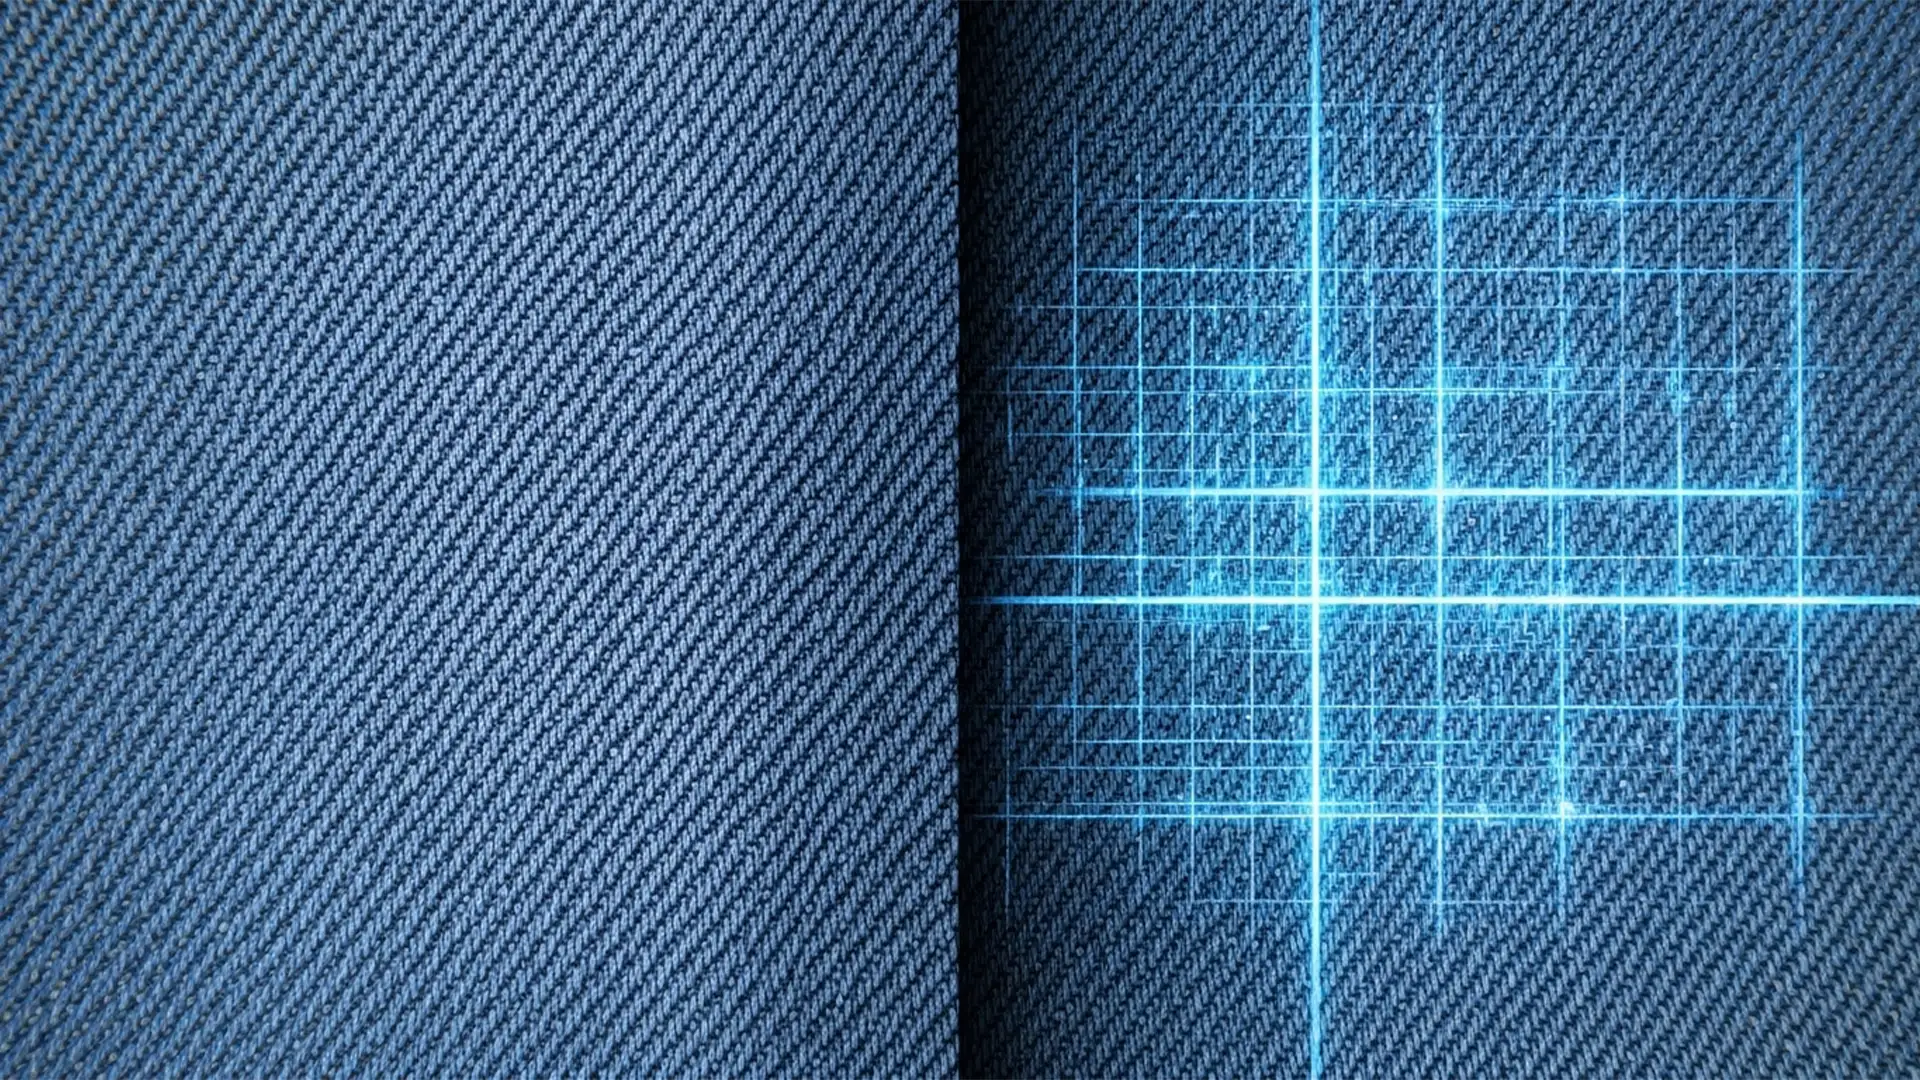
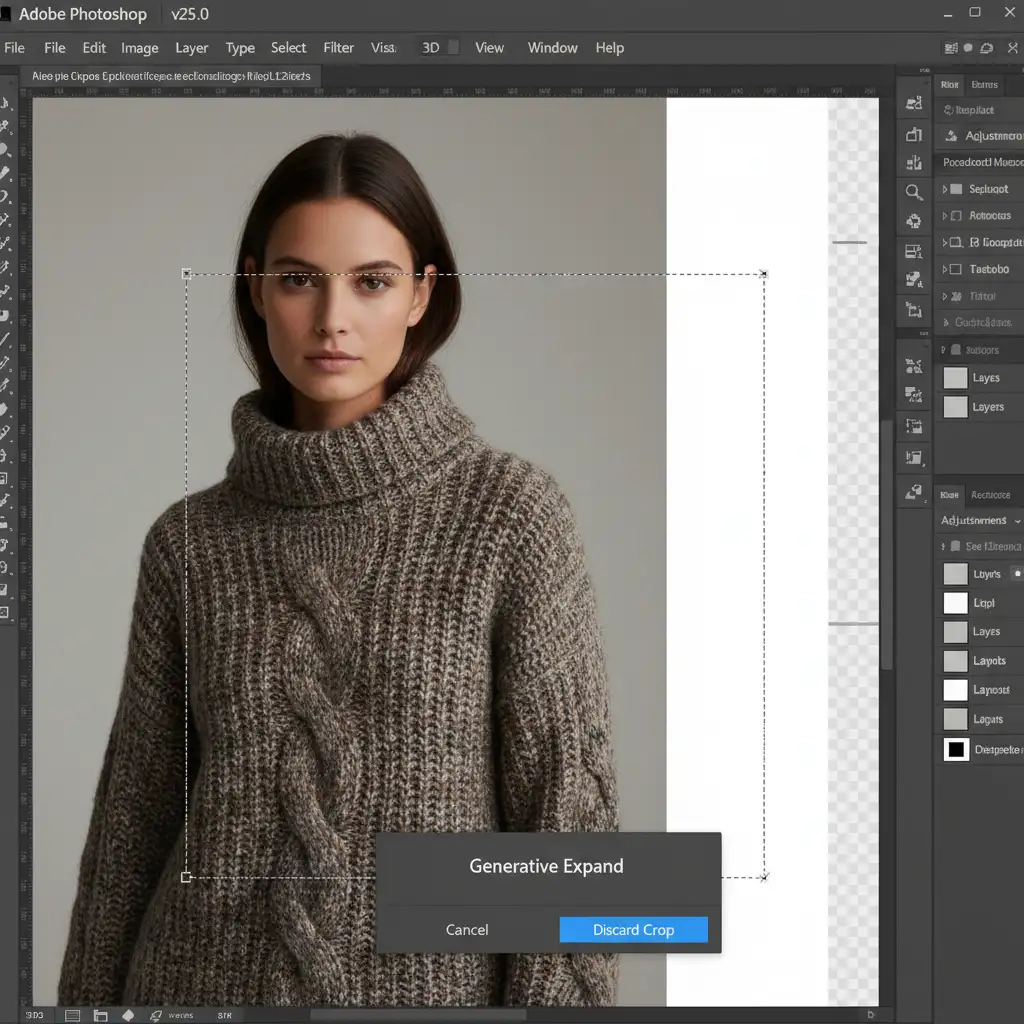
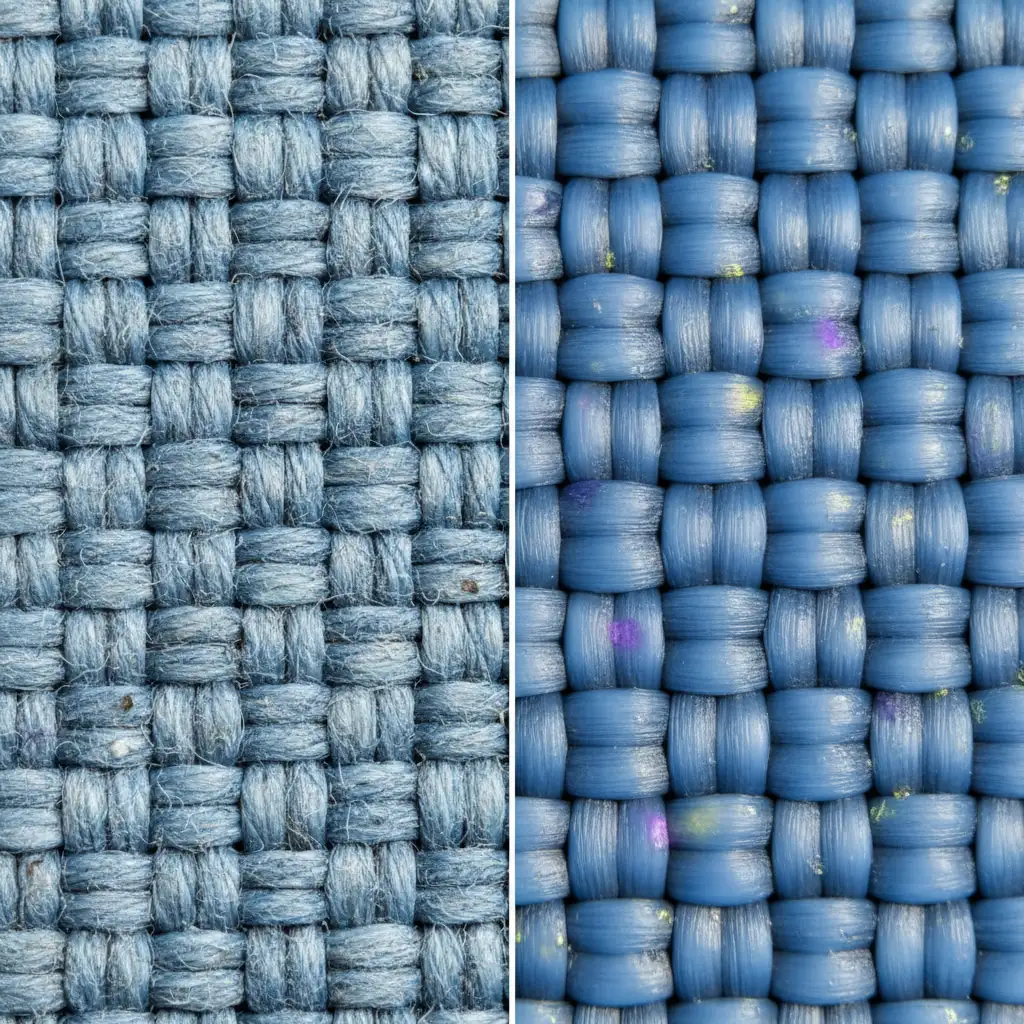
You’ve just executed the perfect editorial fashion shoot, but the client needs the canvas extended for a wide banner layout. You fire up Photoshop v25.0, drag the Crop Tool, and hit Generative Expand. The structure looks fine, but upon closer inspection, the intricate silk or denim weave has turned into a smooth, synthetic blur.
This “pixel hallucination” happens because of a native resolution mismatch. The Adobe Firefly Image 3 engine processes generation in 1024×1024 pixel chunks, which inherently downsamples and destroys microscopic fabric grain. For high-end fashion retouchers, this loss of detail is unacceptable.
If you want professional results, you cannot rely on AI alone. Here is the definitive, step-by-step guide to preserving fabric texture in generative expansion without sacrificing the authentic, organic feel of the original garment.
The Problem: Why Generative AI Destroys High-Frequency Details
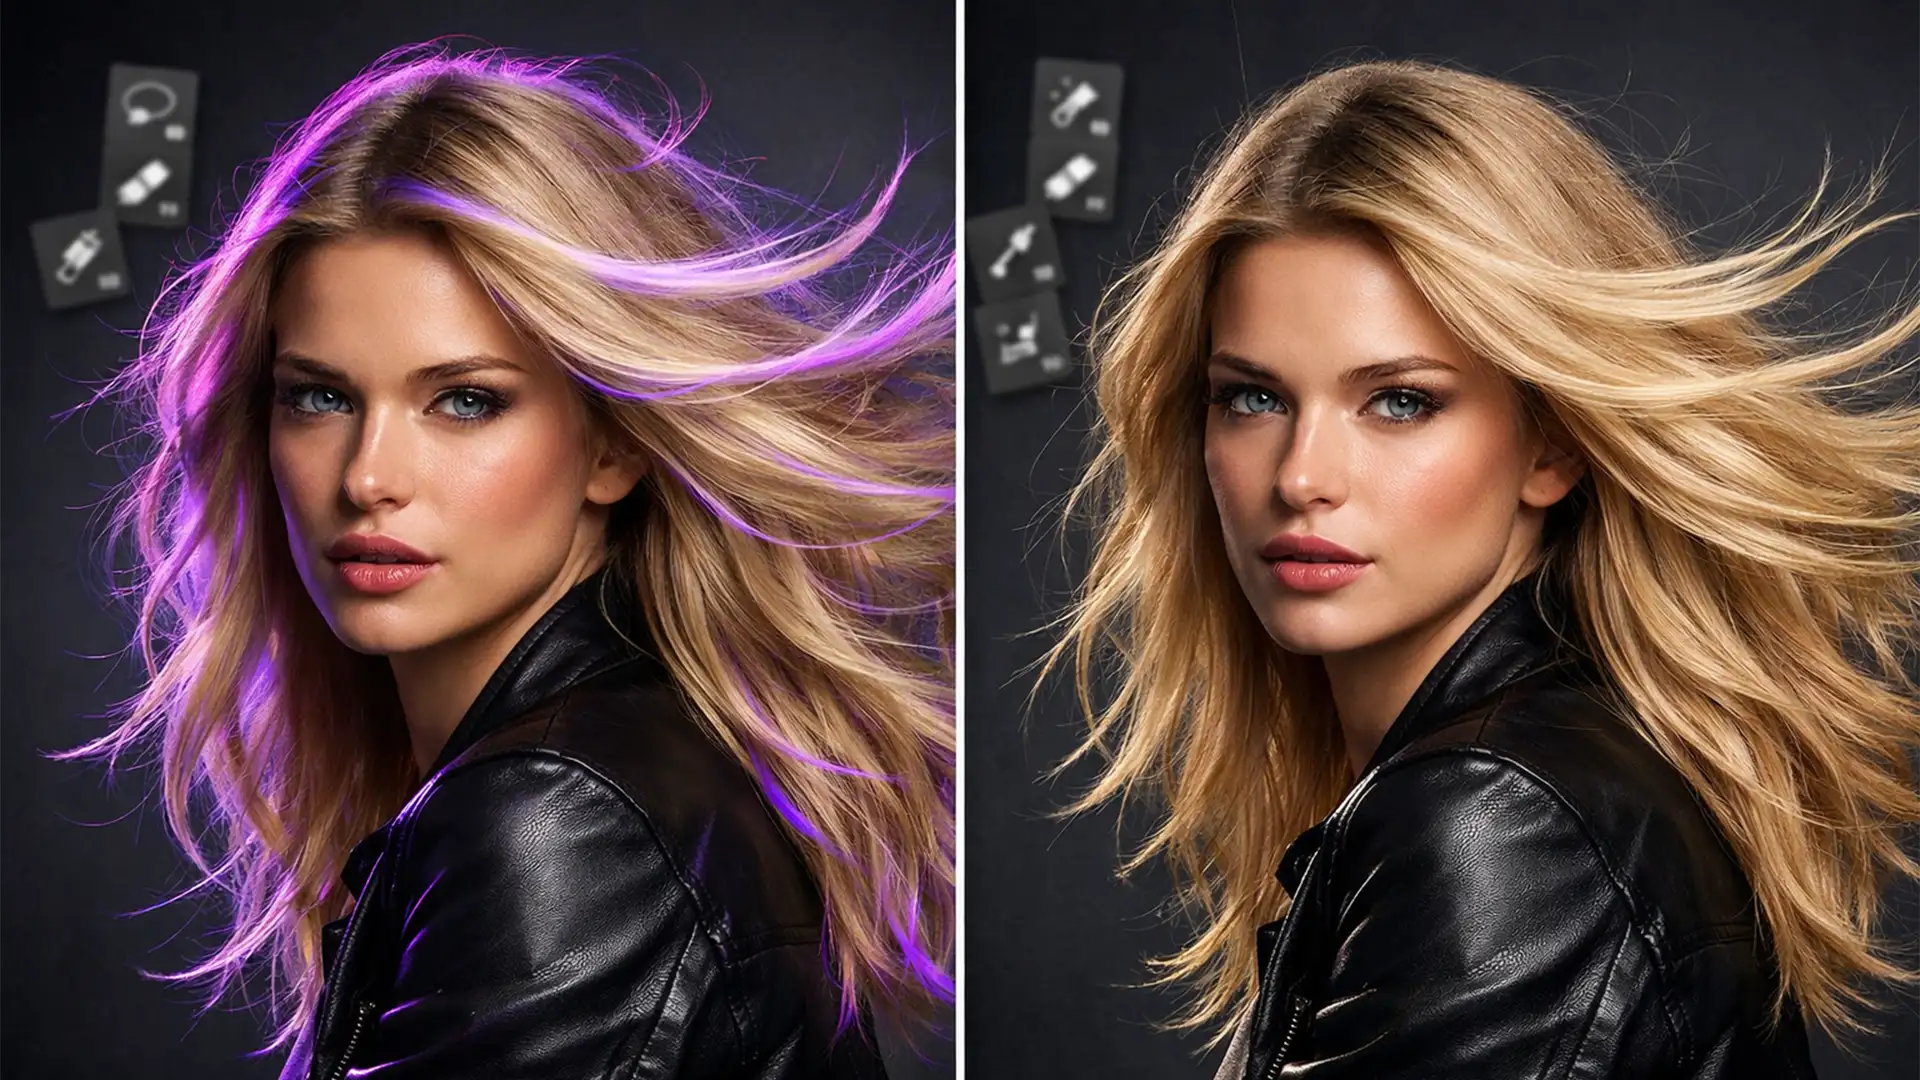
Generative models are incredible at understanding color, lighting, and structure, but they struggle immensely with high-frequency details-the microscopic, sharp variations in an image like pores, hair, and macro weave patterns.
When you extend an uncompressed raw plate, the AI attempts to guess the texture but ultimately paints a smoothed-over approximation.
3 Professional Methods for Preserving Fabric Texture in Generative Expand
To fix this, we need a hybrid approach. We will use the AI for what it does best (building base color and structural folds) and manual retouching techniques for what we do best (texture mapping).
Method 1: The Quick Fix (Micro-Expansions & Prompt Engineering)
If the fabric texture isn’t overly complex, you can force the AI to prioritize granular details by changing how you prompt and crop.
- Do not expand the entire canvas at once. The 1024×1024 limitation means a massive expansion stretches those generated pixels across a wider area. Instead, expand in smaller, overlapping increments.
- Use highly descriptive prompts. Never leave the Generative Fill taskbar blank when dealing with textiles. Type specific material descriptors like “macro denim weave texture” or “fine silk grain.”

Method 2: The Pro Workaround (Frequency Separation Overlay)
For luxury fashion campaigns, prompt engineering isn’t enough. You must manually transplant the real texture onto the synthetic pixels using Frequency Separation.
- Run your Generative Expand to create the base color and structural folds of the garment.
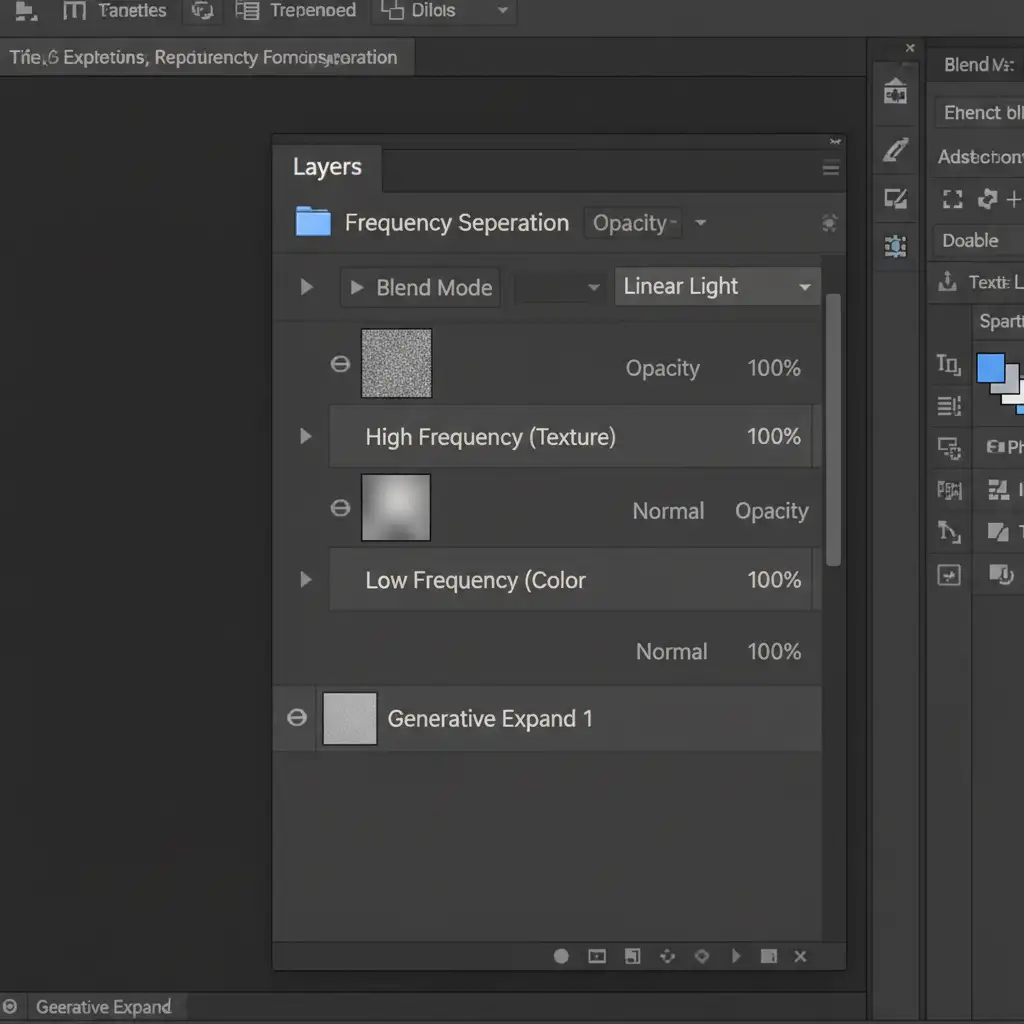
- Flatten a copy of your original image and run your standard Frequency Separation action (separating the image into a Low-Frequency color layer and a High-Frequency texture layer).
- Target the High-Frequency (Texture) layer from the original, authentic fabric.
- Using the Clone Stamp tool (Sample: Current Layer), carefully clone the real macro weave pattern over the AI-generated area.
- Ensure this cloned texture layer is set to the Linear Light blend mode.
Because you are only cloning the texture (and not the color), the authentic weave wraps perfectly over the AI-generated folds and shadows.
Method 3: The Technical Deep-Dive (Displacement Maps)
When dealing with complex drapery or heavy knits, cloned texture can look flat if it doesn’t follow the physics of the folds. We solve this using a Displacement map.
- Convert your newly generated AI expansion layer into Smart Objects.
- Open the original unedited fabric image in a new document. Desaturate it and crush the levels to create a high-contrast black-and-white map of the fabric’s peaks and valleys. Save this as a .PSD file.
- Go back to your working document. Select your AI-generated fabric layer and go to Filter > Distort > Displace.
- Select the .PSD you just saved. This will warp the synthetic pixels to mimic the mathematical depth of the real fabric.
The Final Polish: Bridging Synthetic and Organic Pixels
Even after applying the correct macro weave pattern, the AI-generated area will still lack the organic noise of your camera’s sensor.
To bridge the gap, merge your layers on top (Ctrl+Alt+Shift+E / Cmd+Opt+Shift+E) and open the Camera Raw Filter. Navigate to the Effects tab and add a precise amount of Camera Raw grain. By applying a uniform layer of organic noise across both the original plate and the expanded canvas, you completely disguise the seam where the AI takes over.

Flawless Fashion Retouching with Image Work India
Preserving fabric texture in generative expansion requires a deep understanding of pixel behavior, frequency separation, and advanced compositing. While AI is a powerful starting point, it takes a master’s touch to achieve the pixel-perfect standards required for luxury editorial spreads and high-end e-commerce.
Struggling to maintain luxury fabric details in your editorial campaigns? Don’t let technical limitations slow down your creative output. Let the master retouchers at Image Work India and Cloud Retouch handle your high-end fashion editing.
Our team specializes in complex texture matching, seamless background extensions, and flawless garment retouching. Contact us today to elevate your fashion imagery with invisible, pixel-perfect retouching.