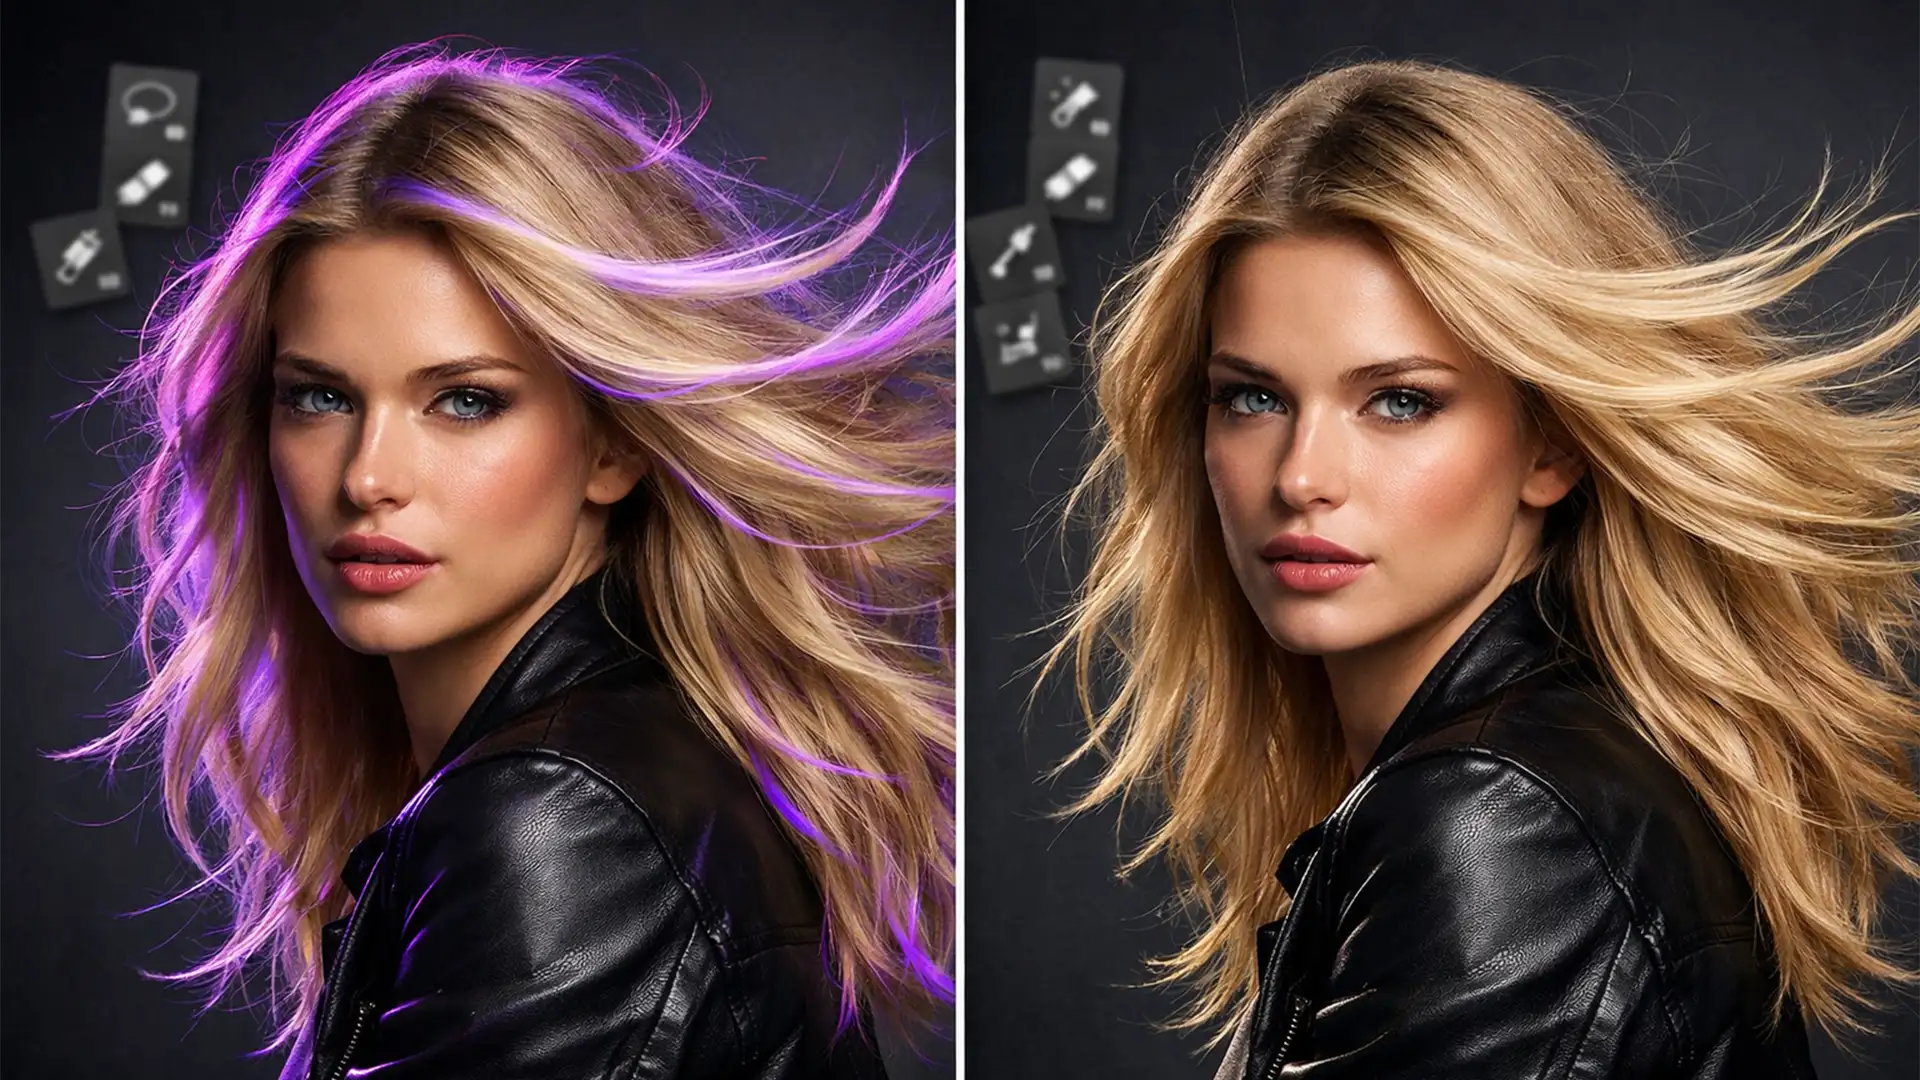
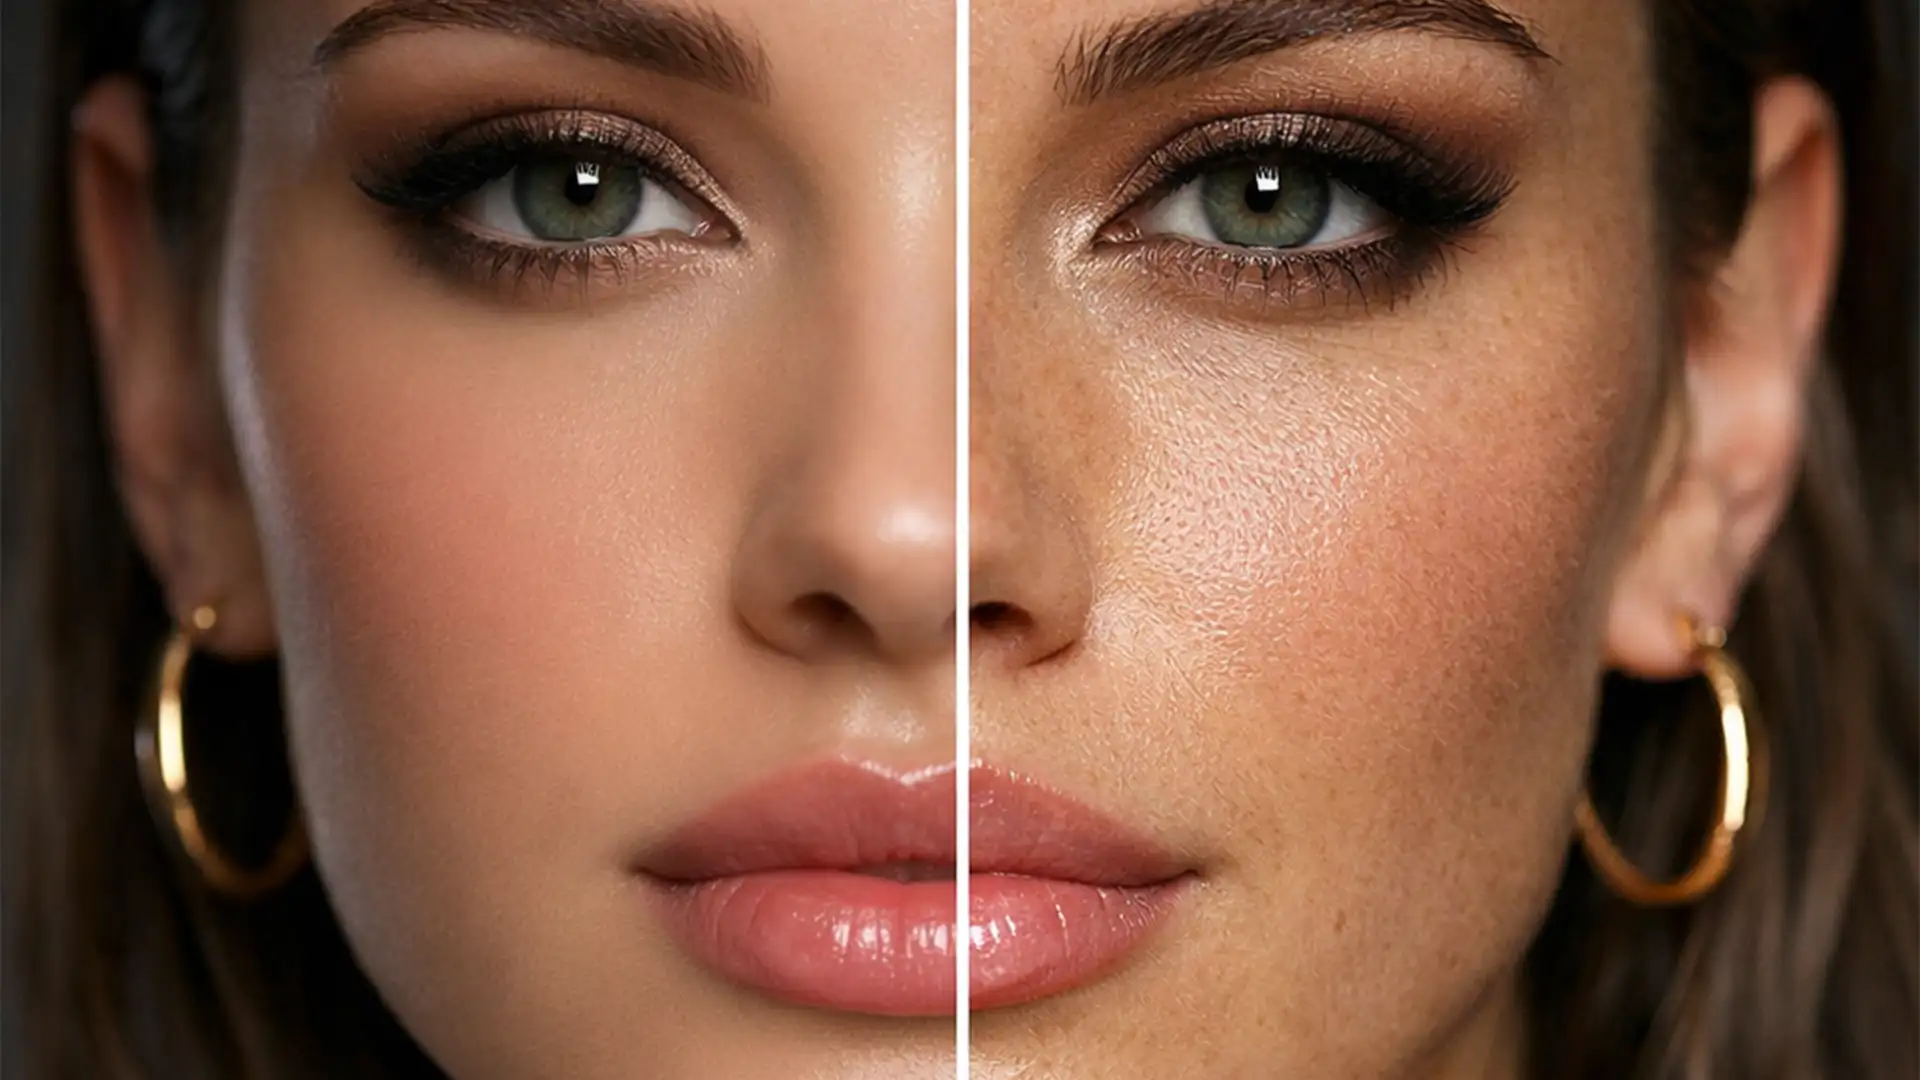
AI auto-retouching plugins like Photoshop’s Neural Filters, Evoto, and Retouch4me can save you hours of tedious healing and cloning. But they come with a massive, frustrating drawback: the dreaded “plastic skin” effect. AI algorithms frequently mistake natural skin pores and micro-contrast for noise or blemishes, aggressively smoothing them out into an uncanny valley of fake, doll-like perfection. You lose all the high-frequency detail while keeping the low-frequency color data. If you are struggling with fixing AI skin texture distortion, you are not alone. Here is how professional retouchers restore natural skin grain and rescue over-processed portraits.
The Problem: Why AI Retouching Causes “Plastic Skin”
When you run a portrait through an AI skin-smoothing algorithm, the software analyzes the image to remove imperfections. However, current AI models struggle to differentiate between an unwanted blemish and the natural, organic texture of human skin.
The result is a severe loss of high-frequency detail—the mathematical layer of an image that contains edges, pores, and fine textures. Meanwhile, the low-frequency data (color, tone, and shadows) remains intact. This imbalance creates a visual disconnect, often leading to color banding and an artificial appearance that screams “photoshopped.”
3 Professional Methods for Fixing AI Skin Texture Distortion
To fix this, we need to utilize non-destructive editing techniques to either generate synthetic noise or extract the original skin texture and blend it back over the AI-processed layer.
Method 1: The Quick Fix (Adding Synthetic Noise)
If you don’t have the original high-resolution texture to fall back on, you can bridge the uncanny valley by generating synthetic, organic-looking grain. This breaks up the artificial smoothness.
- Create a Gray Fill Layer: Add a new layer above your AI-retouched layer. Fill it with 50% Gray (Shift + F5).
- Change Blend Mode: Set this layer’s blending mode to Soft Light or Overlay. The gray will become invisible.
- Generate Noise: Go to Filter > Noise > Add Noise. Select Uniform and Monochromatic. Set the amount to 2-4% depending on your image resolution.
- Soften the Grain: Raw noise looks digital. Apply a slight Gaussian Blur (Filter > Blur > Gaussian Blur) with a radius of 0.3px to 0.5px. This softens the digital noise into realistic, photographic film grain.
Method 2: The Pro Workaround (High Pass Texture Extraction)
For high-end beauty retouching, synthetic noise isn’t enough. You need the subject’s actual pores. This method extracts the original texture using a High Pass Filter and overlays it onto the AI-smoothed base.
- Duplicate the Original: Before running your AI retouching tool, duplicate your untouched background layer and drag it to the very top of your layer stack.
- Apply High Pass: Go to Filter > Other > High Pass. You want to isolate just the pores. A radius between 1.5px and 2.5px is usually perfect for high-resolution portraits. (Avoid going too high, or you’ll reintroduce the blemishes you tried to remove).
- Blend the Texture: Change this layer’s blend mode to Linear Light.
- Masking: Group the layer and add a black layer mask to hide the effect. Use a soft white brush to paint the original skin pores back only in the areas where the AI over-smoothed the skin, avoiding the eyes and lips. For advanced control, you can use luminosity masking to restrict the texture to midtones.

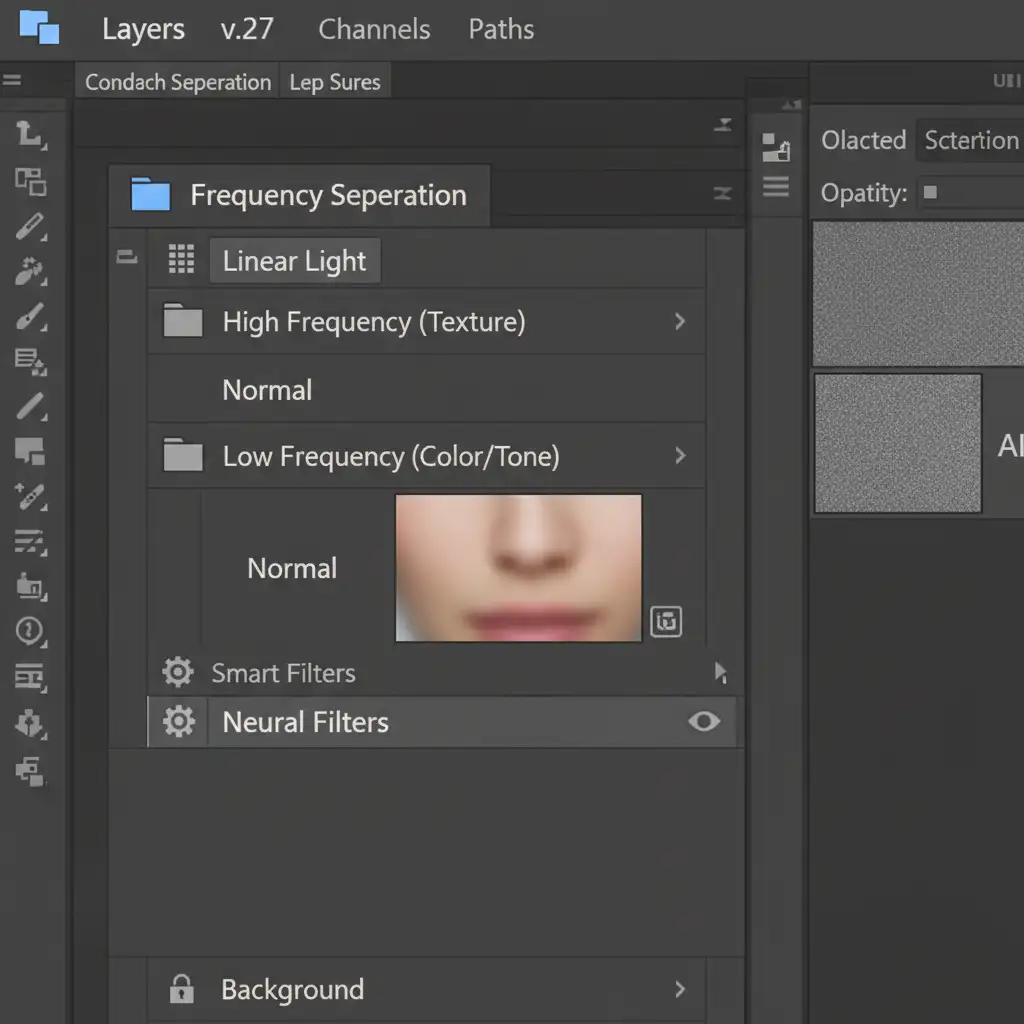
Method 3: The Technical Deep-Dive (Frequency Separation Integration)
The ultimate way to prevent AI skin texture distortion from happening in the first place is to combine AI tools with Frequency Separation. This workflow ensures the AI algorithm never even touches the skin texture.
- Separate the Frequencies: Run your standard Frequency Separation action to divide your image into a Low-Frequency layer (color/tone) and a High-Frequency layer (texture).
- Target the Color Data: Select only your Low-Frequency layer.
- Apply AI Retouching: Run your Neural Filters or third-party AI plugins exclusively on this Low-Frequency layer.
Because the AI is only processing the color transitions and tonal shifts, it will flawlessly even out blotchy skin tones. Meanwhile, your High-Frequency layer sits safely above it, remaining 100% mathematically intact. You get the speed of AI color correction with the flawless, organic texture of manual retouching.
Outsource Your High-End Retouching to the Experts
Fixing AI skin texture distortion requires a deep understanding of layer math, high-frequency data, and advanced masking. While these methods are highly effective, executing them flawlessly across hundreds of wedding photos, editorial spreads, or e-commerce catalogs is incredibly time-consuming.
Struggling to balance AI speed with high-end magazine quality? Let the expert retouchers at Image Work India and Cloud Retouch handle your bulk edits. Our dedicated team specializes in advanced, non-destructive retouching workflows that preserve natural skin grain while delivering flawless, professional results. We provide the organic, high-end finish that algorithms simply can’t match.
Contact Image Work India today to elevate your portfolio and get your time back.