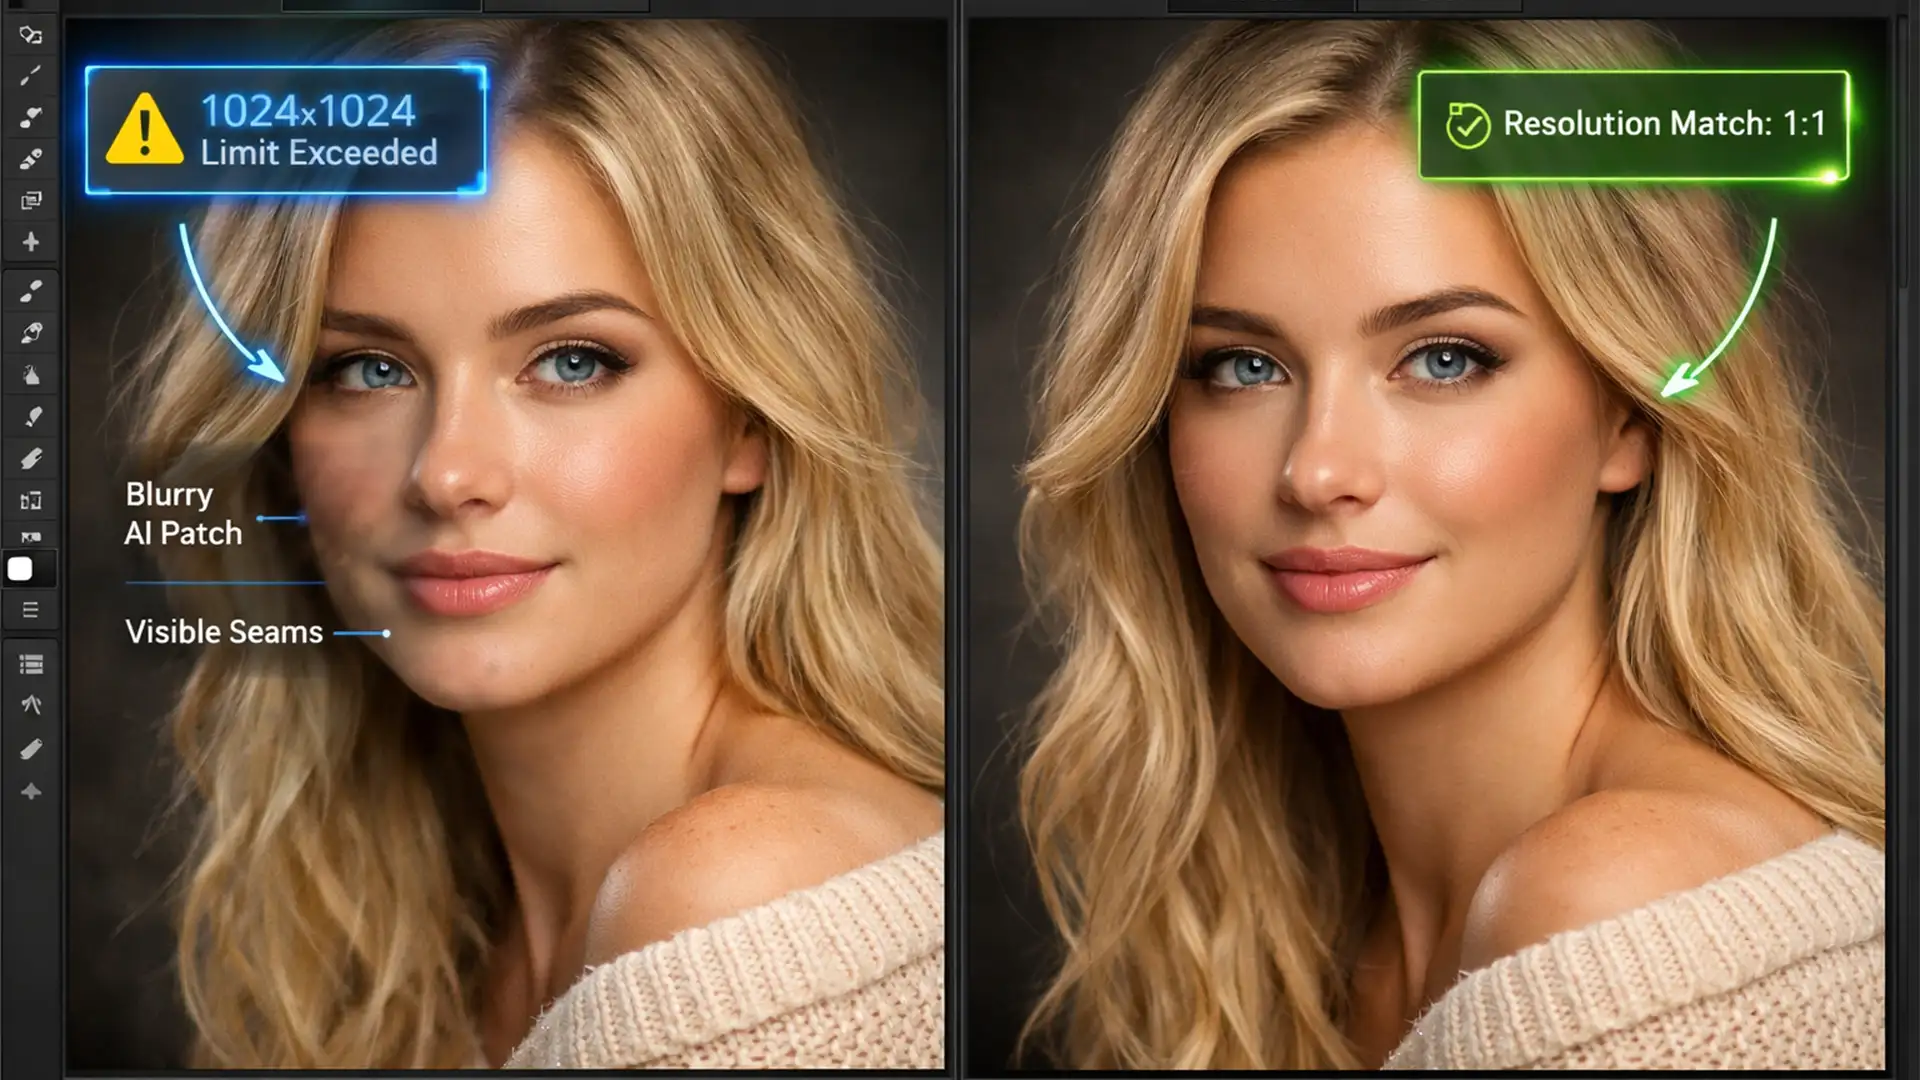
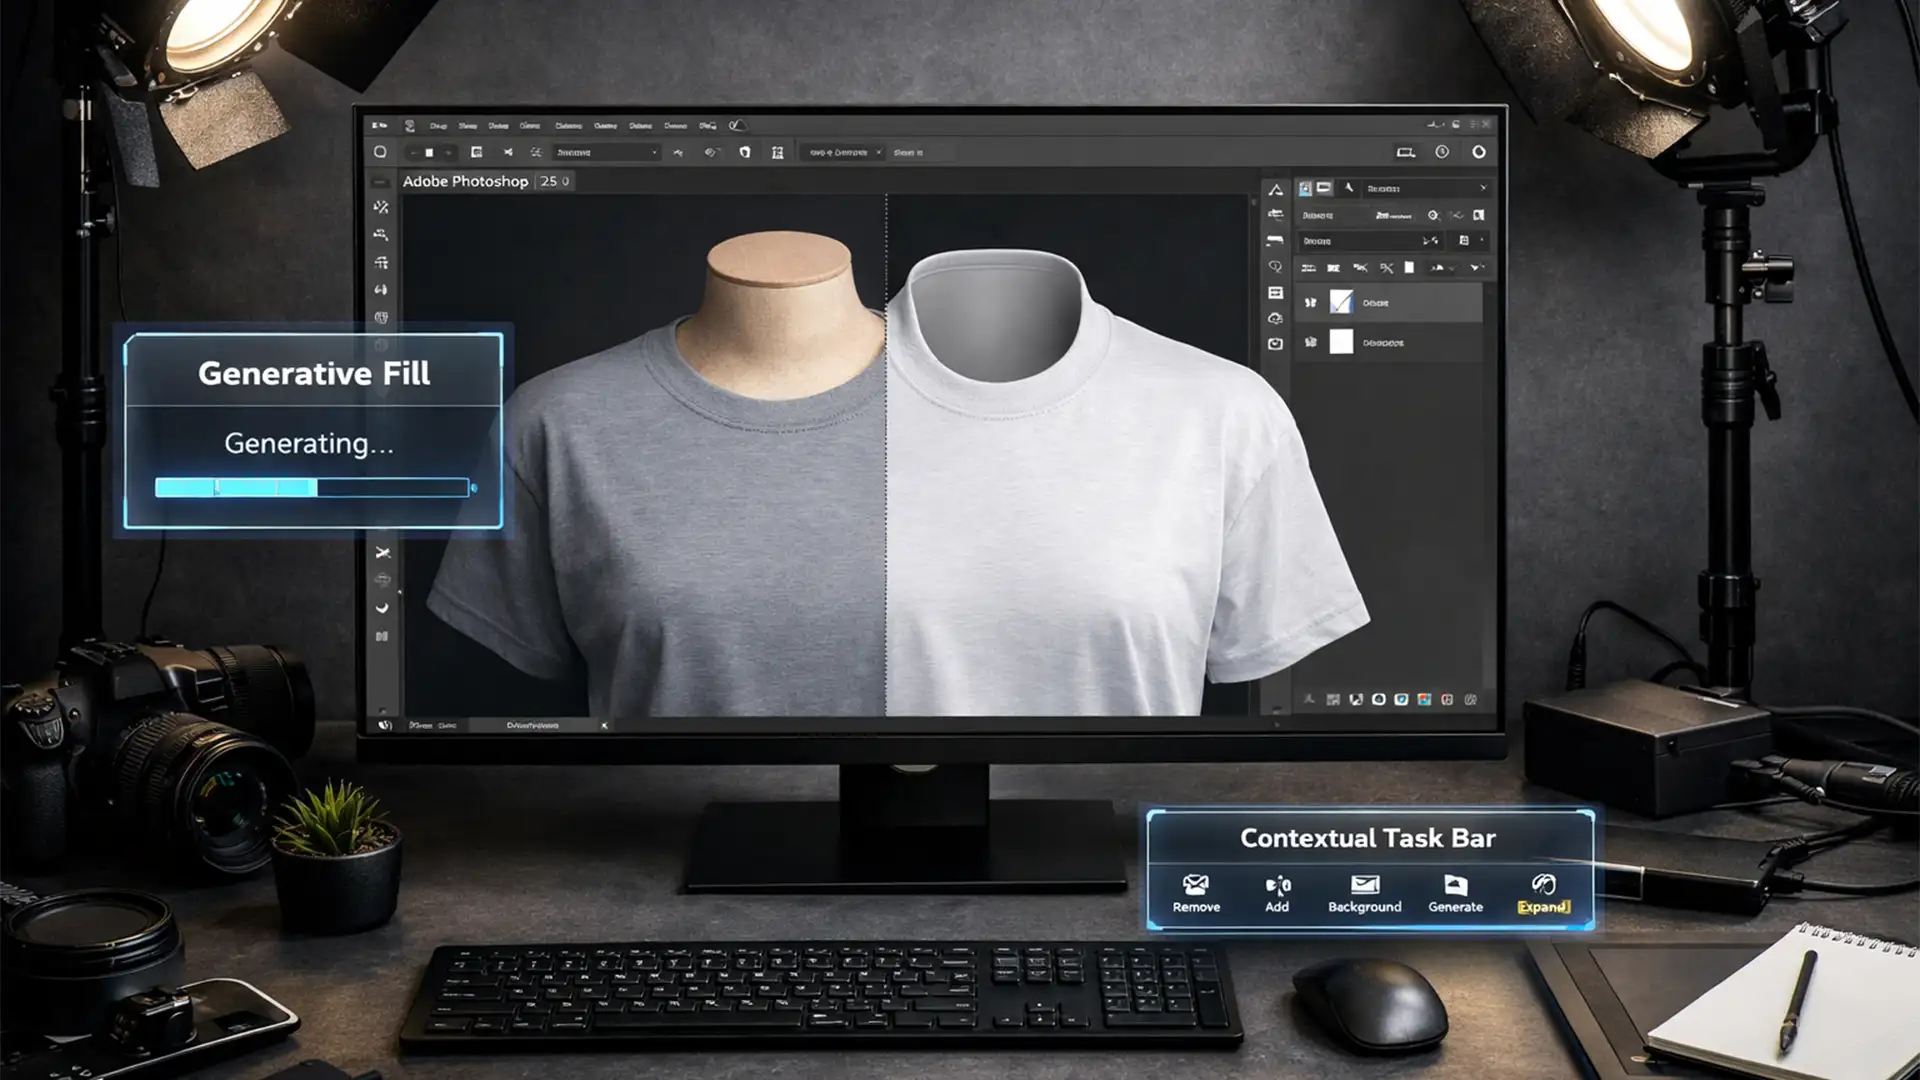
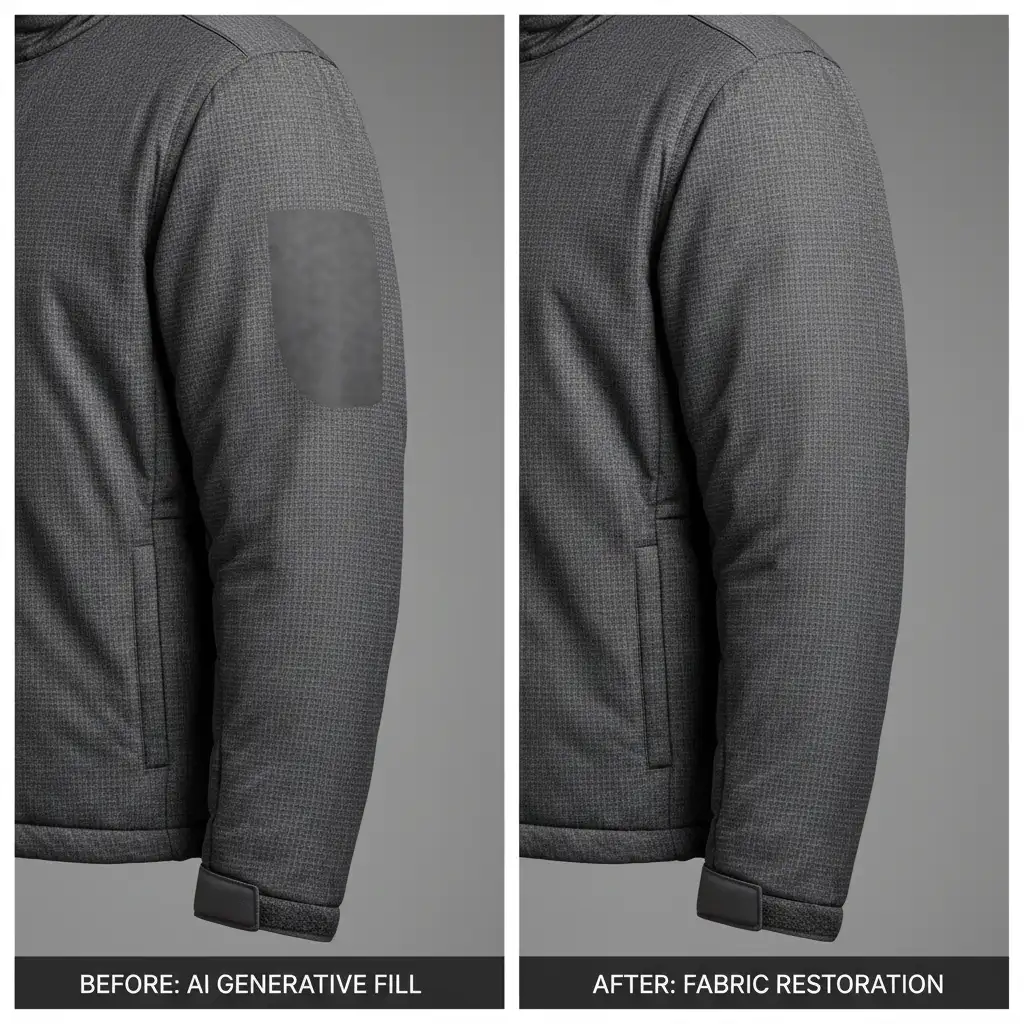
If you edit e-commerce apparel, you already know the frustration. You use Generative Fill in Photoshop v25.0+ to extend a backdrop or remove a mannequin, and the AI replaces your crisp, high-resolution garment with a smooth, plastic-like blur.
Because the Adobe Firefly model synthesizes missing areas at a restricted internal resolution (often upscaled from 1024×1024), it completely obliterates fine woven patterns, knits, and denim grain. These AI artifacts fail macro inspection and render high-end product photography commercially unviable.
Fortunately, repairing AI artifacts in fabric textures in Photoshop is entirely possible. Rather than abandoning AI tools altogether, professional retouchers use targeted workflows to rebuild macro micro-contrast. Here are three proven methods to restore flawless fabric weaves over AI-generated patches.
Why Generative Fill Destroys Micro-Textures
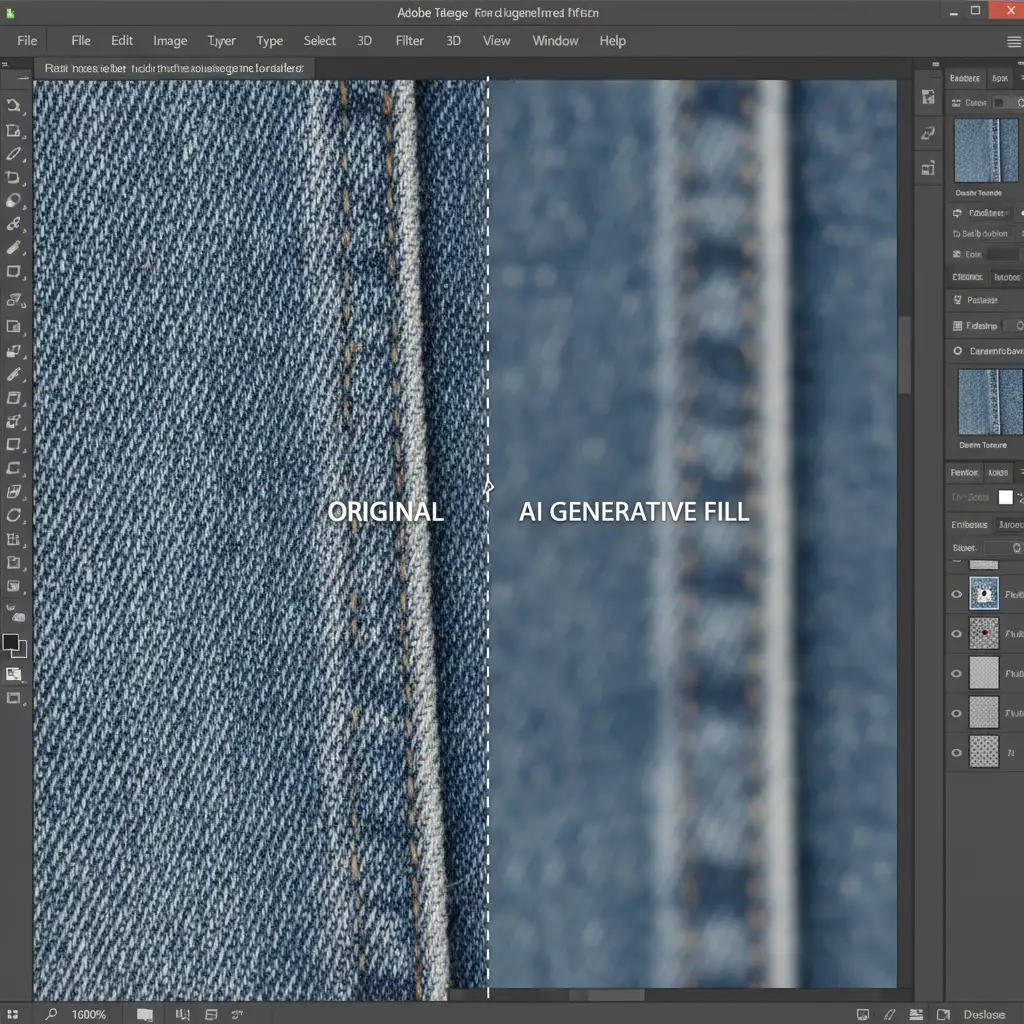
Before diving into the fixes, it helps to understand the limitation. When you generate a fill on a 45-megapixel product shot, Photoshop stretches a low-resolution AI generation to fit the canvas. While the color and lighting transitions might look correct from a distance, zooming in reveals a total loss of high-frequency data. The fabric weave simply isn’t there.
To fix this, we need to manually inject texture back into the image without destroying the AI’s accurate color and shadow rendering.
Method 1: The Quick Fix (Noise Matching)
If you are working with solid, tightly woven fabrics like cotton where the weave is barely visible, simulating the texture with noise is the fastest approach.
- Create a Texture Layer: Add a new blank layer above your AI-generated patch.
- Fill with Gray: Go to Edit > Fill and choose 50% Gray.
- Change Blend Mode: Set this layer’s blending mode to Overlay.
- Add Gaussian Noise: Navigate to Filter > Noise > Add Noise. Select Gaussian and check the Monochromatic box.
- Match the Grain: Adjust the percentage slider until the noise density perfectly mimics the textile’s base grain.
- Masking: Add a layer mask and restrict this noise layer solely to the blurred AI patch.
Method 2: The Pro Workaround (Frequency Separation)
For distinct textures like heavy knits, twill, or linen, generic noise won’t cut it. You need to use Frequency Separation to steal real texture from another part of the garment.
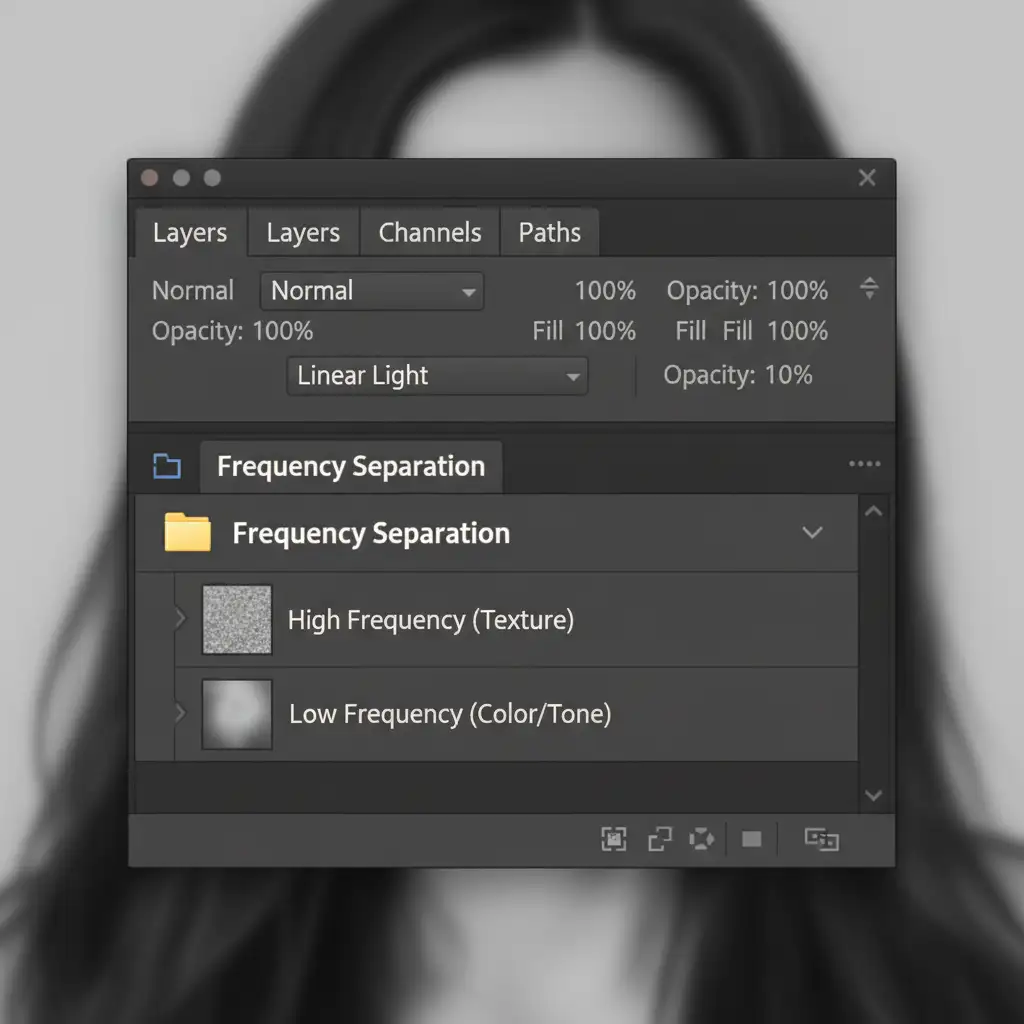
By splitting your image into a High-frequency layer (which contains only the texture) and a Low-frequency layer (which contains the color and lighting), you can fix the weave independently.
- Run your Frequency Separation Action: Split the image into your High and Low layers.
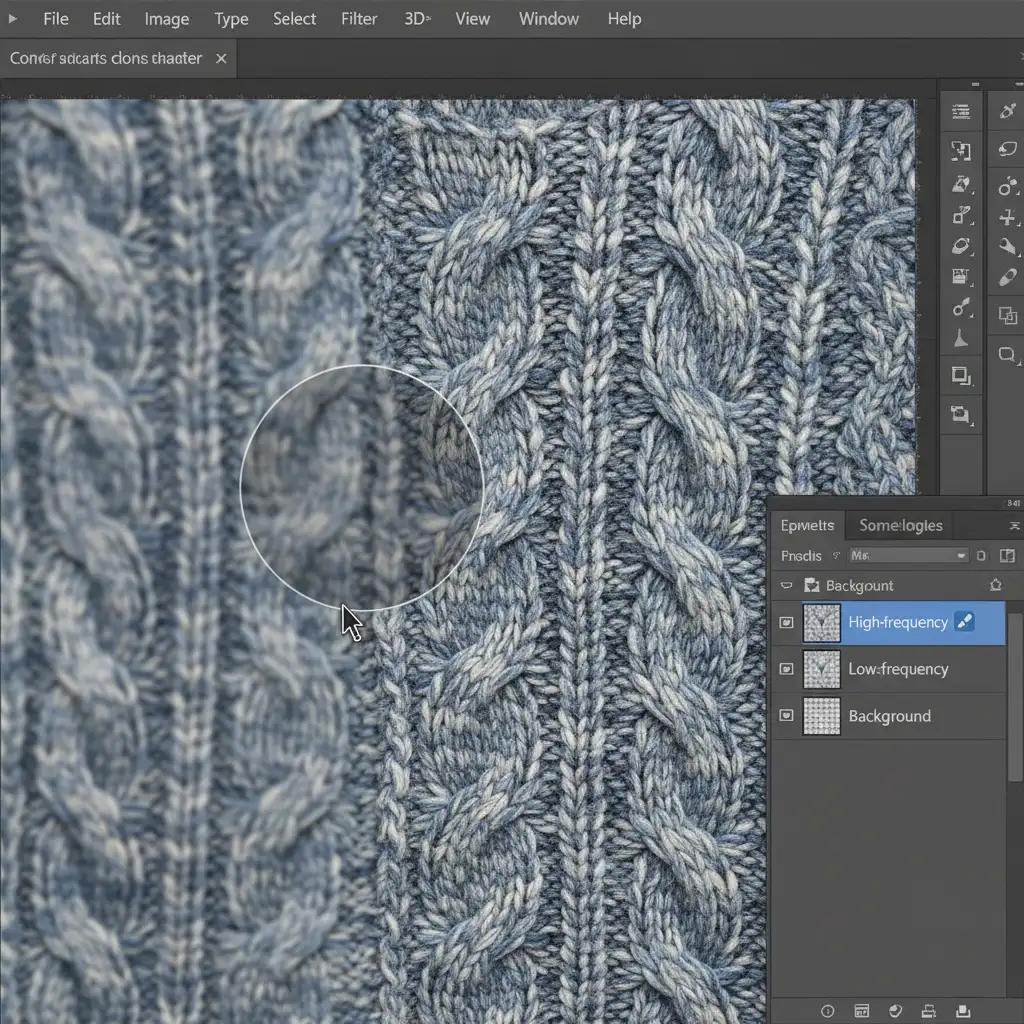
- Target the Texture: Select the High-frequency layer.
- Equip the Clone Stamp: Select the Clone Stamp tool and ensure the sample setting in the top toolbar is strictly set to Current Layer.
- Sample and Stamp: Alt/Option-click a pristine, unedited section of the fabric to sample its native weave. Carefully stamp this real texture directly over the blurry AI-generated artifact.
Because you are only stamping texture, the underlying AI-generated shadows and highlights remain perfectly intact, resulting in a flawless blend.
Method 3: The Technical Deep-Dive (Pattern Stamping and Displacement)
When repairing AI artifacts in fabric textures in Photoshop across large, complex areas with folds and curves, the Clone Stamp can look rigid. The fabric texture needs to wrap realistically around the garment’s contours.
- Define a Pattern: Select a pristine, sharp square of the fabric using the Marquee tool. Go to Edit > Define Pattern and name it.
- Create a Displacement Map: Duplicate your original document. Flatten it, desaturate it (Image > Adjustments > Desaturate), and boost the contrast slightly. Save this file as a .psd to your desktop (e.g., map.psd).
- Apply the Pattern: Return to your working document. Create a new layer and use the Pattern Stamp Tool to paint your saved fabric pattern over the AI-blurred area.
- Wrap the Texture: With your pattern layer selected, go to Filter > Distort > Displace.
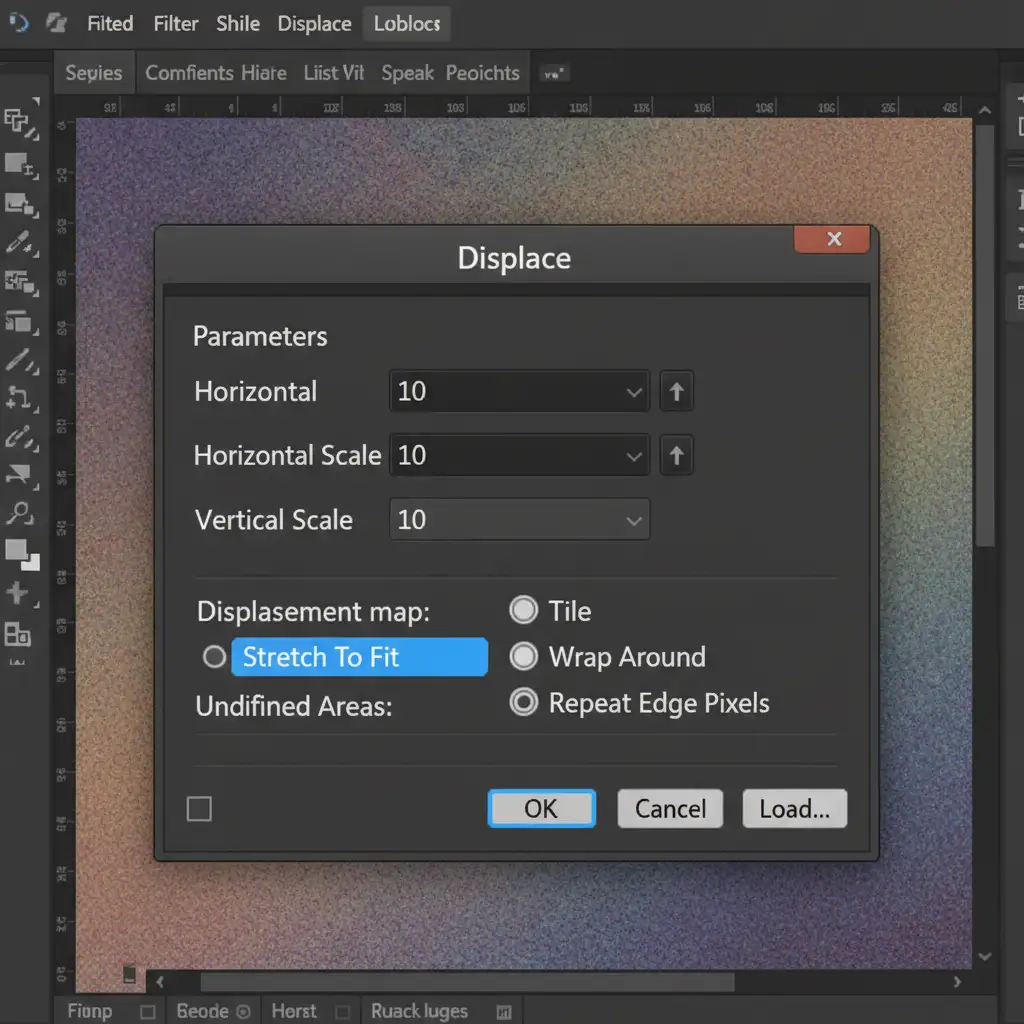
- Load the Map: Click OK, and Photoshop will prompt you to choose a file. Select your saved map.psd. The newly injected texture will instantly distort, wrapping perfectly around the realistic folds, highlights, and curves of the garment. Blend this layer using Soft Light or Overlay, adjusting opacity as needed.
Outsource Your High-Volume Apparel Retouching
Repairing AI artifacts in fabric textures in Photoshop requires a meticulous eye and advanced technical workflows. While these techniques are highly effective, they are also incredibly time-consuming-especially when processing hundreds of e-commerce SKUs a day.
Don’t let AI artifacts ruin your high-end apparel catalogs, and don’t let complex retouching workflows slow down your time-to-market.
At Image Work India and Cloud Retouch, we specialize in expert, pixel-perfect e-commerce retouching and fabric restoration. Our professional retouchers handle the heavy lifting, ensuring your product photography retains its premium macro micro-contrast and flawless presentation.
Ready to scale your post-production without sacrificing quality? Contact Image Work India and Cloud Retouch today to outsource your high-volume product editing!