You’ve just typed the perfect prompt into Photoshop 2024’s Generative Fill, expecting a flawless addition to your image. But when the loading bar finishes, the result is a disaster. The generated object looks like a cheap sticker-its lighting is completely wrong, the contrast ratios are off, and the colors clash horribly with your base photo.
If you are struggling to fix generative fill color mismatch issues, you aren’t alone. Even with the powerful Adobe Firefly Image 3 Model, AI struggles to read complex ambient lighting, especially in wide-gamut spaces. Here is exactly how to seamlessly blend your AI edits like a professional retoucher.
Why Does Photoshop Generative Fill Color Mismatch Happen?
Photoshop 2024 (both v25.x and the Beta v27.x) utilizes the advanced Adobe Firefly engine for its Generative AI features. While it is excellent at creating high-resolution pixels, it frequently fails to inherit the base image’s exact environmental lighting, contrast ratios, or global color grading.
This issue becomes highly visible when:
- You are working in wide-gamut color spaces like ProPhoto RGB.
- The original image has heavy color grading or stylized filters applied before the generative step.
- The ambient lighting is complex (e.g., mixed color temperatures or colored gels).
To achieve a photorealistic composite, you must manually intervene. Here are three proven methods to correct these mismatches.
3 Pro Methods to Fix Generative Fill Color Mismatch
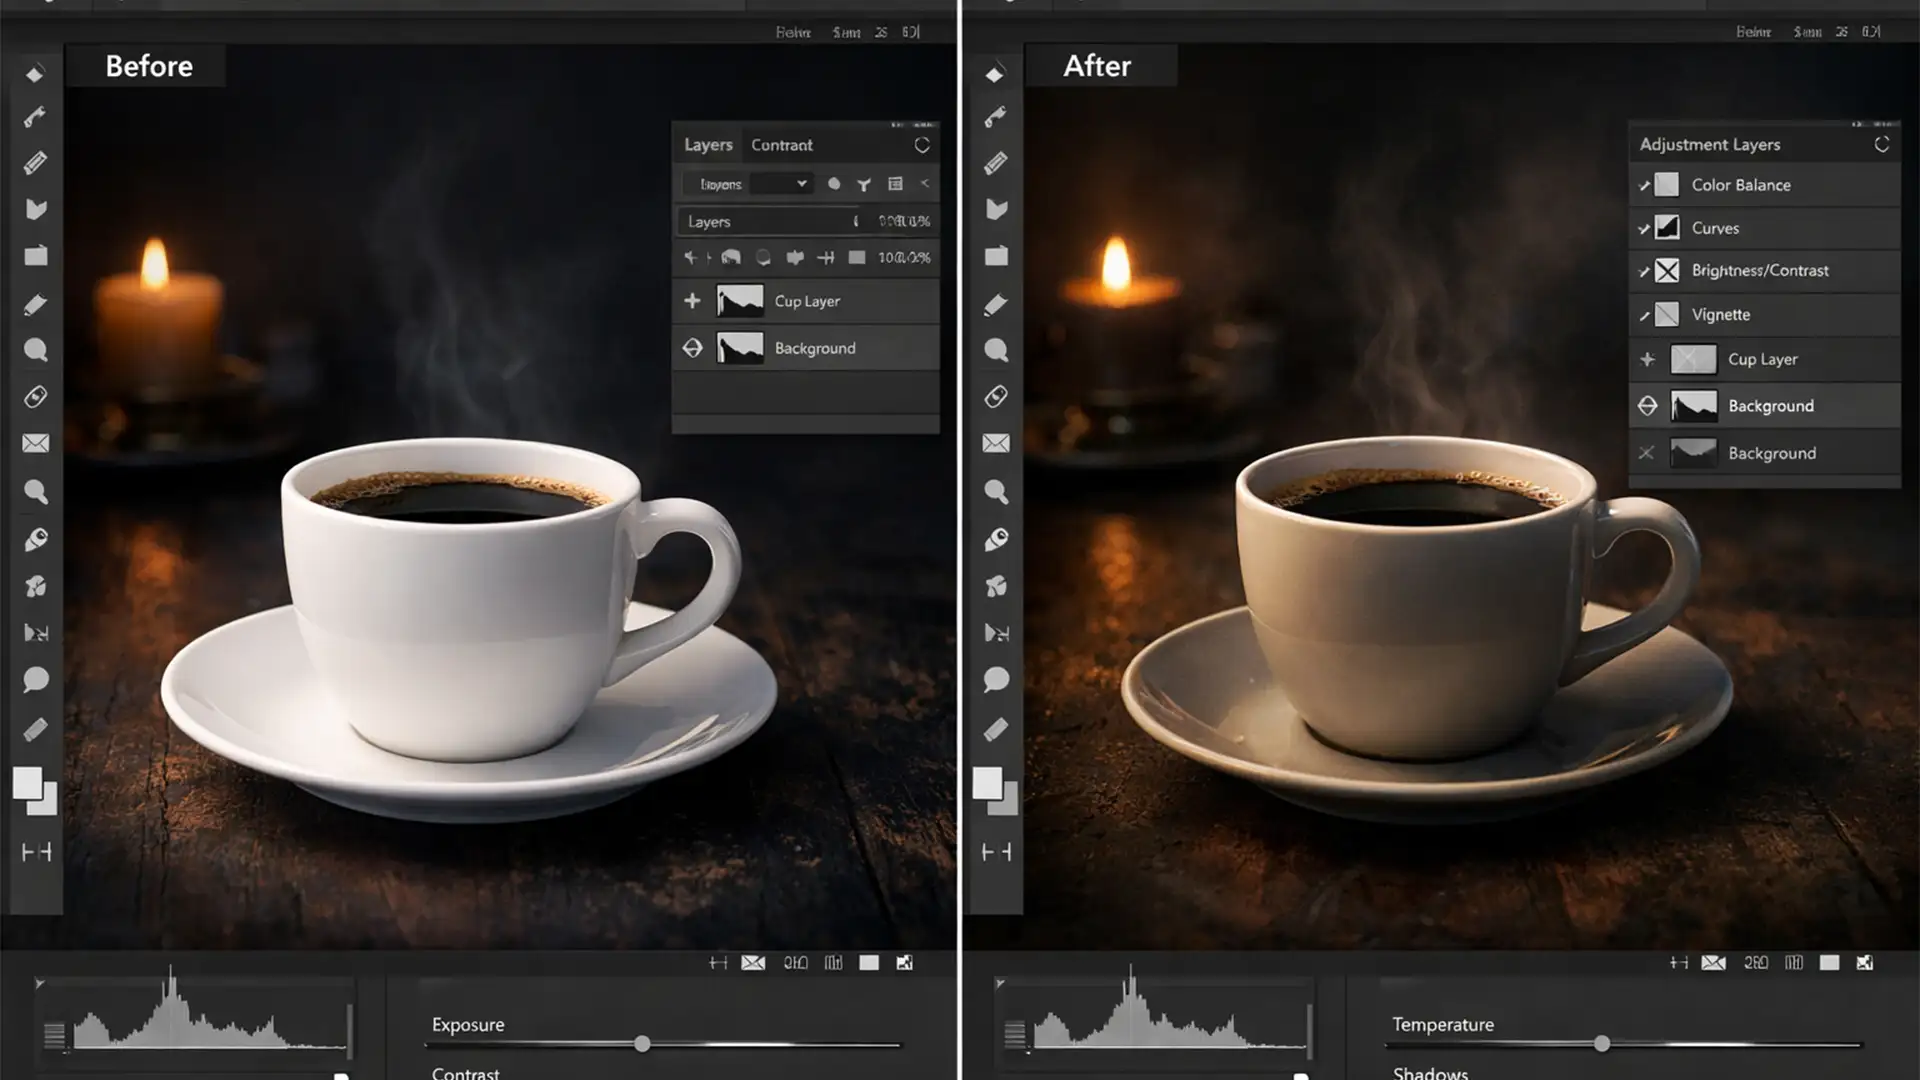
Method 1: The Quick Fix Using Adjustment Layers
The most direct way to fix a color and luminosity mismatch is by using targeted Adjustment Layers. By clipping your adjustments specifically to the AI-generated layer, you prevent unwanted color shifts on your original background.
- Generate your object using the Generative Fill tool.
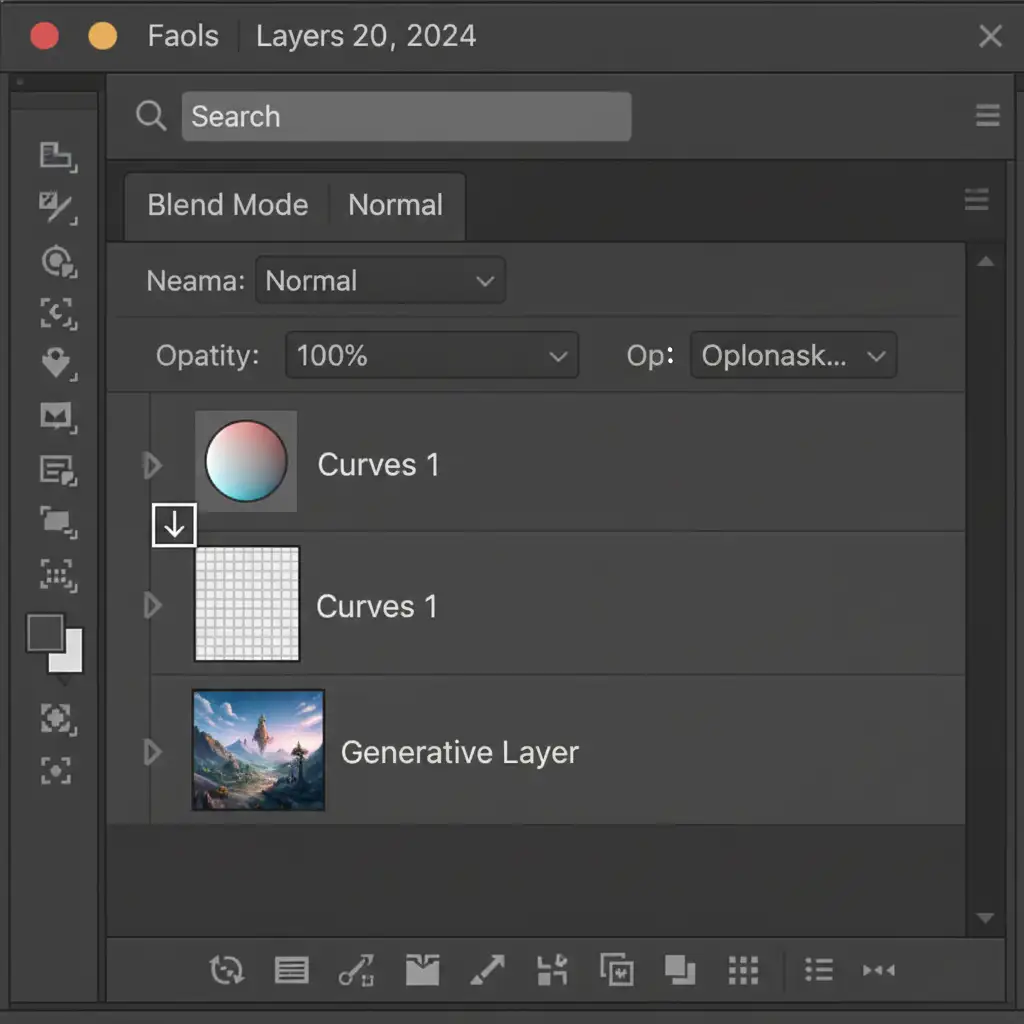
- Add an Adjustment Layer (such as Curves or Color Balance) above your Generative Layer.
- Hold Alt (Windows) or Option (Mac) and click the line between the Adjustment Layer and the Generative Layer in the layers panel. This creates a Clipping Mask.
- Adjust the Curves to match the luminosity (brightness and contrast) of the background.
- Use the Color Balance layer to dial in the specific color cast of the environment.
Method 2: The Pro Workaround with the Harmonization Filter
If manual color grading isn’t your strong suit, Photoshop’s Neural Filters offer an incredible AI-assisted shortcut to map the color palette of your background directly onto your generated object.
- Select your Generative Layer and press Ctrl+J (Windows) or Cmd+J (Mac) to duplicate it.
- Right-click the duplicate and select Rasterize Layer (or flatten it) so it is no longer a live generative shape.
- Navigate to Filter > Neural Filters in the top menu.
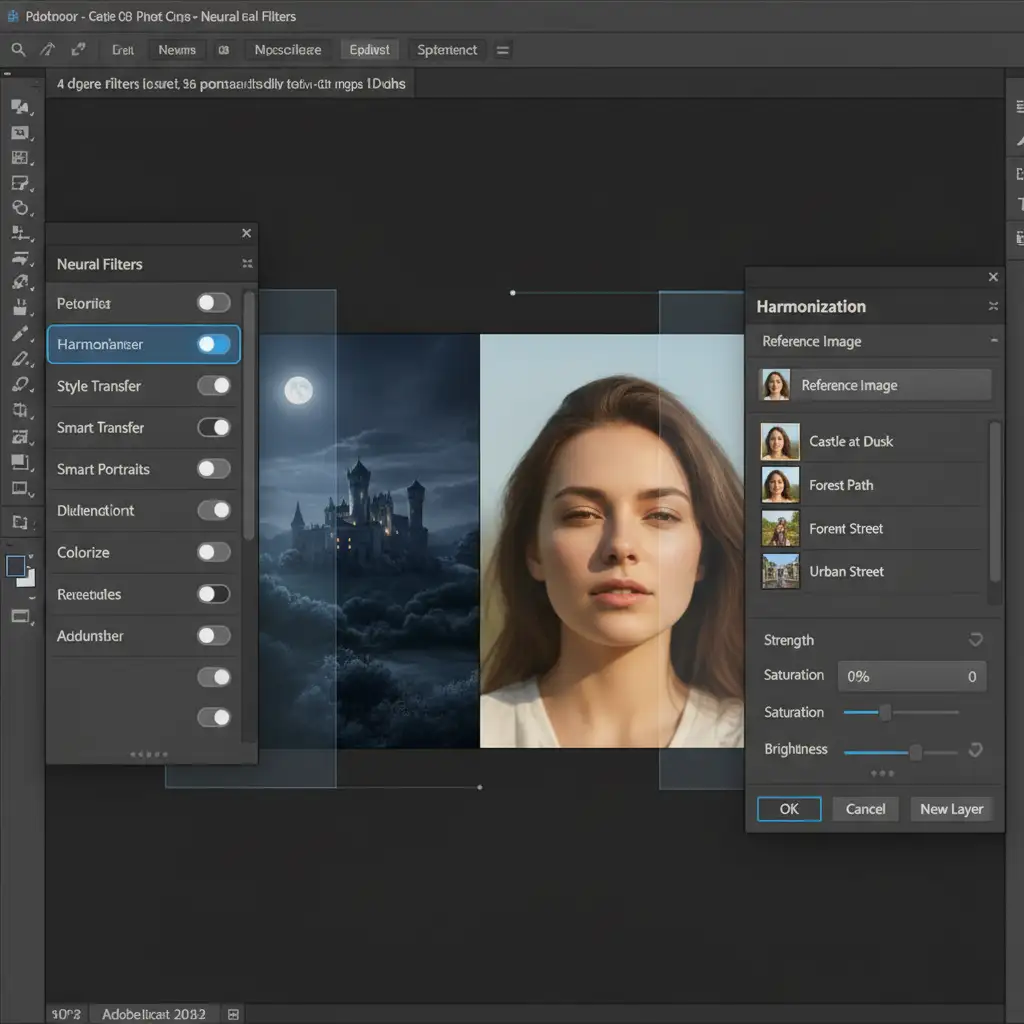
- Toggle on the Harmonization filter.
- In the properties panel on the right, click the Reference Image dropdown and select your original background layer.
- Photoshop will automatically map the ambient color and lighting to the generated object. You can refine the strength and brightness using the provided sliders.
Method 3: Fixing Color Profile Mismatches
Sometimes, the issue isn’t the AI generation itself, but a fundamental color profile mismatch within your document settings. If your working space differs drastically from your document profile, colors will render inaccurately when new pixels are generated.
- Navigate to Edit > Color Settings (Shift+Ctrl+K).
- Look at the Working Spaces configuration.
- Ensure your RGB working space matches your intended output or document profile (for standard web and digital use, select sRGB IEC61966-2.1).
- If you are working in ProPhoto RGB for high-end print, ensure your monitor and export settings are properly calibrated to handle the wide gamut without causing the Generative Fill to look washed out or overly saturated.

Bonus Tip: Prompt Engineering for Better Lighting Matches
You can reduce the amount of post-generation color correction by refining your initial text prompt. Do not just describe the object; describe the environment.
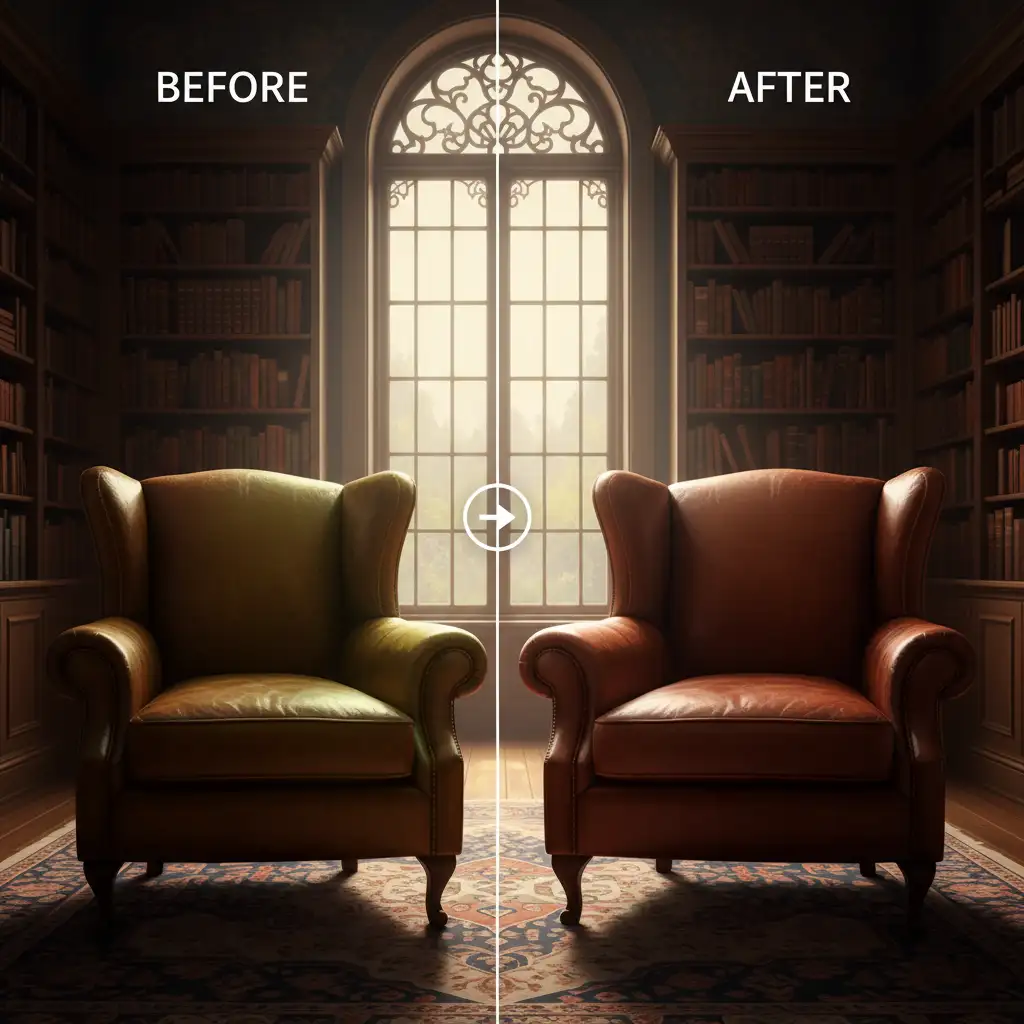
Instead of prompting: “A vintage leather chair” Try prompting: “A vintage leather chair, harsh directional sunlight from the left, cool studio lighting, deep shadows”
By explicitly stating the lighting conditions, you give the Adobe Firefly engine a better baseline, requiring fewer adjustment layers and blend modes later in your workflow.
Stop Fighting the AI-Let the Pros Handle Your Retouching
Learning how to fix generative fill color mismatch issues is a valuable skill, but executing it flawlessly across hundreds of e-commerce product photos, fashion editorials, or real estate images is incredibly time-consuming. While Generative AI is a powerful starting point, commercial photography demands absolute perfection that algorithms simply cannot guarantee.
Don’t let jarring, pasted-in AI edits ruin your brand’s visual identity. Hire the expert retouching teams at Image Work India and Cloud Retouch. We specialize in flawless color matching, complex compositing, and professional post-production that seamlessly bridges the gap between AI generation and high-end commercial reality.
[Contact Image Work India today] to elevate your visual content with pixel-perfect precision.