You carefully trace your marching ants, type your prompt, and hit generate. But instead of a seamless edit, you are left with a glaring, desaturated halo, a visible seam, or a bizarre grid-pattern artifact around your new pixels. If you are struggling to fix generative fill edge color mismatch in Photoshop 2026, you are not alone.
This frustrating color shift in Photoshop v27.x usually boils down to a conflict between your document’s color space and the Adobe Firefly Image Model, or a lack of source-pixel overlap. While AI tools are powerful, they still require a professional touch to achieve commercial-grade results.
Below, we break down exactly why this happens and provide three proven workflows to eliminate edge artifacts for good.
Why Do AI Edge Artifacts Happen in Photoshop v27?
Generative Fill relies on the Adobe Firefly model, which natively processes image data in the sRGB color space. If your document is set to a wider gamut—like Adobe RGB or ProPhoto RGB—Photoshop has to translate those colors back and forth during generation. This translation often results in a subtle saturation drop or tonal shift right at the boundary of your selection.
Additionally, Photoshop 2026 introduced updates to its Native Canvas architecture. While this improves GPU acceleration, hardware-accelerated rendering bugs can occasionally cause temporary on-screen banding that appears baked into your flattened output.
Here are the three best ways to fix the problem.
Method 1: The Quick Fix (Selection Overlap & Feathering)
The most common reason for a harsh seam is that the AI wasn’t given enough surrounding pixels to sample for a smooth blend.
- Make your initial selection around the object or area using your preferred tool.
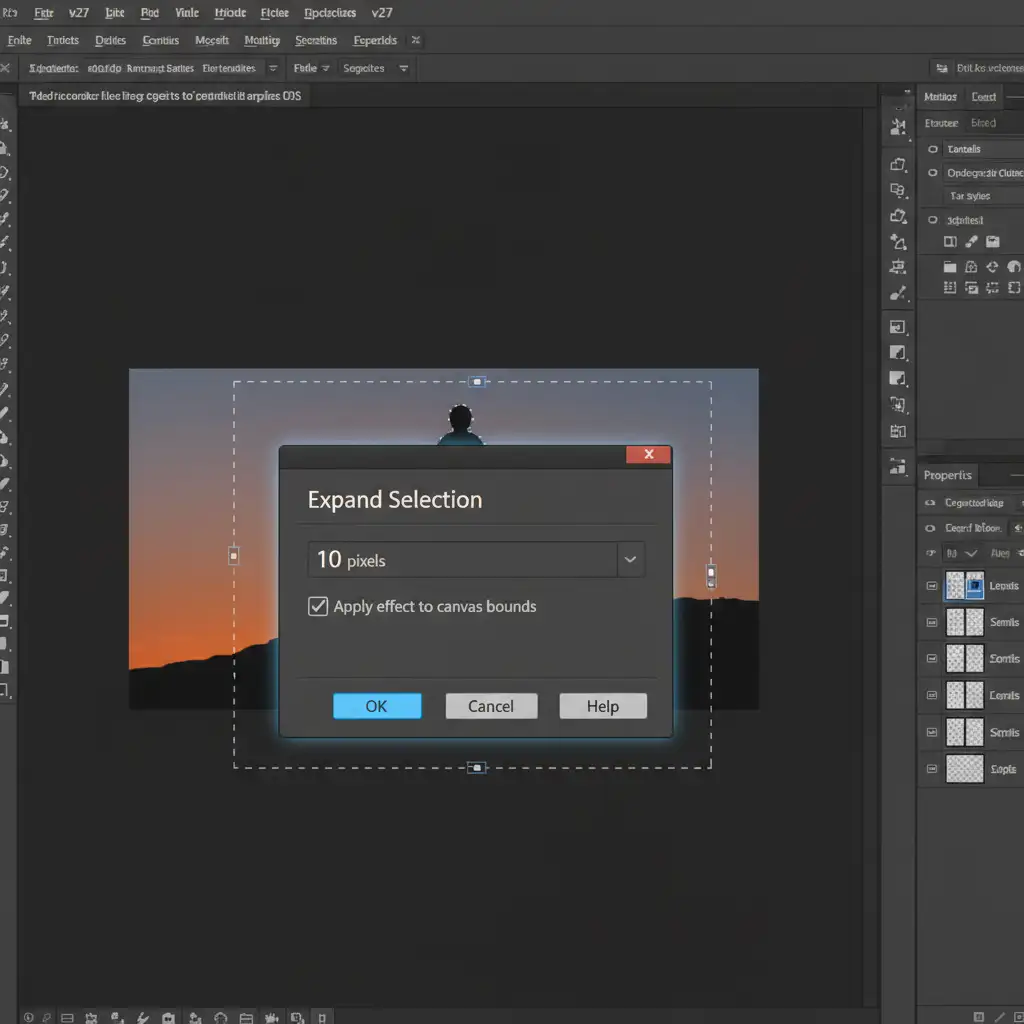
- Navigate to Select > Modify > Expand.
- Expand your selection by 5 to 10 pixels.
- To soften the transition further, go to Select > Modify > Feather and apply a 1-pixel feathering radius.
- Apply your Generative Fill.
By forcing the selection outward, the AI is forced to read and overwrite the immediate edge pixels, blending the new generation seamlessly into the original background.
Method 2: The Pro Workaround (Clipped Adjustment Layers)
If you have already generated the fill and are dealing with a localized color shift or desaturated edge, you don’t need to regenerate and waste credits. You can manually correct the tonal values using an Adjustment Layer.
- Create a Curves or Selective Color Adjustment Layer directly above your Generative Fill layer in the Layers panel.
- Hold down the Alt key (Windows) or Option key (Mac), hover your cursor exactly on the line between the Adjustment Layer and the Generative layer, and click. This creates a Clipping Mask.
- Now, any changes you make will only affect the AI-generated pixels.
- Adjust the RGB curves or use a Luminosity Mask to carefully match the tonal values and contrast of the generated fill to the surrounding original pixels.

Method 3: The Technical Deep-Dive (Color Space & GPU Calibration)
If you are consistently seeing grid-pattern artifacts or severe color mismatch across every generation, you need to address the root software settings.
Step A: Standardize Your Color Space
To prevent the Adobe Firefly model from misinterpreting your colors, align your working space with the AI’s native processing space.
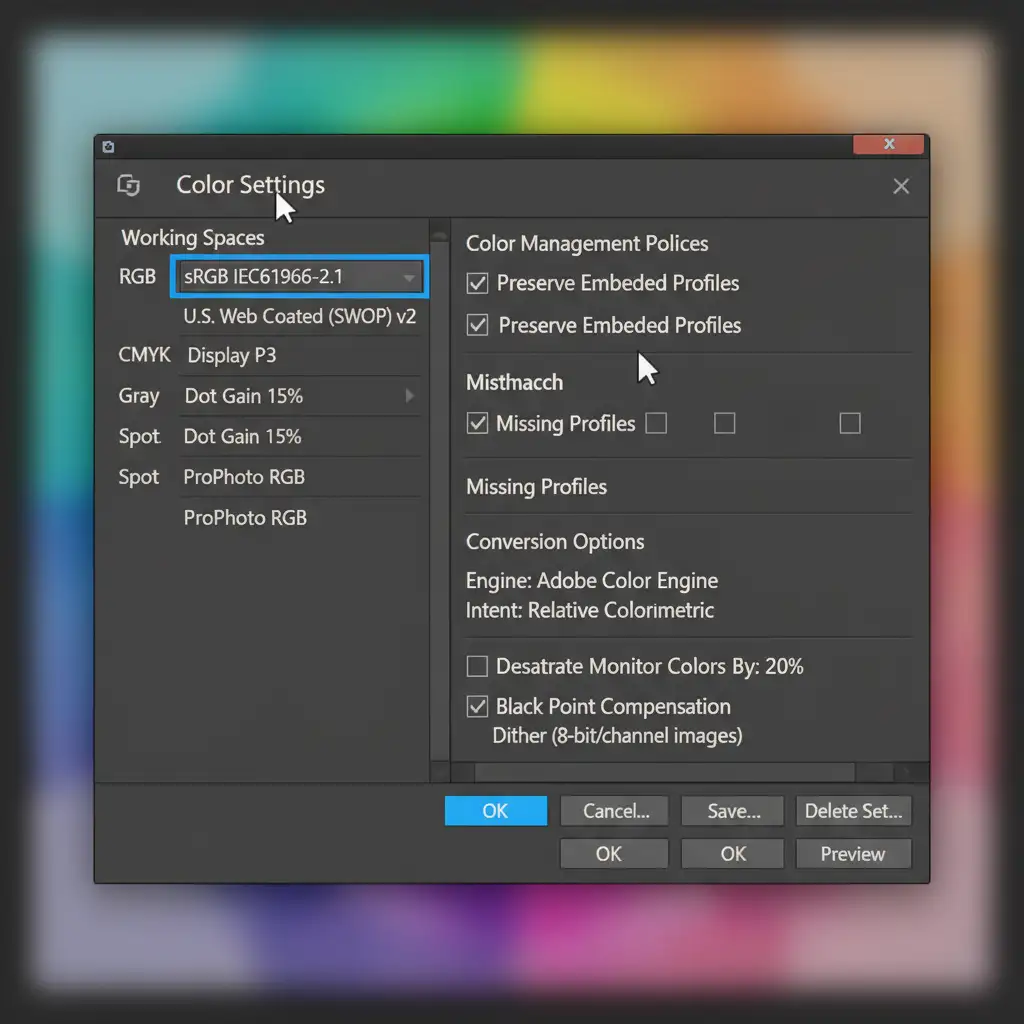
- Navigate to Edit > Color Settings. Ensure your working space matches your document profile.
- If the mismatch persists, go to Edit > Convert to Profile.
- Select sRGB IEC61966-2.1 as your destination space before using Generative Fill.
Step B: Disable Native Canvas Rendering
If the colors look correct but you are seeing strange rendering glitches or banding around the edges, your GPU acceleration might be misfiring.
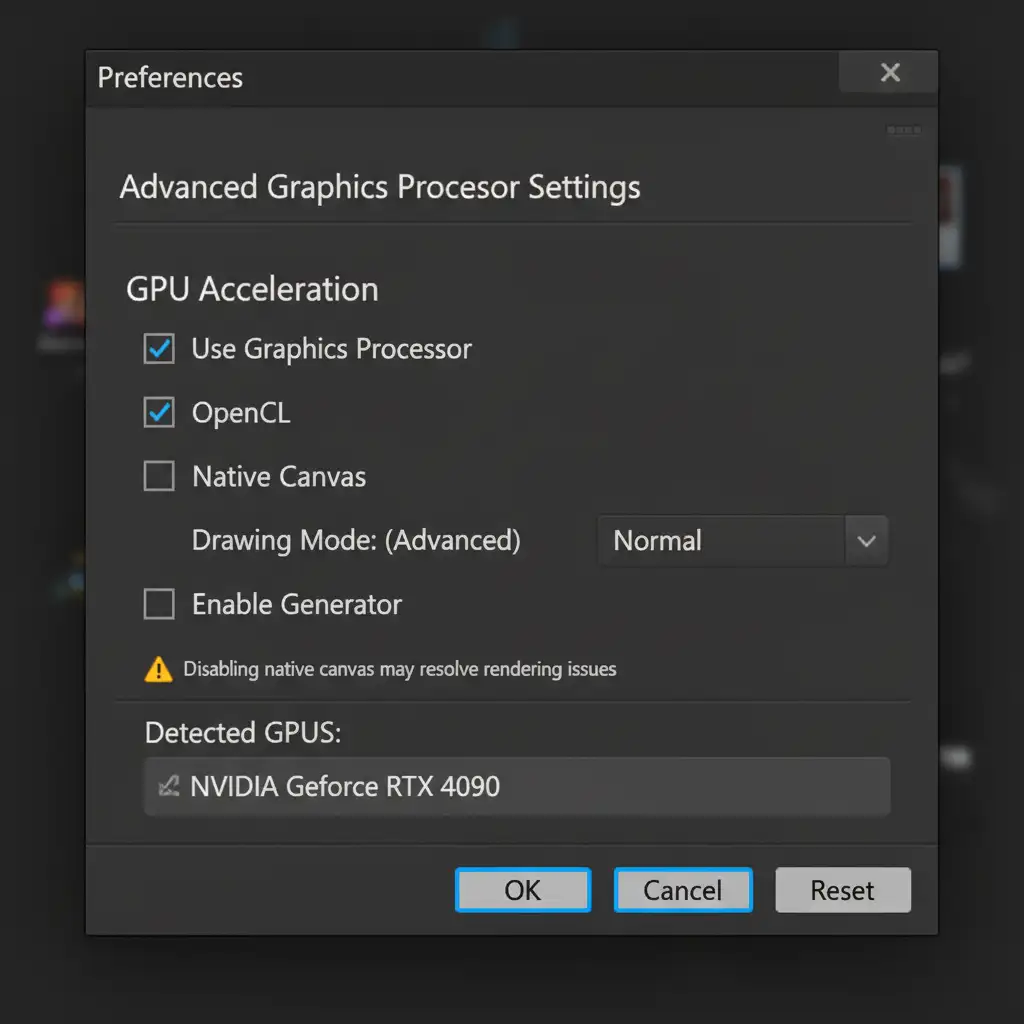
- Go to Edit > Preferences > Performance (or Photoshop > Settings > Performance on Mac).
- Under the Graphics Processor Settings section, click Advanced Settings.
- Uncheck the box for Native Canvas.
- Restart Photoshop. This disables the experimental rendering engine and forces a standard, stable display output.
Stop Wrestling with AI Artifacts
While knowing how to fix generative fill edge color mismatch in Photoshop 2026 is a valuable skill, manually applying clipping masks and troubleshooting color spaces eats into your most valuable resource: time. AI is supposed to speed up your workflow, not bog you down in technical corrections.
If you are managing high-volume image editing, e-commerce catalog updates, or complex commercial retouching, leave the pixel-pushing to the experts. Image Work India and Cloud Retouch provide flawless, professional post-production services. We handle the technical heavy lifting—from advanced color correction to seamless compositing—ensuring your brand’s visuals are pixel-perfect every single time.
Contact Image Work India today to scale your image editing workflow without compromising on quality.