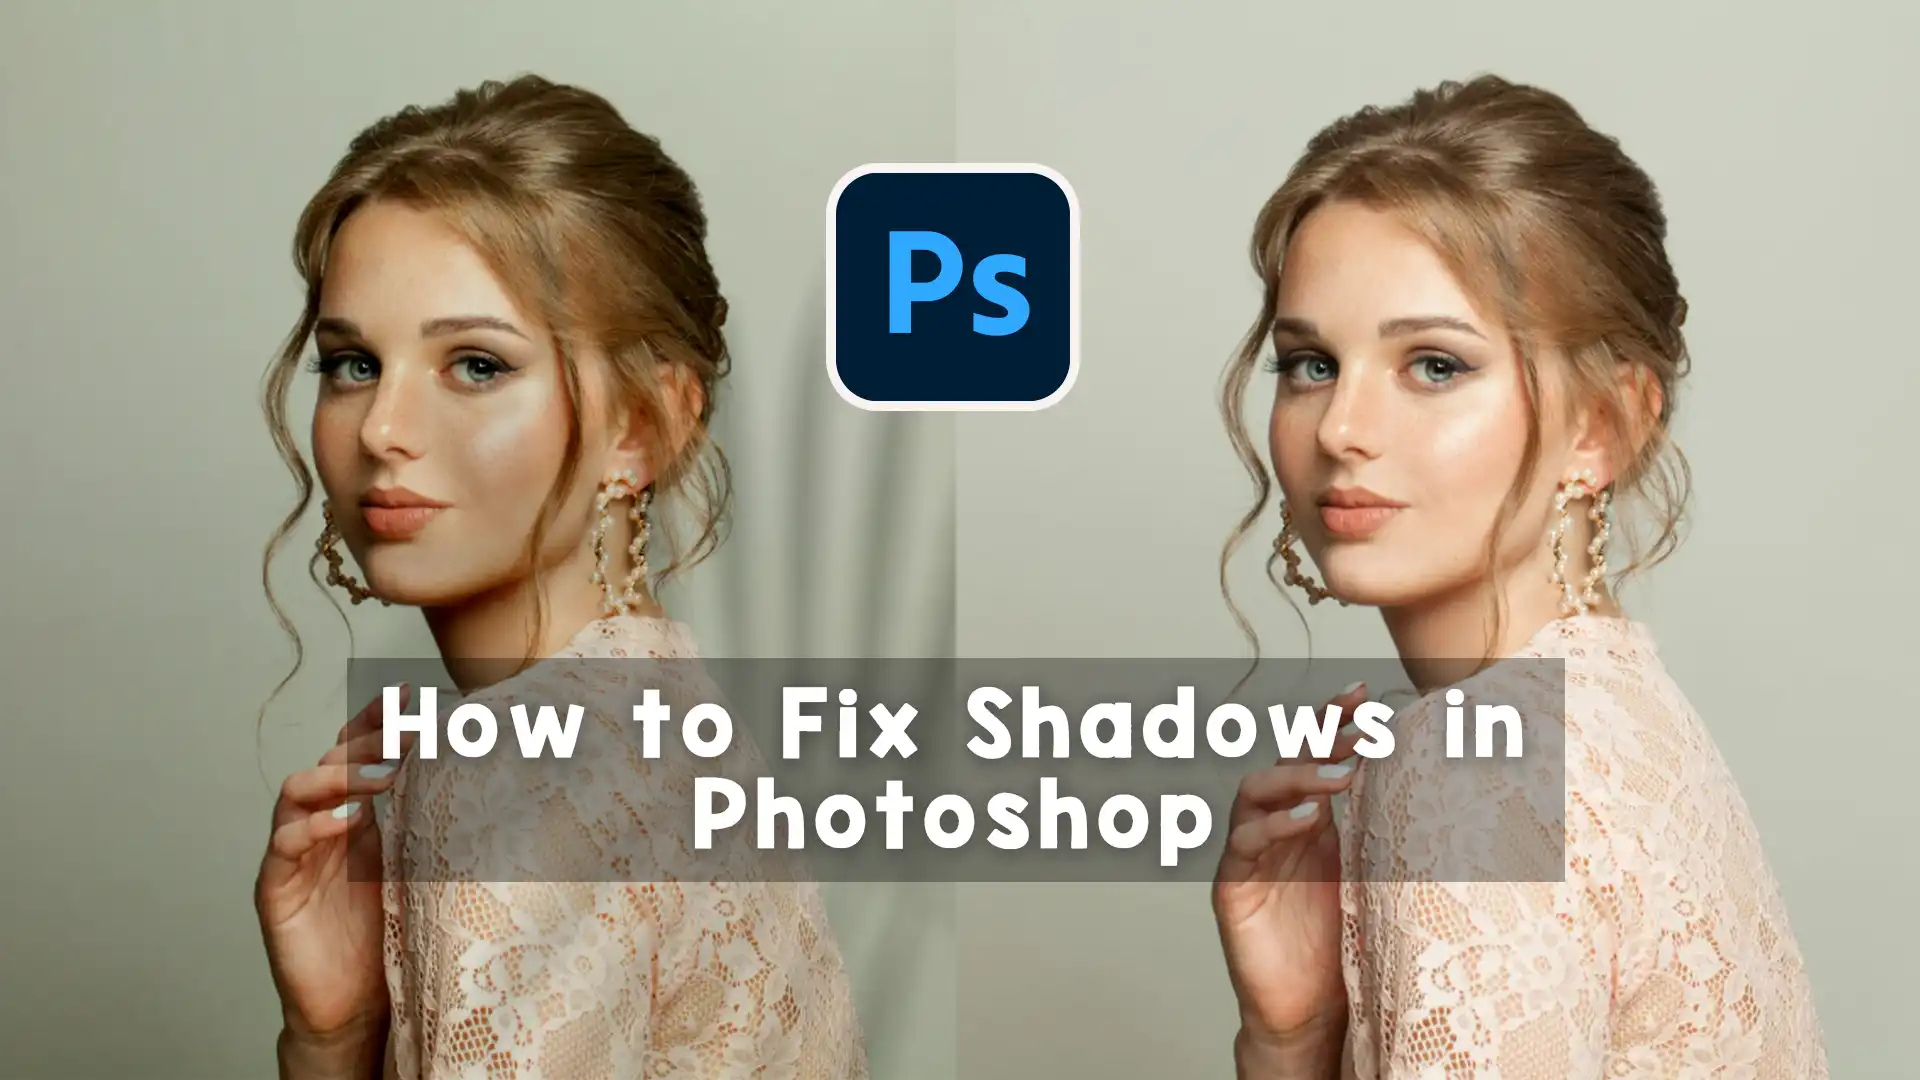
Shadows can sometimes make or break a photo. While natural shadows can add depth and drama, unwanted or harsh shadows can ruin a perfect shot. Whether it’s a shadow on someone’s face, a background, or across an important detail, learning how to fix shadows in Photoshop can save your photos. Photoshop offers several tools to lighten, remove, or soften shadows and bring balance back to your image.
In this article, we will explore how to fix shadows in Photoshop using various methods. From basic tools like the Dodge Tool to more advanced options like adjustment layers and content-aware features, we’ll walk you through everything step-by-step. This article is written in easy English and designed to help even beginners understand the process clearly.
Understanding Shadows in Photos
Before learning how to fix shadows in Photoshop, it’s important to understand what shadows are in a photo. Shadows appear when a light source is blocked. They are usually darker areas that can be soft or harsh depending on lighting. Sometimes shadows create a cool effect in photography. But in product photography, portraits, or real estate images, they often need to be removed or softened.
Photoshop allows us to adjust shadows without damaging the original image. Whether the shadows are on a person’s face, on the background, or over an object, you can correct them with just a few techniques. Let’s dive into the most effective ways of how to fix shadows in Photoshop.

Use the Shadows/Highlights Adjustment
One of the easiest ways to fix shadows in Photoshop is to use the Shadows/Highlights adjustment. This tool works great when your photo has dark shadow areas that you want to lighten.
To use this option, first open your photo in Photoshop. Then go to the top menu and click on Image > Adjustments > Shadows/Highlights. A dialog box will appear. You’ll see sliders labeled “Shadows” and “Highlights.” Move the Shadows slider to the right to brighten dark areas. You can also adjust the Highlights slider to control the bright parts of the image.
The benefit of this method is that it’s quick and gives you a live preview. It’s a great option when you want to learn how to fix shadows in Photoshop without getting too technical. You can also use this feature as a starting point before applying more detailed corrections.

Fix Shadows with the Dodge Tool
Another simple way to fix shadows is by using the Dodge Tool. This tool helps lighten specific areas of an image. It’s perfect for fixing shadows on a face or other small parts where you want more control.
To use the Dodge Tool, look in the toolbar on the left side of the Photoshop screen. It looks like a small lollipop or magnifying glass. Select it, then go to the top and choose “Range: Shadows” from the dropdown menu. Set the exposure between 10% and 20% so the effect is soft and natural. Then carefully brush over the shadowed areas.
This method is very direct and gives you a lot of control. However, it’s best to use a duplicate layer before you start, so your original image remains untouched. This tool is often recommended for people asking how to fix shadows in Photoshop in a simple and hands-on way.

Use Adjustment Layers for Non-Destructive Editing
If you want more flexibility, using adjustment layers is a great solution. This method lets you edit shadows without making permanent changes to your image. It also allows you to go back and fix things later if needed.
To begin, create a new Brightness/Contrast or Curves adjustment layer by clicking on the “New Adjustment Layer” icon at the bottom of the Layers panel. Then adjust the settings to lighten the shadow areas. Use the layer mask that comes with the adjustment layer and paint with a soft black brush on the areas you want to leave untouched.
By using masks and adjustment layers, you can fix shadows precisely where needed. This is one of the most recommended methods for people learning how to fix shadows in Photoshop, especially for professional editing jobs like product photography or model retouching.

Correct Shadows with Camera Raw Filter
If you want to enhance the whole image or work on shadows globally, using the Camera Raw Filter is a great choice. This tool works similarly to Lightroom and gives powerful control over shadows, highlights, contrast, and more.
To use this method, open your photo and go to Filter > Camera Raw Filter. Inside the Camera Raw interface, you’ll see a panel on the right side. Move the Shadows slider to the right to brighten dark areas. You can also adjust Exposure, Whites, and Blacks to fine-tune the result.
This approach is useful when you’re working with RAW images or need advanced control. Many professional editors prefer this method when teaching others how to fix shadows in Photoshop with high-quality results.

Use the Clone Stamp or Healing Brush for Hard Shadows
Sometimes shadows are so harsh or detailed that they can’t be fixed just by brightening. In such cases, you might need to remove the shadow completely using the Clone Stamp Tool or the Healing Brush Tool.
To do this, select the Clone Stamp Tool from the left toolbar. Hold Alt and click on a clean part of the image near the shadow. Then brush over the shadowed area. You are basically copying and pasting pixels from another part of the photo.
The Healing Brush works similarly but blends the area better with the surrounding texture. This method is often used in product retouching or fashion photography where perfect skin tones or surfaces are important. Learning how to fix shadows in Photoshop using these tools can help with more detailed and tricky situations.

Try Content-Aware Fill for Background Shadows
If a shadow falls on the background and you want to remove it, Photoshop’s Content-Aware Fill can do wonders. This feature fills the area by automatically guessing what should be behind the shadow.
To use it, select the shadow using the Lasso Tool or any selection tool. Then go to Edit > Content-Aware Fill. Photoshop will analyze the surrounding area and fill in the selection with matching content.
This tool is great when learning how to fix shadows in Photoshop for real estate images or e-commerce backgrounds where clean, even backgrounds are needed. You might need to touch up the result with the Clone Tool or Healing Brush afterward for perfect results.

Using Layers and Blend Modes for Creative Shadow Fixes
In some creative projects, you might not want to remove shadows completely but just soften them. In these cases, duplicating the layer and changing the blend mode to “Screen” or “Lighten” can help.
After duplicating your image layer, change the blend mode in the Layers panel. Then use a layer mask and soft brush to paint over the shadow areas you want to fix. This method gives a natural brightening effect and keeps the rest of the image unchanged.
People who work with creative photos and ask how to fix shadows in Photoshop often love this technique because it’s flexible and subtle.
Tips to Prevent Shadows During Shooting
While knowing how to fix shadows in Photoshop is important, it’s also good to prevent bad shadows during photography. Use soft lighting, reflectors, or shoot in natural light when possible. Position your subject away from harsh light sources and check the background before shooting.
Taking good photos from the beginning saves time in editing. But when shadows do appear, Photoshop gives you all the tools to correct them.
Why Fixing Shadows Is Important for Professional Images
Fixing shadows is not just about making a photo look pretty. In professional photography, removing or adjusting shadows is key to making images look clean, balanced, and ready for print or online use. Whether you’re editing a model’s face, a product for an e-commerce store, or an interior shot for a real estate listing, proper shadow correction can improve the final result dramatically.
Clients often expect flawless results, and knowing how to fix shadows in Photoshop ensures that your work meets high standards.

Let the Experts Help – Image Work India
If you’re finding it time-consuming or complicated to fix shadows or handle complex photo edits, professional help can make a huge difference. At Image Work India, we specialize in high-quality image post-production services for photographers, eCommerce brands, advertising agencies, and creative studios.
Our expert Photoshop editors can help you with:
- Shadow Removal and Correction
- Background Removal and Replacement
- High-End Photo Retouching
- Color Correction and Grading
- Product Photo Enhancement
- Clipping Path Services
- Ghost Mannequin Editing
- Image Masking and More
We understand that learning how to fix shadows in Photoshop takes time, and not everyone has the bandwidth to do it. That’s where we come in. With fast turnaround times, affordable pricing, and pixel-perfect quality, Image Work India ensures your images look flawless and ready for any platform.
Whether you’re editing a fashion campaign, an online store catalog, or wedding photos, we’ve got you covered.
Conclusion
Learning how to fix shadows in Photoshop opens up a world of possibilities. It allows you to rescue good shots from poor lighting, highlight your subject better, and create cleaner, more polished images. From simple adjustments using the Camera Raw Filter to more advanced techniques like using layer masks and clone tools, this guide covers everything you need to know.
And if you ever need expert help, remember that Image Work India is just a click away, ready to deliver top-quality image post-production services for all your editing needs.