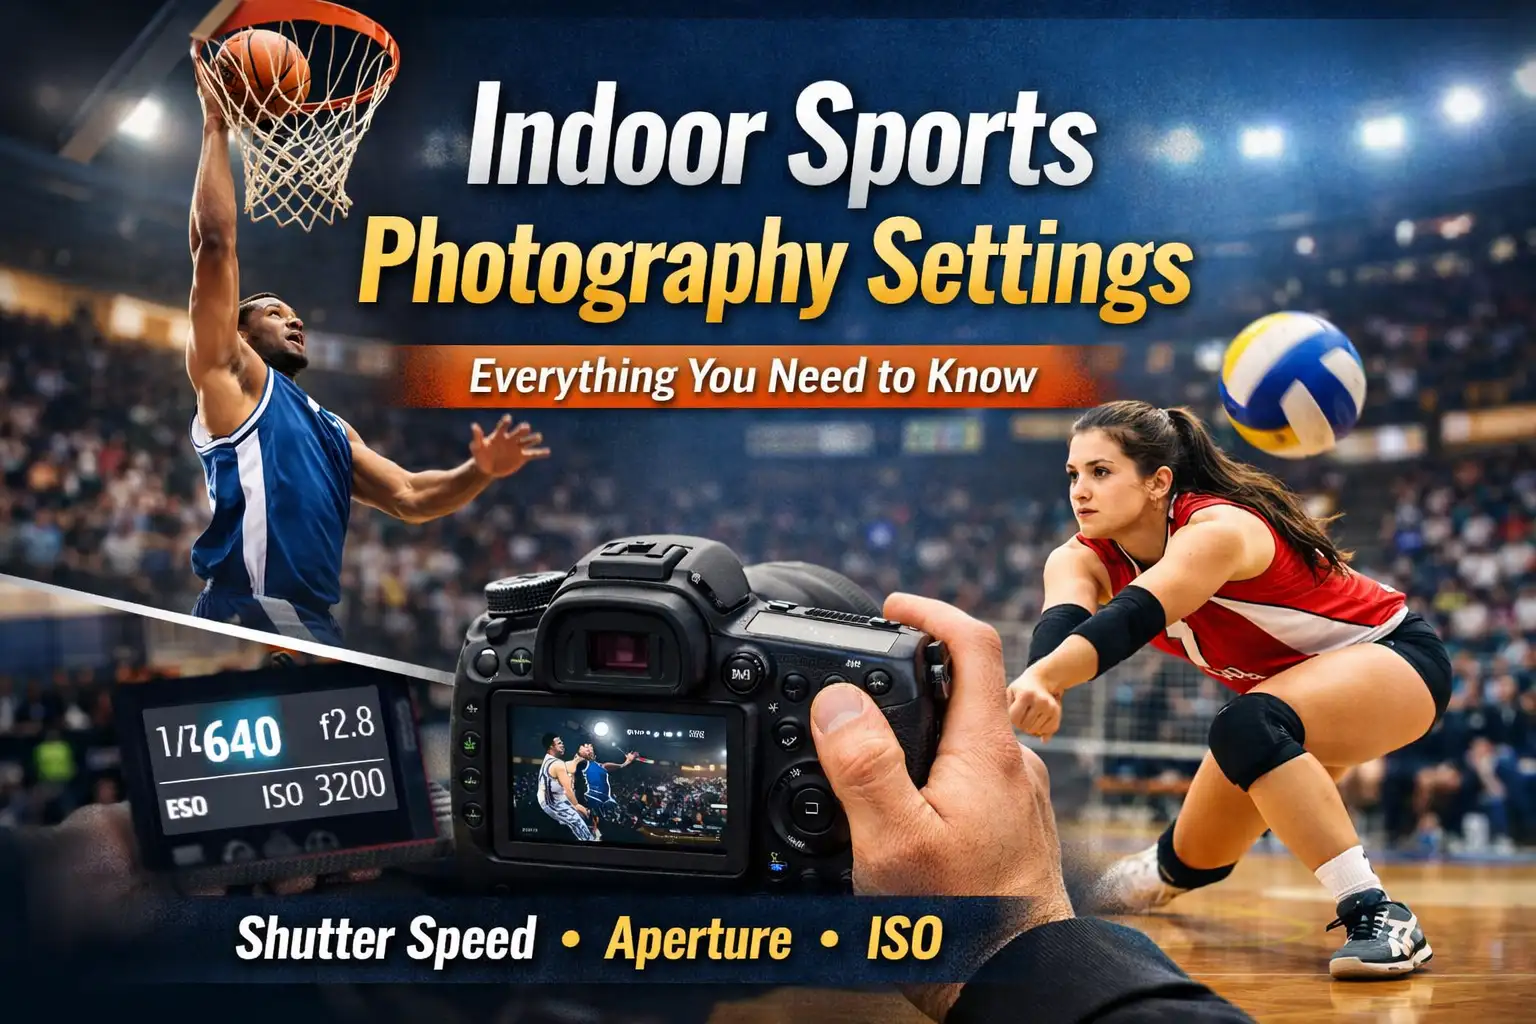
Indoor sports photography is exciting, challenging, and sometimes frustrating. If you have ever tried to photograph a fast basketball game, a dramatic badminton match, or a high-energy volleyball tournament inside a gym, you already know how tricky it can be. The lighting is often poor, the players move very fast, and you usually cannot use flash. That is why understanding the right Indoor Sports Photography Settings is so important.
As a professional photographer who has spent years shooting indoor tournaments, school championships, and professional matches, I can tell you one thing: mastering Indoor Sports Photography Settings will completely change your results. Instead of blurry photos and dark images, you will capture sharp, powerful action shots that truly tell the story of the game.
In this detailed guide, I will explain everything you need to know about Indoor Sports Photography Settings in simple language. Whether you are a beginner or someone who wants to improve, this article will help you understand shutter speed, ISO, aperture, white balance, focus modes, lenses, and much more. By the end, you will feel confident walking into any indoor arena with your camera.
Let’s get started.
Why Indoor Sports Photography Is Challenging
Indoor sports photography is very different from outdoor sports photography. Outside, you usually have natural sunlight. Inside, you deal with artificial lighting, shadows, and sometimes flickering lights.
Most indoor stadiums and school gyms do not have strong lighting. Even professional arenas can be dim compared to daylight. This forces you to adjust your Indoor Sports Photography Settings carefully so you can capture fast movement without losing image quality.
Another challenge is speed. Indoor sports like basketball, table tennis, volleyball, and gymnastics involve quick movements. Players jump, dive, spin, and change direction in seconds. If your settings are not correct, your photos will come out blurry.
This is why choosing the right Indoor Sports Photography Settings is not optional. It is essential.
The Most Important Setting: Shutter Speed
If I had to choose the most important part of Indoor Sports Photography Settings, it would be shutter speed.
Shutter speed controls how motion is captured. In sports photography, you usually want to freeze action. If your shutter speed is too slow, the players will look blurry.
For most indoor sports, I recommend starting at 1/500 second. For very fast sports like basketball or badminton, 1/800 or even 1/1000 second is better. This will freeze the movement and capture sharp details like facial expressions and flying sweat droplets.
Sometimes beginners use 1/200 second indoors because the lighting is low. That is not enough. The result is motion blur. So always prioritize a fast shutter speed when setting up your Indoor Sports Photography Settings.
If the image becomes too dark, adjust ISO or aperture instead of lowering shutter speed too much.
Aperture: Letting in More Light
Aperture is another critical part of Indoor Sports Photography Settings. Aperture controls how much light enters your camera through the lens.
In indoor sports photography, you usually want a wide aperture. That means using a small f-number like f/2.8, f/2, or f/1.8. A wide aperture allows more light into the camera, which helps you maintain a fast shutter speed.
A wide aperture also creates a beautiful background blur. This makes the athlete stand out and removes distractions like spectators or gym equipment.
Many professional sports photographers use lenses with f/2.8 because they are perfect for Indoor Sports Photography Settings. If you are just starting, even a 50mm f/1.8 lens can work very well in indoor environments.
ISO: Balancing Light and Noise
ISO is often misunderstood, but it plays a huge role in Indoor Sports Photography Settings.
ISO controls how sensitive your camera sensor is to light. In indoor environments, you often need a higher ISO because lighting is limited.
In most gyms, you may need ISO 1600, 3200, or even 6400 to maintain a fast shutter speed. Modern cameras handle high ISO much better than older models, so do not be afraid to increase it.
Yes, higher ISO introduces noise (grain). But a slightly noisy sharp photo is always better than a clean blurry photo. When working on Indoor Sports Photography Settings, sharpness is more important than avoiding noise.
Later, you can reduce noise during editing. At Image Work India, we often help photographers enhance their sports images through professional editing services, especially when dealing with high ISO shots.

Shooting Mode: Manual or Shutter Priority?
When discussing Indoor Sports Photography Settings, many people ask whether they should use Manual Mode or Shutter Priority.
Personally, I prefer Manual Mode in consistent lighting conditions. Indoor lighting usually does not change much, so once you set your shutter speed, aperture, and ISO correctly, you can keep shooting without the camera adjusting exposure incorrectly.
However, if you are a beginner, Shutter Priority Mode (Tv or S mode) is a good start. Set your shutter speed to at least 1/500, and let the camera adjust aperture automatically. Keep an eye on ISO so your image does not become too dark.
The key is consistency. Your Indoor Sports Photography Settings should remain stable throughout the game.
Autofocus Settings for Indoor Sports
Fast and accurate autofocus is essential in Indoor Sports Photography Settings.
Use Continuous Autofocus Mode. On Canon cameras, this is called AI Servo. On Nikon, it is AF-C. On Sony, it is Continuous AF.
This mode tracks moving subjects and keeps them in focus as they move toward or away from you.
Also, use dynamic or expanded focus points instead of a single point if players are moving unpredictably. This helps your camera track them better.
Indoor sports are fast. Your autofocus system must be ready.
White Balance in Indoor Arenas
Indoor lighting can cause strange colors in your photos. Some gyms use fluorescent lights, while others use LED or tungsten lighting. This affects color temperature.
For better Indoor Sports Photography Settings, avoid Auto White Balance if possible. Instead, use a preset like Fluorescent or set a custom white balance.
This helps maintain consistent skin tones and jersey colors.
If you shoot in RAW format, you can adjust white balance later during editing. Shooting RAW gives you more flexibility, especially in tricky indoor lighting.
Best Lenses for Indoor Sports Photography
Lens choice is a big part of Indoor Sports Photography Settings.
For larger arenas, a 70-200mm f/2.8 lens is ideal. It gives you flexibility to zoom in on players while maintaining a wide aperture.
For smaller gyms, a 50mm f/1.8 or 85mm f/1.8 works beautifully. These lenses are affordable and excellent in low light.
The key is choosing a lens that offers a wide aperture. Without that, your Indoor Sports Photography Settings will struggle in low-light environments.
Burst Mode and Timing
Indoor sports are unpredictable. One second nothing is happening, and the next second someone scores the winning point.
Use burst mode or continuous shooting. This allows your camera to take multiple frames per second.
Burst mode increases your chances of capturing the perfect moment. But do not just hold down the shutter blindly. Learn to anticipate action. Watch player movements and press the shutter at the right time.
Good Indoor Sports Photography Settings combined with good timing create powerful images.
Composition Tips for Indoor Sports
Even with perfect Indoor Sports Photography Settings, composition matters.
Position yourself strategically. If you are shooting basketball, try standing near the baseline. For volleyball, position yourself near the net but outside the court.
Focus on faces and emotions. Action is important, but emotion tells the story.
Avoid cluttered backgrounds. A wide aperture helps blur distractions, but your shooting angle also matters.
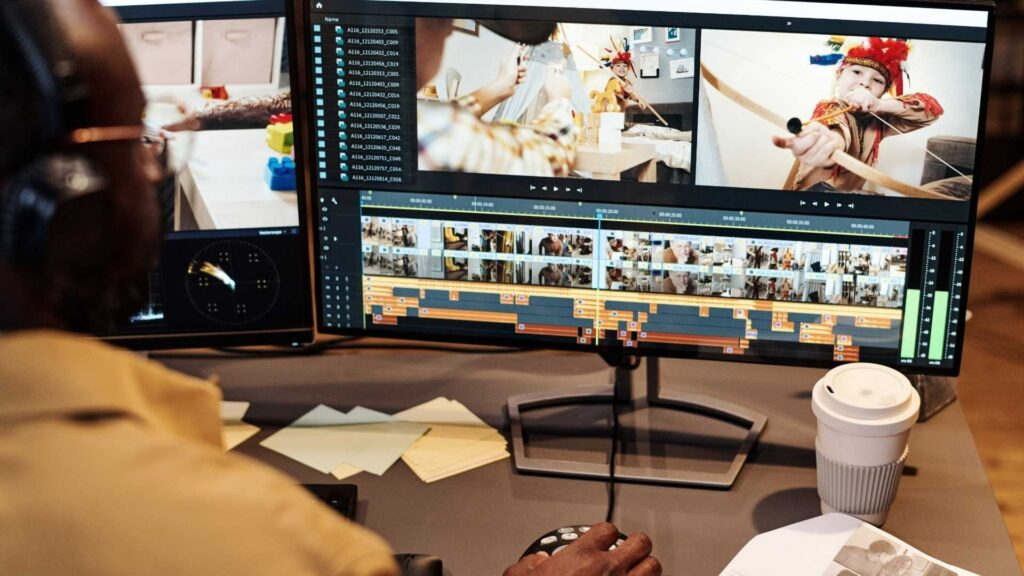
Editing Indoor Sports Photos
Editing is the final step in mastering Indoor Sports Photography Settings.
Indoor images often need exposure correction, noise reduction, color correction, and sharpening.
At Image Work India, we specialize in professional Image Editing Service for photographers. We enhance sports photos by adjusting lighting, reducing noise from high ISO shots, correcting white balance, and making colors pop naturally.
If you are covering tournaments regularly, professional editing can save you hours of work and ensure consistent quality.
Common Mistakes in Indoor Sports Photography Settings
One common mistake is using too slow shutter speed. Another mistake is being afraid of high ISO.
Some photographers also forget to check their focus mode and accidentally shoot in Single Autofocus. This results in out-of-focus images.
Another issue is underexposing too much. Slight underexposure is okay, but very dark images lose detail.
Avoid these mistakes and always test your Indoor Sports Photography Settings before the game starts.
Final Thoughts on Indoor Sports Photography Settings
Indoor sports photography is challenging, but it is also incredibly rewarding. When you capture the exact moment a player scores, celebrates, or dives for the ball, you freeze a powerful story in time.
Mastering Indoor Sports Photography Settings takes practice. Focus on fast shutter speed, wide aperture, and balanced ISO. Use continuous autofocus and burst mode. Pay attention to white balance and shoot in RAW whenever possible.
The more you practice, the more natural these settings will become.
And once you have captured amazing action shots, let Image Work India help you perfect them. We provide professional Image Editing Service for sports photographers, event photographers, and studios. From color correction to advanced retouching, we ensure your images look polished and professional.
Visit Image Work India to learn more about how we can support your photography workflow and help you deliver stunning sports images to your clients.
Keep practicing, keep shooting, and remember – the right Indoor Sports Photography Settings make all the difference.