You just spent thousands of dollars on a high-end jewelry photoshoot. The lighting was perfect, the diamonds sparkled, and the gold gleamed. But when you run those images through a one-click AI background remover, the results are a disaster. Diamond prongs are chewed off, the reflective gold is missing chunks, and the delicate negative space inside the necklace chains is still filled with gray studio paper.
When it comes to high-ticket e-commerce, the debate of manual clipping path vs AI background removal for jewelry is settled the moment you zoom in. Buyers scrutinize every facet of a gemstone before making a purchase. If your edges are jagged or blurred by algorithmic guesswork, your product looks cheap-and you lose the sale.
Here is the technical breakdown of why AI fails at jewelry retouching, and why mastering the manual clipping path remains the undisputed gold standard for professional retouchers.
Why AI Background Removal Tools Ruin High-End Jewelry Images
Modern AI background removal tools-whether web-based auto-removers or native features like Photoshop v25’s Select Subject-rely heavily on contrast and edge detection. For a person wearing a solid-colored t-shirt, these algorithms work brilliantly. For a diamond ring, they fail catastrophically.
Highly reflective metals act like mirrors, mimicking the exact color of the background they sit on. Translucent gemstones confuse the AI’s depth mapping, causing the software to mistake the inside of a diamond for the background. Because AI lacks human context, it cannot differentiate between a legitimate reflection on a gold band and the gray studio backdrop.
The Negative Space Nightmare
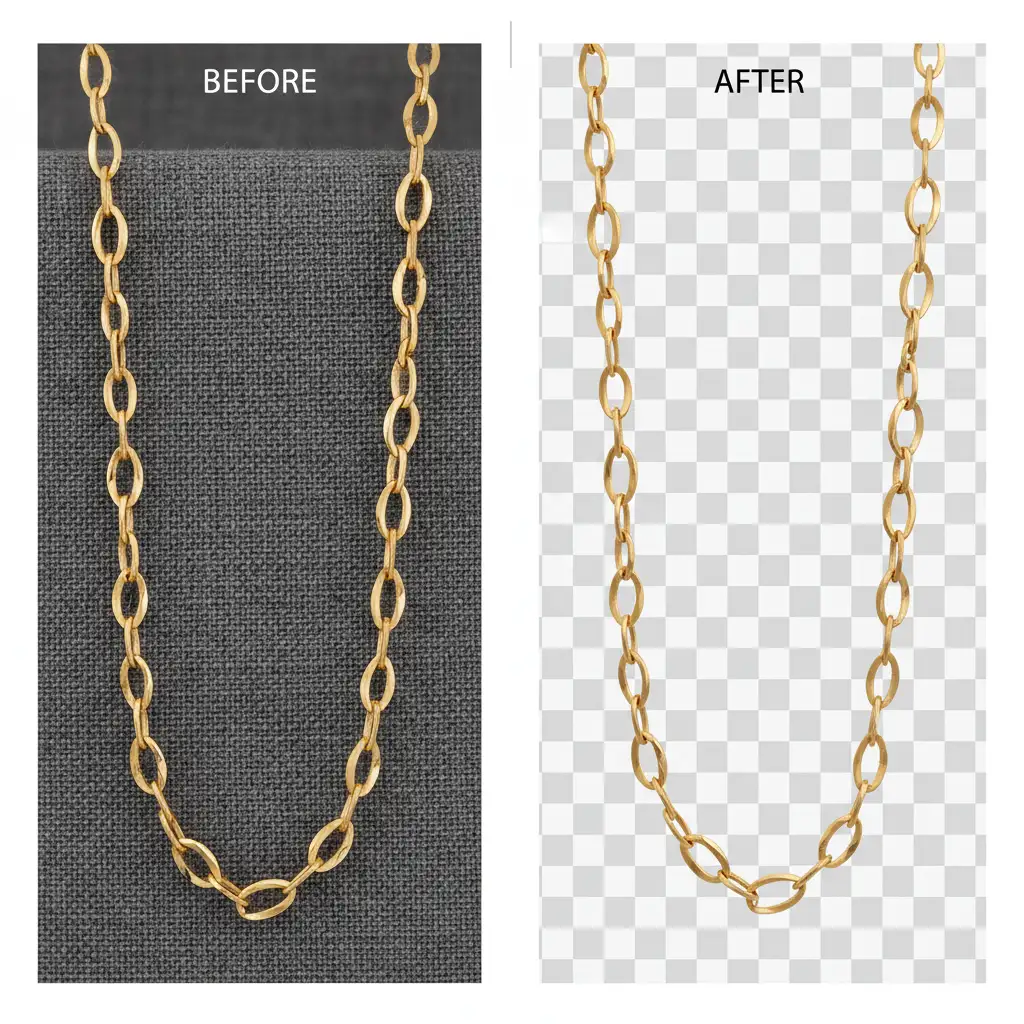
Jewelry is defined by its intricate details. The tiny gaps inside a Cuban link chain or the intricate filigree beneath a ring setting are known as negative space. AI struggles significantly with these complex areas, often leaving unwanted background pixels trapped inside the jewelry, ruining the illusion of transparency when placed on a new background.
The 3 Approaches to Jewelry Background Removal
When isolating jewelry, retouchers typically fall into one of three workflows. Here is how they stack up.
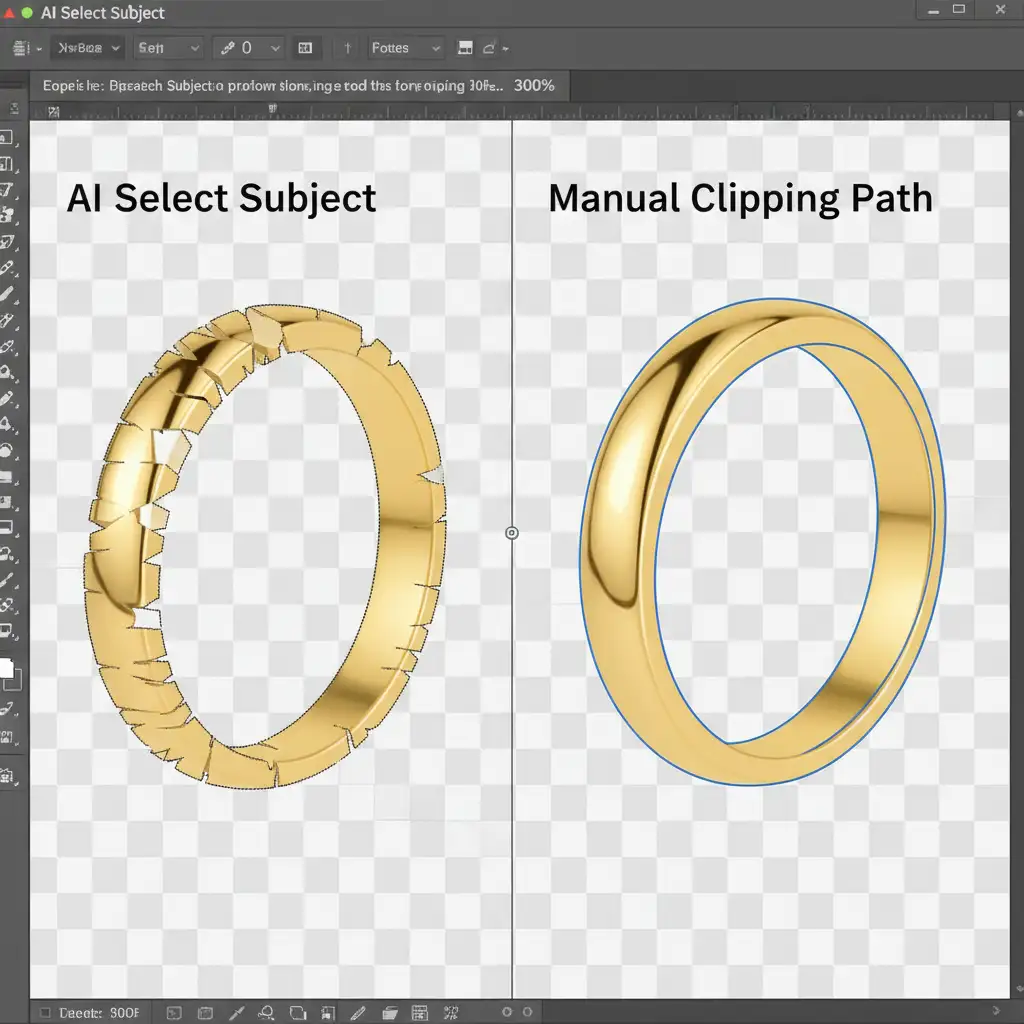
Method A: The Quick Fix (AI + Select and Mask)
This relies on using Photoshop’s Select Subject feature, followed by the Select and Mask workspace to adjust edge shift and feathering.
- The Result: While fast, this almost always leaves jagged edges on metals. The software attempts to use anti-aliasing to smooth the transition, which results in a blurry halo around the jewelry. It is entirely unacceptable for macro jewelry photography.
Method B: The Pro Workaround (AI Hybrid)
This method involves using AI for the main outline, then creating a Layer Mask. The retoucher then manually paints with a hard brush to restore missing prongs or remove background chunks from negative spaces.
- The Result: Better than the Quick Fix, but incredibly tedious. Painting with a brush relies on hand-eye coordination rather than mathematical curves, often leading to lumpy edges on what should be perfectly smooth metal bands.
Method C: The Technical Deep-Dive (Pure Manual Clipping Path)
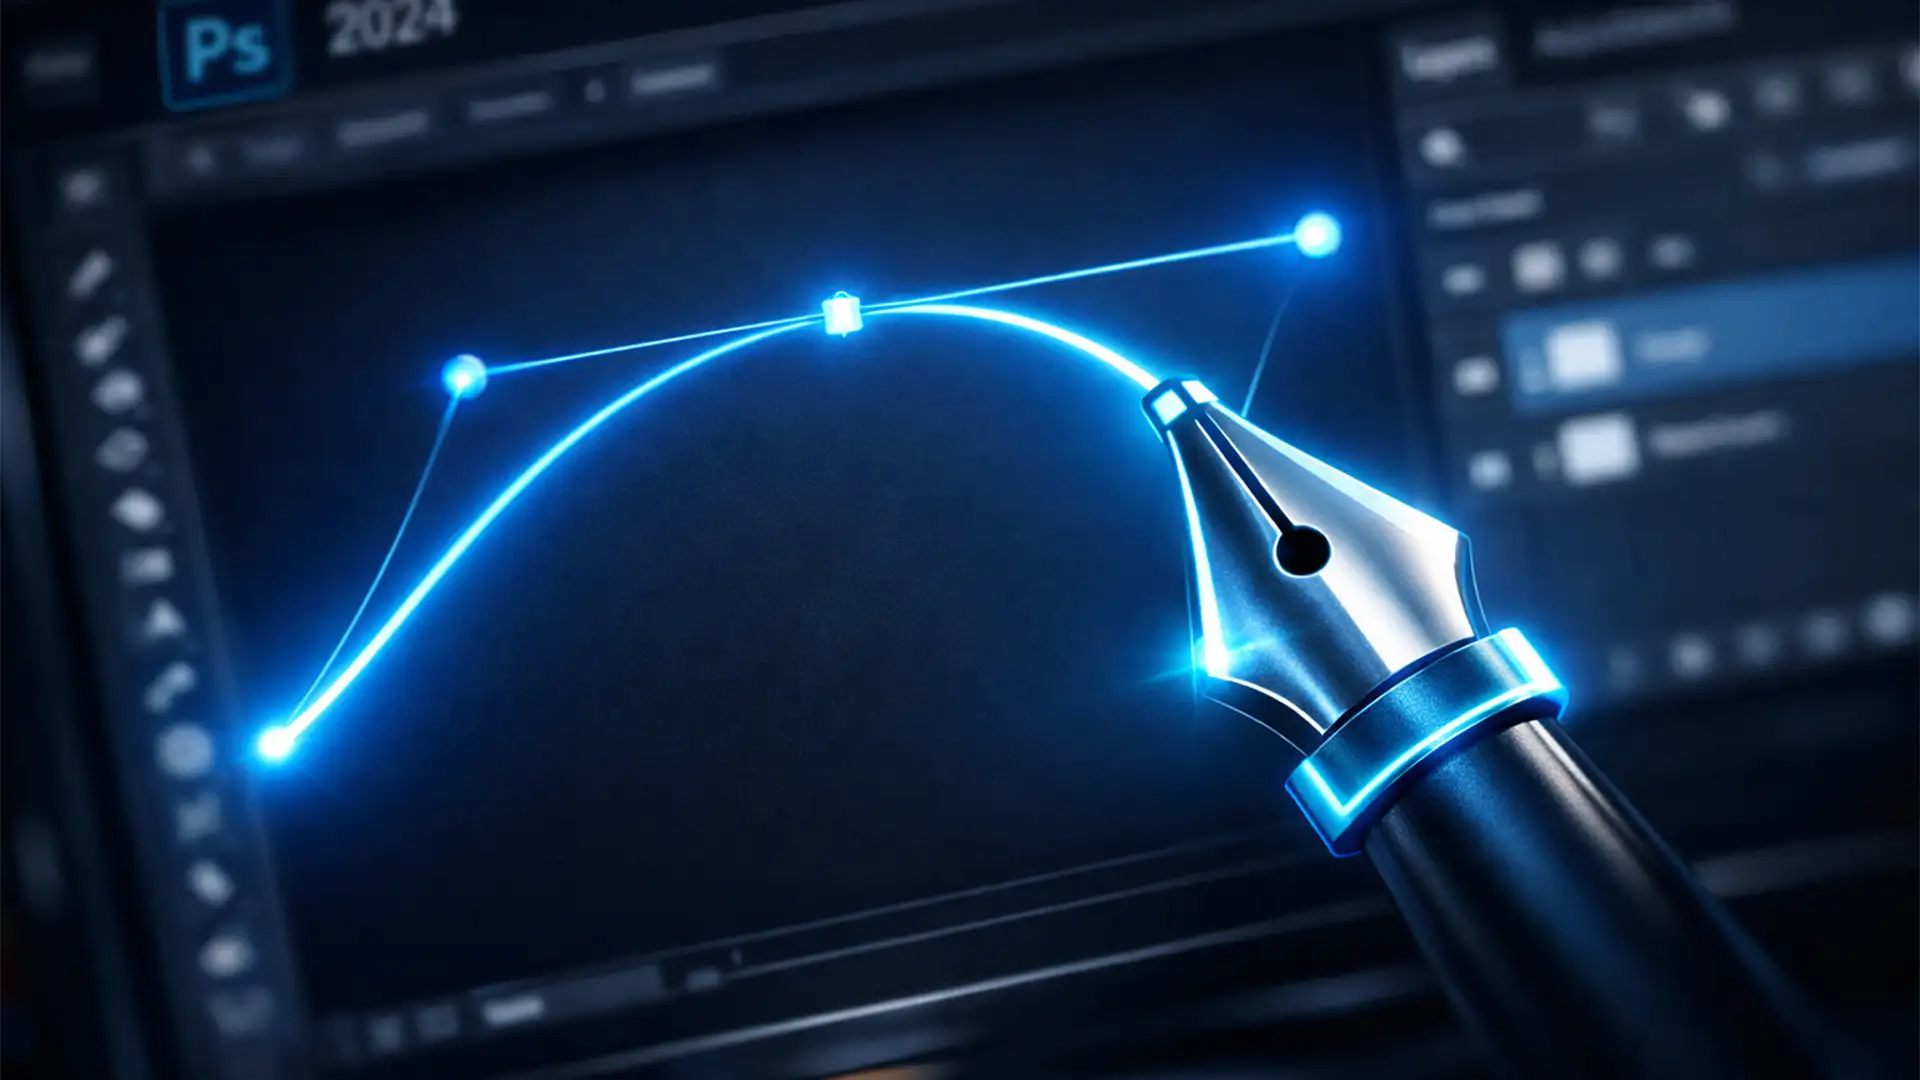
This is the pure, unadulterated approach used by high-end retouching houses. It requires selecting the Pen Tool, setting it to Path mode, and manually plotting a vector path around the item. Because a path is a mathematical equation rather than a pixel-based selection, it creates absolute vector boundaries that ignore contrast confusion.
Step-by-Step: Creating a Flawless Vector Path for Jewelry
If you want absolute perfection, you must use the Pen Tool. Here is the technical workflow for flawlessly isolating jewelry.
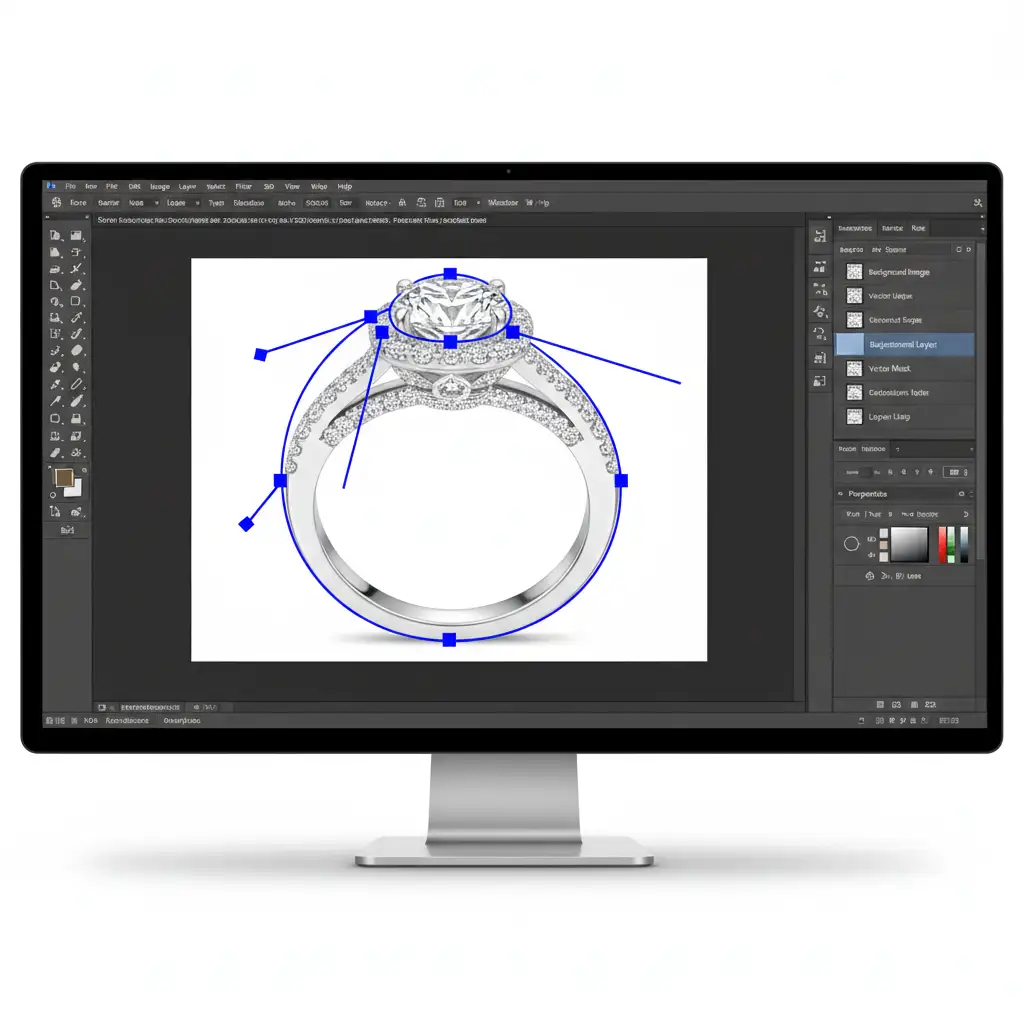
1. Set Up the Pen Tool
Select the Pen Tool (shortcut: P) and ensure the mode in the top options bar is set to “Path” (not Shape).
2. Zoom and Anchor
Zoom into your image at 300 percent. Precision is everything. Place your anchor points exactly 1 to 2 pixels inside the jewelry edge. This technique ensures that absolutely no background color bleeds into your final cutout.
3. Master the Bezier Curve
Click and drag to pull out the Bezier curve handles. The goal is to use as few anchor points as possible to trace the exterior edges. Fewer points result in smoother curves, which is critical for the sleek appearance of polished gold and silver.
4. Carve Out the Negative Space
Once the exterior path is closed, you must address the interior gaps. Ensure your Pen Tool operation is set to “Exclude Overlapping Shapes.” Trace every internal gap, such as the space between chain links or the gap between a ring band and its setting.
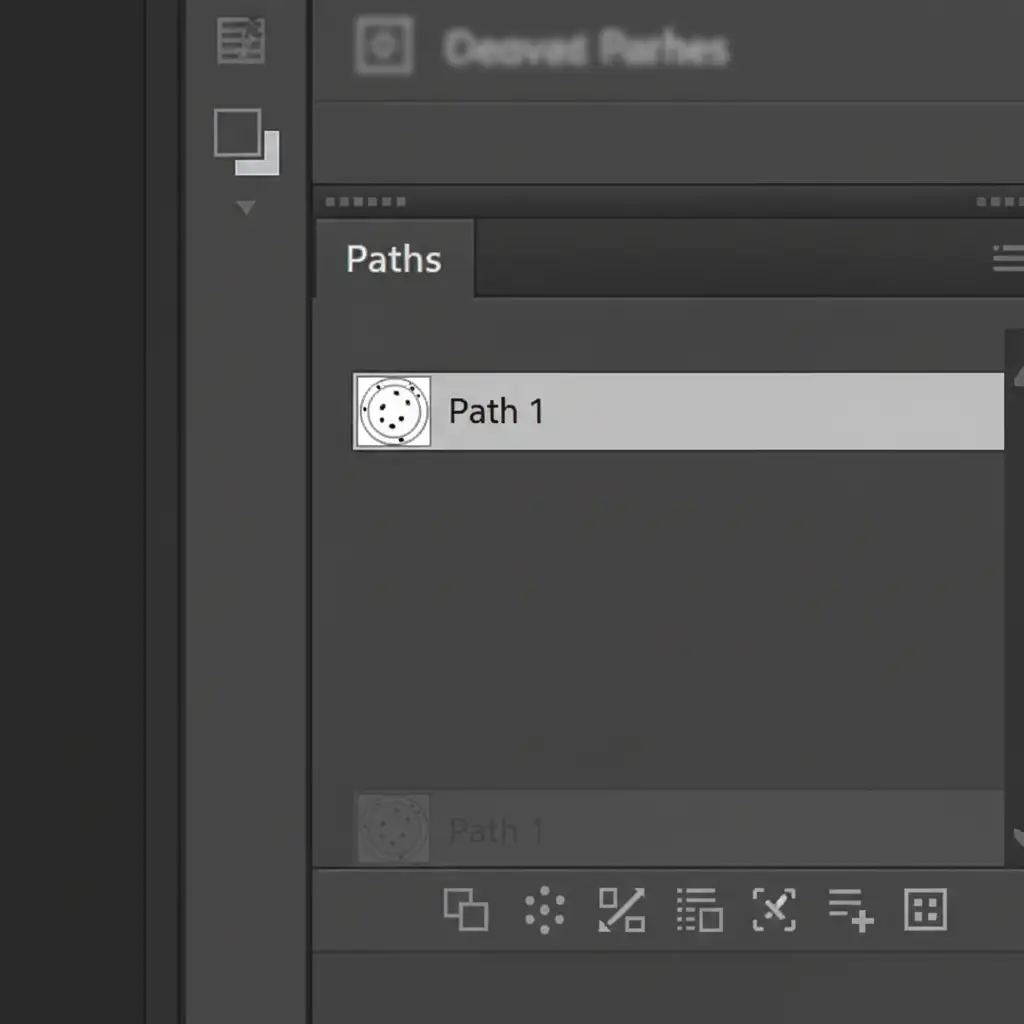
5. Save the Clipping Path
Never lose your hard work. Navigate to the Paths panel and double-click the “Work Path” to save it (usually named “Path 1”). This ensures a permanent, non-destructive clipping path is embedded within the JPEG or TIFF file. When placed into InDesign or a web layout, the software will read this path and instantly drop out the background.
Stop Losing Sales to Jagged Edges
While AI is making incredible strides in broad image manipulation, it simply cannot handle the microscopic precision required for high-end jewelry photography. Relying on automated tools will leave you with jagged metals, missing prongs, and trapped negative space.
Creating a flawless manual clipping path requires patience, a steady hand, and a deep understanding of vector mathematics. If you are processing hundreds or thousands of jewelry SKUs for an e-commerce launch, doing this yourself is a massive drain on your time and resources.
Don’t let bad cutouts ruin your luxury aesthetic. Let the expert retouchers at Image Work India and Cloud Retouch handle the heavy lifting. Our dedicated teams specialize in pixel-perfect manual clipping paths, guaranteeing sharp edges, perfectly preserved diamonds, and flawless negative space extraction.
[Contact Cloud Retouch today] to get a free trial and see how our manual clipping path services can elevate your jewelry imagery and drive higher conversions.