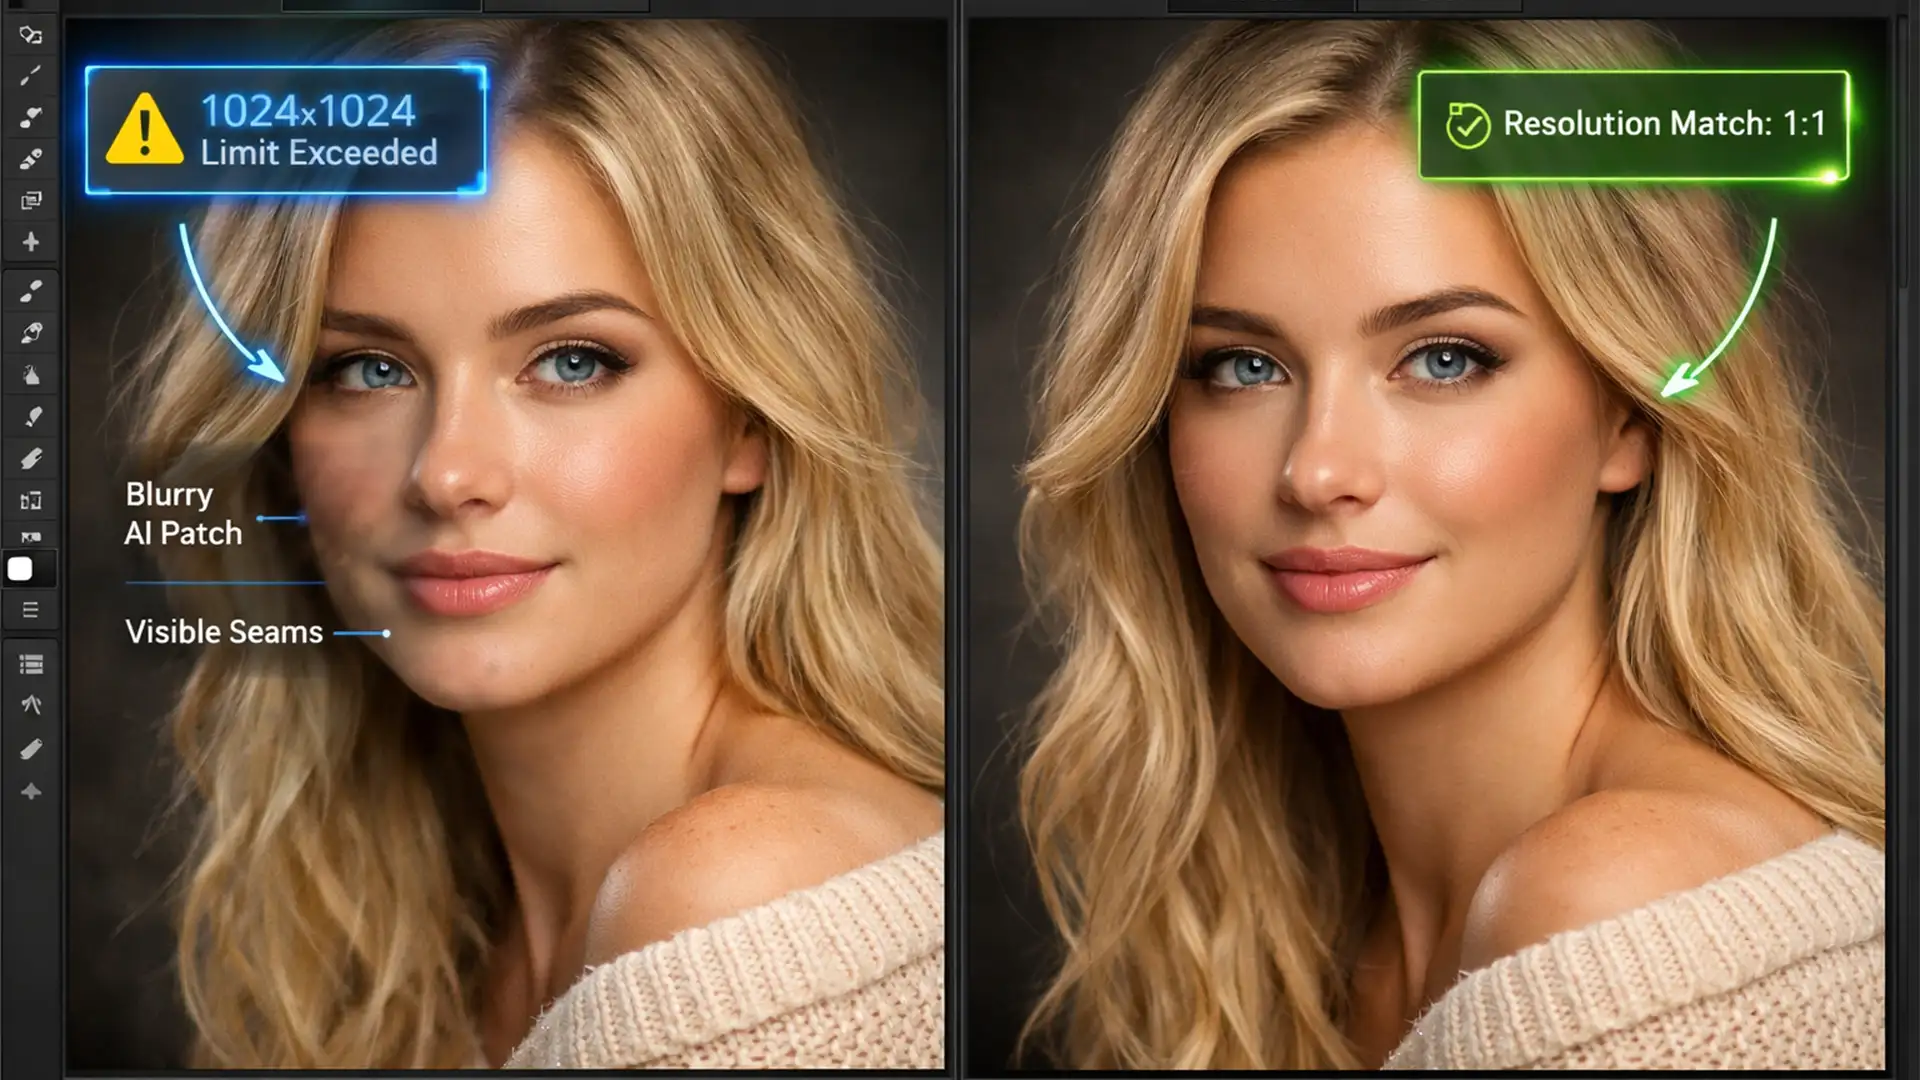
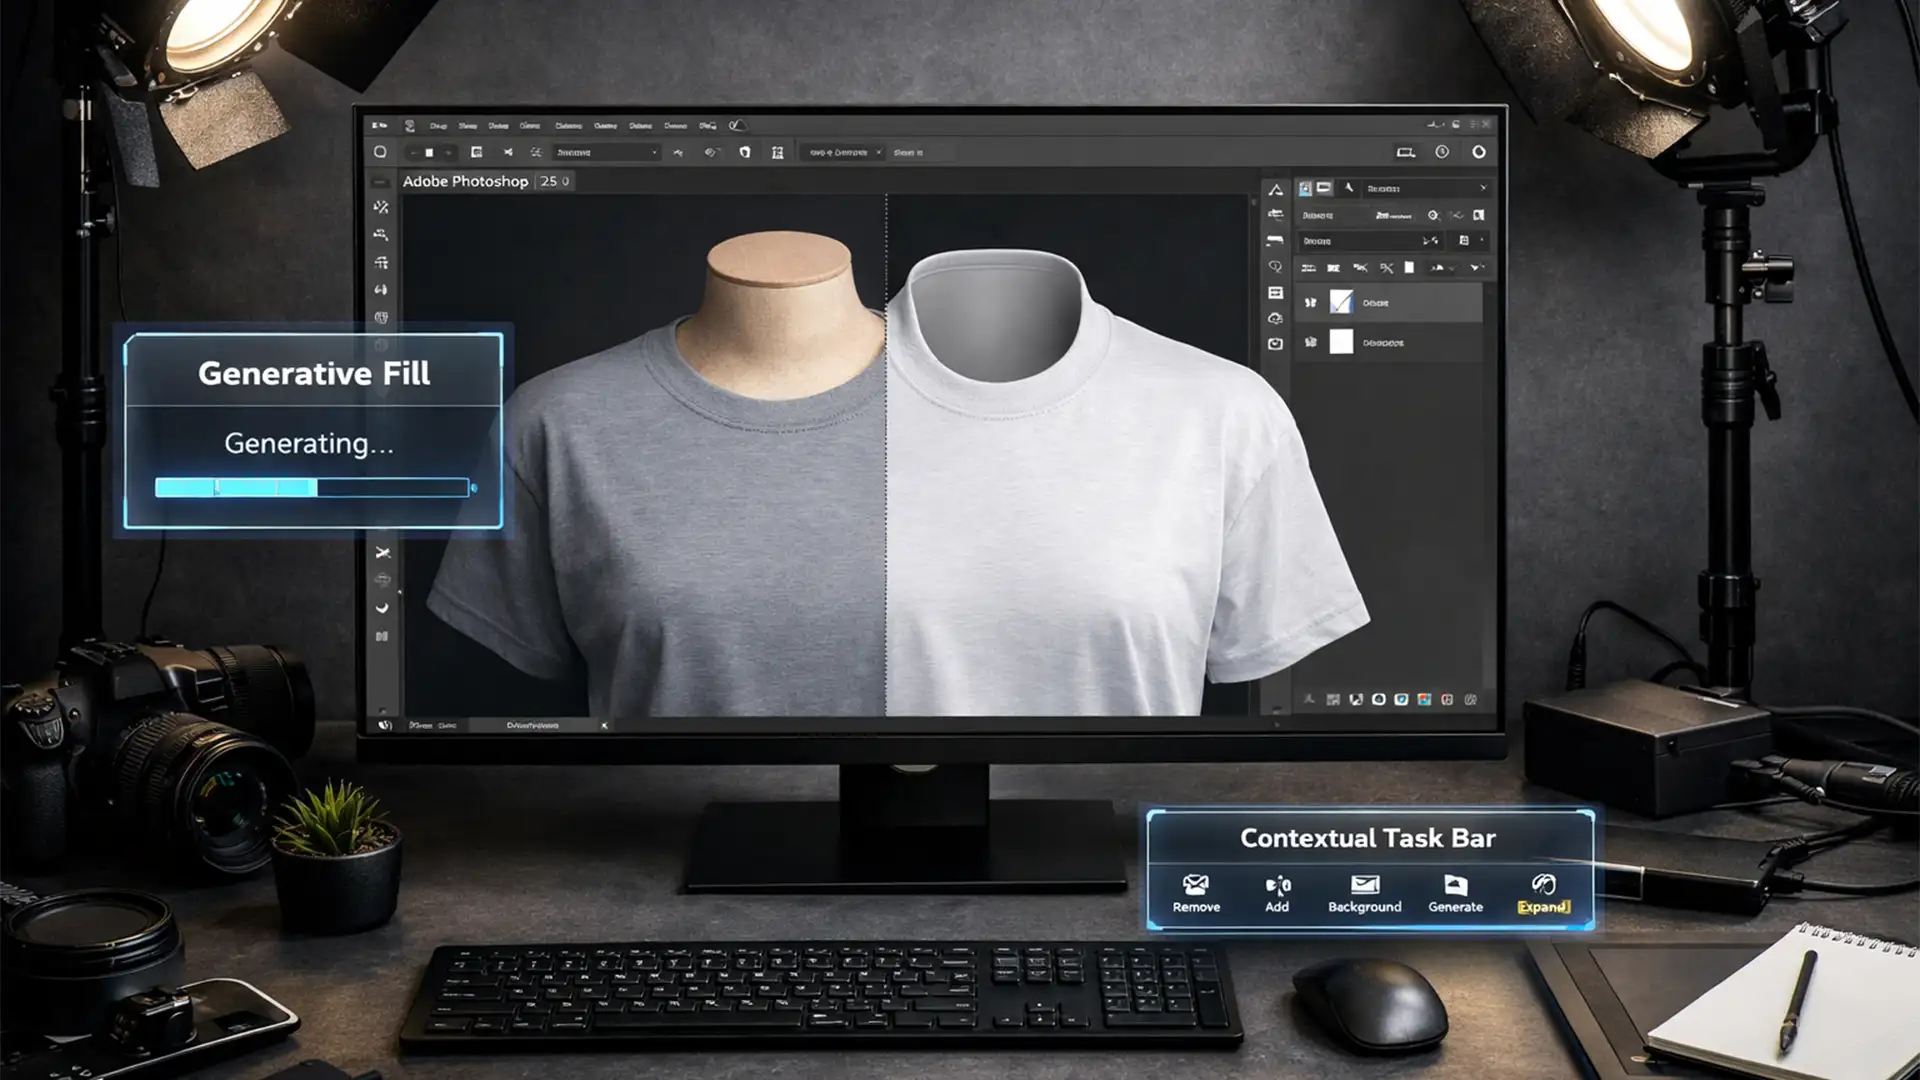
You just used Photoshop’s Generative Fill to remove a distracting object or expand a tight background. The composition looks mathematically perfect, but there is a glaring problem: the AI-generated patch is flawlessly smooth, sticking out like a sore thumb against the natural sensor noise and film grain of your original photograph.
This stark visual mismatch ruins the realism of your edit. Adobe Firefly synthesizes new pixels beautifully, but it completely fails to replicate the inherent texture of your source image. If you want professional, undetectable photo manipulations, you need to know exactly how to match grain to Generative Fill in Photoshop.
Here are three advanced, non-destructive techniques to restore natural texture and make your AI edits completely invisible.
Why Generative Fill Lacks Natural Texture
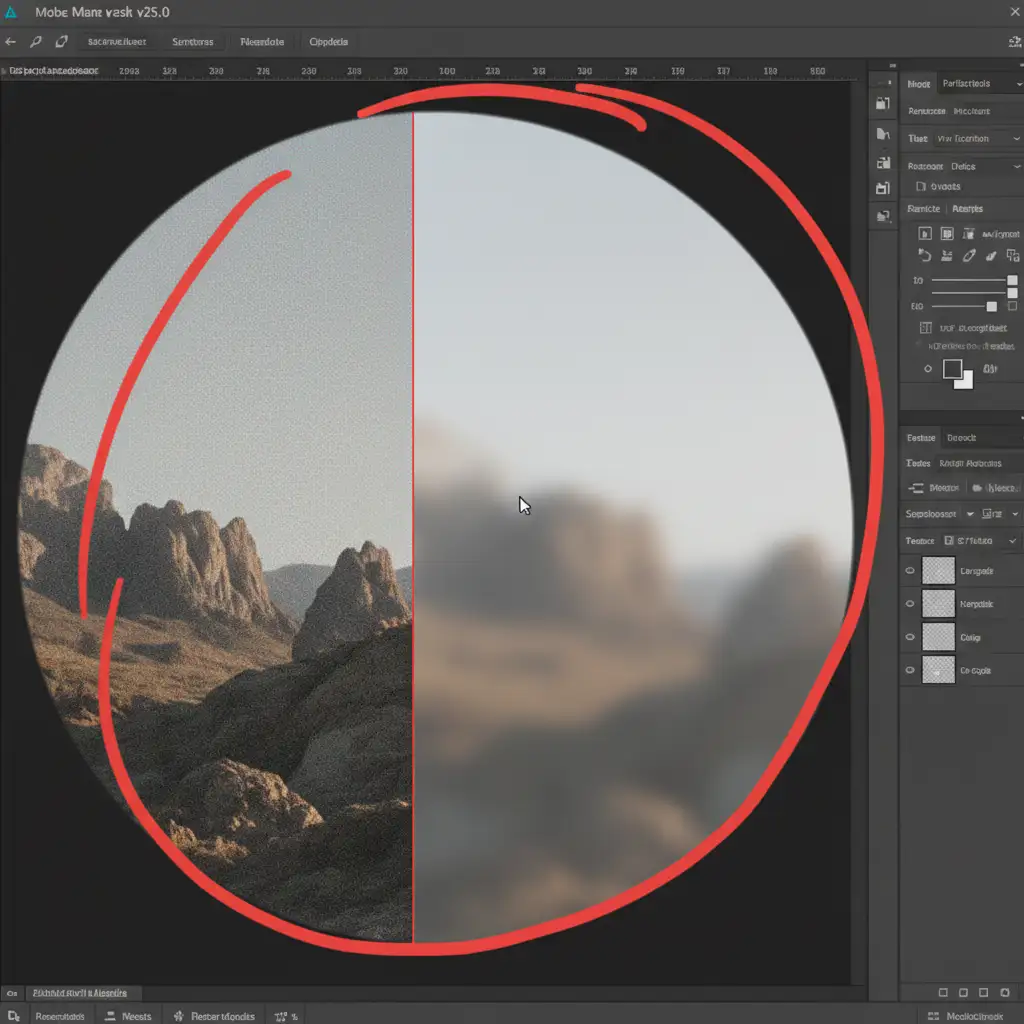
When Adobe introduced Generative Fill in Photoshop versions 25.0+, it revolutionized photo editing. However, the AI models are trained to produce clean, idealized pixels. They do not analyze the specific luminance noise, ISO artifacts, or film scan texture of your individual document.
The result? An obvious boundary where the gritty reality of a photograph meets the plastic smoothness of AI generation. To fix this, we have to perform secondary texture synthesis using Photoshop’s native noise and grain engines.
3 Methods to Match Grain to Generative Fill in Photoshop
Depending on your workflow and the complexity of your image, you can choose between a quick patch, a non-destructive professional workaround, or a mathematically perfect global grain application.
Method 1: The Quick Fix (Add Noise Filter)
If you are working on a fast mockup or a low-resolution web image, applying noise directly to the generated layer is the fastest route.
- Select your Generative Fill layer in the Layers panel.
- Navigate to the top menu and click Filter > Noise > Add Noise.
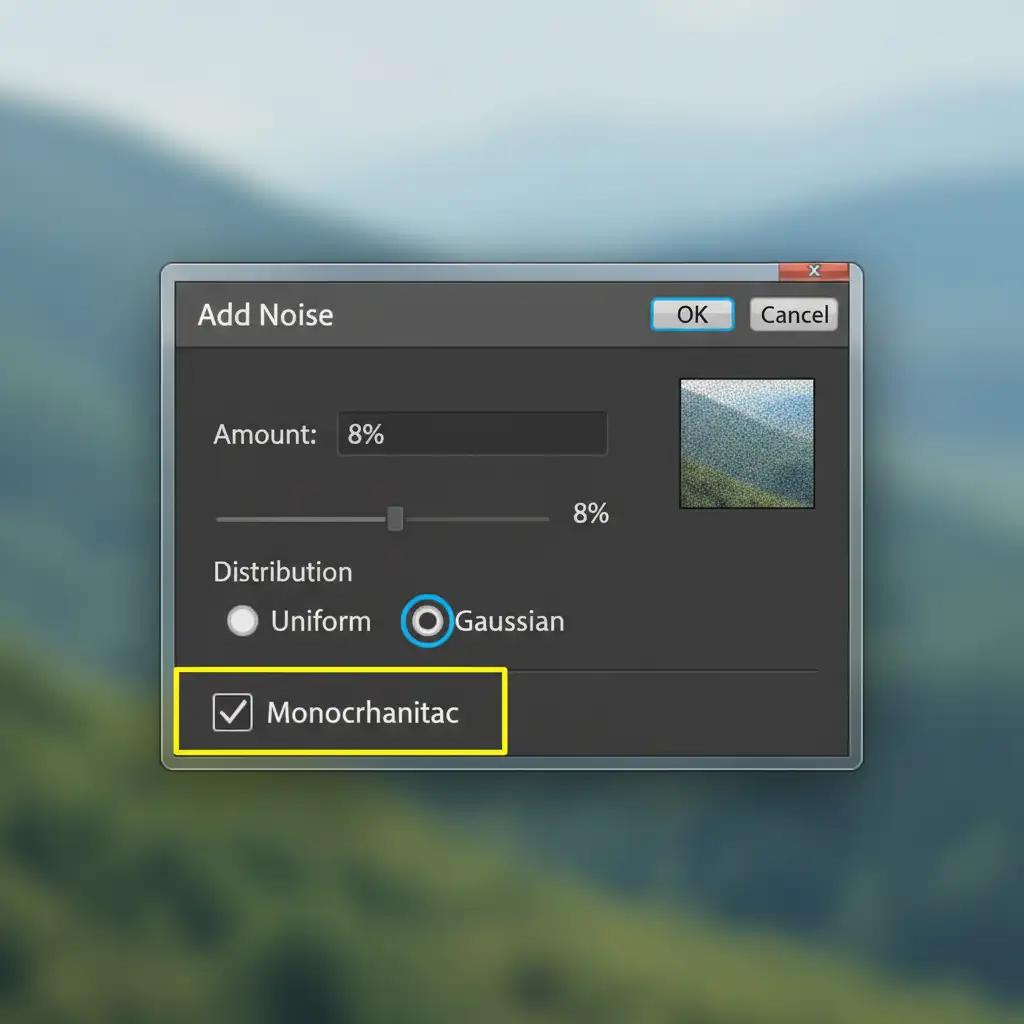
- In the dialog box, set the Distribution to Gaussian Noise (this mimics natural sensor noise better than Uniform).
- Check the Monochromatic box at the bottom. If you leave this unchecked, Photoshop will introduce color noise, which looks like digital artifacting rather than natural film grain.
- Adjust the Amount slider until the texture visually matches the surrounding original pixels.
Method 2: The Pro Workaround (50% Gray Layer & Clipping Mask)
Applying noise directly to the Generative Fill layer rasterizes the effect, making it difficult to adjust later. High-end retouchers use a non-destructive 50 percent gray layer to overlay texture.
- Create a New Layer directly above your Generative Fill layer.
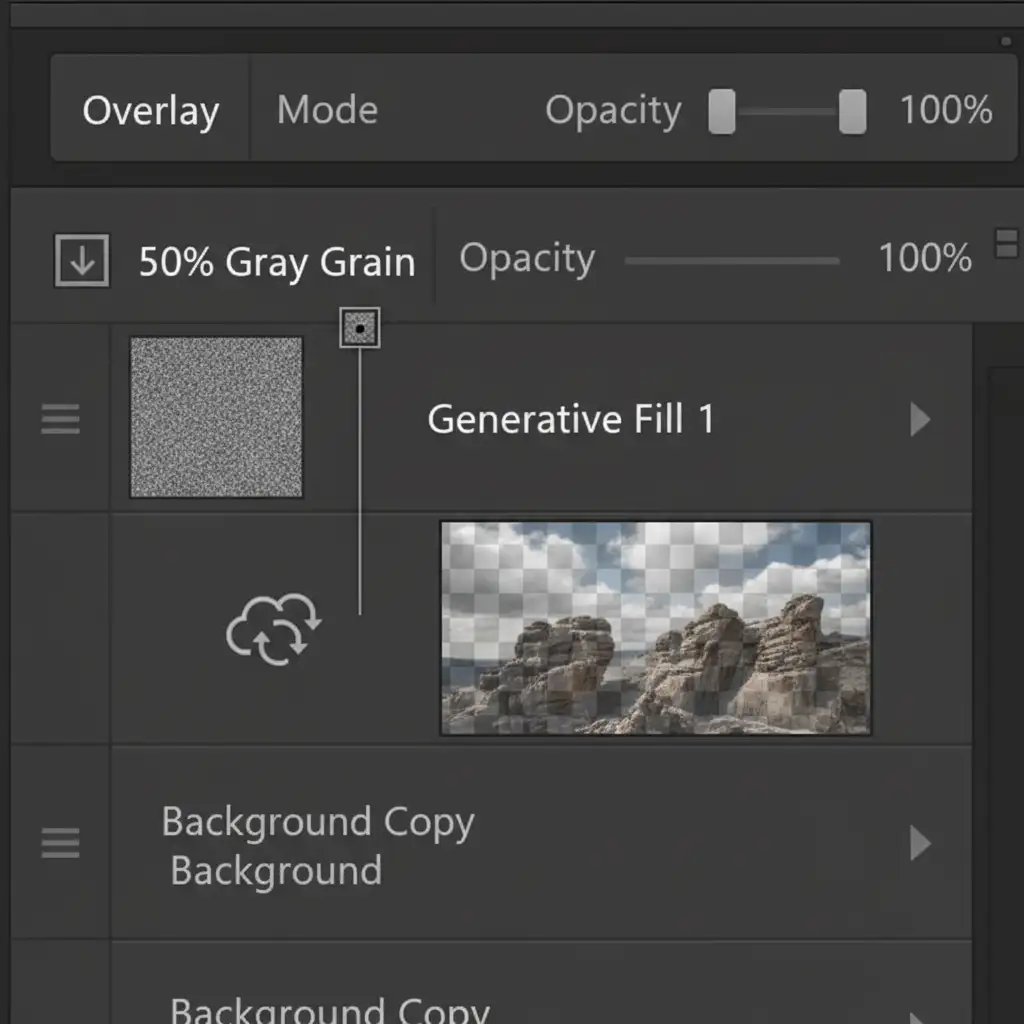
- Go to Edit > Fill, select 50% Gray from the Contents dropdown, and click OK.
- Change the Blend Mode of this gray layer to either Overlay or Soft Light. The gray will immediately become invisible, leaving only the texture behind.
- Right-click the gray layer and select Create Clipping Mask. This ensures your new grain only applies to the AI-generated pixels, not the entire image.
- With the gray layer selected, apply the Add Noise filter (Gaussian, Monochromatic) just as you did in Method 1.
Because the noise lives on its own clipped layer, you can lower the opacity, blur it slightly, or delete it entirely without damaging your AI-generated pixels.
Method 3: The Technical Deep-Dive (Camera Raw Filter & Smart Objects)
Sometimes, matching the exact size and roughness of organic film grain using the basic Add Noise filter is impossible. For a flawless, mathematically unified texture, you need to apply grain globally using the Camera Raw Filter.
- Once you are happy with your Generative Fill edits, select all your layers.
- Press Ctrl + Alt + Shift + E (Windows) or Cmd + Option + Shift + E (Mac) to merge a copy of all visible layers at the top of your stack.
- Right-click this merged layer and select Convert to Smart Object.
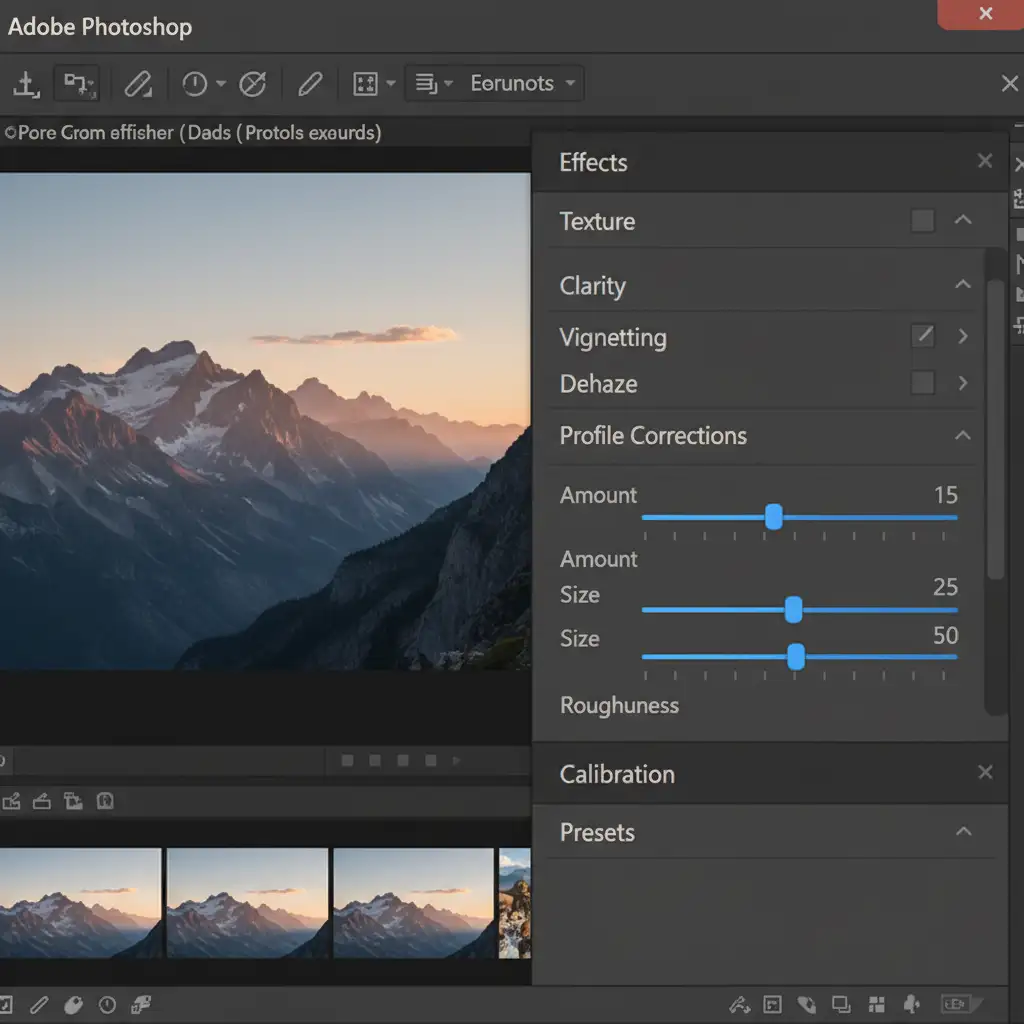
- Go to Filter > Camera Raw Filter.
- Navigate to the Effects panel on the right side.
- Use the Grain sliders. Unlike the basic noise filter, Camera Raw allows you to adjust the Amount, Size, and Roughness of the grain.
- Apply a subtle global grain over the entire image. This unifies the original photograph and the AI patch under a single, cohesive texture layer.
Flawless Retouching at Scale with Image Work India
Knowing how to match grain to Generative Fill in Photoshop is essential for high-end photo manipulation, but executing these deep-dive technical workflows on hundreds of e-commerce, real estate, or editorial images is incredibly time-consuming.
If you are struggling to get flawless, undetectable photo manipulations at scale, let the experts handle it. Partner with Image Work India and Cloud Retouch for premium, high-volume retouching services. Our professional retouchers understand the intricate details of luminance noise, clipping masks, and smart object workflows, ensuring that every pixel we deliver is perfectly matched and completely natural.
Focus on capturing incredible images, and let Image Work India handle the pixel-perfect finishing touches. Contact us today to streamline your post-production workflow.