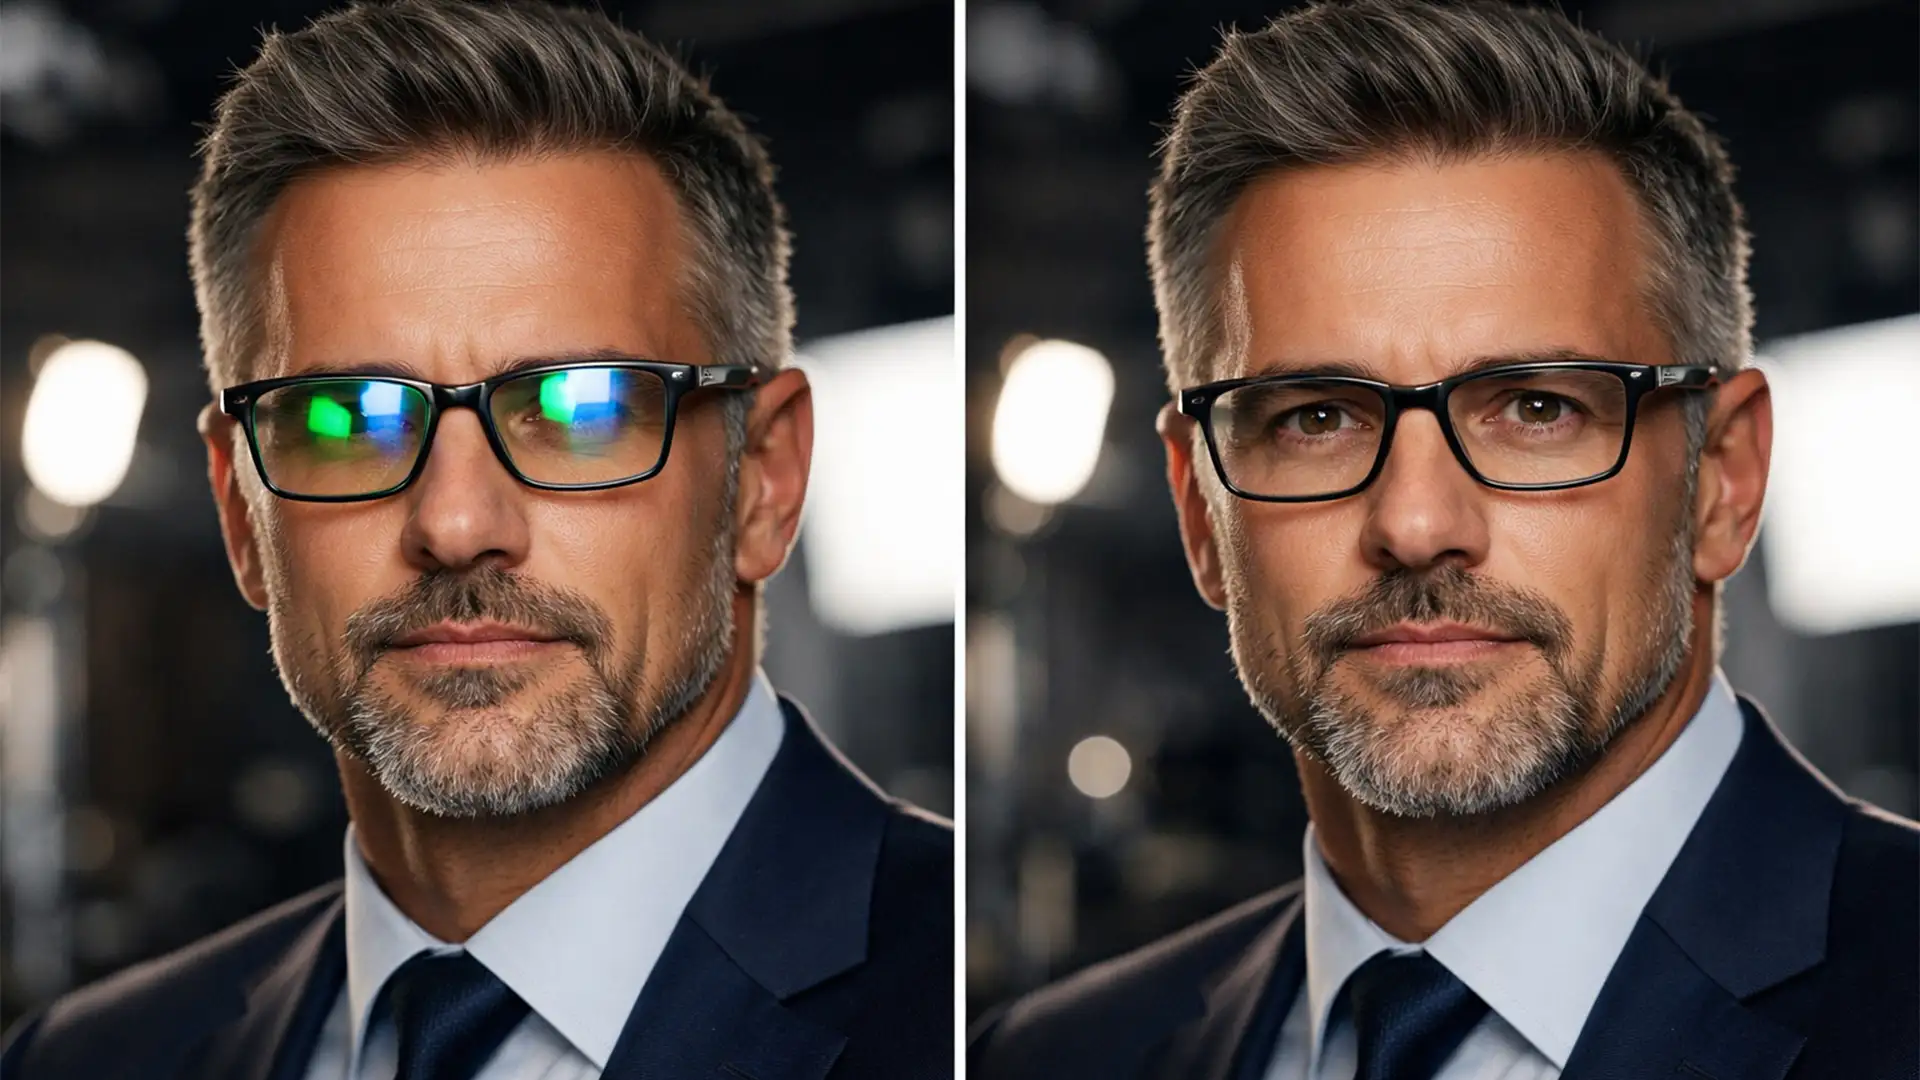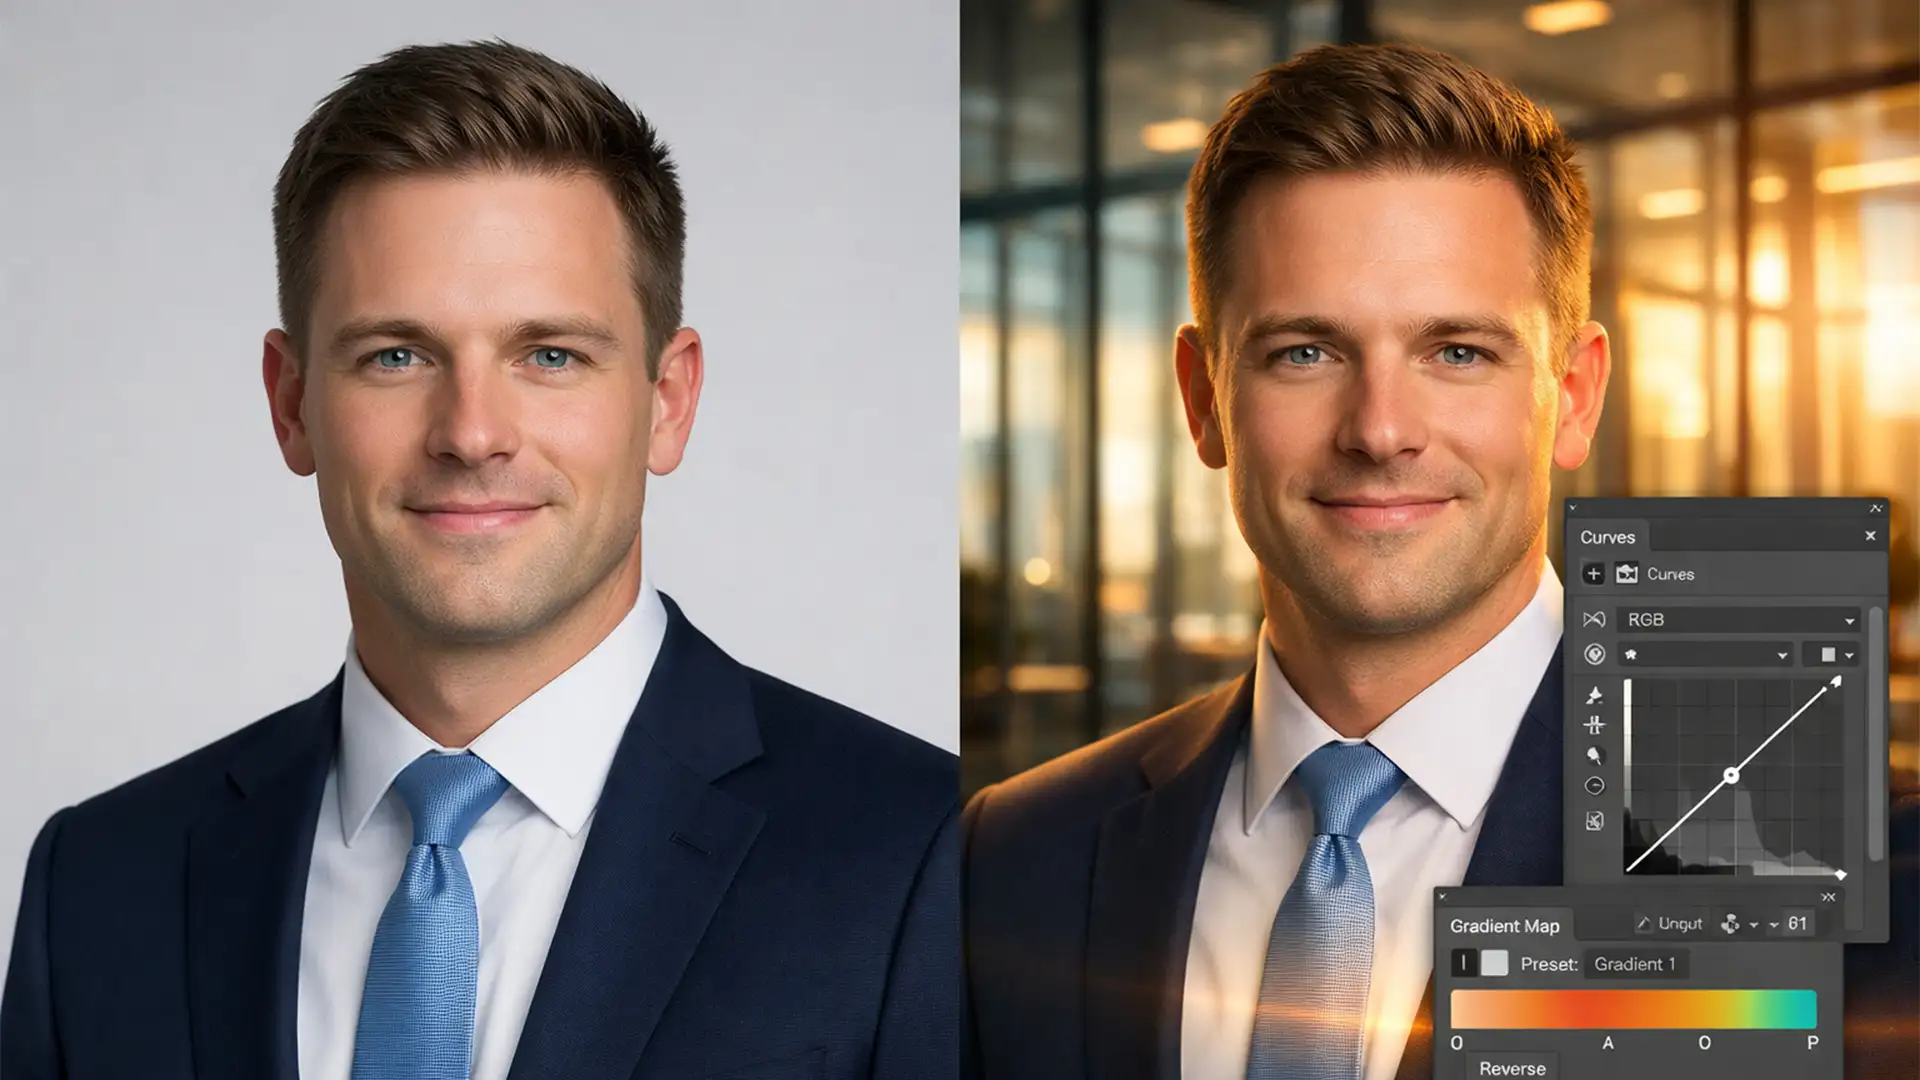
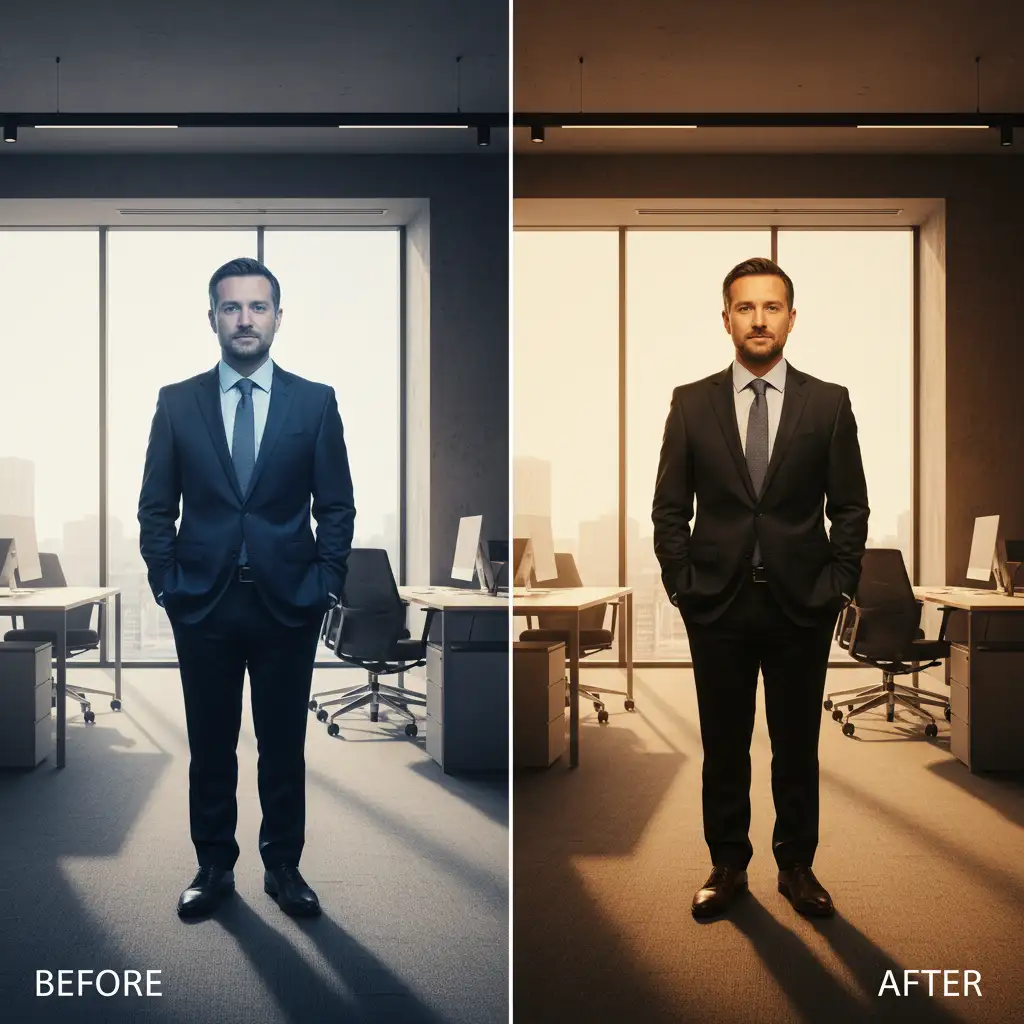
Are your corporate portraits suffering from the dreaded “pasted-on” effect? When you try to match headshot lighting to AI office background environments, the results often look fake. Discordant color temperatures, opposing light directions, and mismatched shadow densities instantly ruin the illusion.
In Photoshop v25.x and newer, placing a standard studio portrait into an AI-generated workspace requires more than just a clean background removal. You must analyze the luminosity and RGB values of the new background to accurately replicate both ambient and directional light onto your subject.
In this guide, we will break down three professional methods to seamlessly integrate your rasterized headshot layers into any AI-generated environment.
Why Your Headshot Composites Look “Pasted On”
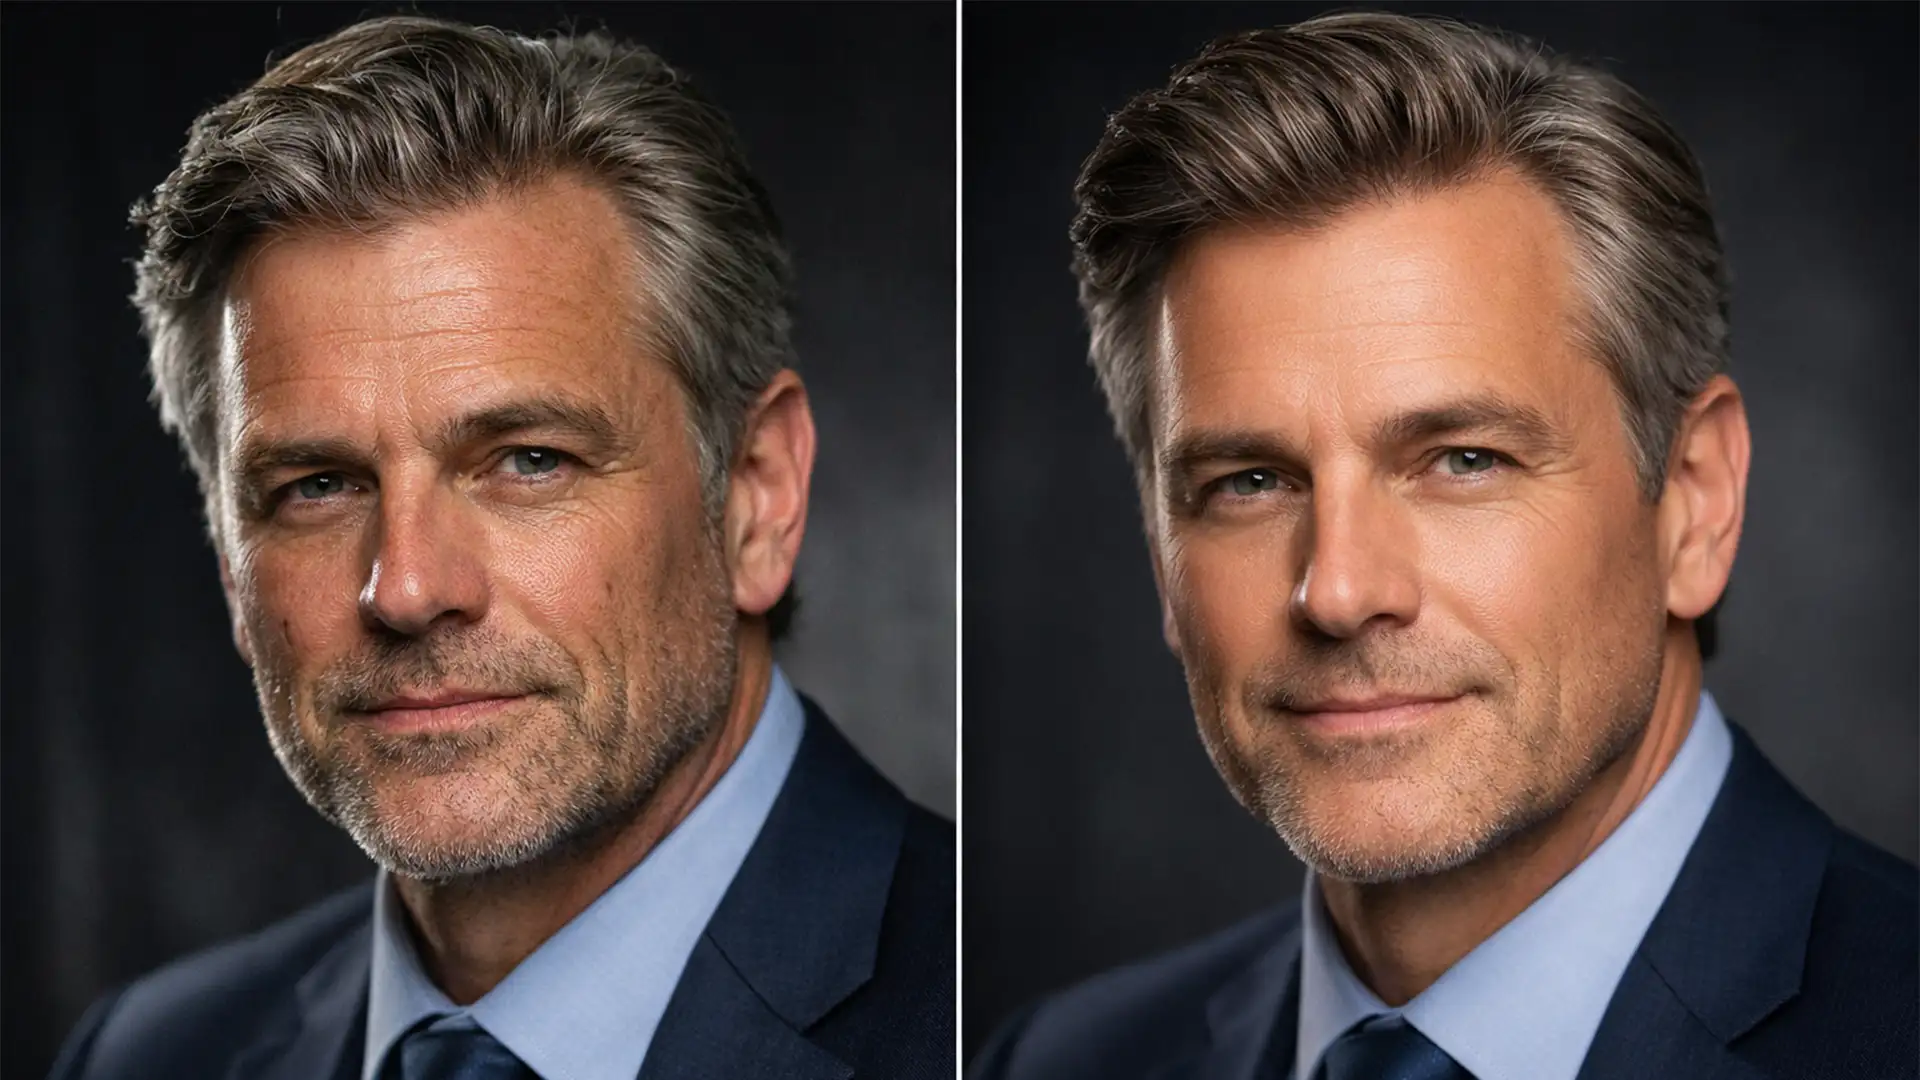
When compositing real photography with AI generation, the human eye easily detects inconsistencies. If your subject was shot with a cool, flat strobe light, but your AI background features warm, late-afternoon directional lighting streaming through a window, the composite will fail.
To fix this, retouchers must address three core elements:
- Color Temperature: Aligning the cool or warm tones of the subject with the ambient light of the room.
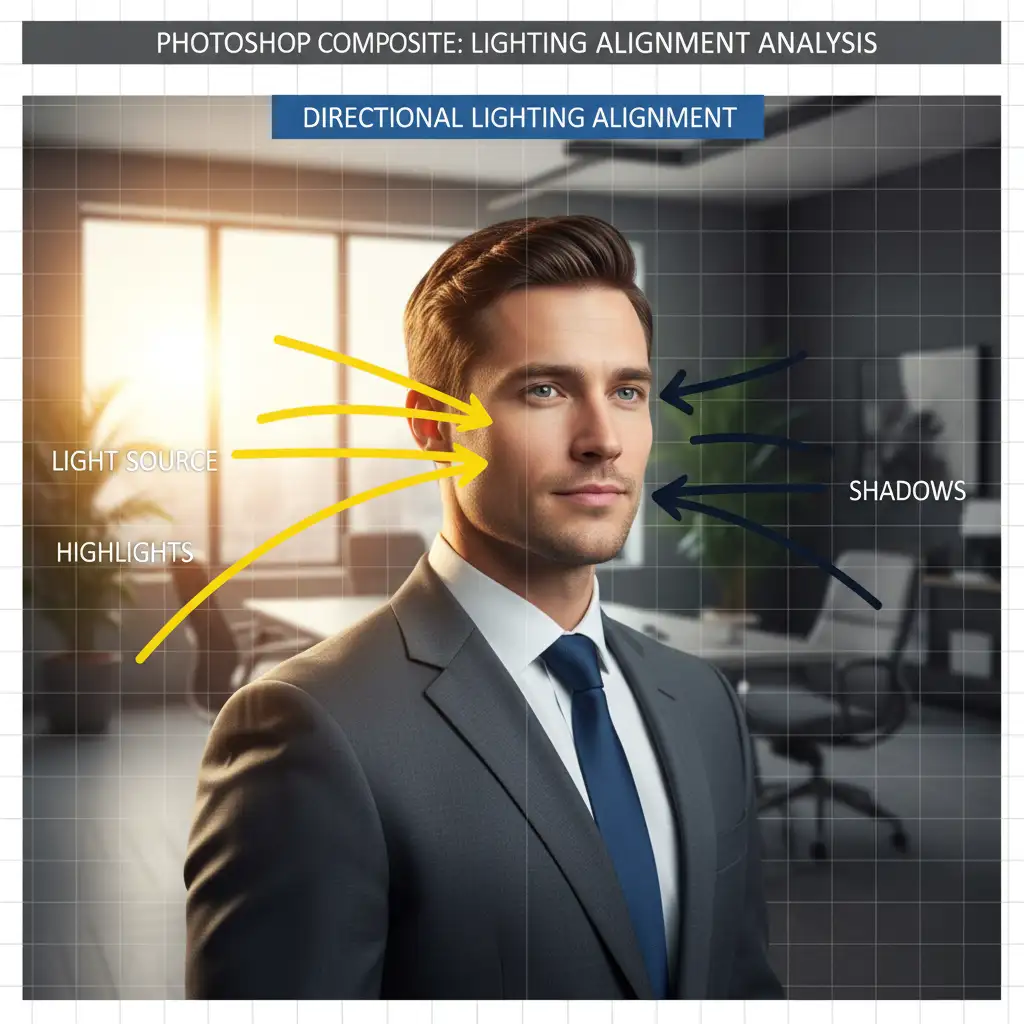
- Directional Lighting: Ensuring the highlights and shadows on the face correspond to the light sources in the AI background.
- Luminosity: Matching the overall brightness and contrast levels so the subject doesn’t look artificially bright or unnaturally dark.
3 Ways to Match Headshot Lighting to an AI Office Background
Whether you need a rapid fix for a massive company directory or a flawless, high-end composite for an executive bio, Photoshop offers multiple workflows to achieve perfect color grading and lighting integration.
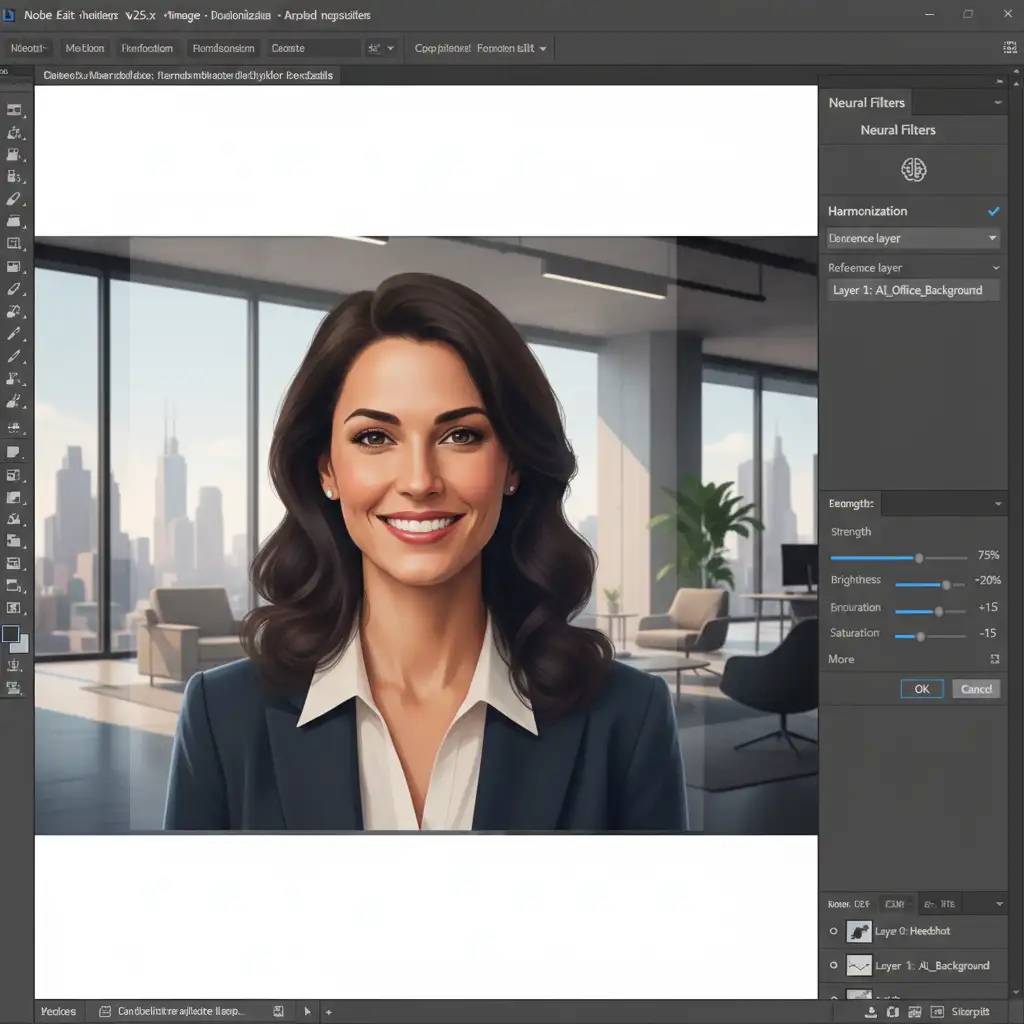
Method 1: The Quick Fix Using the Harmonization Neural Filter
If you are processing a high volume of images and need a fast, effective solution, Adobe’s AI-powered Harmonization Neural Filter is your best starting point.
Step-by-Step Fix:
- Select your isolated headshot layer.
- Navigate to Filter > Neural Filters > Harmonization.
- In the right-hand panel, select your AI office background as the reference layer.
- Photoshop will automatically calculate the color temperature and luminosity of the background and apply it to your subject.
- Fine-tune the Strength, Brightness, and Saturation sliders until the subject blends naturally into the ambient light of the room. Output as a New Layer.
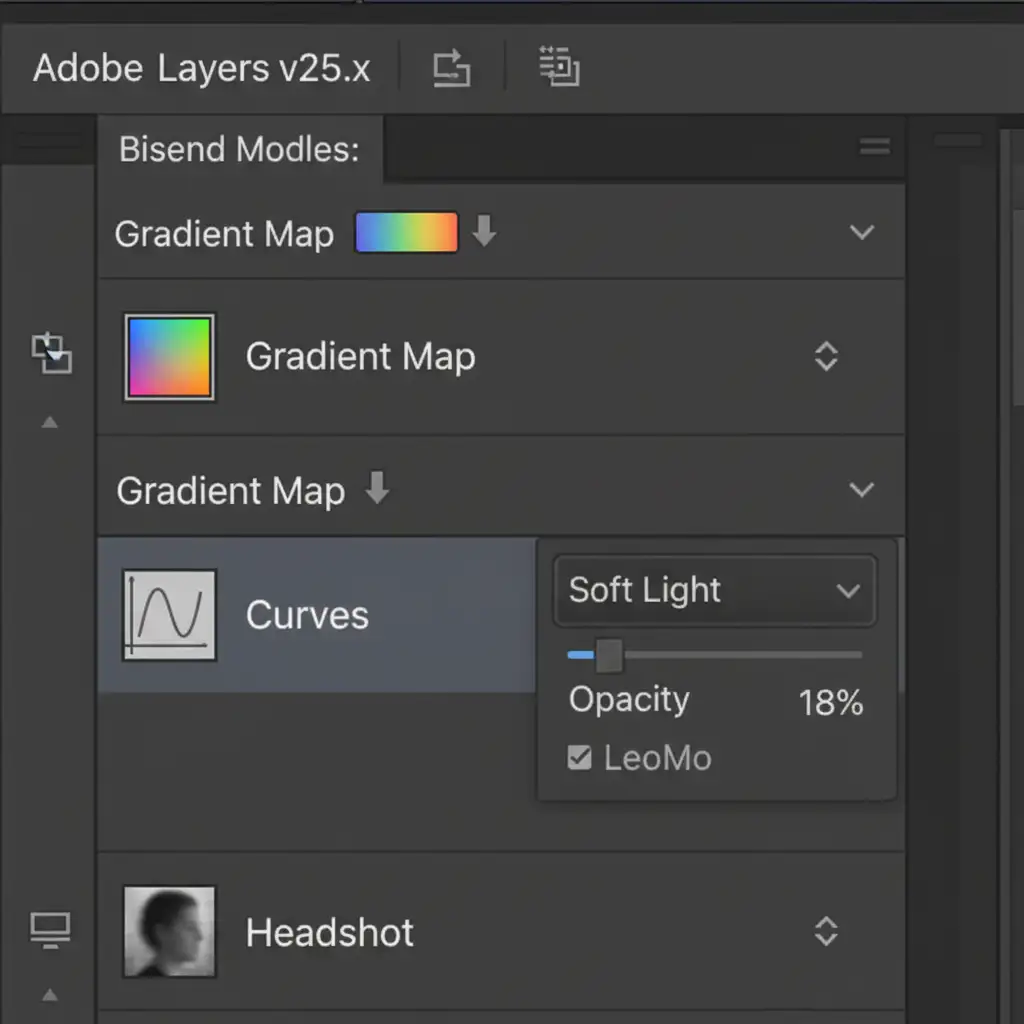
Method 2: The Pro Workaround with Gradient Maps
For more precise control over your color palettes and shadow densities, professional retouchers rely on Clipping Masks and Gradient Maps. This method forces the exact highlight and shadow colors of the AI background onto your subject.
Step-by-Step Fix:
- Create a Gradient Map adjustment layer and clip it to your headshot layer (Alt/Option + Click between the layers).
- Double-click the gradient to open the Gradient Editor.
- For the darkest shadow point (left side), use the eyedropper to sample the darkest shadow from the AI background.
- For the brightest highlight point (right side), sample the brightest light source in the background.
- Change the Gradient Map’s Blend Mode to ‘Soft Light’.
- Drop the layer Opacity to 15–20 percent. This creates a subtle color grade that instantly unifies the subject and the background.
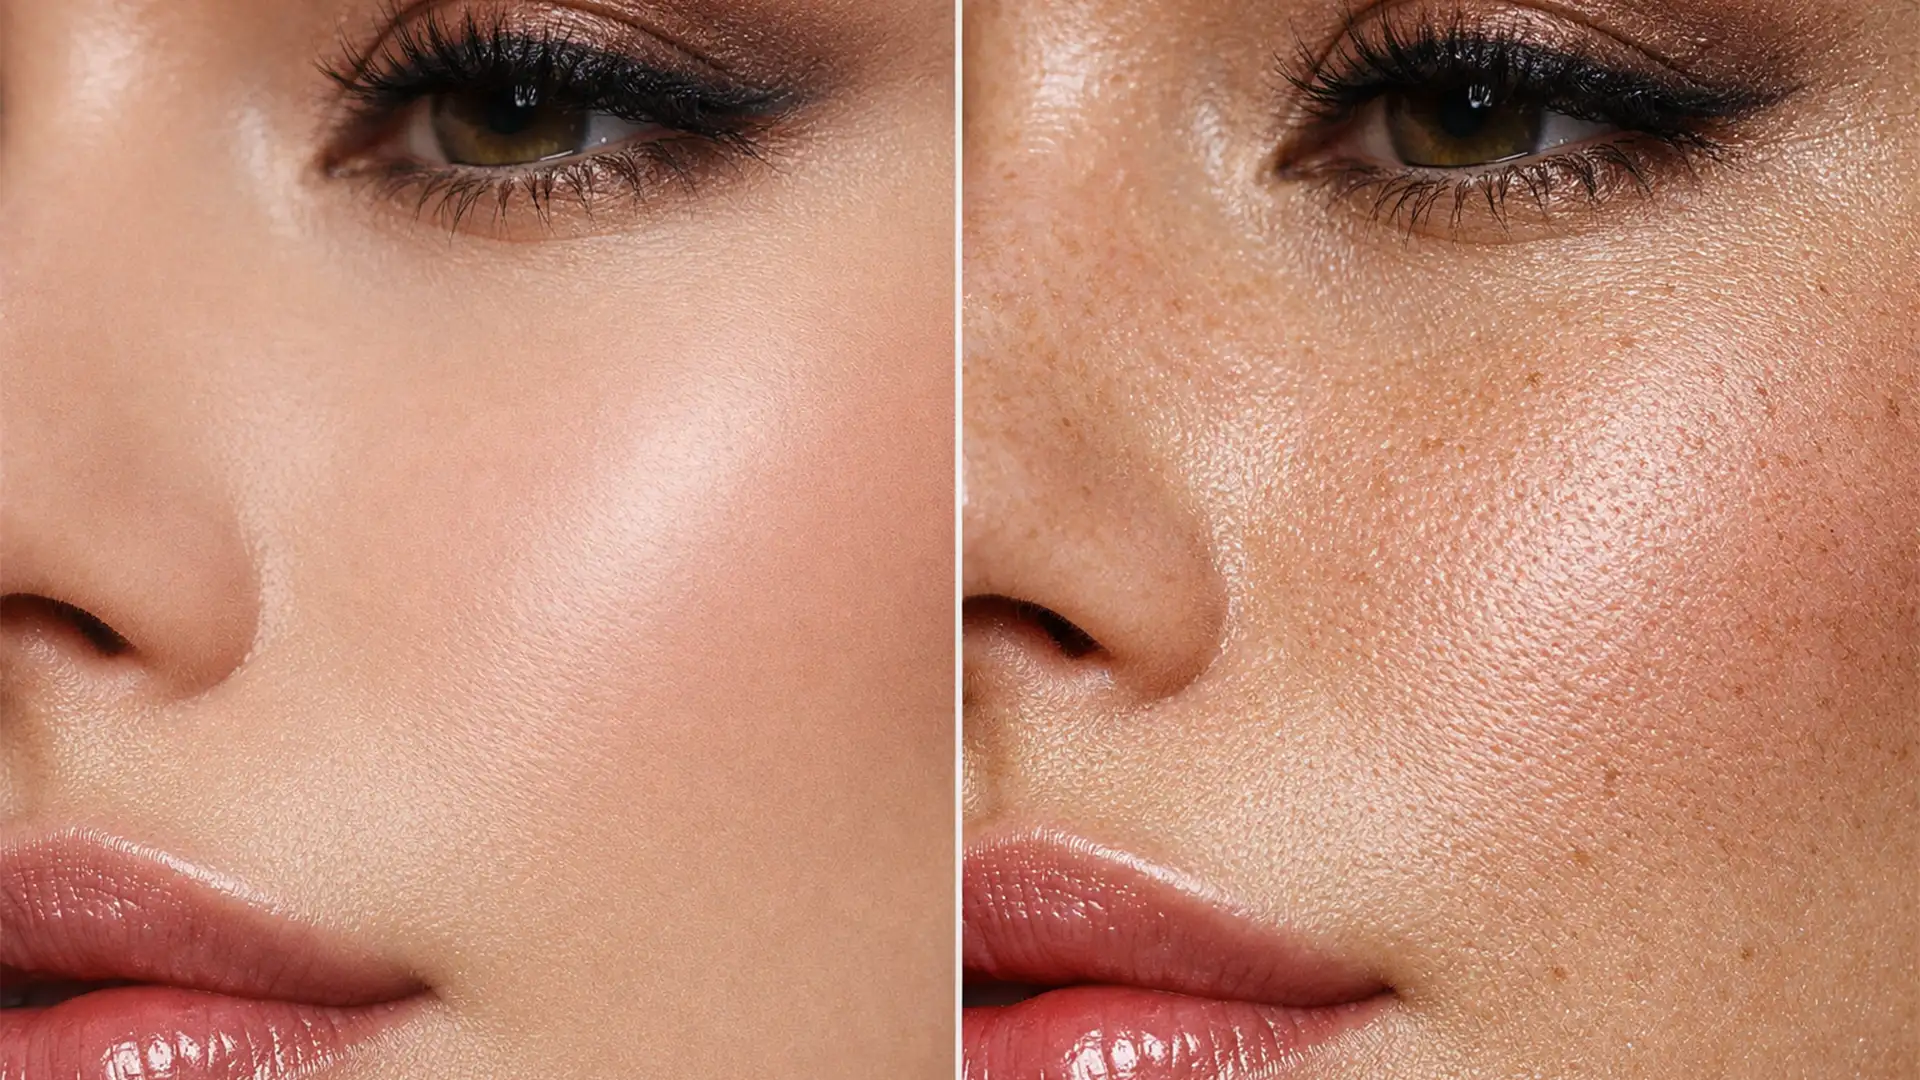
Method 3: The Technical Deep-Dive for Directional Dodging and Burning
Color matching isn’t enough if the light direction is wrong. If the AI background has a window on the left, the left side of your subject’s face must be illuminated, and the right side must fall into shadow. Non-destructive dodging and burning is the ultimate fix.
Step-by-Step Fix:
- Create a new layer above your subject and create a Clipping Mask.
- Go to Edit > Fill and choose 50% Gray.
- Set this layer’s Blend Mode to Overlay.
- Select a soft brush with a very low Flow (around 2-5%).
- Paint with white to carve out highlights that match the light source angle of the AI office background. Paint with black to deepen the opposing shadows.
Unifying the Final Composite
Once your directional lighting and ambient color temperatures are aligned, the final step is to apply a global adjustment to “glue” the composite together.
Create a Global Adjustment Layer at the very top of your layer stack—unclipped, so it affects both the subject and the AI background equally. A Color Lookup (LUT) layer set to 10-15% opacity is perfect for this. It applies a uniform color grade across the entire canvas, ensuring the pixels of the real photograph and the AI generation share the exact same tonal values.
Flawless Corporate Composites at Scale
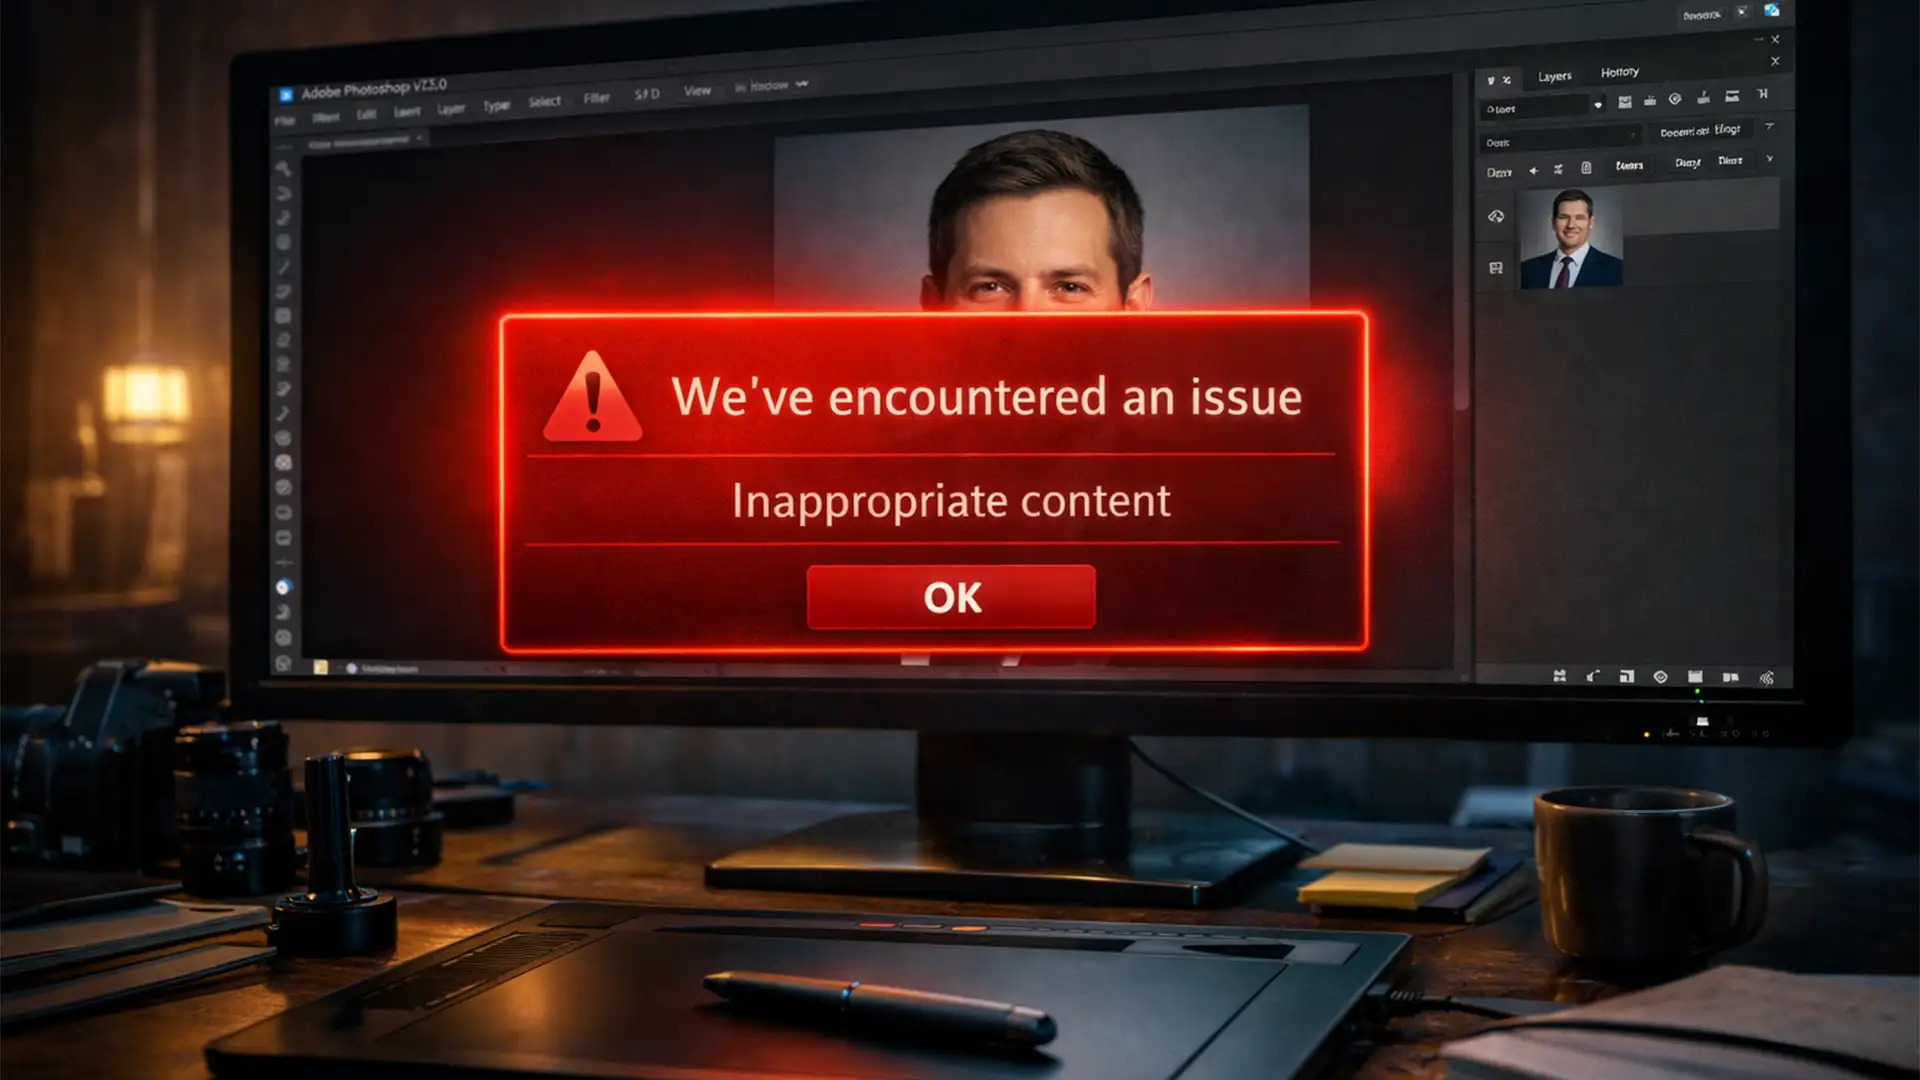
Learning to match headshot lighting to AI office background environments takes time, patience, and deep technical knowledge of Photoshop’s advanced blending tools. When you are managing a company rebrand or updating hundreds of employee directories, doing this manually for every photo is incredibly time-consuming.
Don’t let bad composites ruin your brand’s professional image.
At Image Work India and Cloud Retouch, our expert retouchers specialize in high-volume, photorealistic headshot editing. We handle the complex color grading, precise dodging and burning, and seamless AI background integration so you don’t have to.