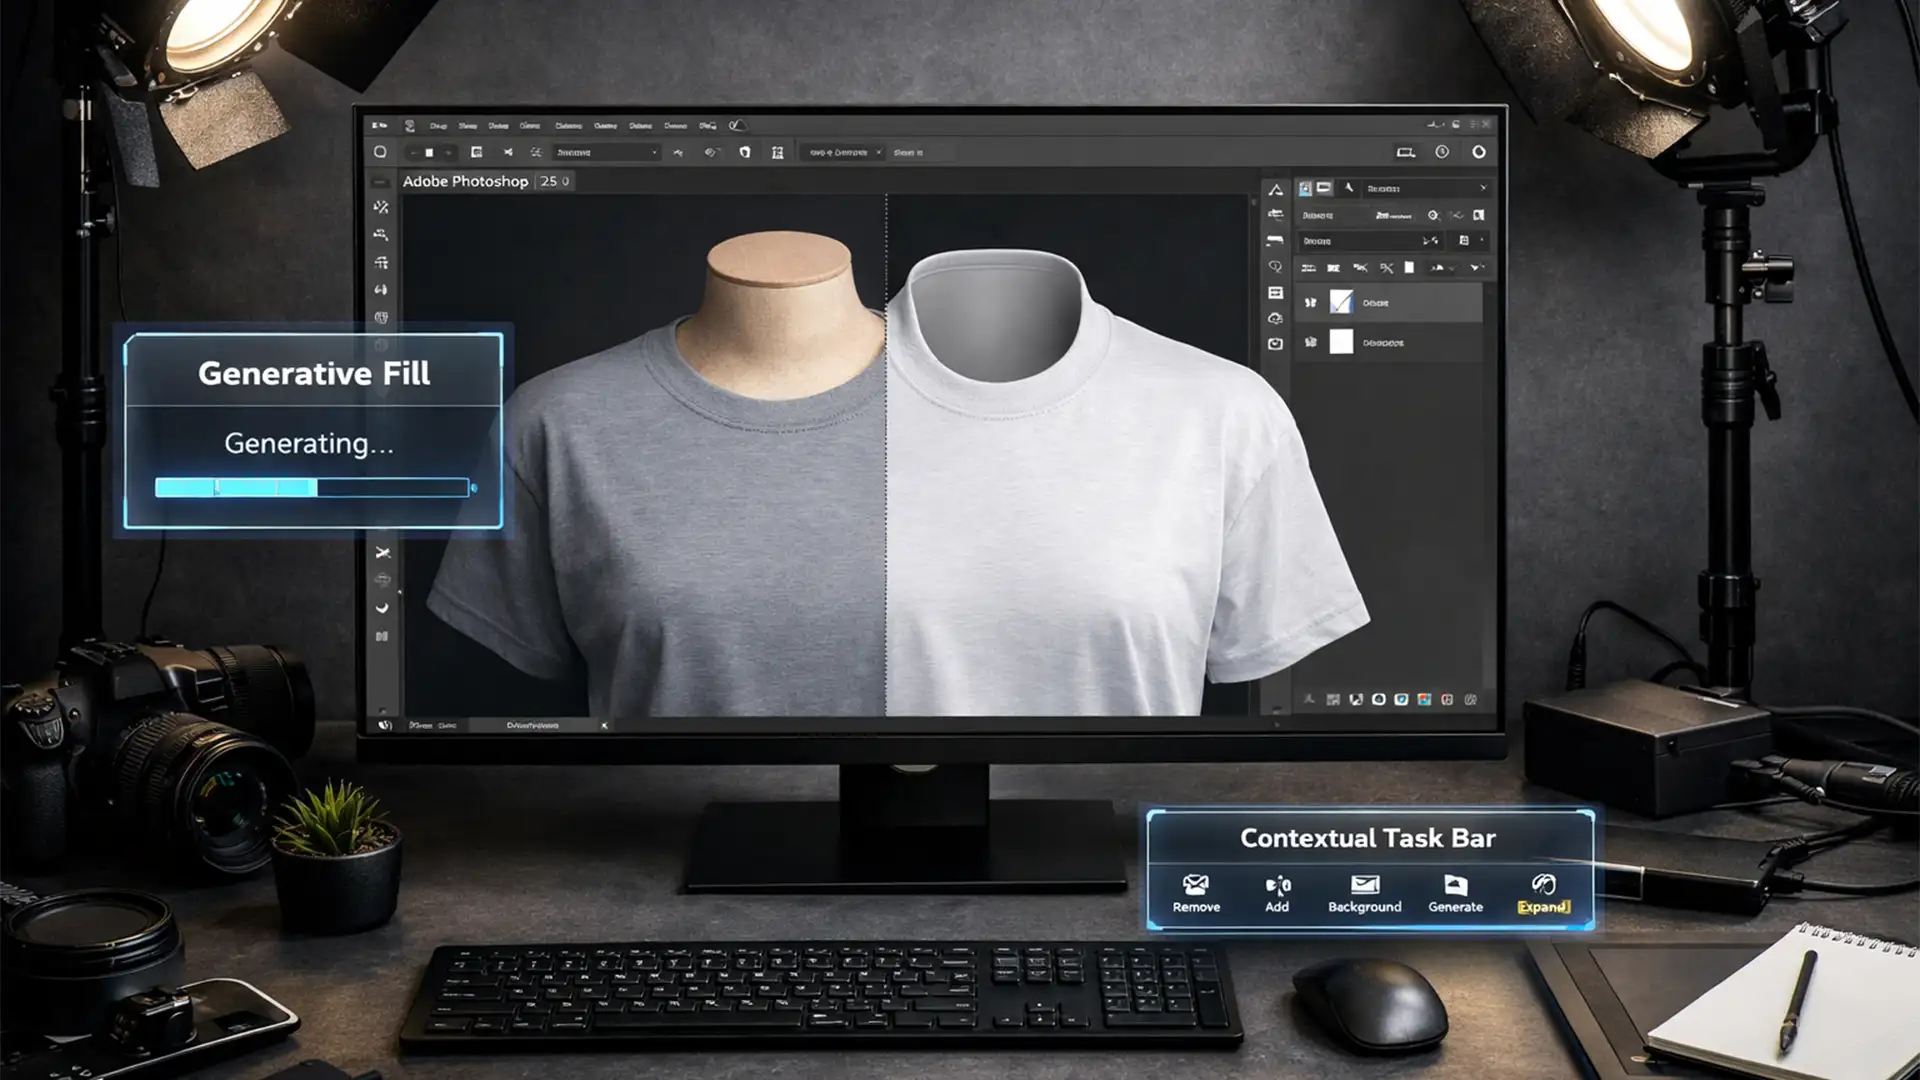
Have you ever selected a large background area in a 4K or 8K photograph, hit “Generate,” and watched in dismay as Photoshop spit out a blurry, low-resolution mess? You are not alone. When integrating AI into high-end commercial workflows, visible seams and resolution mismatches are the fastest way to ruin an otherwise perfect image.
If you are desperately searching for a reliable Photoshop Generative Fill blurry edges fix, the root of the problem lies in the software’s hardcoded resolution limits. Fortunately, professional retouchers have developed bulletproof workflows to bypass these limitations.
In this guide, we will break down exactly why your AI edits look soft and provide three professional methods to achieve seamless, pixel-perfect results every time.
Why Does Photoshop Generative Fill Look Blurry on High-Res Images?
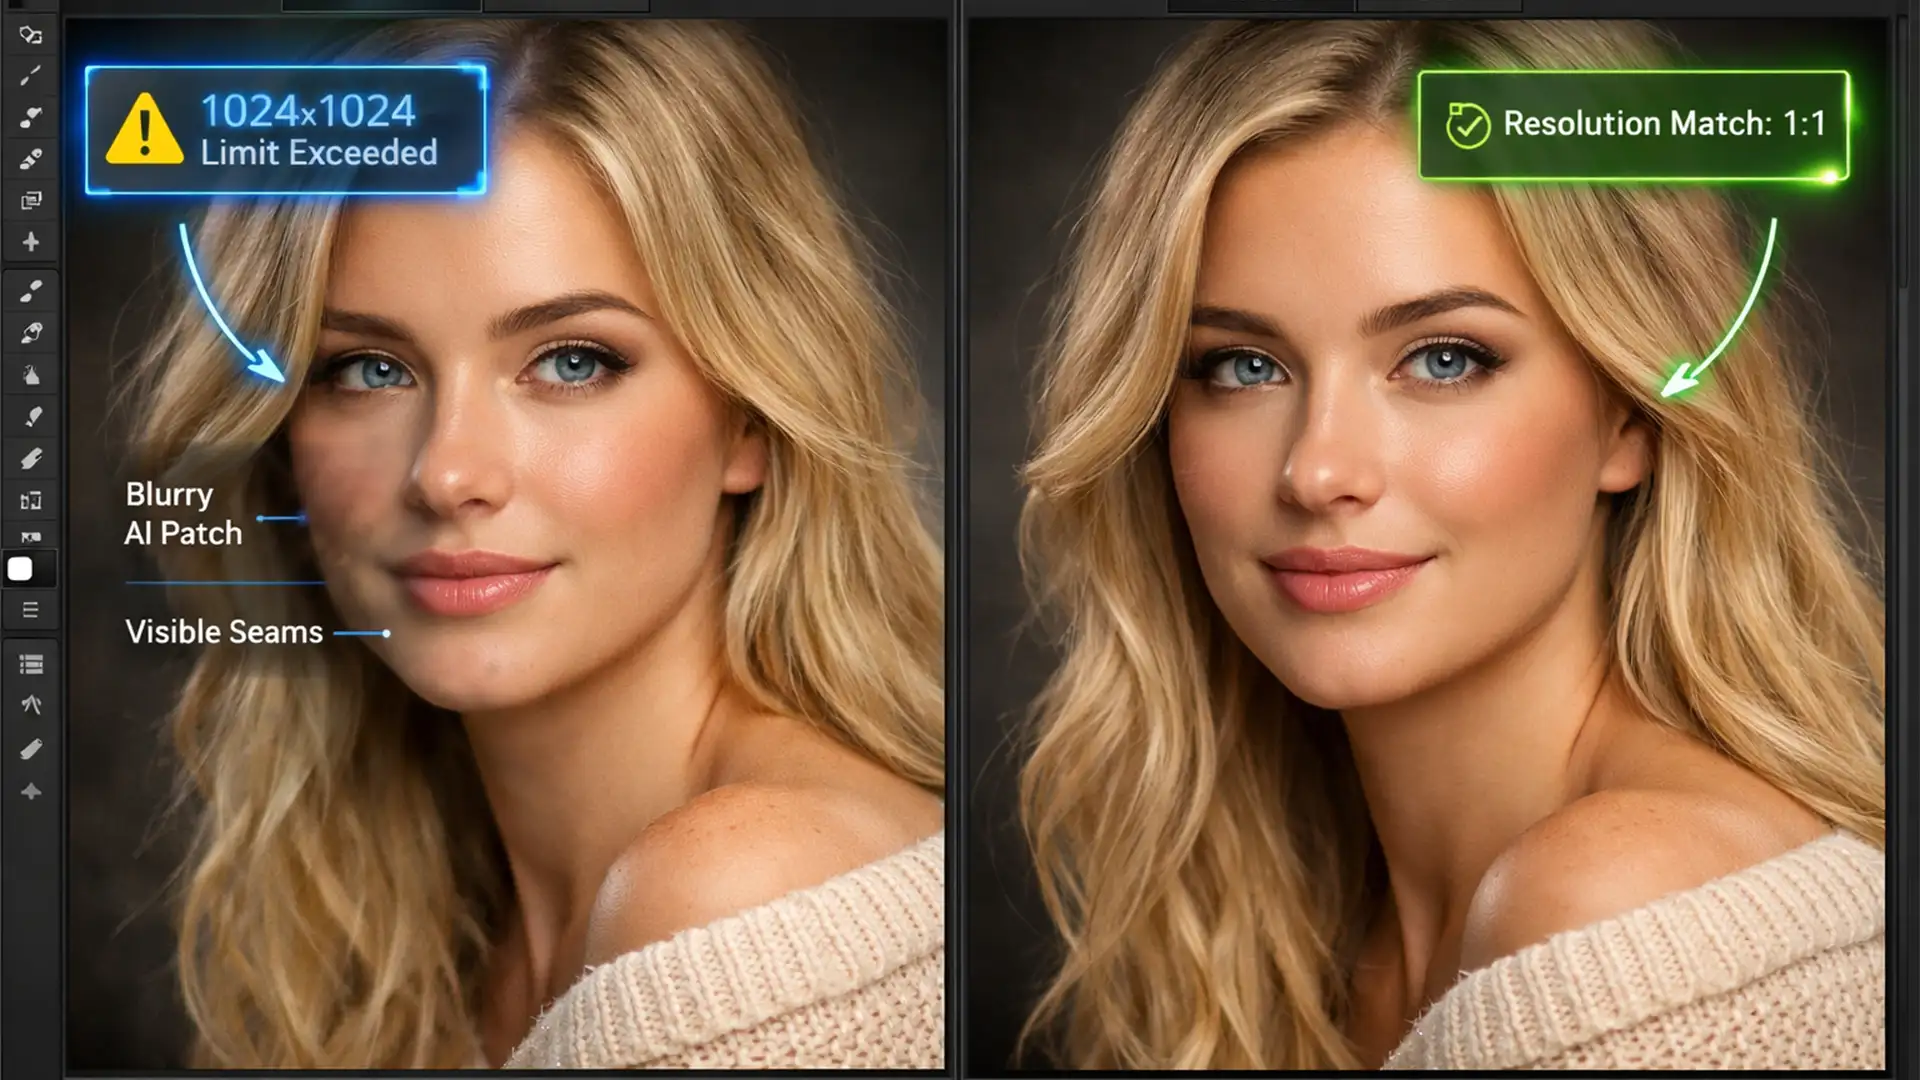
To understand the fix, you must understand the limitation. As of Photoshop v25.0 and the newer v26.x updates, the underlying Adobe Firefly Image 3 engine processes all Generative Fill requests at a strict 1024×1024 resolution limit.
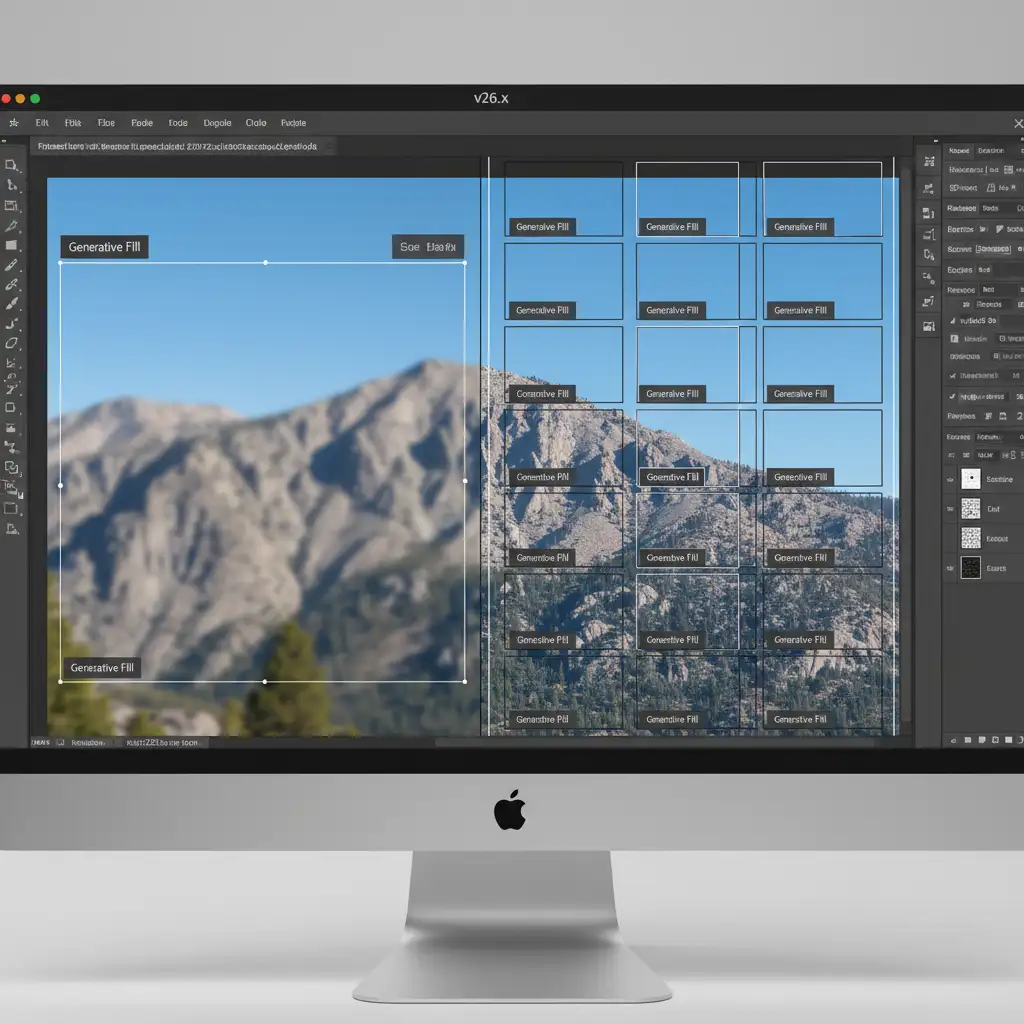
When you draw a selection box that is 4000 pixels wide on your high-resolution image, Photoshop still only generates a 1024×1024 pixel square. To make that tiny square fit your massive selection, the software forces aggressive interpolation-stretching the generated pixels to fill the space. This stretching inherently causes:
- Significant loss of detail and sharpness.
- Harsh, highly visible seams along the marching ants boundary.
- Mismatched noise patterns (the AI patch lacks the natural camera sensor grain of the original photo).
To fix this, we need to change how we feed information to the AI engine.
The Ultimate Photoshop Generative Fill Blurry Edges Fix: 3 Professional Methods
Method 1: The Tile Generation Technique (The Quick Fix)
The most effective way to prevent interpolation is to ensure Photoshop never has to stretch the generated pixels. Instead of selecting one massive area, you must work in smaller tiles.
- Zoom into your image to a 100% view.
- Using the Rectangular Marquee tool, select a chunk of the image that is smaller than 1024×1024 pixels.
- Apply Generative Fill to that small section. Because the selection is under the limit, you achieve 1:1 pixel mapping with zero stretching.
- Move to the next section, ensuring your new selection slightly overlaps the previously generated tile. This overlap gives the AI context to blend the edges naturally.
- Repeat until the entire area is covered.
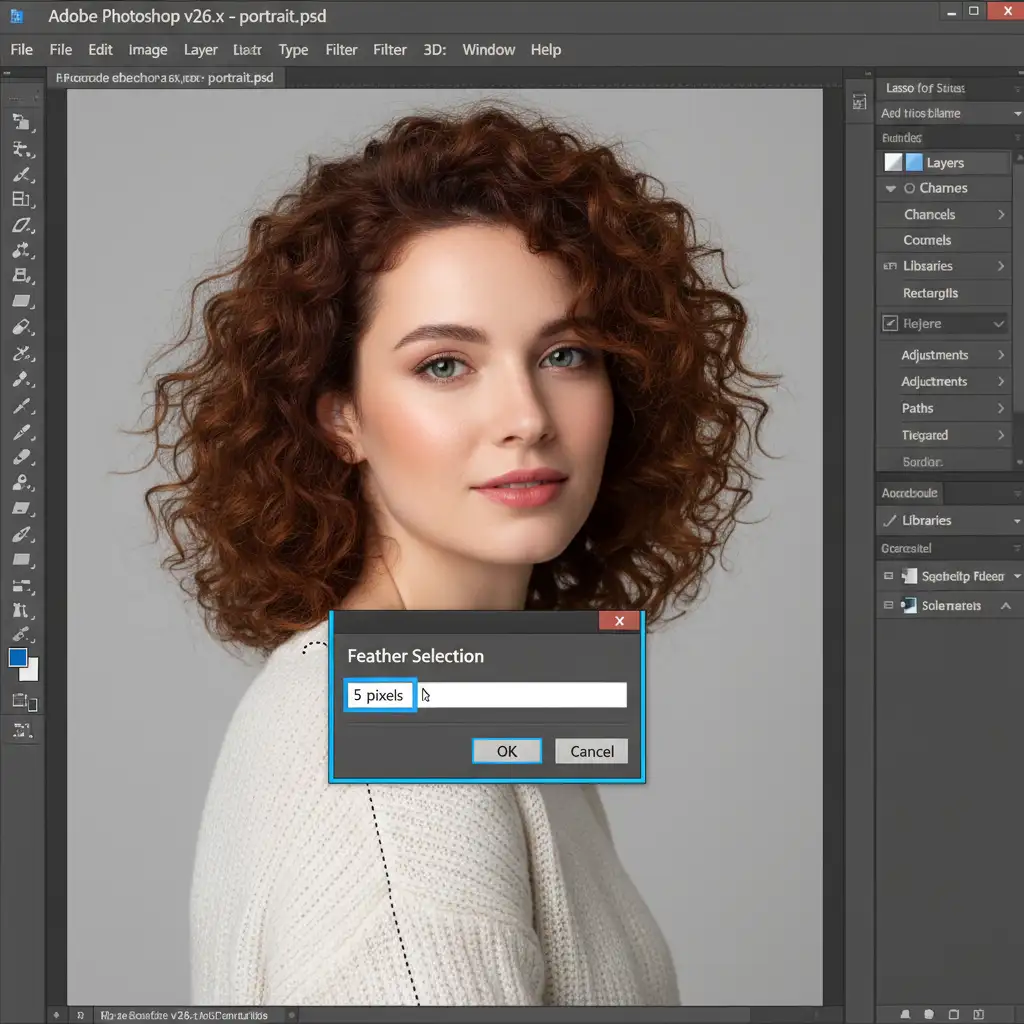
Method 2: Feathering and Layer Mask Blending (The Pro Workaround)
Even with smaller selections, the transition between the original pixels and the AI-generated pixels can look harsh. To achieve a flawless layer mask blending effect, you need to soften the transition zone before and after generation.
- Select the Lasso tool (L).
- Before drawing your selection, press Shift+F6 to open the Feather Selection dialog box.
- Set your feathering radius to 2 to 5 pixels depending on your image resolution. This softens the marching ants.
- Generate your content.
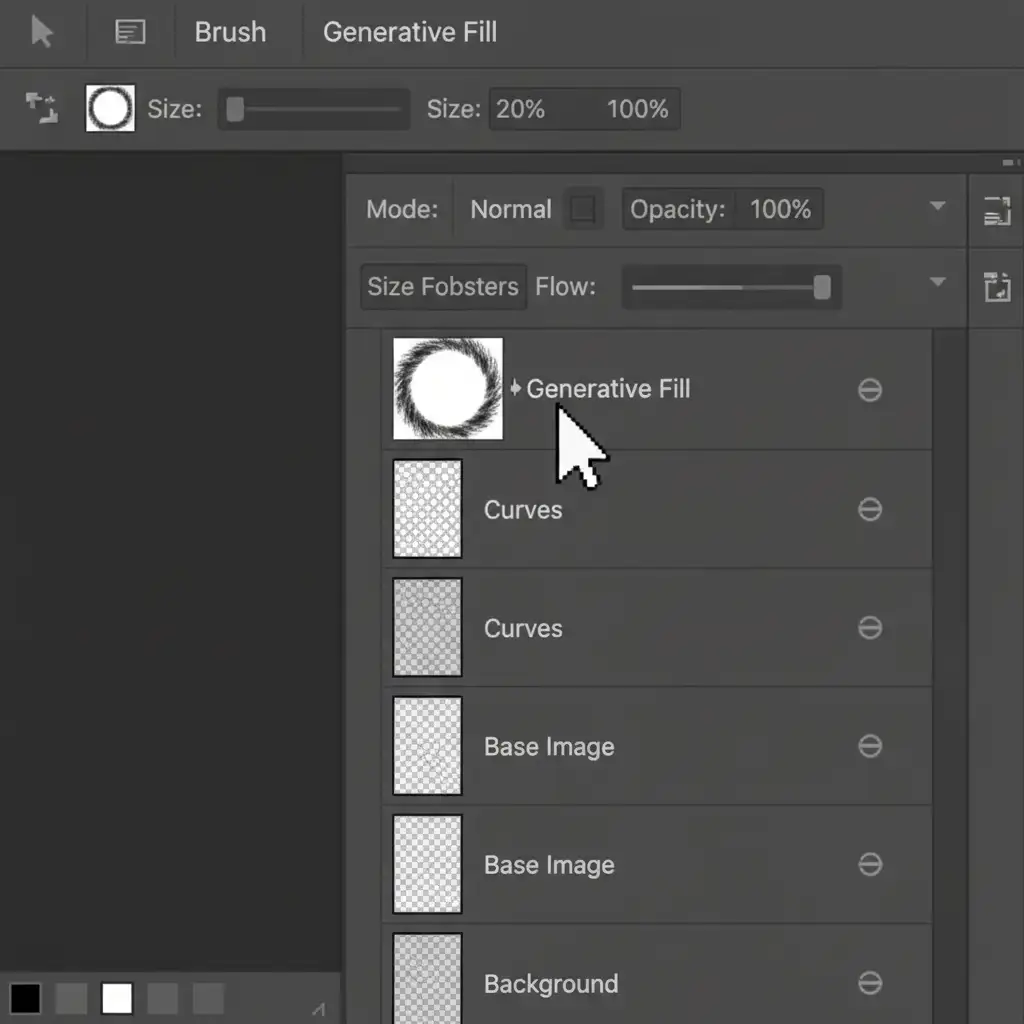
- Once generated, click on the layer mask attached to the Generative Fill layer in the Layers panel.
- Select the Brush tool (B), choose a soft round brush, and set the opacity to 20%.
- Gently paint with black along the harsh seams to blend the original image grain smoothly with the generated pixels.
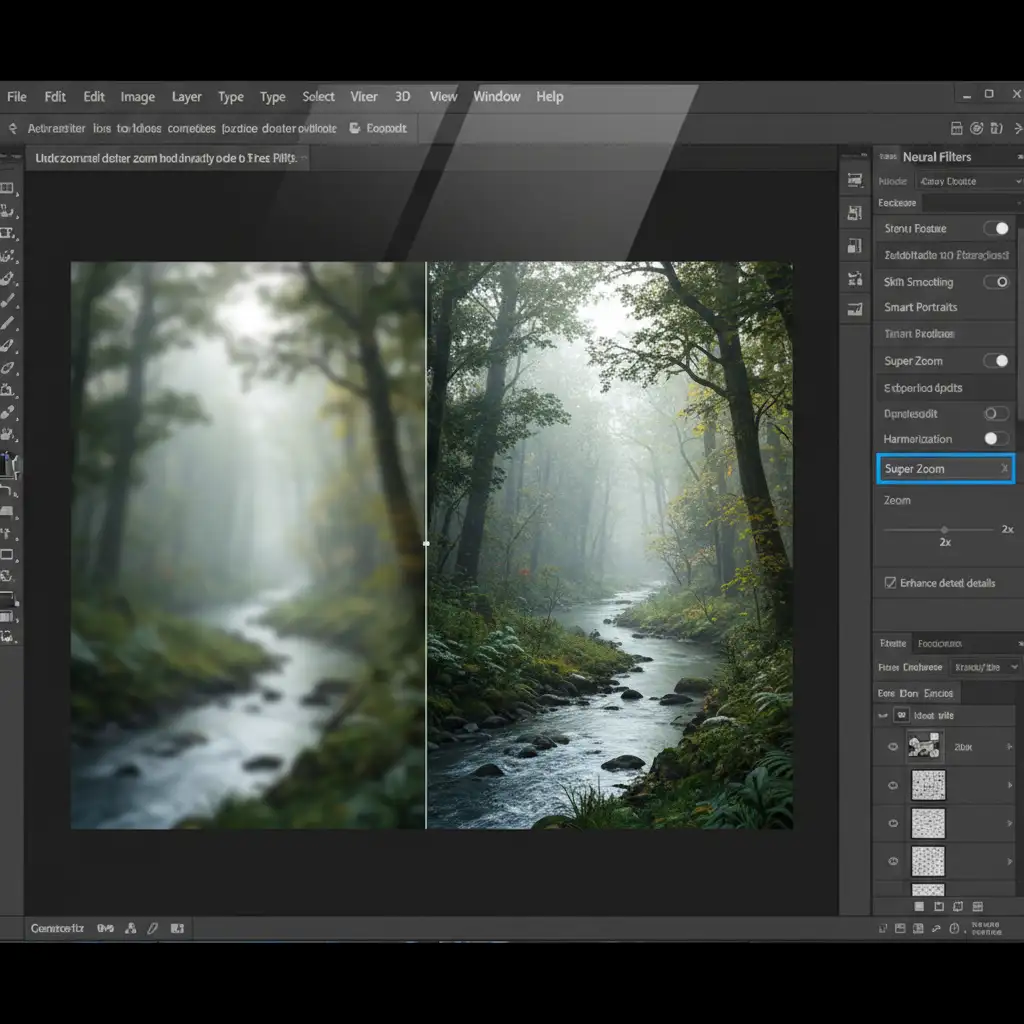
Method 3: Neural Filters and Grain Matching (The Technical Deep-Dive)
Sometimes, generating in small tiles isn’t practical. If you absolutely must generate a large area and are left with a blurry result, you can use Photoshop’s computational tools to rebuild the lost detail.
- Right-click your blurry Generative Fill layer and select “Convert to Smart Object.” Smart Objects protect your pixels for non-destructive filtering.
- Navigate to Filter > Neural Filters.
- Toggle on Neural Filters Super Zoom. Use this AI upscaler to computationally enhance and sharpen the blurry chunk, adding back lost structural details.
- Click OK to apply the filter.
- Finally, fix the texture mismatch. Create a new blank layer above your Generative Fill layer.
- Go to Edit > Fill and choose 50% Gray. Change the layer’s blend mode to Overlay.
- Go to Filter > Noise > Add Noise. Adjust the amount to perform grain matching, ensuring the AI-generated area shares the exact same sensor noise profile as the original photograph.
Stop Wasting Time on AI Artifacts-Let the Pros Handle It
Mastering the Photoshop Generative Fill blurry edges fix requires patience, technical knowledge of pixel mapping, and a sharp eye for grain matching. While these techniques are highly effective, they are also incredibly time-consuming-especially if you are processing hundreds of images for a commercial campaign, e-commerce catalog, or high-end editorial spread.
Struggling with high-volume AI artifacts and visible seams? You don’t have to do it alone.
Hire Image Work India and Cloud Retouch for pixel-perfect, seamless high-end retouching tailored for professional and commercial photography. Our team of expert retouchers combines industry-leading AI workflows with meticulous manual blending techniques to deliver flawless images at scale.
Focus on capturing the perfect shot, and let Cloud Retouch handle the pixels. Contact us today to elevate your post-production workflow.