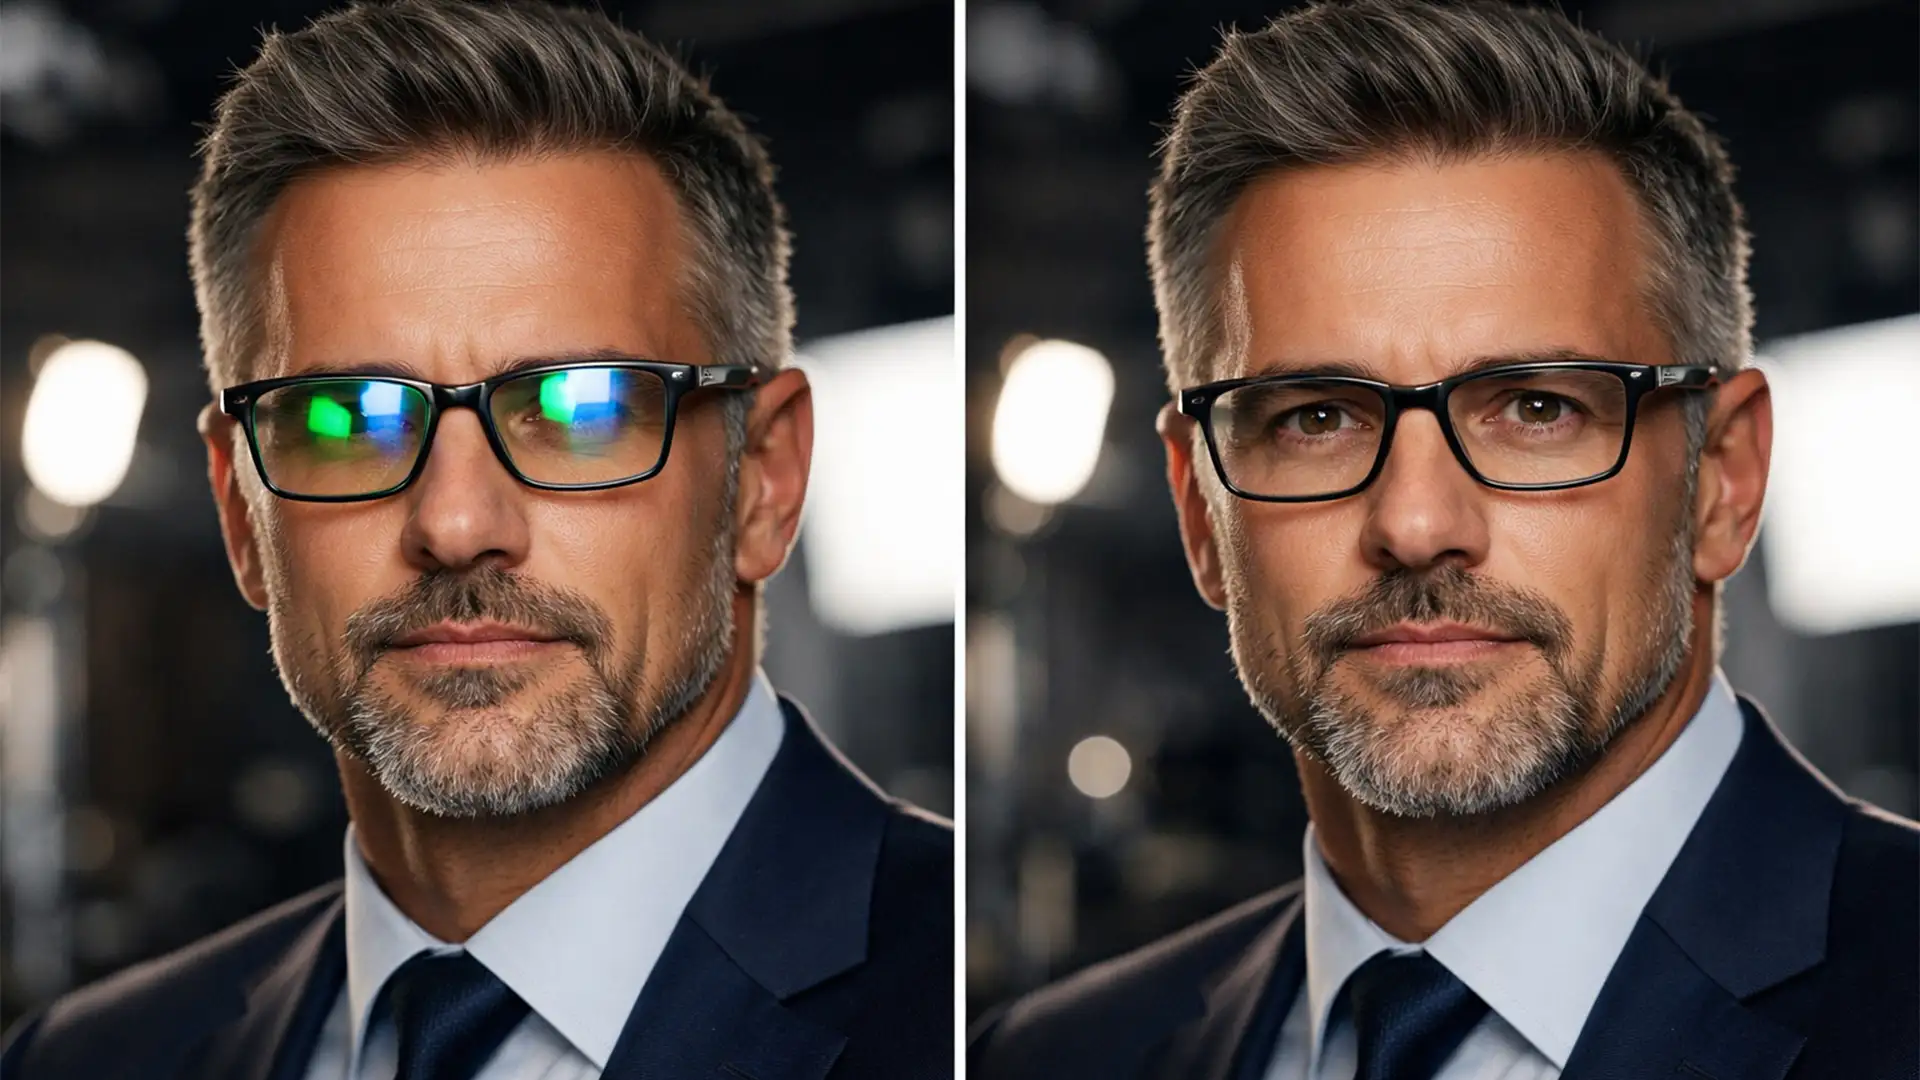
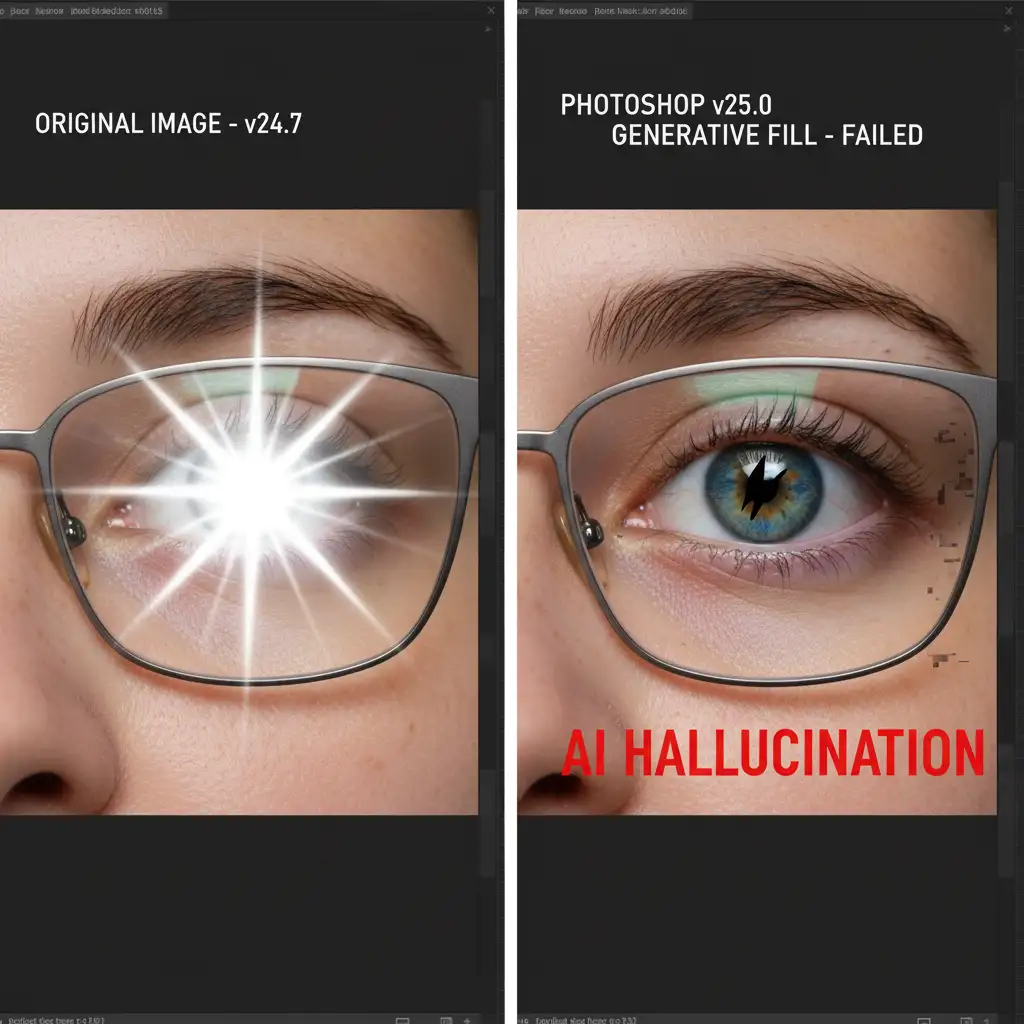
You prompt Photoshop to “remove glare,” hit enter, and wait. But instead of a clean portrait, your subject now has mismatched pupils, a warped iris, and a lifeless, robotic gaze. If you are dealing with this exact nightmare, you aren’t alone. Finding a reliable Photoshop Generative Fill glasses eye distortion fix is currently one of the biggest challenges for portrait photographers using Adobe’s latest updates.
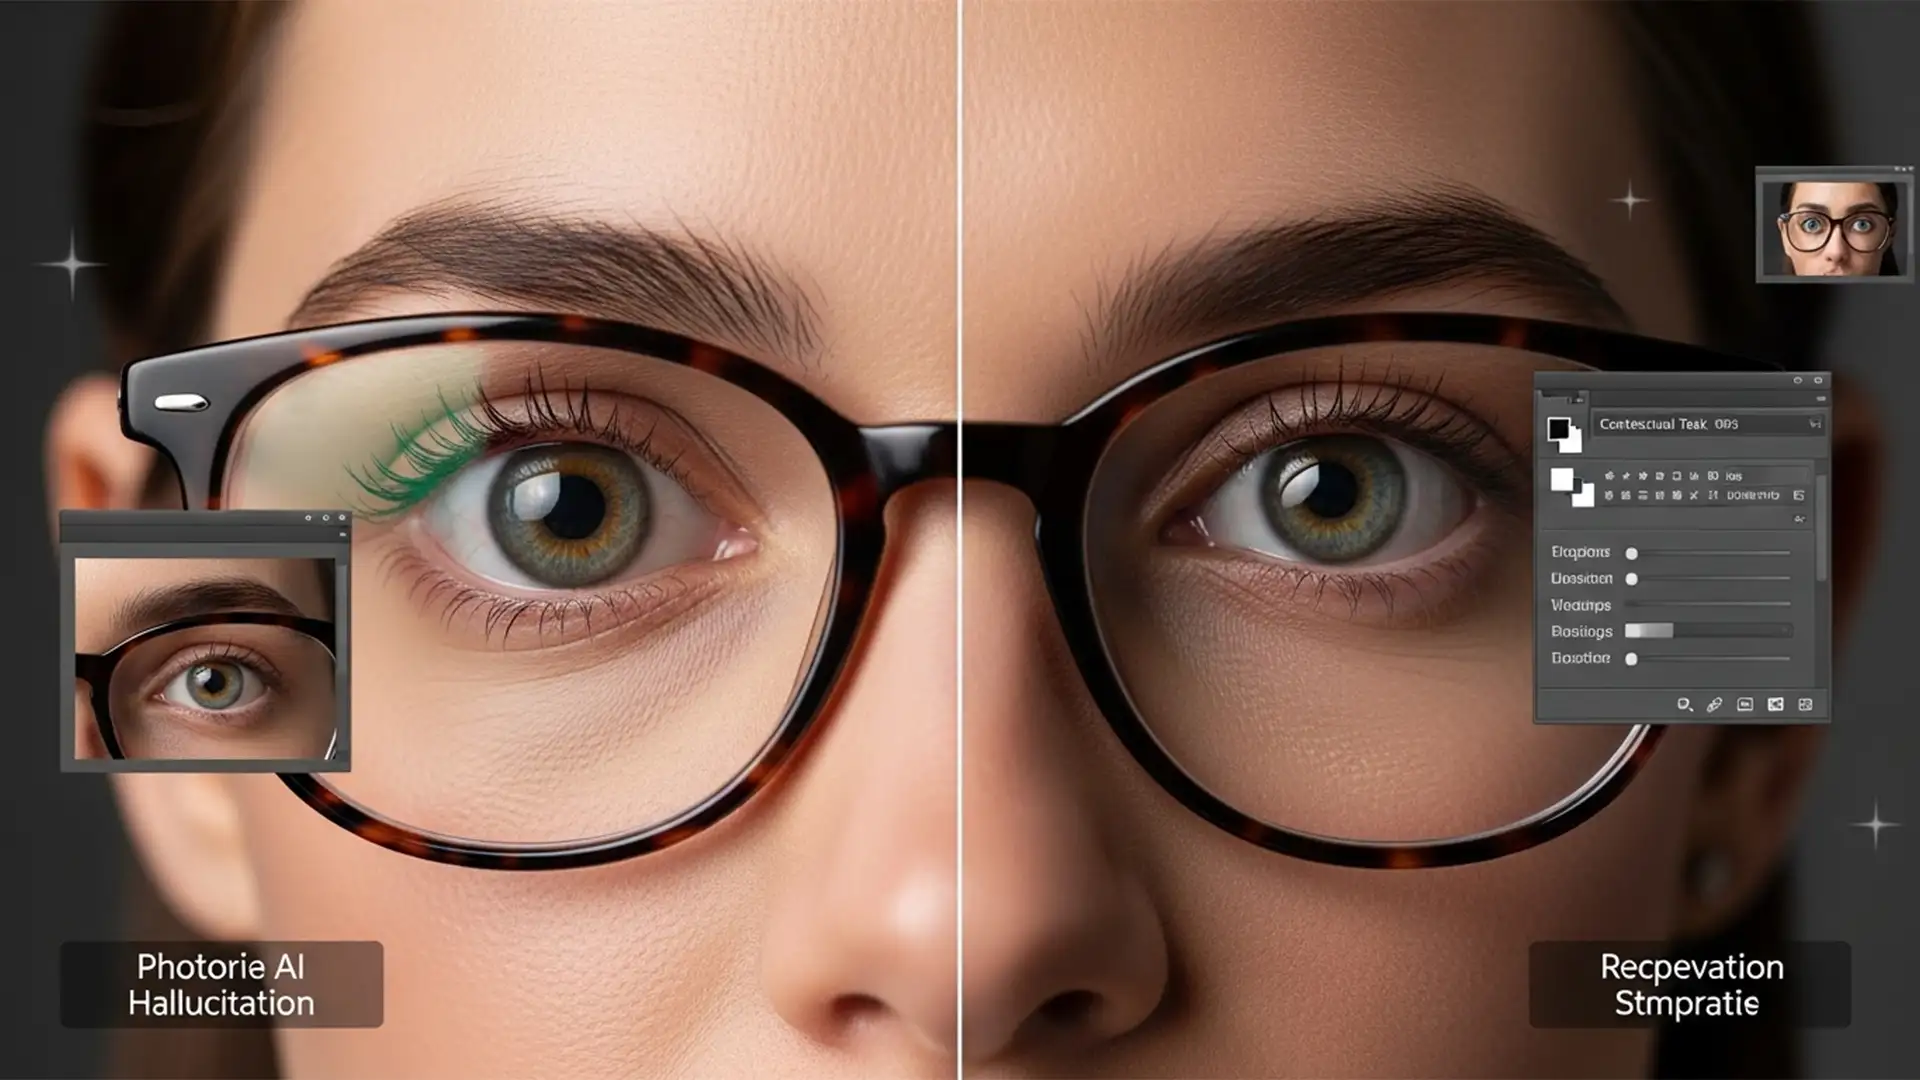
While the Firefly Image Model is powerful, it frequently triggers frustrating AI hallucinations when dealing with complex facial anatomy hidden behind reflective surfaces.
In this guide, we will break down exactly why this happens and provide three professional workflows to eliminate glasses glare without destroying your subject’s eyes.
Why Does Adobe Firefly Struggle with Glasses Glare?
In Photoshop v25.0 and newer, the AI engine lacks advanced depth mapping for refractive distortion. Eyeglasses present a unique challenge: they are a transparent, refractive overlay (the lens) positioned directly over complex micro-anatomy (the iris, pupil, and sclera).
When you use Generative Fill to remove a bright reflection, the algorithm doesn’t just erase the superficial white glare. Instead, it attempts to synthesize an entirely new eye based on its training data. Because it cannot accurately calculate the refractive index of the glass or match the exact micro-texture of the subject’s original eye, the result is a warped, “dead” looking eye.
The Ultimate Photoshop Generative Fill Glasses Eye Distortion Fix
To preserve the anatomical integrity of your subject, you must stop relying solely on a text prompt. Here are three distinct methods, ranging from a quick patch to a high-end retouching workflow.
Method 1: The Quick Fix Using the Remove Tool
For small, localized glare spots that do not cover the pupil, the Remove Tool (shortcut: J) is far superior to Generative Fill. It uses localized content-aware technology rather than generating entirely new pixels from the cloud.
- Create a new blank layer above your image.
- Select the Remove Tool.
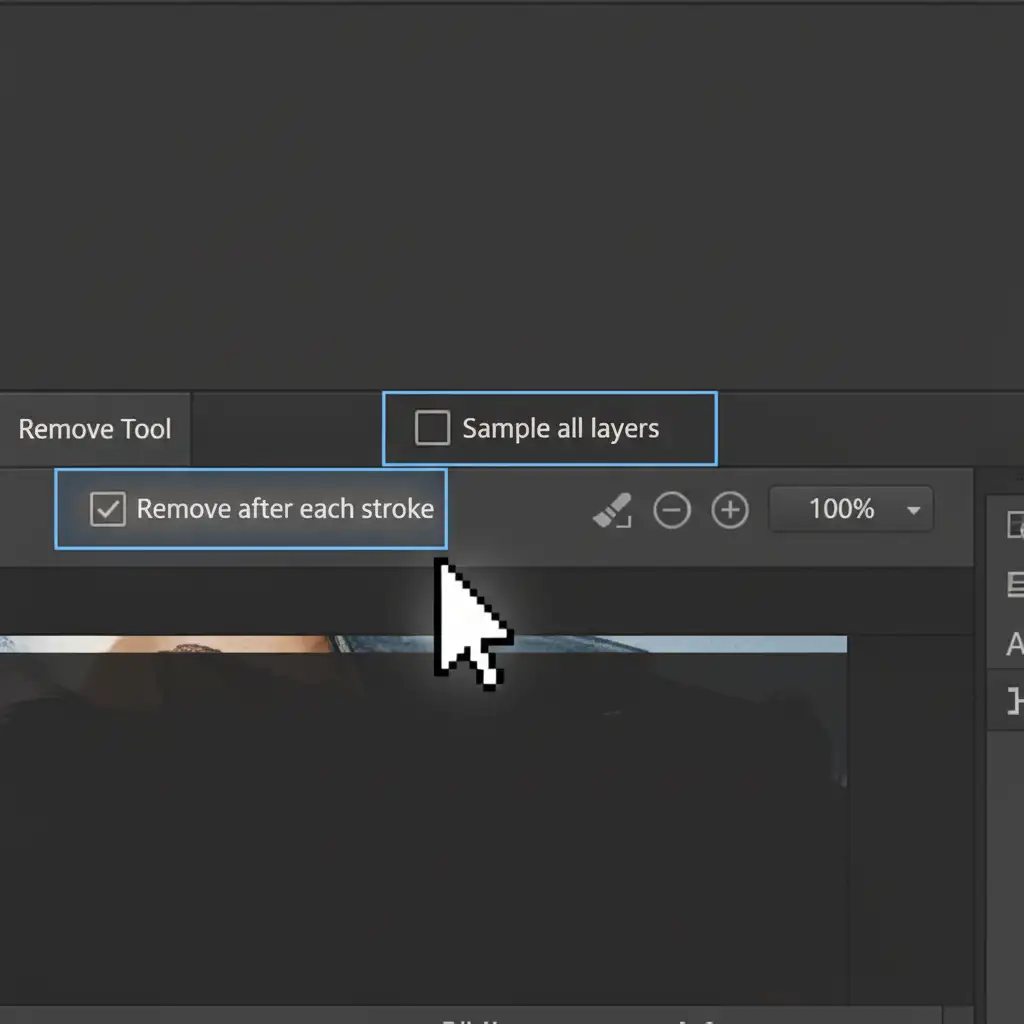
- In the top options bar, check the box for Sample All Layers.
- Crucial Step: Ensure Remove after each stroke is enabled.
- Paint over the glare in small, iterative strokes rather than one large brush stroke. This allows the tool to blend the refractive distortion naturally.
Method 2: The Pro Workaround – Hybrid Generative Fill + Layer Masking
If the glare is heavy and covers the iris, Generative Fill might be necessary to rebuild the lost data. However, you must control it using Layer Masking to prevent the dreaded “AI Eye.”
- Lasso the glare area and use Generative Fill with the prompt: “Remove glare, clear glass.”
- Generate the variations and pick the one that handles the glass best, even if the eye looks terrible.
- Select the Generative layer in your Layers Panel.
- Hold Alt (Windows) or Option (Mac) and click the Add Layer Mask icon to create a black layer mask. This completely hides the AI generation.
- Select a soft round brush (B), set your foreground color to White, and drop your brush opacity to 30%.
- Carefully paint over only the specific areas of the glare. You are selectively revealing the AI’s glare removal while keeping 100% of the subject’s original pupil and iris intact.

Method 3: The Technical Deep-Dive – Frequency Separation
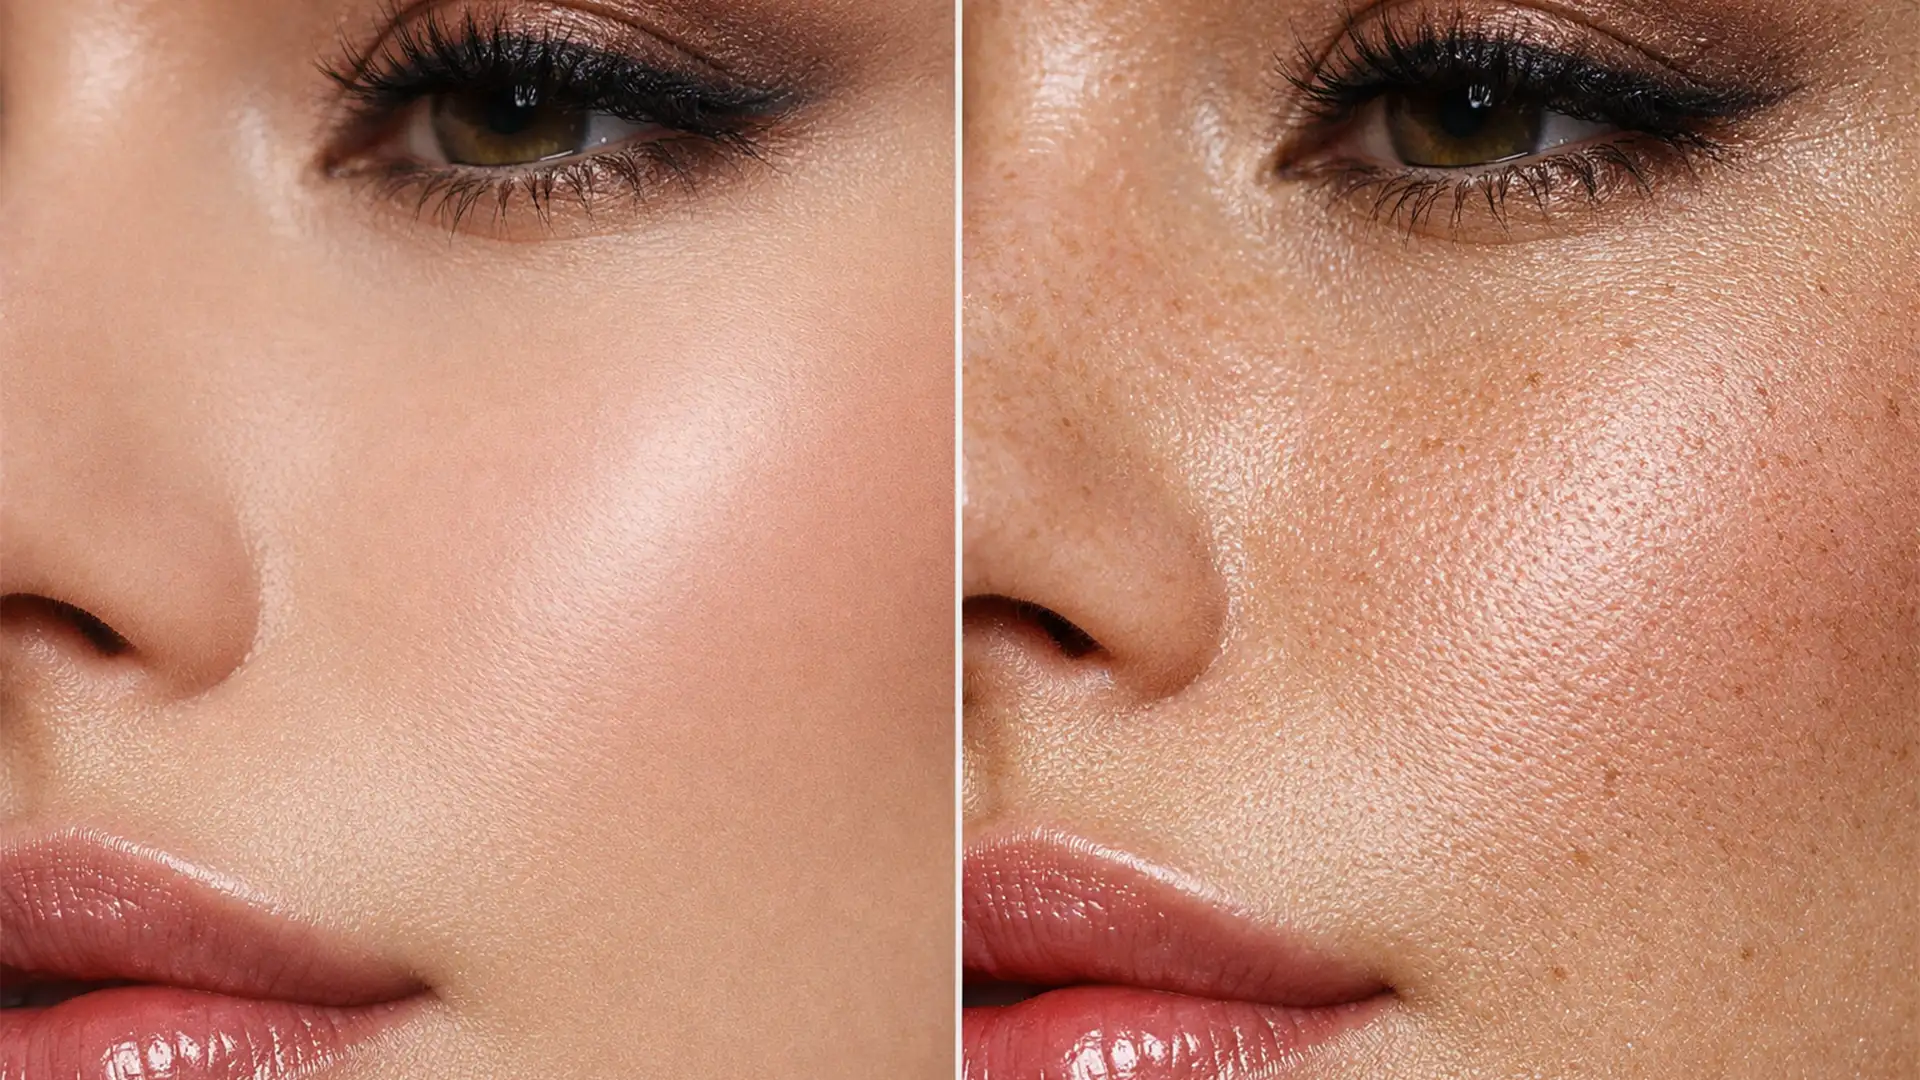
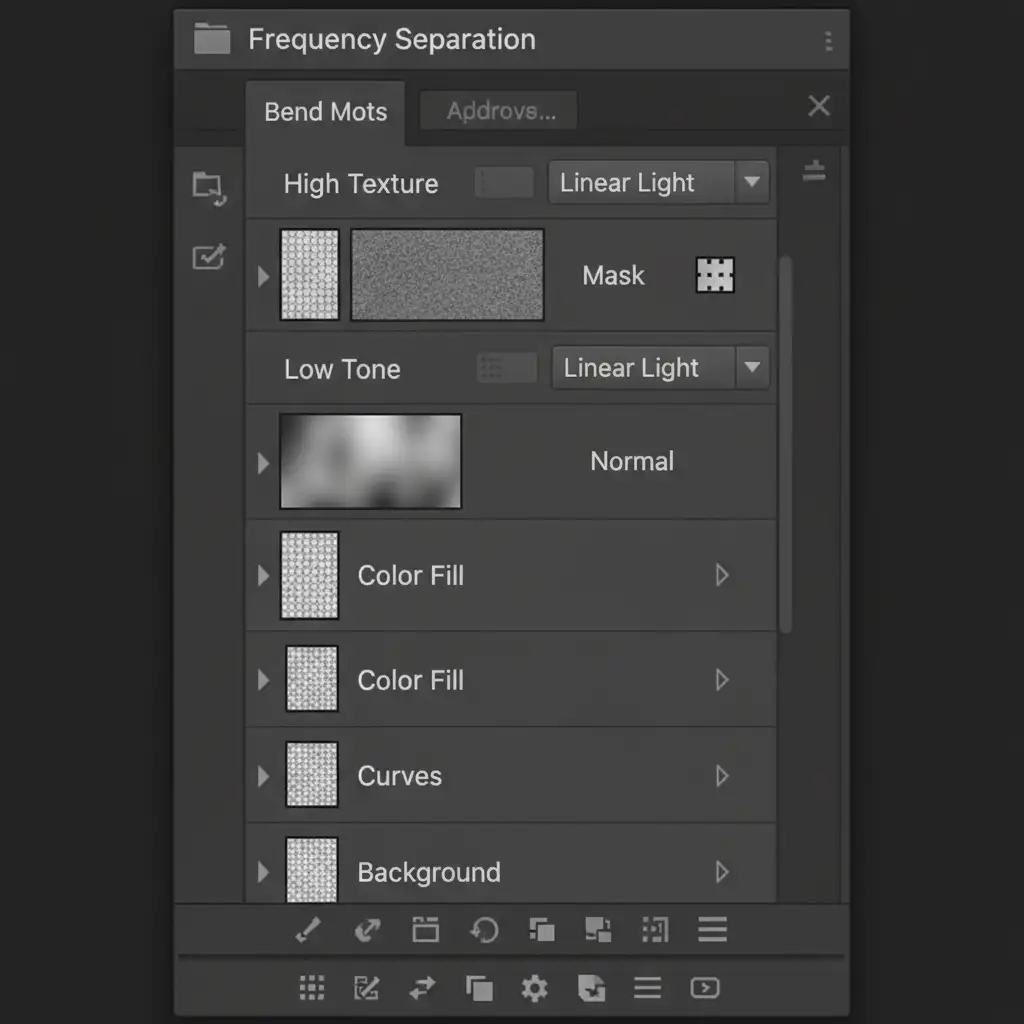
For high-end beauty and commercial retouching, Frequency Separation is the gold standard. This technique separates your image into two distinct layers: High-frequency texture (pores, eyelashes, iris details) and Low-frequency tone (color, shadows, and the bright white tones of the glare).
- Run your standard Frequency Separation action (creating a High layer and a Low layer).
- The bright, distracting part of the glasses glare lives on the Low layer. The sharp reflection edges and eye details live on the High layer.
- Select the Low layer. Use the Clone Stamp tool (or even Generative Fill applied strictly to this layer) to sample nearby skin or eye tones and paint over the bright glare.
- Because the High-frequency texture layer remains untouched, the original anatomical texture of the eye, the eyelashes, and the micro-anatomy are perfectly preserved.
Stop Fighting AI: Let the Professionals Handle It
Mastering the Photoshop Generative Fill glasses eye distortion fix requires a deep understanding of Layer Masking, Alpha channels, and advanced blending techniques. When you are editing a massive batch of corporate headshots or a high-volume wedding gallery, you don’t have the time to manually reconstruct every single pair of glasses using Frequency Separation.
Don’t let AI hallucinations slow down your delivery times.
At Image Work India and Cloud Retouch, our team of expert retouchers specializes in high-end portrait editing. We handle the complex, pixel-level technical fixes—like removing refractive glare, stray hairs, and skin blemishes—so you can focus on shooting and scaling your business.
Ready to outsource your retouching headaches to a team that guarantees pixel-perfect precision? Contact Image Work India and Cloud Retouch today for a custom quote on your next project.