You are editing a stunning, high-resolution photograph. You grab the Photoshop Remove Tool to eliminate a distraction, expecting instant magic. Instead, you are left with a soft, blurry patch that completely ruins the surrounding texture.
If you’ve been desperately searching for a “Photoshop Remove Tool leaves smudges fix,” you are not alone. Since its introduction in v24.5, this feature has revolutionized retouching-but on files exceeding 3000px, it frequently struggles. The AI hallucinates textures, resulting in frustrating artifacting rather than a seamless blend.
Today, we are diving into the technical reasons behind these blurry patches and providing three professional methods to guarantee sharp, pixel-perfect texture continuity every single time.
Why the Photoshop Remove Tool Leaves Smudges on High-Res Images
The Remove Tool relies heavily on Adobe Sensei machine learning models. While incredibly powerful, the tool has specific limitations when dealing with massive pixel counts. Smudging and blurring primarily occur due to three factors:
- Insufficient Sampling Data: The AI defaults to processing your edit immediately after a single brush stroke. This breaks the continuity of the generated texture because the AI doesn’t have the full context of the object’s shadows and reflections.
- Brush-to-Subject Ratio: Using an incorrect brush size relative to the subject forces the AI to guess the surrounding image grain, often resulting in a soft, smudged appearance where sharp pixel rendering is expected.
- Hardware Bottlenecks: Lack of sufficient VRAM or improper GPU acceleration settings forces Photoshop to throttle the AI generation process.
Fortunately, fixing this doesn’t require downgrading your software. Here is how to optimize your workflow.
How to Fix Photoshop Remove Tool Smudging: 3 Proven Methods
Method 1: The Quick Fix – Disable Single-Stroke Processing
The most common reason for smudging is the tool’s default behavior of calculating the fill the second you lift your pen or mouse. By changing this, you give the AI the complete picture.
The Fix: Look at the top Options bar when the Remove Tool is selected. Uncheck the box labeled ‘Remove after each stroke’.
This simple tweak allows you to paint over the entire object, carefully including its cast shadows and environmental reflections. Once you have painted the entire area, hit enter to let the AI calculate the fill all at once. This drastically reduces edge smudging and improves Generative fill accuracy.

Method 2: The Pro Workaround – Non-Destructive Editing & Grain Matching
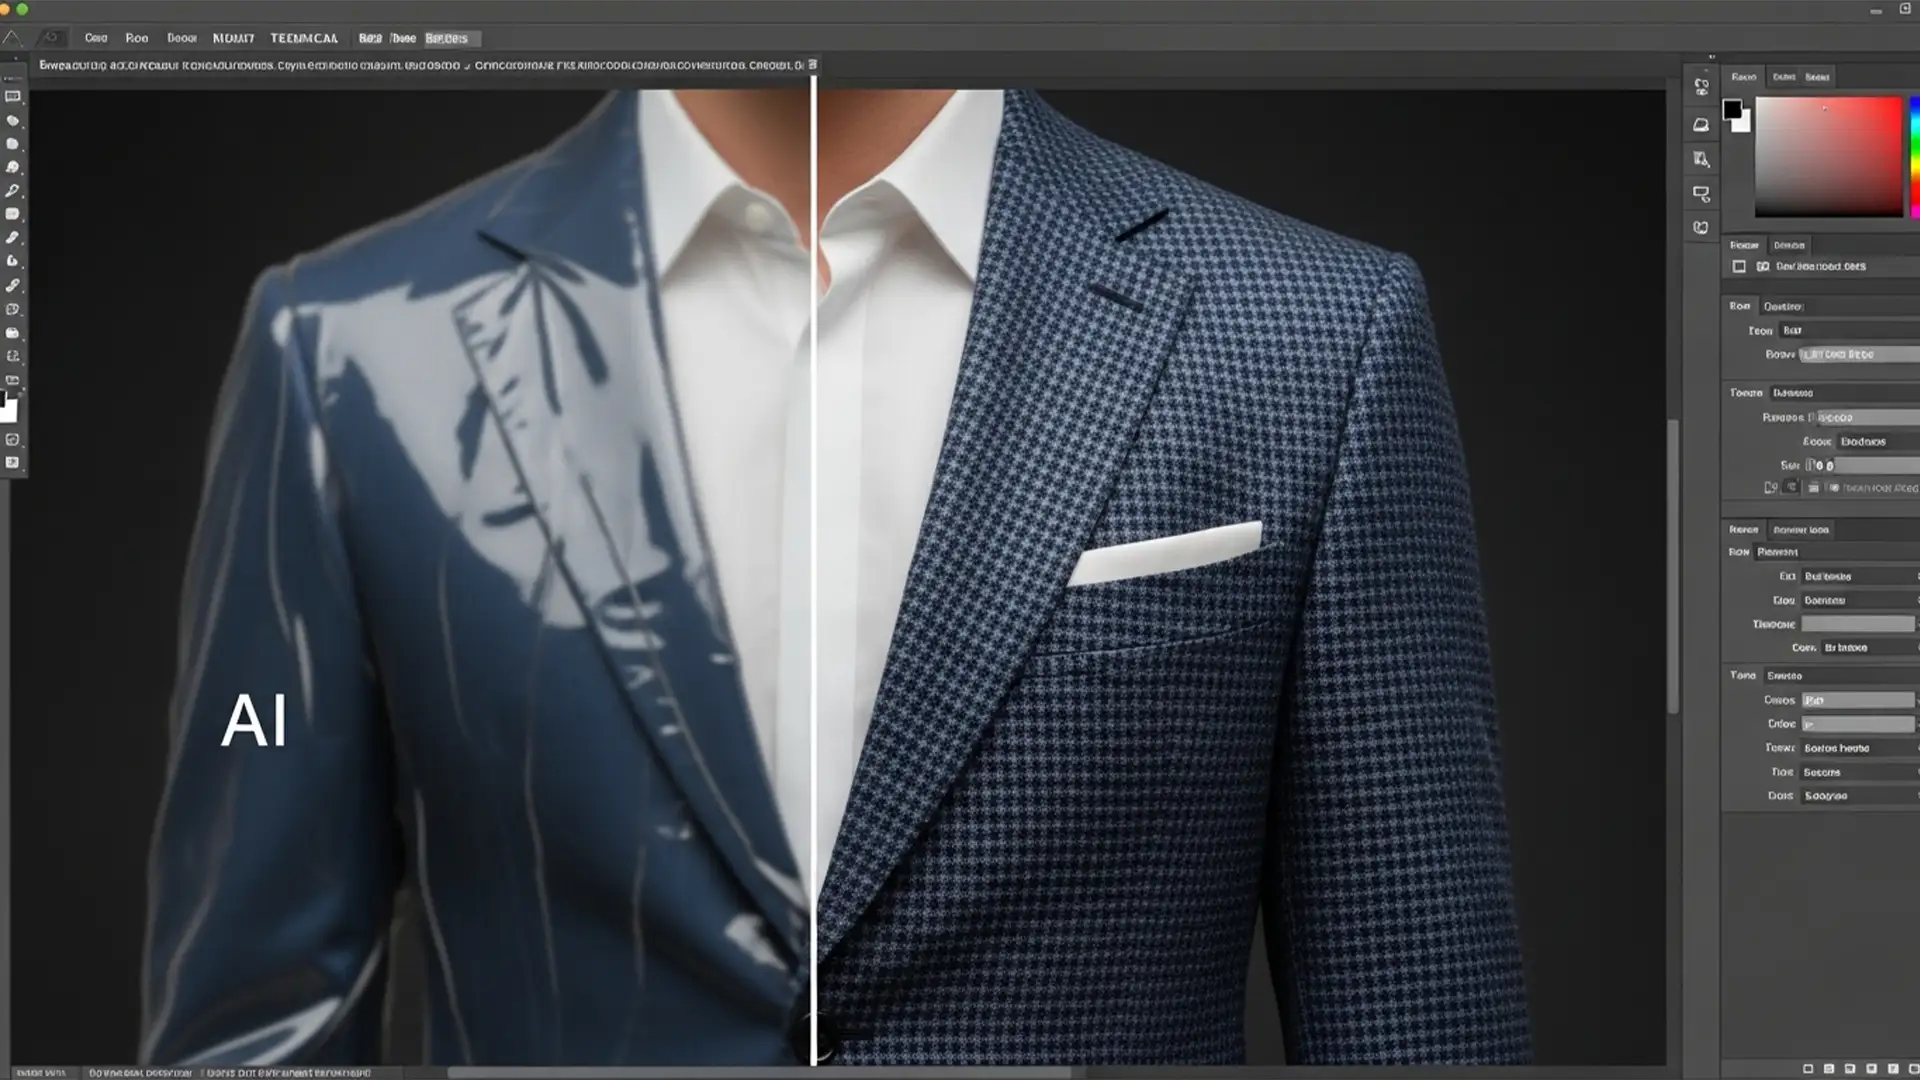
If you are working on massive files, the AI might still leave a patch that looks unnaturally smooth compared to the native noise of the photograph. Professional retouchers solve this by forcing texture matching.
The Fix:
- Check the ‘Sample All Layers’ box in the top Options bar.
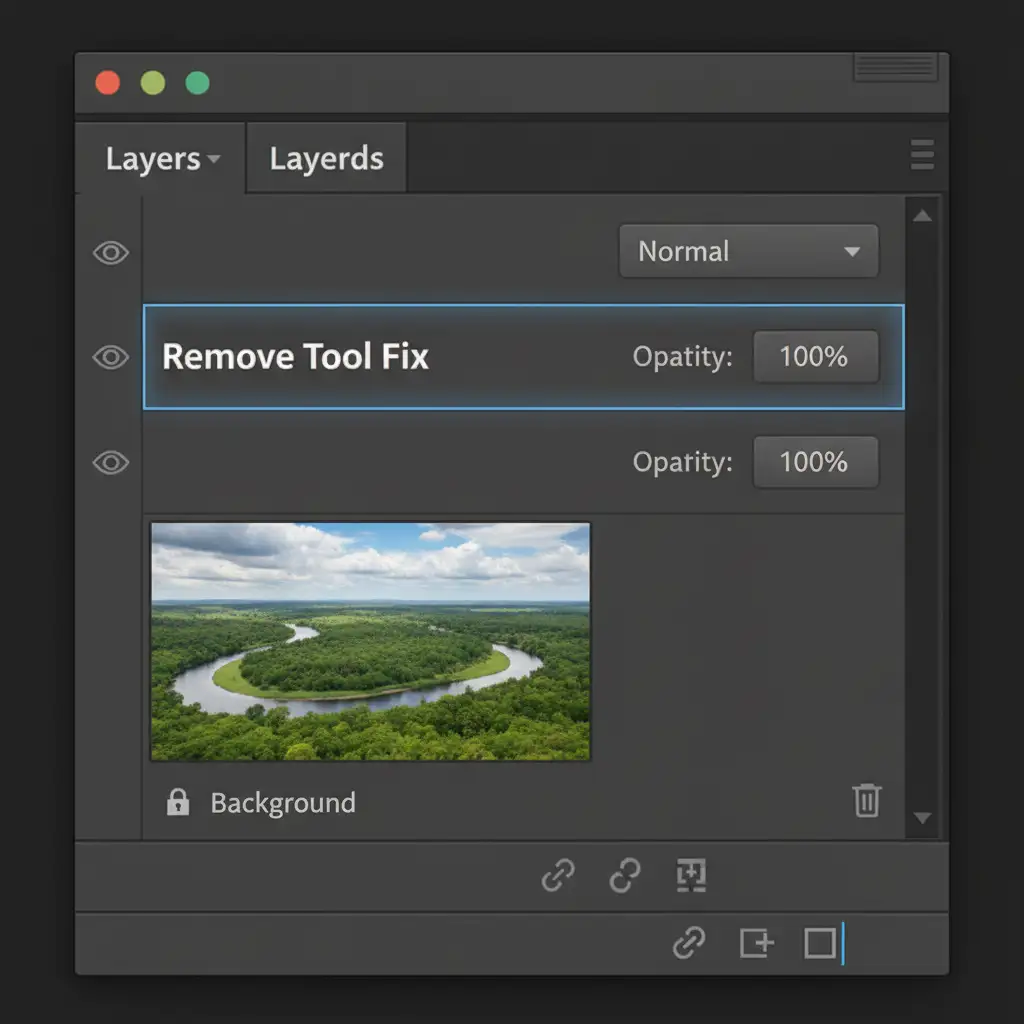
- Create a new, blank layer above your image to ensure non-destructive editing.
- Apply the Remove Tool on this blank layer.
- If the resulting patch looks too smooth, select the Clone Stamp Tool, set it to 20 percent opacity, and gently brush over the edges to blend the surrounding textures.
- Alternatively, add a subtle Gaussian Noise (1 to 2 percent) directly to the blank layer to perfectly match the original image grain.
Method 3: The Technical Deep-Dive – Optimize GPU Acceleration
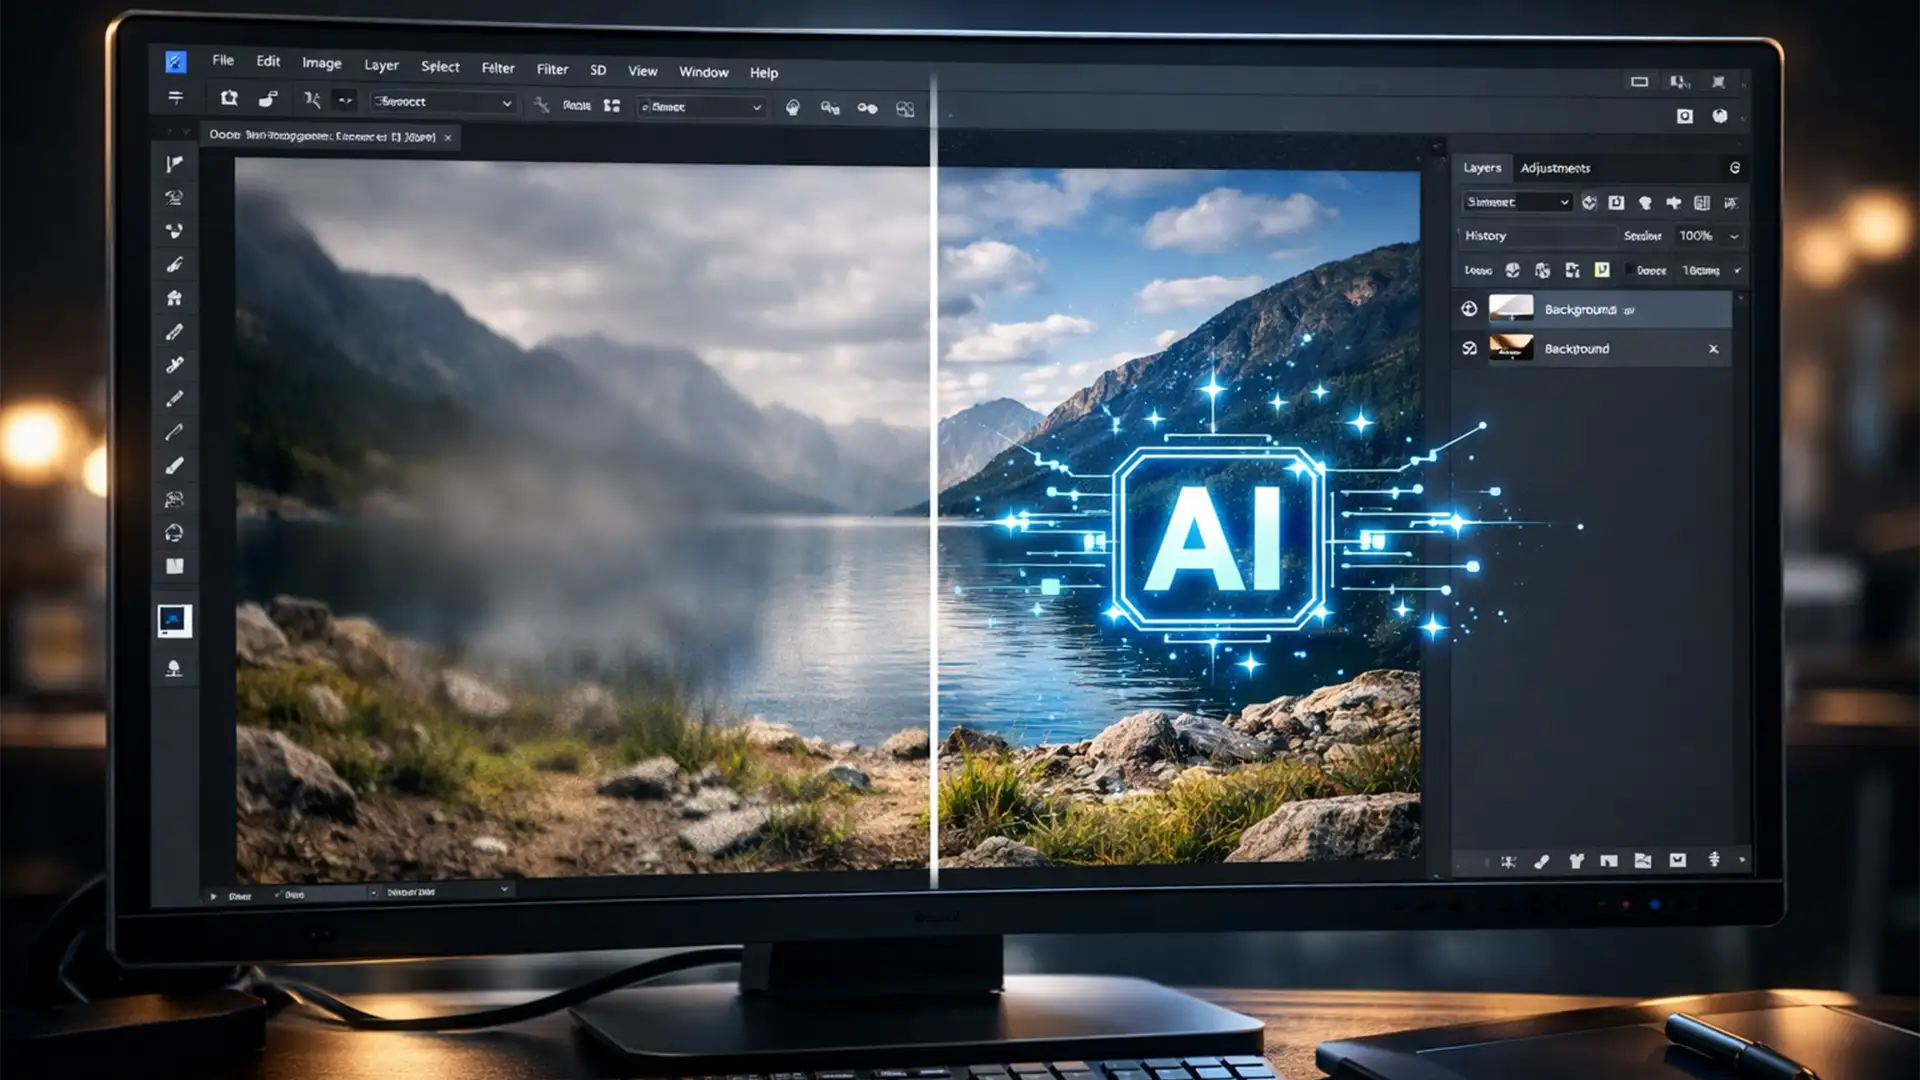
Smudging often happens when Photoshop simply lacks the system resources to process high-resolution AI generation. If the engine is starved for memory, it outputs a lower-quality, blurry patch.
The Fix:
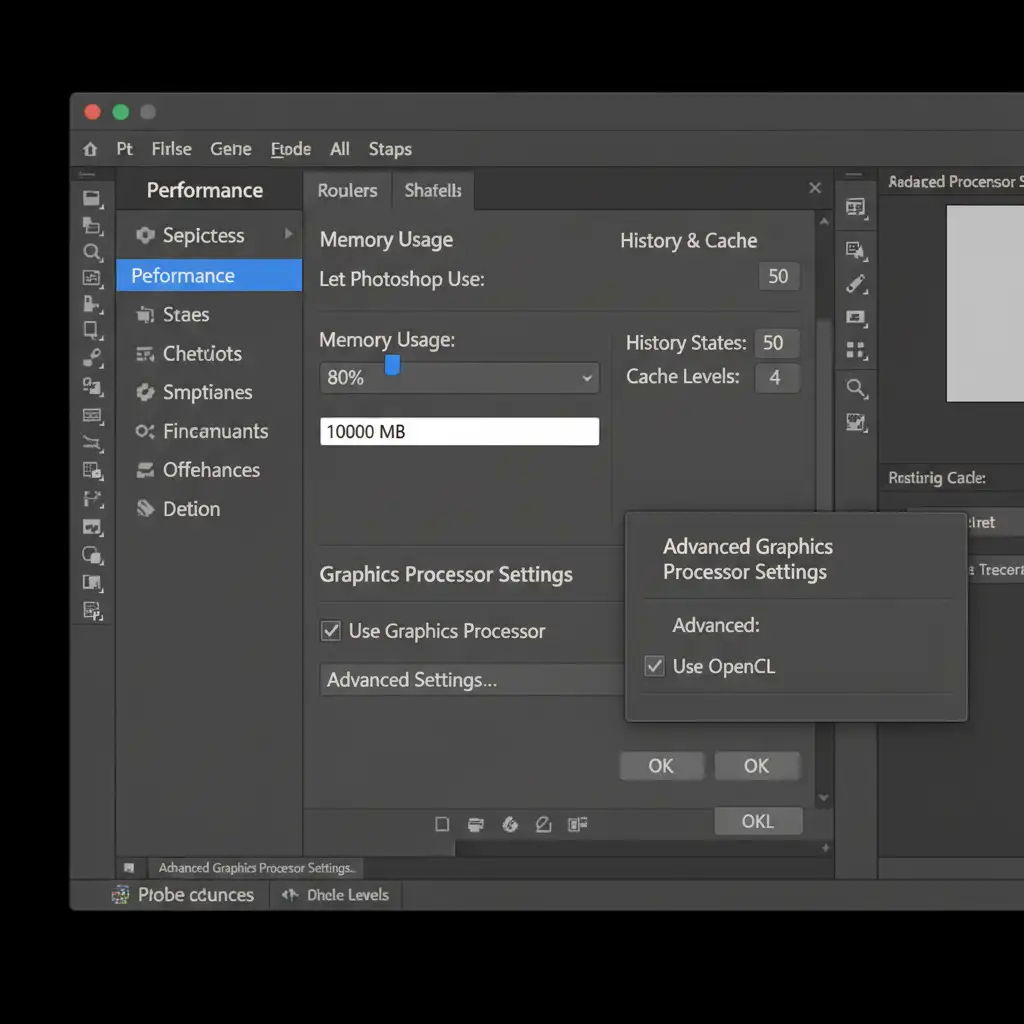
- Navigate to Edit > Preferences > Performance (Windows) or Photoshop > Settings > Performance (Mac).
- Ensure that ‘Use Graphics Processor’ is checked.
- Increase the Memory Usage slider to allocate exactly 80 percent of your available RAM to Photoshop. This feeds the Adobe Sensei engine the memory it needs.
- Click on ‘Advanced Settings’ within the Graphics Processor section and verify that OpenCL is checked to maximize hardware acceleration.
Scale Your Retouching with Image Work India & Cloud Retouch
Mastering AI tools like the Photoshop Remove Tool takes time, patience, and serious hardware. While the fixes above will solve your smudging issues, processing hundreds of high-resolution e-commerce, real estate, or editorial images one by one can create massive bottlenecks in your production pipeline.
Need flawless, high-volume image editing without the AI smudges?
Partner with Image Work India and Cloud Retouch. Our teams specialize in pixel-perfect, professional retouching services tailored to your exact specifications. From complex object removal to non-destructive texture matching, we handle the technical heavy lifting so you can focus on growing your business.
Contact us today to get a custom quote and experience world-class retouching at scale!