If you’re a designer or creative enthusiast, you’re likely no stranger to the incredible versatility of Adobe Photoshop. This powerful software has been a cornerstone of digital design for years, enabling artists to bring their visions to life. One key element that can take your designs to the next level is texture. In this article, we’ll explore the world of free Photoshop textures and show you how to use them to elevate your designs.
Why Texture Matters in Design
Texture is an essential component of design that often goes unnoticed but has a significant impact on the overall aesthetics of a piece. It adds depth, dimension, and tactile qualities to flat images, making them more engaging and visually appealing. Whether you’re working on web design, digital art, or even photography, textures can be a game-changer.
What Are Photoshop Textures?
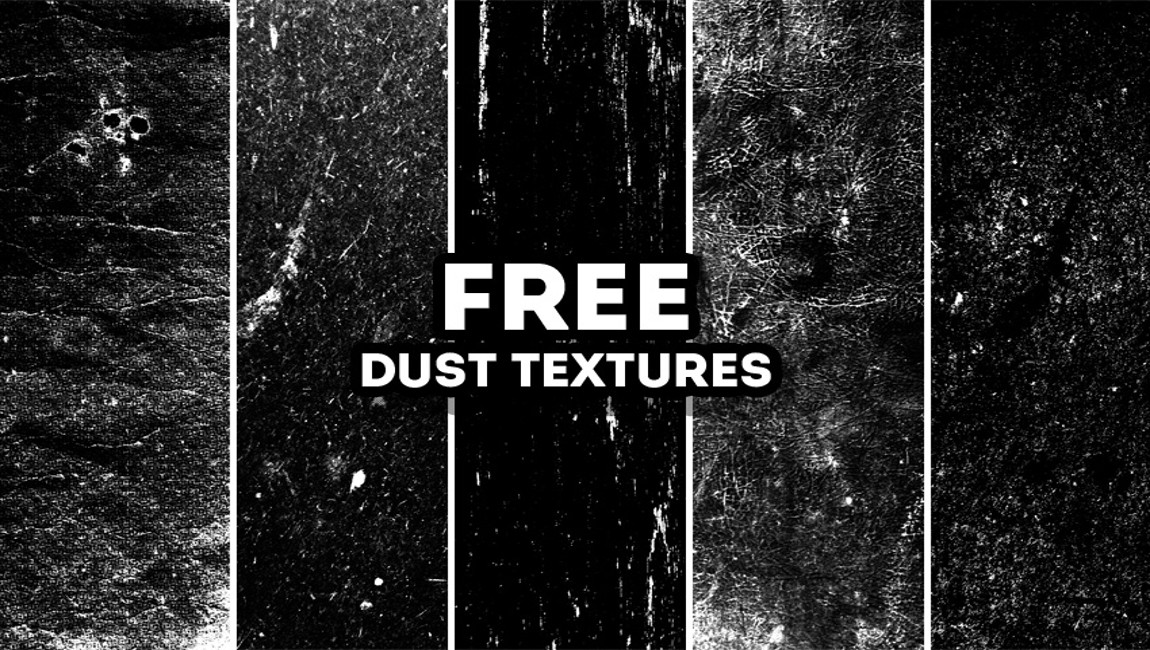
Photoshop textures are image files that you can overlay onto your designs or photos to create a specific visual effect. They can mimic various surfaces and materials, such as paper, fabric, wood, metal, or even more abstract textures like grunge or watercolor. By applying these textures, you can achieve a wide range of artistic effects and give your designs a unique and captivating look.
Using Free Photoshop Textures
Now that we understand the importance of textures, let’s dive into how you can use them in Adobe Photoshop to enhance your designs. Here’s a step-by-step guide:
1. Find Free Photoshop Textures
The internet is a treasure trove of free Photoshop textures. You can find them on websites dedicated to design resources or stock photo platforms. Some popular sources for free textures include TextureMate, Texturelib, and Texture Haven. Download textures that resonate with your project’s theme and style.
2. Import Textures into Photoshop
Once you’ve downloaded your desired textures, open Adobe Photoshop and create a new document or open an existing one. Then, import the textures by going to File > Place Embedded and select the texture file you want to use.
3. Overlay the Texture
With the texture file placed in your document, position it where you want the texture effect to appear. Resize and scale the texture to fit your design. To blend the texture seamlessly with your image, experiment with blending modes like Overlay, Soft Light, or Multiply in the Layers panel.
4. Adjust Opacity and Fill
Fine-tune the intensity of the texture by adjusting the layer’s opacity and fill. Lowering the opacity can make the texture more subtle, while adjusting the fill alters how the texture interacts with the underlying layers.
5. Mask and Blend
To refine the texture application further, use layer masks and brushes. This allows you to control where the texture is visible and where it’s hidden. By blending the texture selectively, you can create intricate and customized effects.
6. Experiment and Combine Textures
Don’t hesitate to experiment with multiple textures and blending modes to achieve unique results. You can stack textures, change their order, or even apply different textures to different parts of your design.
7. Save and Export
Once you’re satisfied with the textured design, save your work and export it in the desired format. Your masterpiece is now ready to be showcased to the world.
Frequently Asked Questions (FAQ) About Free Photoshop Textures
➤Can I use free Photoshop textures for commercial projects?
The usage rights of free textures may vary, so always check the licensing terms provided by the texture’s source. Some textures may be free for both personal and commercial use, while others may have restrictions.
➤Are there any recommended Photoshop brushes for adding textures?
Yes, there are many Photoshop brush sets designed specifically for adding textures. These brushes can simplify the process and offer a wide range of texture options. Some popular sets include Kyle T. Webster’s brushes and GrutBrushes.
➤How can I create my own custom textures in Photoshop?
To create custom textures, you can start by photographing or scanning real-world textures and then importing them into Photoshop. You can also use Photoshop’s built-in tools, such as brushes, filters, and layer styles, to craft your textures from scratch.
➤What are some tips for achieving a natural look when applying textures?
To make textures appear natural, pay attention to lighting and perspective. Match the lighting direction and intensity of your texture with the rest of your composition. Use layer masks and brushes to blend the texture seamlessly into your image.
➤Are there any alternatives to Photoshop for working with textures?
Yes, several other graphic design software options, like Adobe Illustrator, GIMP, and CorelDRAW, offer texture-related features. The choice of software depends on your specific needs and preferences.
Conclusion
Incorporating free Photoshop textures into your design workflow can take your creations to new heights. These textures offer a world of creative possibilities, allowing you to add depth, character, and emotion to your digital projects. Whether you’re a seasoned designer or just starting, experimenting with textures in Photoshop can be a rewarding journey. So, don’t hesitate to explore the vast collection of free textures available online and bring your designs to life in a whole new way. Elevate your designs with texture today!


