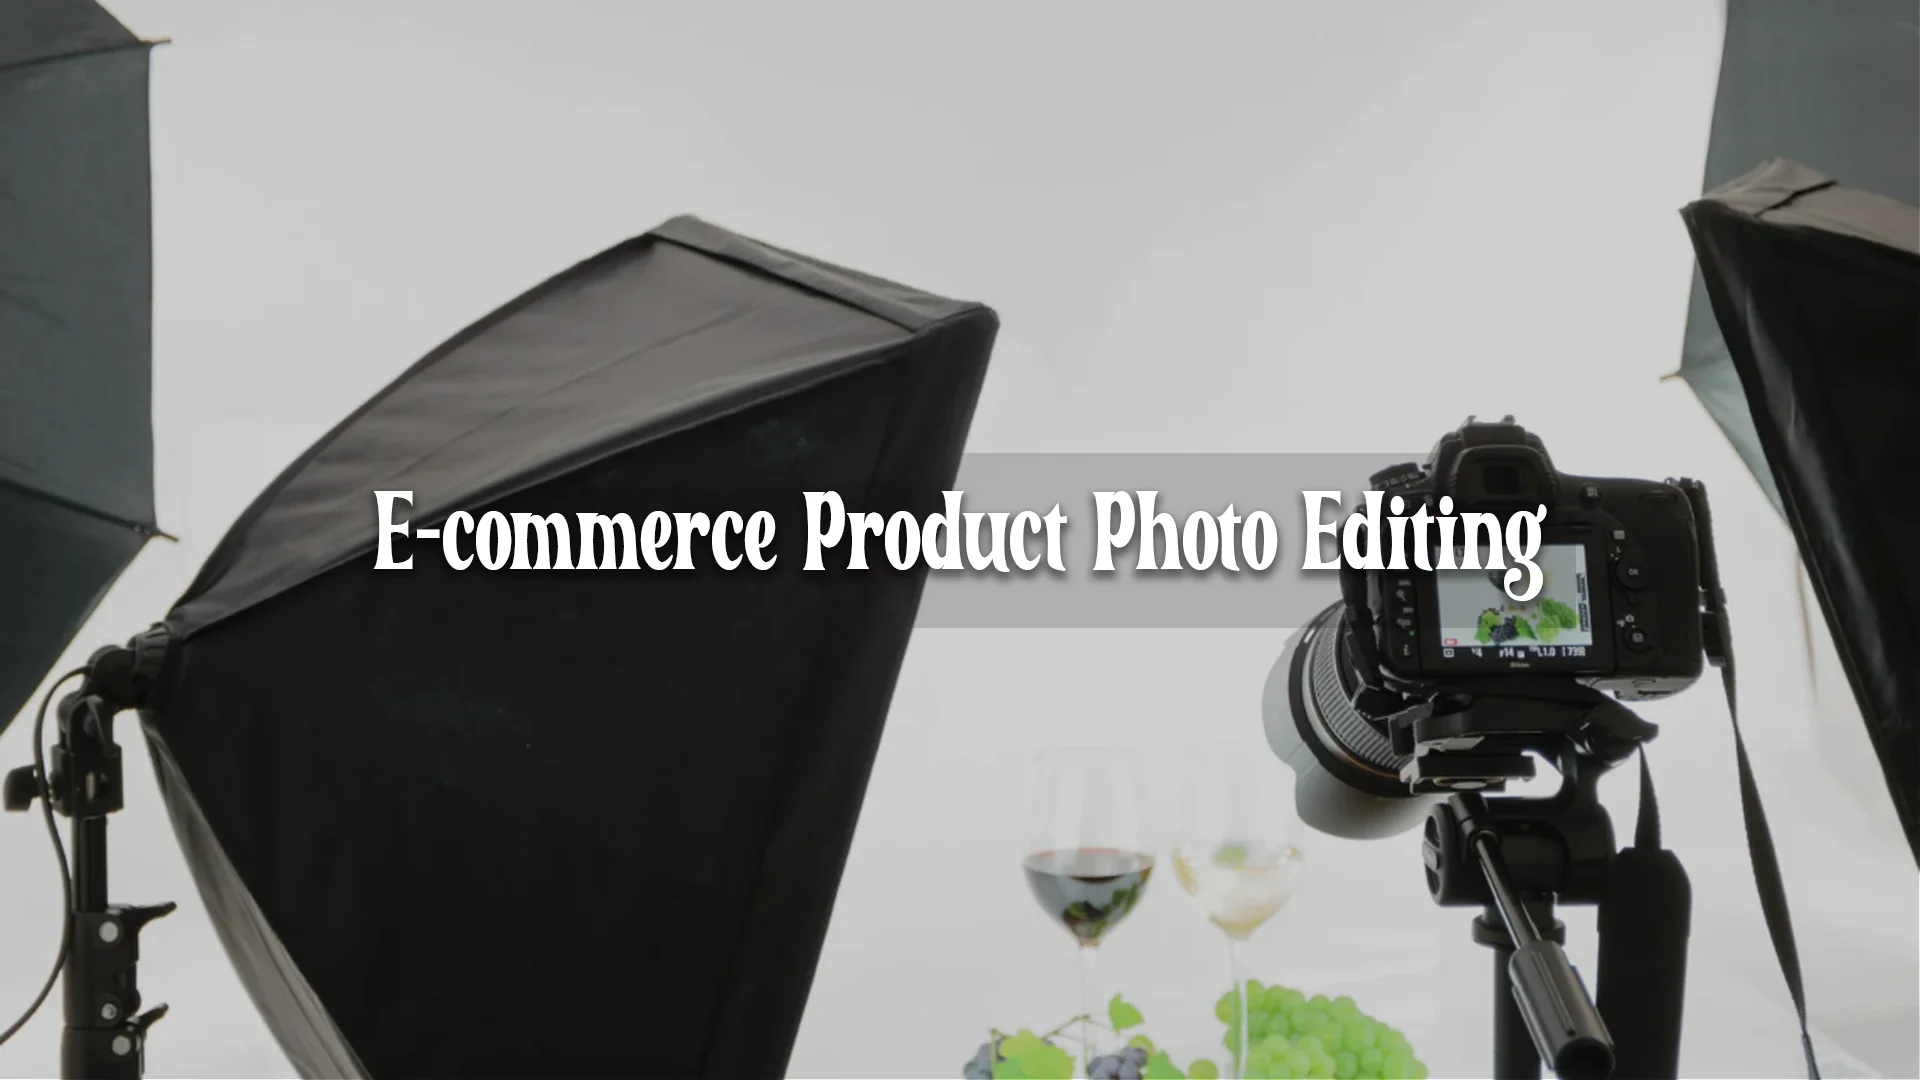
A rather demanding field is product photography. As a result, I want to get perfectly lit and crisply sharp photos that I can publish on websites or in brochures and catalogs. The customer must be convinced of these recordings and be encouraged to buy one of these products. But what do I have to pay attention to? I have briefly compiled the 10 most important product photography rules for you below.
The right equipment
Of course, the basic equipment includes a digital camera. However, it does not necessarily have to be a single-lens reflex or system camera. Good compact or bridge cameras with manual aperture and shutter speed selection can be used here. The Panasonic DMC-TZ71EG-S Lumix*, for example, has many of the features you want in a camera that costs less than 100 euros.
But a good tripod is indispensable. Here I prefer tripod tripods, e.g., the Rollei C5i* with a flexibly adjustable ball head. The advantage is that I can also photograph at long shutter speeds without shaking. A remote or cable release is good because I don’t have to touch the camera to operate it.
A flashlight is unnecessary, as I prefer to use photo lights, e.g., the Geekoto Softbox*. More on that later. Finally, I need a suitable background. Using a backdrop like this is mostly about how big the thing you’re going to record is. I recommend an 80 x 80 cm light tent* for common household items, jewelry, and rare collectibles. This can be illuminated from all sides and has a small hollow for shadow-free photography.
The right lighting
An integrated flash on a camera usually creates a very hard shadow. When I photograph my object in a light tent, I use a small studio light* from both sides and from above. The light is attenuated in the cube due to its polyester material. It does not shine so brightly that it still illuminates my object from all sides. Here I can experiment with different light sources. Especially for light tents, there are small and handy luminaires with halogen bulbs. These are inexpensive and lead to success.
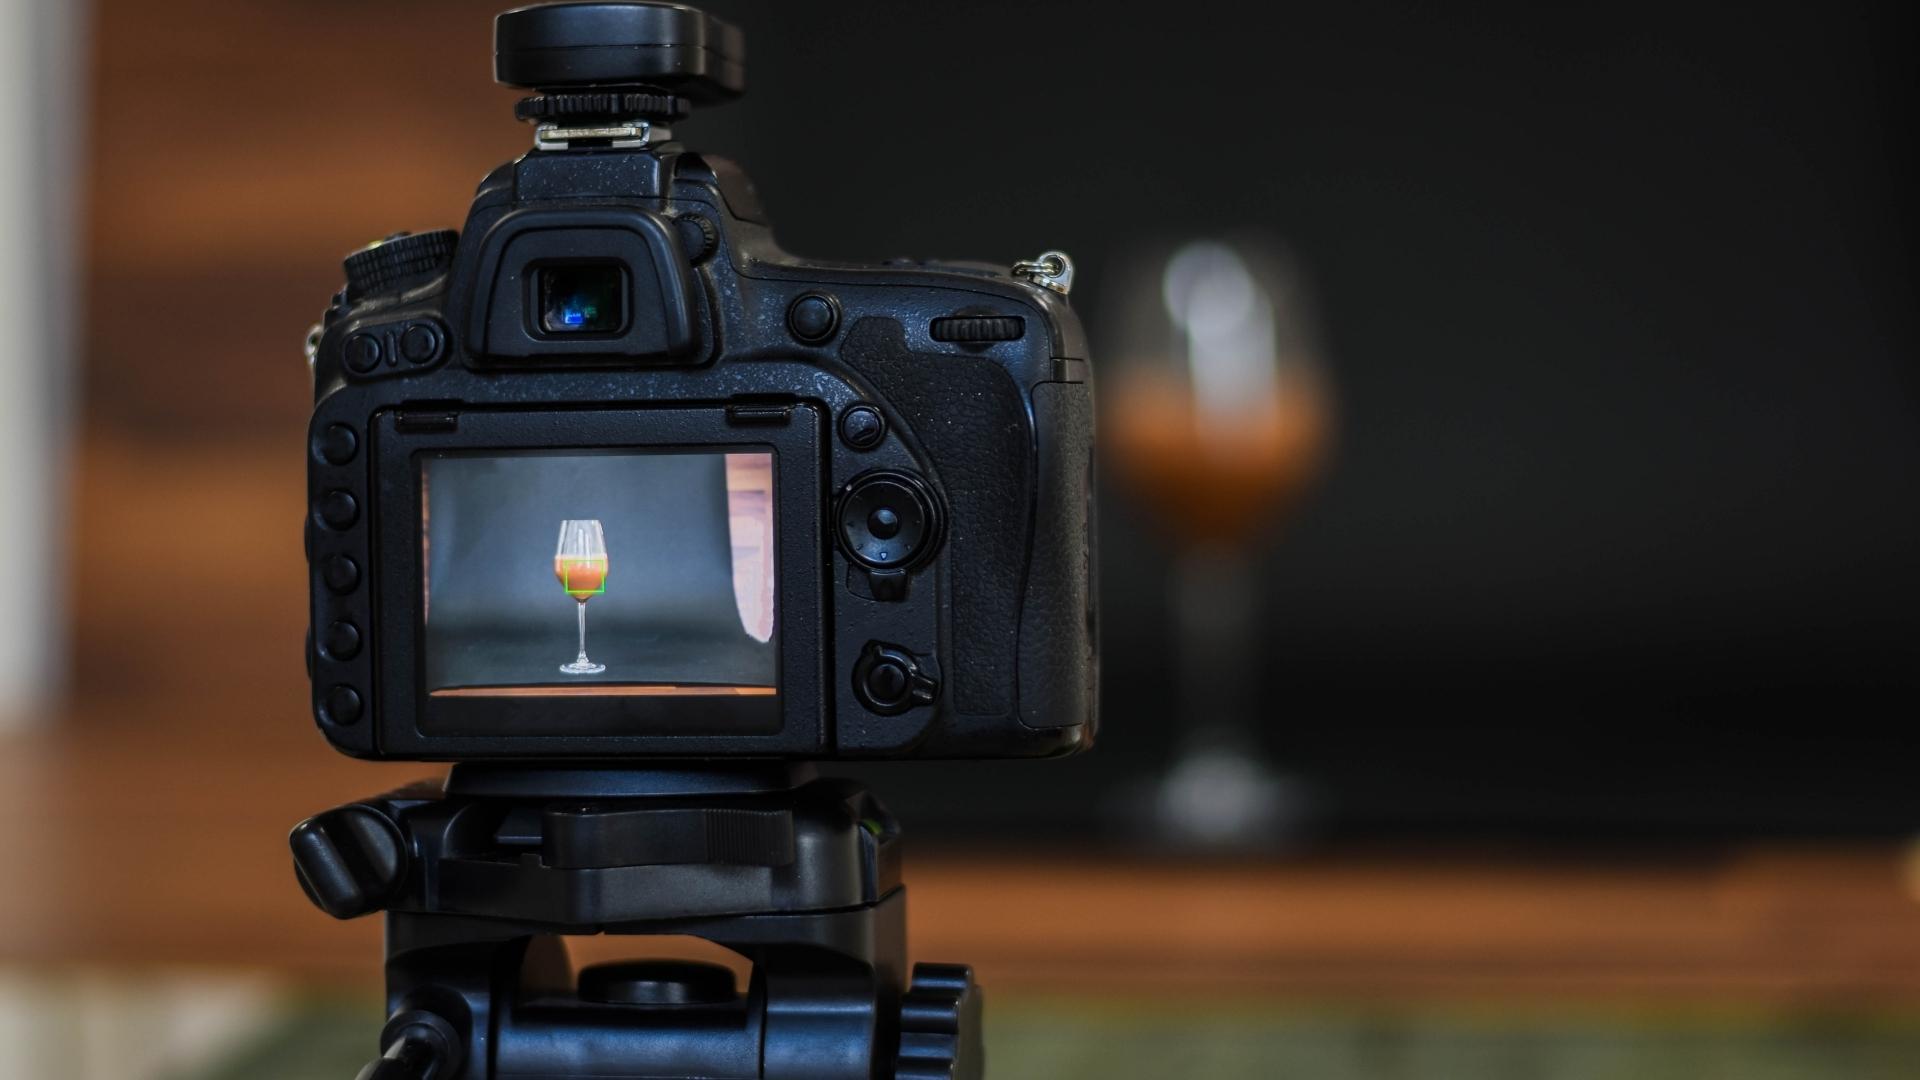
The right camera setting
A small telephoto lens is ideal if you use an SLR or system camera. But the normal zoom lens of compact and bridge cameras can also be used well for product photography. I adjusted the zoom lens so that the object could be photographed in full-screen mode. Since I use a tripod, the shutter speed doesn’t matter. More important is the aperture setting. I get a lower depth of field with a large aperture than with a small aperture. I need to adjust the aperture so that my object’s foreground and the back edge are sharp. A lot of test shots and a look at the screen later help me believe that the results are what I want them to be.
The right object placement
Of course, one of the rules in product photography is the correct alignment of the camera. The viewer wants to see as much as possible at once. For this reason, I always place my objects at a 45-degree angle to the camera lens. This allows the viewer to look at the front and the side of the building. If I create multiple product photos, I can also look at the back and the other side of the front.
The white balance setting
Product shots may contain a blueish, reddish, or yellowish color shimmer depending on the lighting. In this case, I need to correct the color temperature with a white balance. It should be noted that my studio lights for the light tent are more likely to emit a warm light. On the other hand, I get a cold light if I use fluorescent tubes. The white balance should be set manually on the camera. To achieve a good contrast, I can use a gray card or cardboard and plastic cards.
The background
For product photos, the object must stand out well from the background. There should be a good contrast here. The advantage of photography is that, if necessary, I can detach the object from the background later with an image editing program. If necessary, I can also send my photos to a professional exemption service (PES), who will take over this work for me.
Large objects
If I want to photograph cars or other large objects, I should use natural daylight. Again, I can work with the depth of field so that the background is displayed in a blur. A neutral background is ideal so that I can crop the object later. Also, the arrangement should be changed again to look at the front and the side front at once.
Post-processing
One of the important rules in product photography is that, if possible, I create the photos so that only a small amount of post-processing is required later. The better I choose the composition, the background, and, of course, exposure and sharpness, the more work I can save myself. If you have problems cropping and editing the images, you can also use an agency like www.cloudretouch.com.
Photographing fashion
Fashion items, i.e., clothing and accessories, rarely fit into a light tent. The best way I can photograph clothes is on a living object. If necessary, a tailor’s doll* also works. Here I have to pay attention again to a neutral background. In a studio, I can create a large cavity with a canvas. Otherwise, a monochrome light wallpaper usually succeeds. Later, the model is released from the background again.
Archive photos
During a photo shoot, a large number of photos are taken. I store them all on a separate hard disk and create a separate subfolder for each category or object. After all, I consistently delete all photos that do not meet my requirements. This ensures clarity.