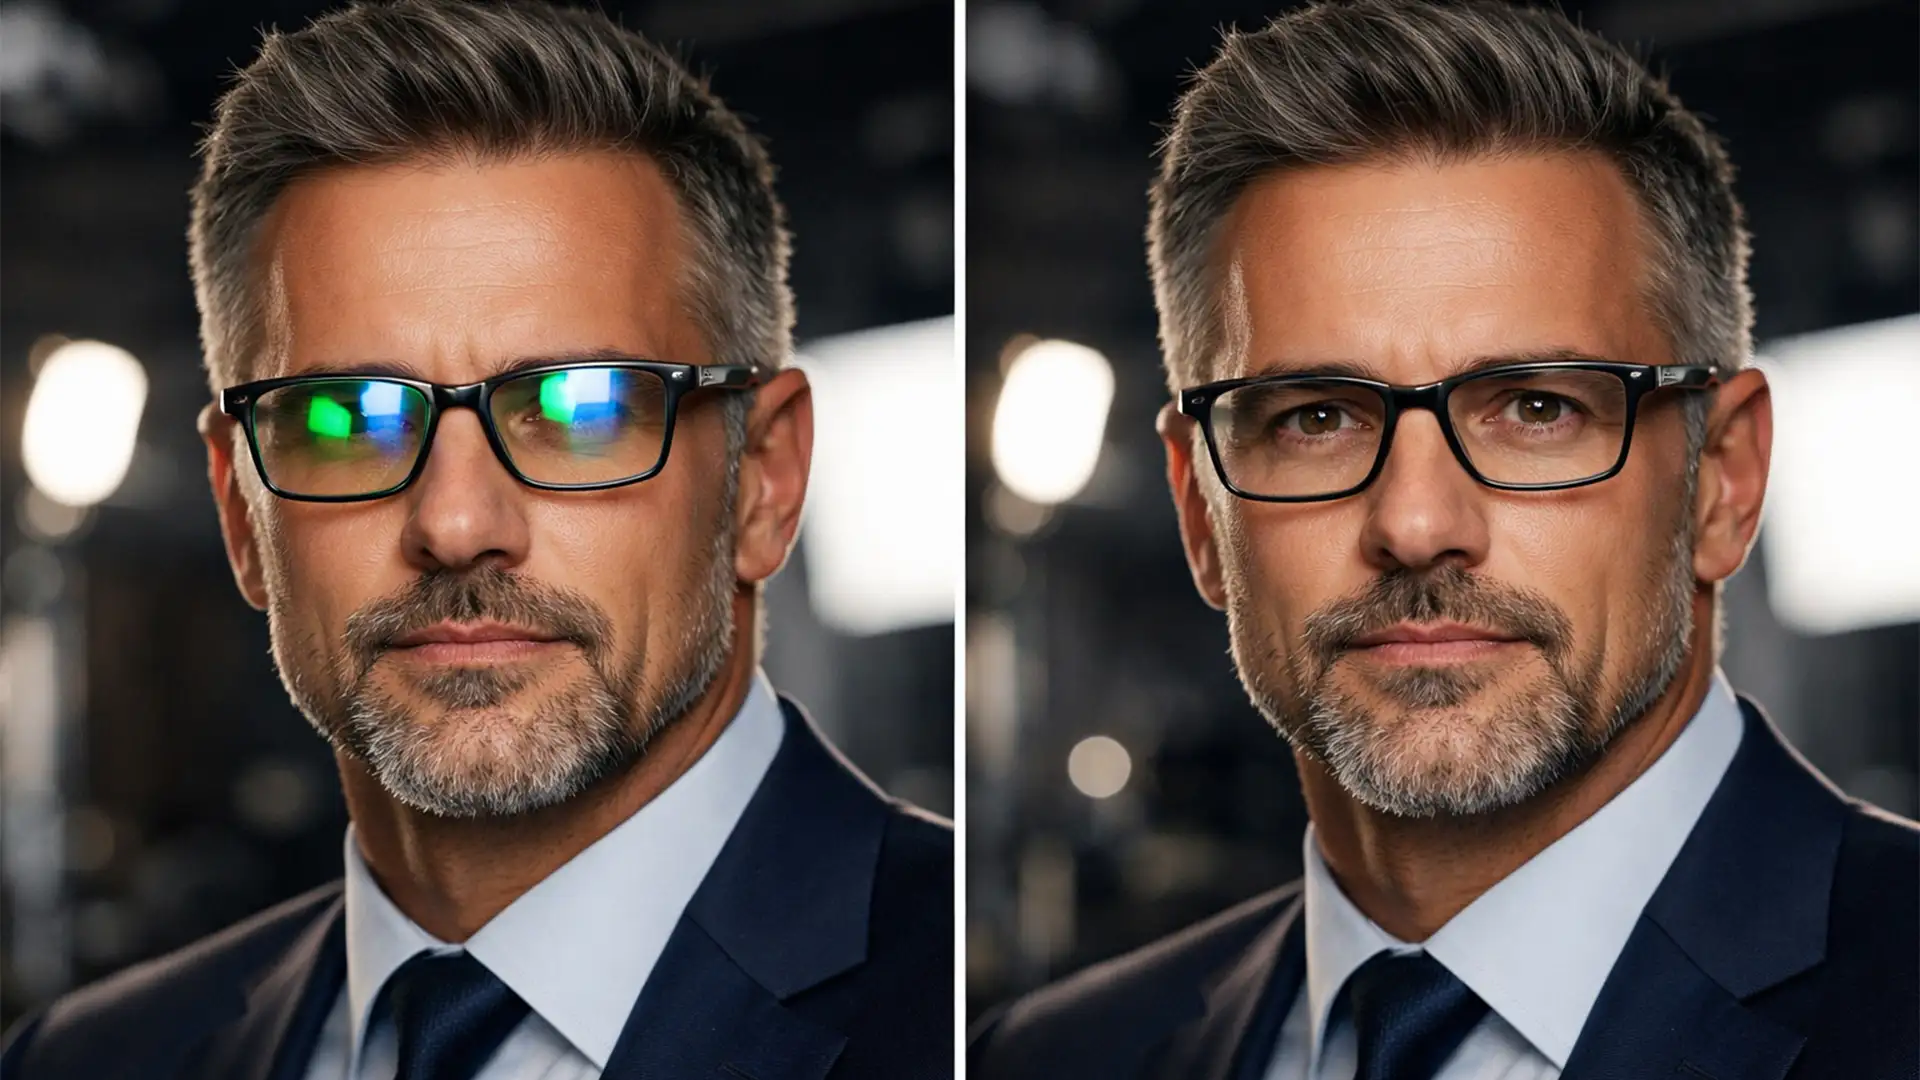
You’ve just wrapped a flawless portrait session, but when you pull the raw files into Photoshop, you see it-those dreaded glowing green and blue blobs over your subject’s eyes. Anti-reflective (AR) lens coatings are notorious for catching softbox and ring light reflections, completely obscuring the eyes and ruining the emotional connection of the portrait. If you’ve tried painting over them, you know destructive methods just leave muddy gray patches that destroy the natural catchlights.
In this guide, we will show you exactly how to remove green blue light glare from glasses in Photoshop without losing the eye’s natural luminosity and texture. Whether you need a rapid adjustment or a pixel-perfect reconstruction, these three professional methods will save your images.
Why Anti-Reflective Coatings Cause Colored Glare
Modern eyeglasses are treated with anti-reflective coatings designed to reduce general glare for the wearer. However, under the intense, directional lighting of a photography studio, these coatings bounce back specific wavelengths of light-typically cyan, green, or blue.
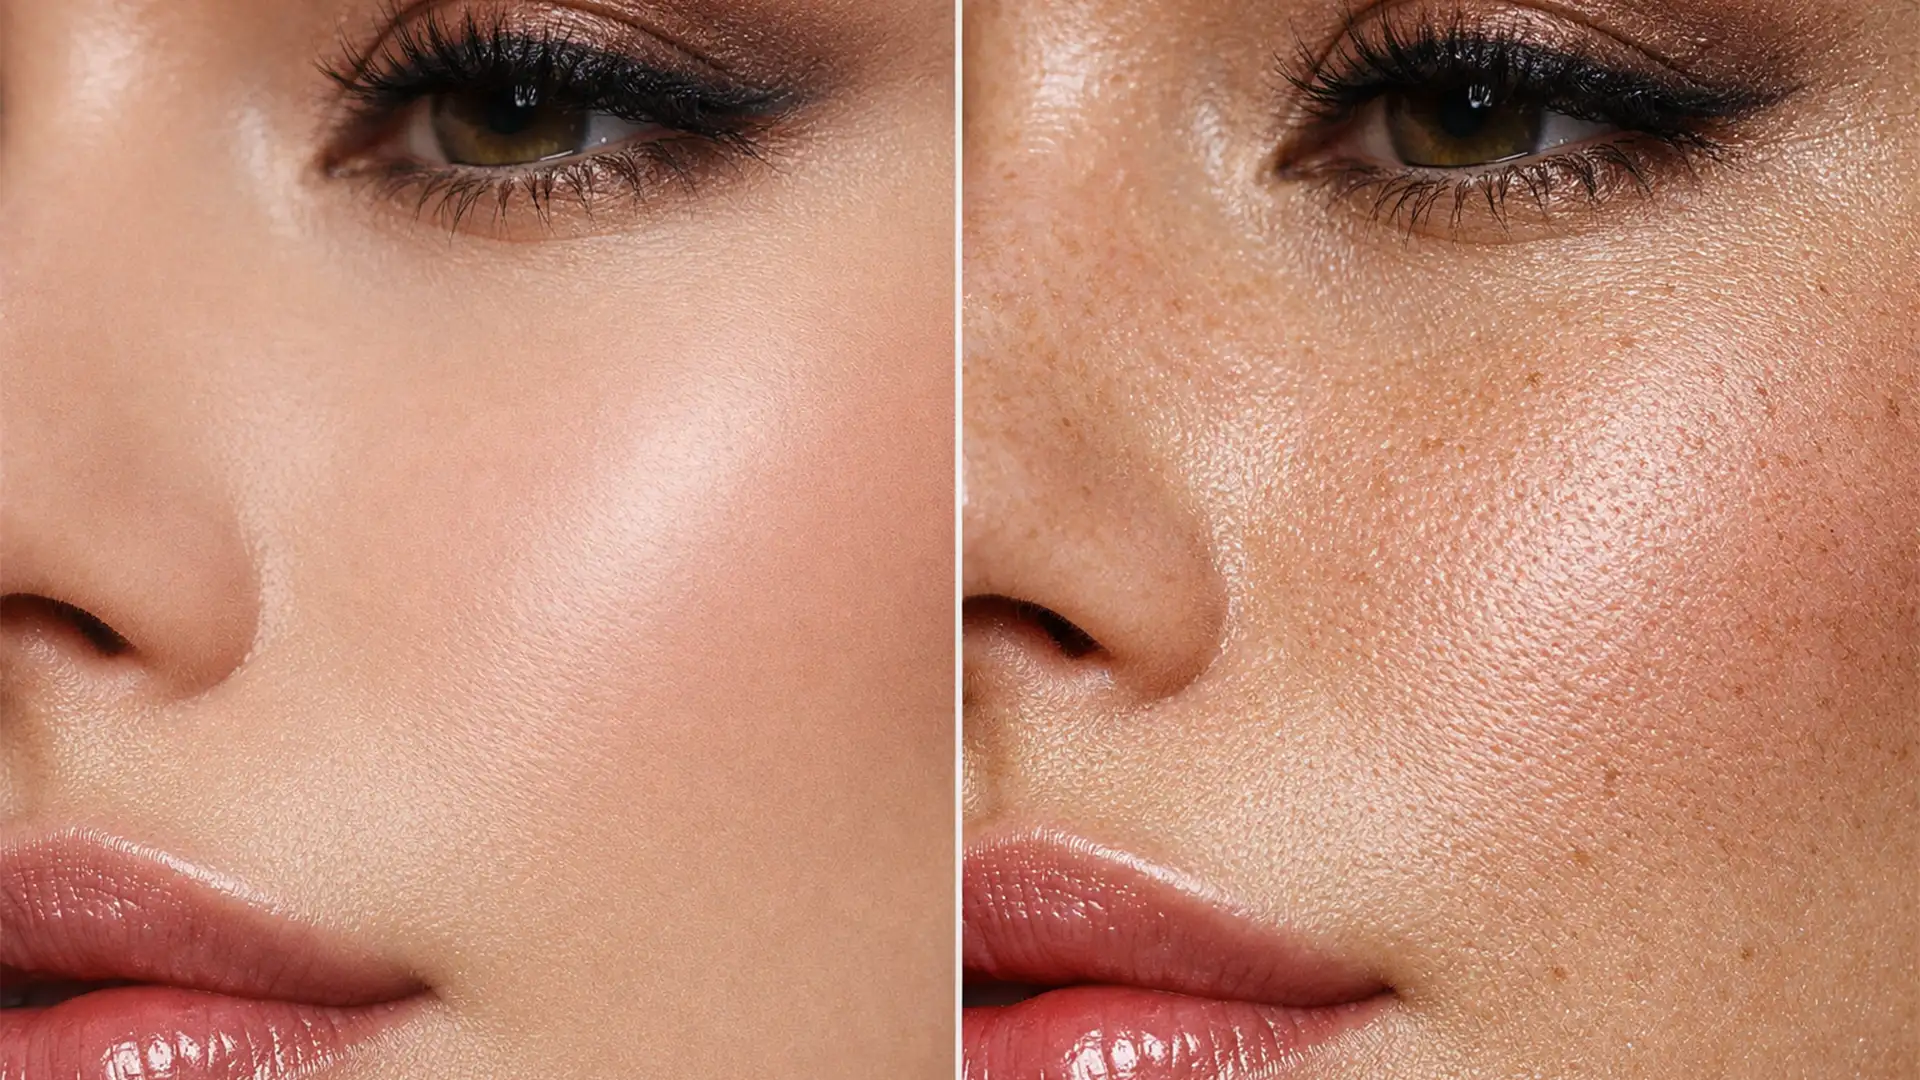
The technical challenge in retouching this isn’t just removing the color; it’s isolating the chrominance (the color cast) while preserving the luminance (the brightness and texture of the eye beneath the glare).
Method 1: The Quick Fix Using a Targeted Hue/Saturation Layer
When the glare is purely a color cast and hasn’t completely blown out the details of the eye, a targeted Hue/Saturation layer is your fastest route to a clean image.
Step-by-Step Color Neutralization:
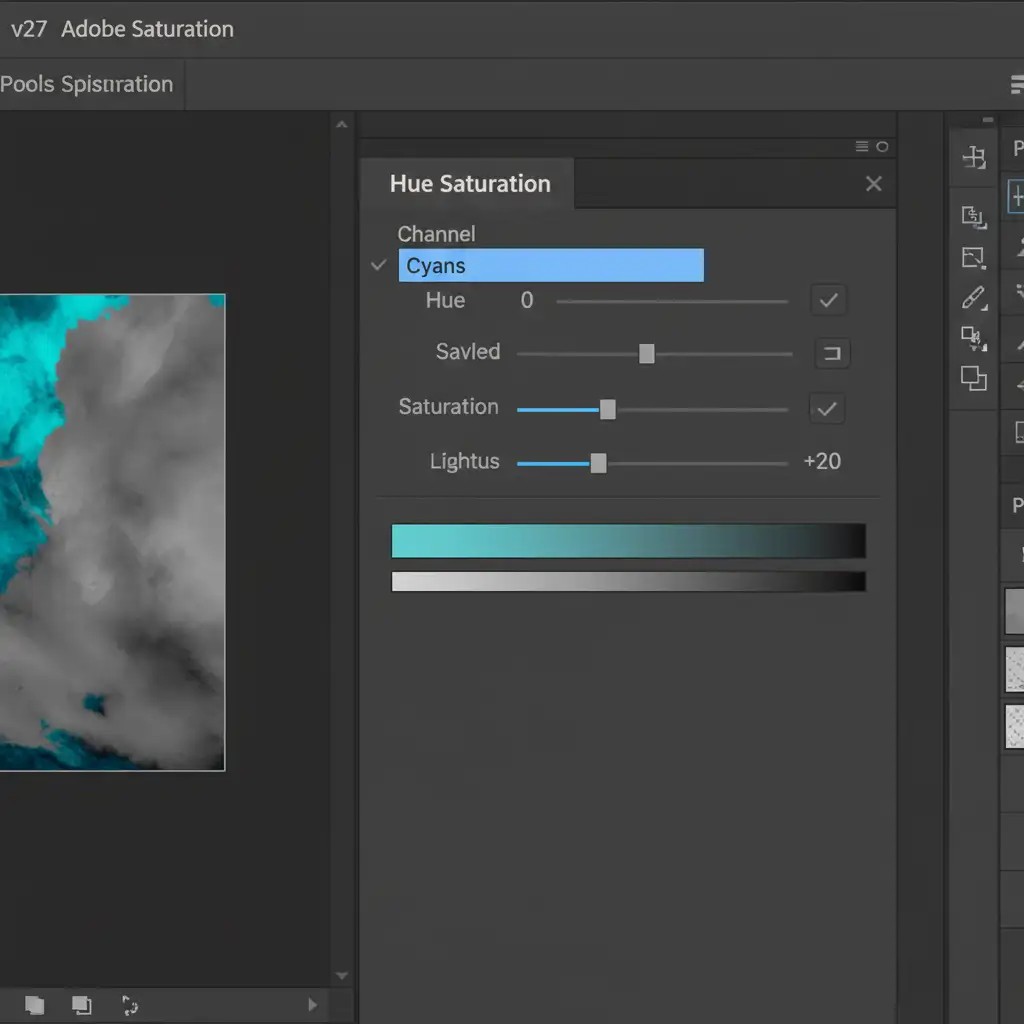
- Create the Adjustment Layer: Open your image in Photoshop and add a new Hue/Saturation adjustment layer.
- Target the Glare: Click the targeted adjustment tool (the hand icon with arrows) in the properties panel. Click directly on the green or blue glare on the glasses. Photoshop will automatically select the specific color channel (usually Cyans, Greens, or Blues).
- Desaturate: Drag the Saturation slider all the way down to -100.
- Match the Lightness: The glare will now look like a gray blob. Adjust the Lightness slider up or down until that gray patch blends seamlessly with the surrounding skin tone or eye color.
- Mask it In: Click on the layer mask, press Ctrl+I (Windows) or Cmd+I (Mac) to invert it to black. Select a soft brush, paint with white, and carefully brush only over the affected glare areas.
Method 2: The Pro Workaround with Color Blend Mode
Sometimes a Hue/Saturation adjustment leaves the area looking flat. For a more refined approach, professional retouchers use the Color blend mode to manually paint away the color cast while retaining 100% of the underlying texture and catchlights.
How to Paint Away Glare:
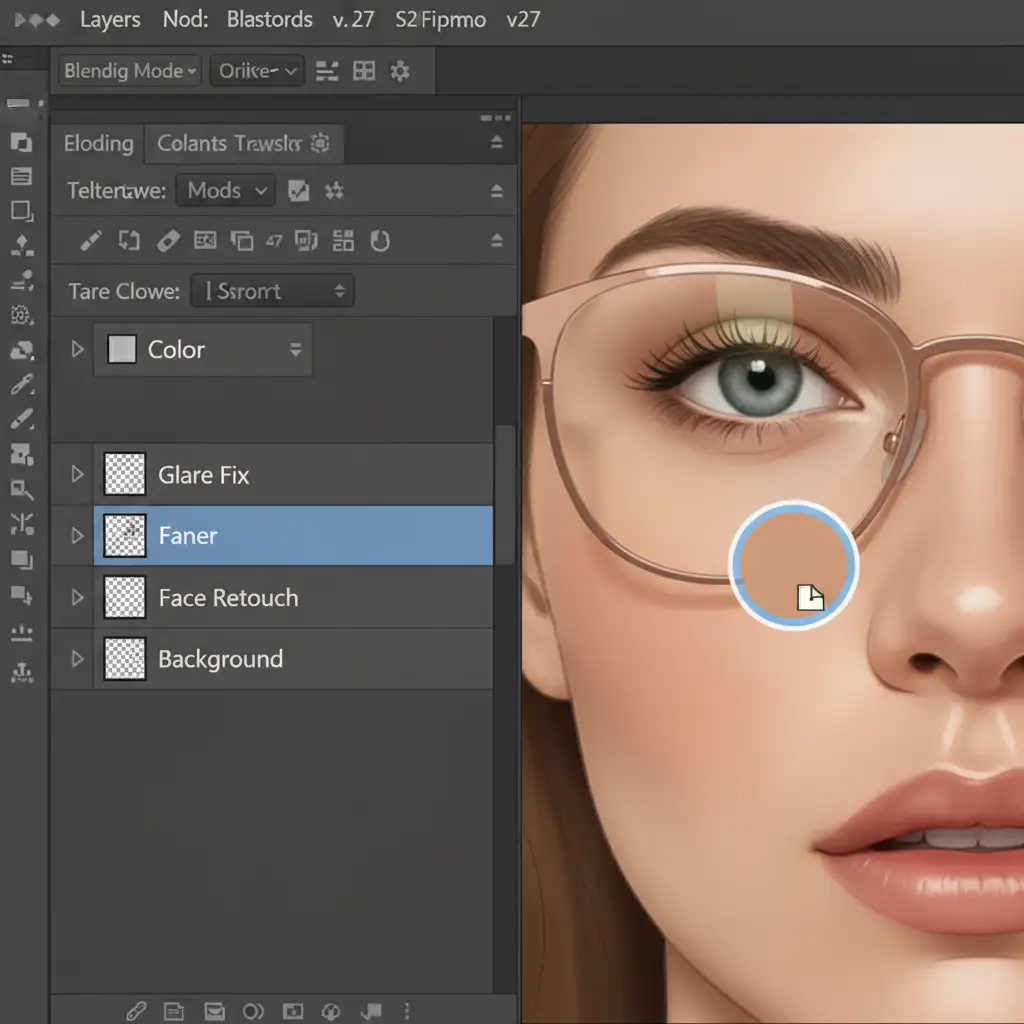
- Create a Blank Layer: Add a new blank layer above your portrait layer.
- Change the Blend Mode: Change the blending mode of this new layer from Normal to Color. This ensures that only the color values of your brush strokes are applied, leaving the brightness and texture untouched.
- Set Up Your Brush: Select the Brush tool (B). Choose a soft round tip and lower the opacity to about 20%.
- Sample and Paint: Hold Alt (Windows) or Option (Mac) to turn your cursor into the eyedropper. Sample the natural, un-glared skin or eye color immediately adjacent to the green/blue reflection.
- Neutralize: Carefully paint over the green/blue reflections. You will see the unnatural tint vanish, replaced by the natural tones you sampled, while the original eye texture remains perfectly intact.
Method 3: The Technical Deep-Dive (Generative Fill & Frequency Separation)
When dealing with dense glare that completely obscures the eye-meaning there is no pixel data left to recover-you must reconstruct the eye entirely. Modern Photoshop versions (v25.x to v27.x) make this possible by combining AI with traditional cloning techniques.
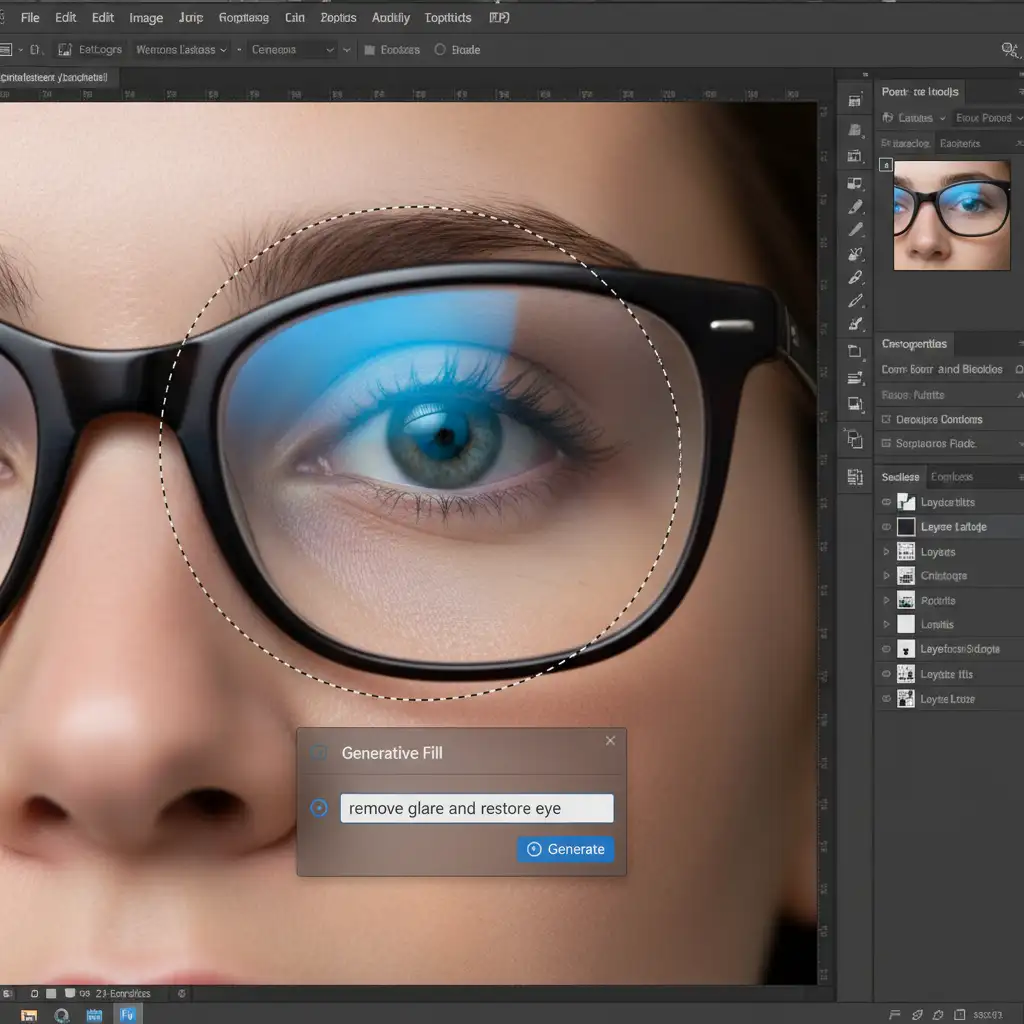
Step 1: AI Reconstruction
Use the Lasso tool to draw a tight selection around the blown-out glare. Click on Generative Fill in the contextual taskbar and type the prompt: “remove glare and restore eye”. Generate a few variations until you find an eye that matches the subject’s natural anatomy.
Step 2: Manual Blending
If the AI result looks slightly unnatural or the skin texture doesn’t perfectly match:
- Select the Clone Stamp tool and set its blend mode to Darken in the top options bar.
- Clone nearby, healthy skin textures over any remaining bright, hard edges of the glare. The Darken blend mode ensures you only affect pixels lighter than your sampled area.
- For the ultimate flawless finish, run a frequency separation action to independently smooth the color transitions (low frequency) while retaining the sharp pores and eyelash details (high frequency).
Stop Fighting Glare: Let Image Work India & Cloud Retouch Handle It
Learning how to remove green blue light glare from glasses in Photoshop is a valuable skill, but executing these deep-dive techniques on a full gallery of corporate headshots, school portraits, or event photos can drain hours of your time.
If you are struggling with complex glare removal on hundreds of portraits, you don’t have to do it alone. Save time, scale your business, and ensure flawless, natural results by outsourcing your high-volume photo editing to the experts at Image Work India and Cloud Retouch.
Our team of professional retouchers specializes in advanced techniques-from non-destructive color neutralization to complex frequency separation-guaranteeing your subjects look their absolute best.
Contact Image Work India and Cloud Retouch today to get a custom quote on your portrait retouching needs and get your time back!