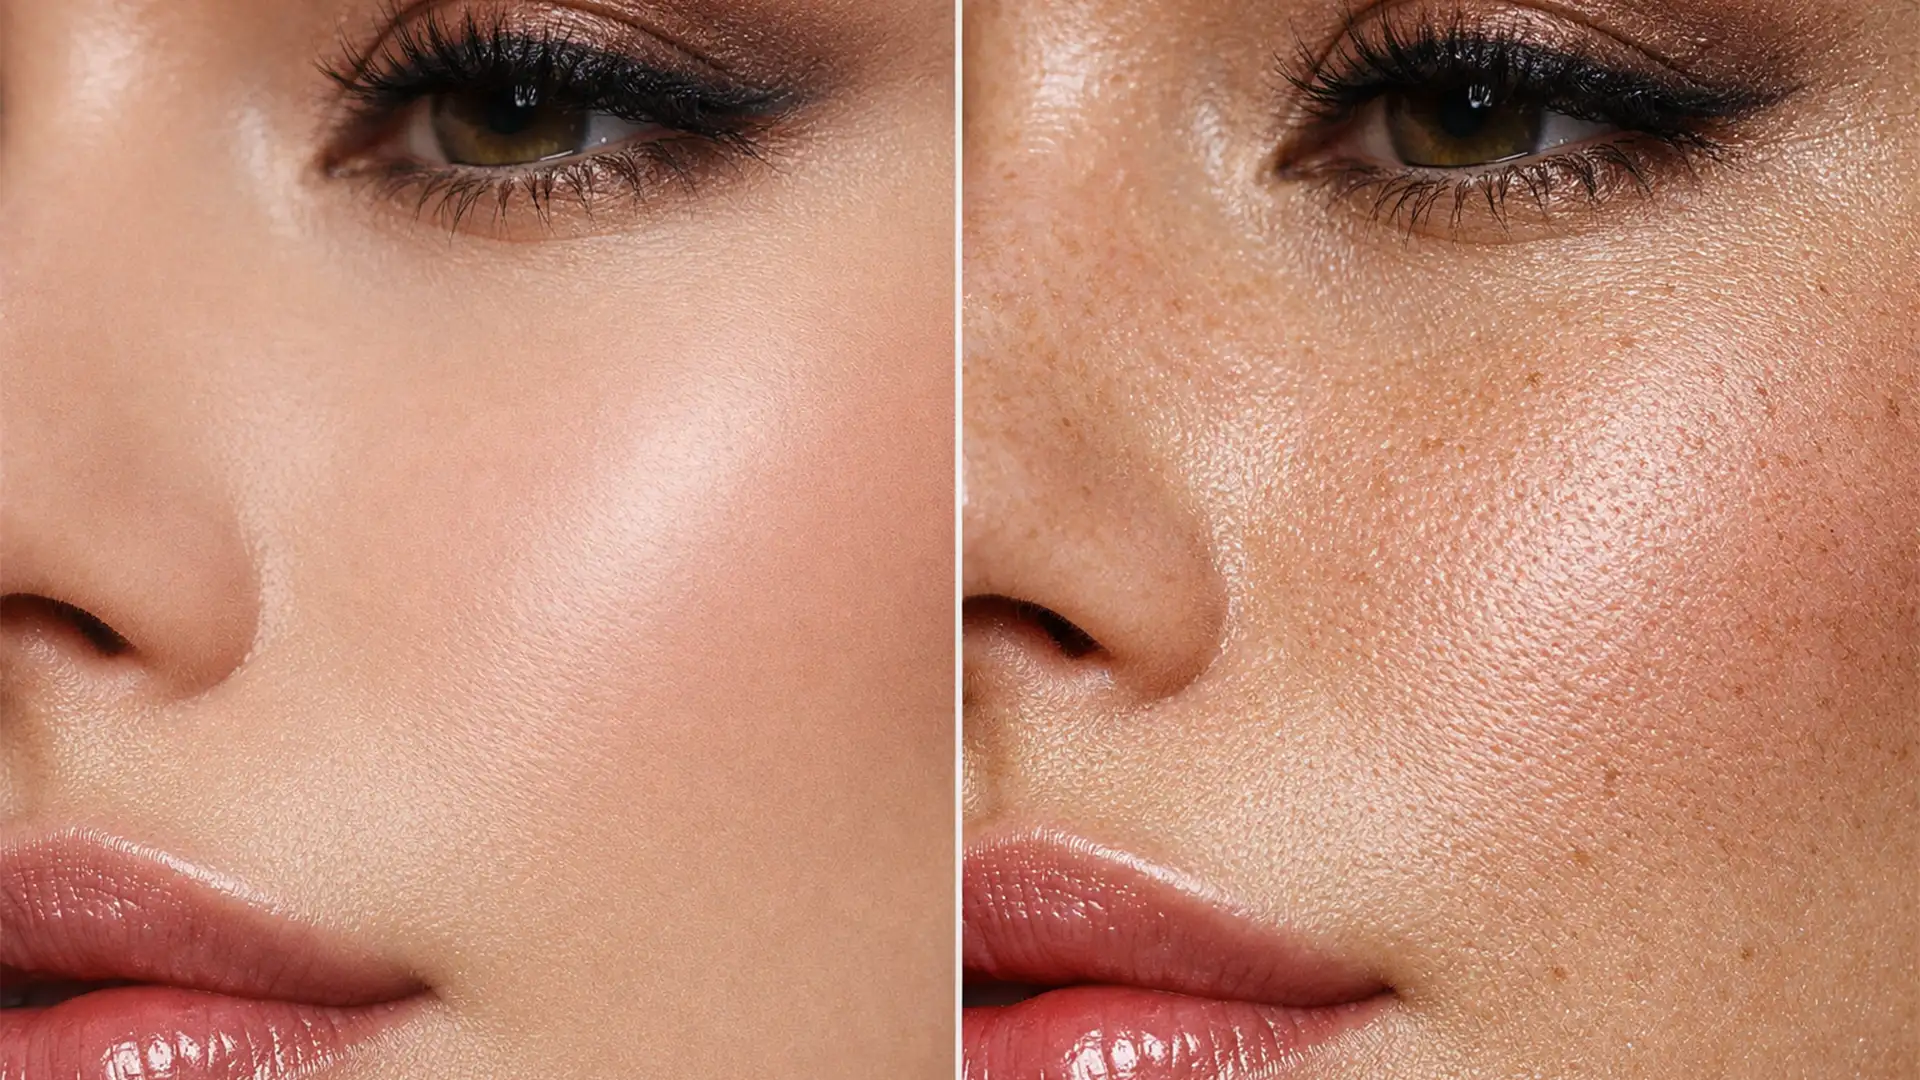
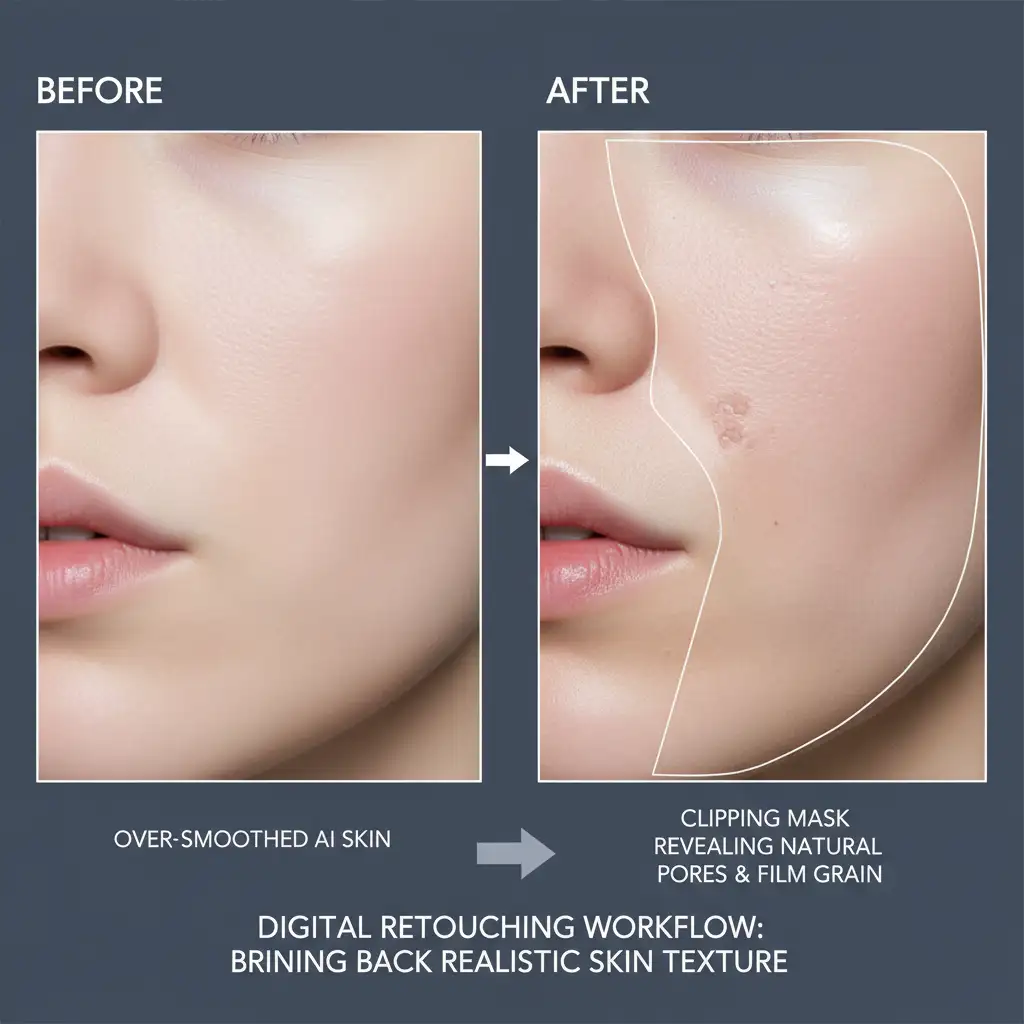
You’ve just used Photoshop’s Generative Fill to seamlessly remove a complex blemish or expand a high-end beauty portrait. Structurally, the AI did a flawless job. But zooming in reveals a glaring issue: the dreaded “uncanny valley” plastic skin effect.
As of Adobe Photoshop v25.0, the Firefly-powered engine struggles with microscopic skin details, replacing native photographic grain and pore structures with unnaturally smooth AI generation. This tonal gap ruins professional headshots and commercial campaigns. If you need to restore natural skin texture after generative fill, relying on AI alone won’t work. Here is the definitive guide to bringing back hyper-realistic skin details.
The Problem: Why Generative Fill Ruins Skin Texture
When you utilize Generative Fill powered by the Firefly Image 3 model, the AI model prioritizes lighting, color blending, and structural integrity over micro-contrast and photographic noise.
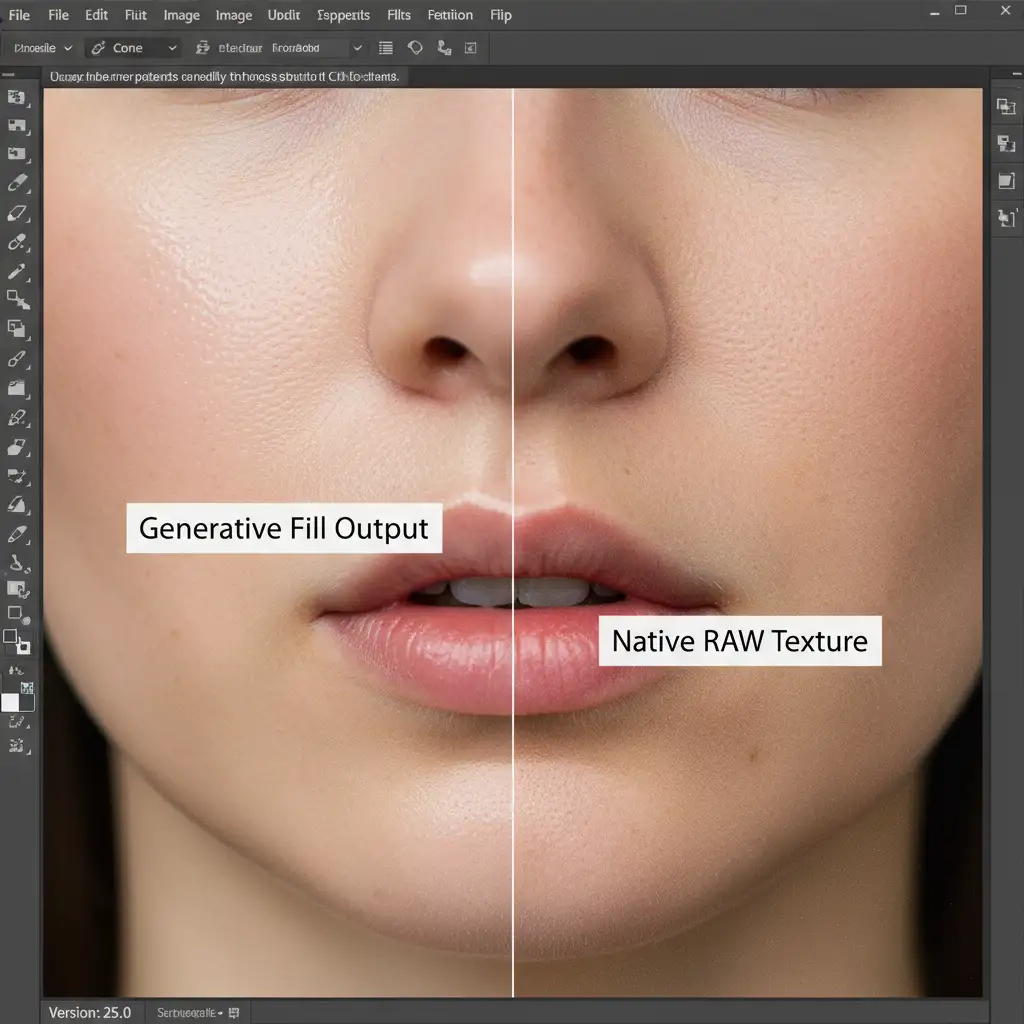
The core issue is a mismatch in data depth. High-resolution RAW camera sensor data contains microscopic pore structures and inherent film grain. The AI patch, however, renders as an overly smooth, 8-bit generation. When placed side-by-side with native photography, the lack of digital noise on the generated patch makes it look like a plastic mannequin. Resolving this requires manual, non-destructive texture synthesis to bridge the tonal gap.
How to Restore Natural Skin Texture After Generative Fill
Depending on the severity of the texture loss and the required turnaround time, professional retouchers use one of three primary techniques to synthesize missing pores and grain.
Method 1: The Quick Fix (Synthetic Noise Generation)
If you are working on a tight deadline and the AI patch is relatively small, generating a synthetic noise layer is the fastest way to blend the generated pixels with the native photograph.
- Create a New Layer: Add a new blank layer directly above your Generative Fill layer.
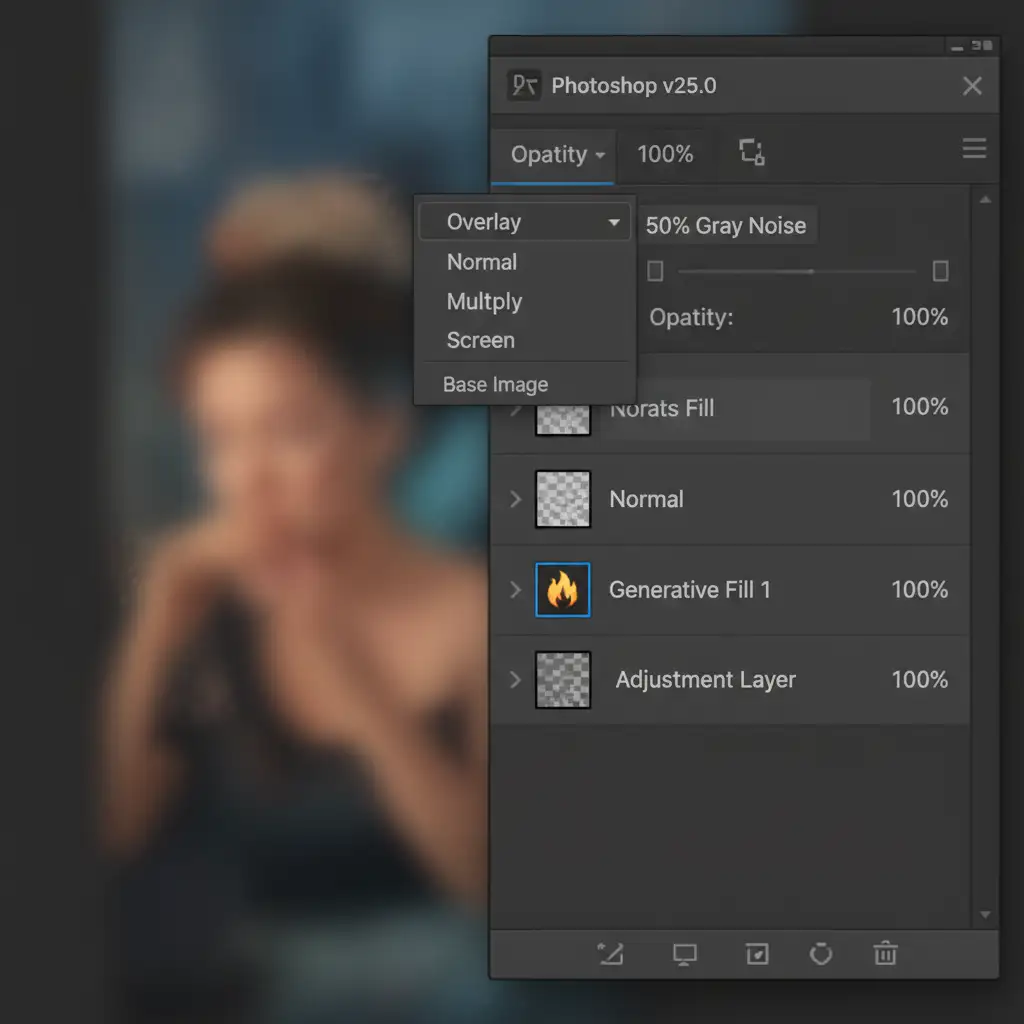
- Fill with Gray: Go to Edit > Fill and choose 50% Gray.
- Change Blend Mode: Set the layer’s blend mode to Overlay or Soft Light. This renders the gray invisible while allowing texture to show through.
- Add Noise: Navigate to Filter > Noise > Add Noise. Select Uniform and check the Monochromatic box. Adjust the amount until it matches the density of the surrounding image.
- Soften the Grain: Pure digital noise is too sharp. Apply a slight Gaussian Blur (around 0.3 to 0.5 pixels) to soften the noise into a realistic film grain that mimics natural skin.
Method 2: The Pro Workaround (High Pass Texture Transfer)
For larger patches where synthetic noise isn’t enough to replicate actual human pores, you need to borrow native texture from another part of the subject’s face using a High Pass Filter.
- Sample Native Skin: Find a clean area of native skin that has excellent pore detail. Use the Lasso tool to select it, and press Ctrl/Cmd + J to duplicate it onto a new layer.
- Desaturate: Press Ctrl/Cmd + Shift + U to remove the color information. We only want the luminosity and texture data.
- Convert to Smart Object: Right-click the layer and select Convert to Smart Object. This allows for non-destructive filter adjustments.
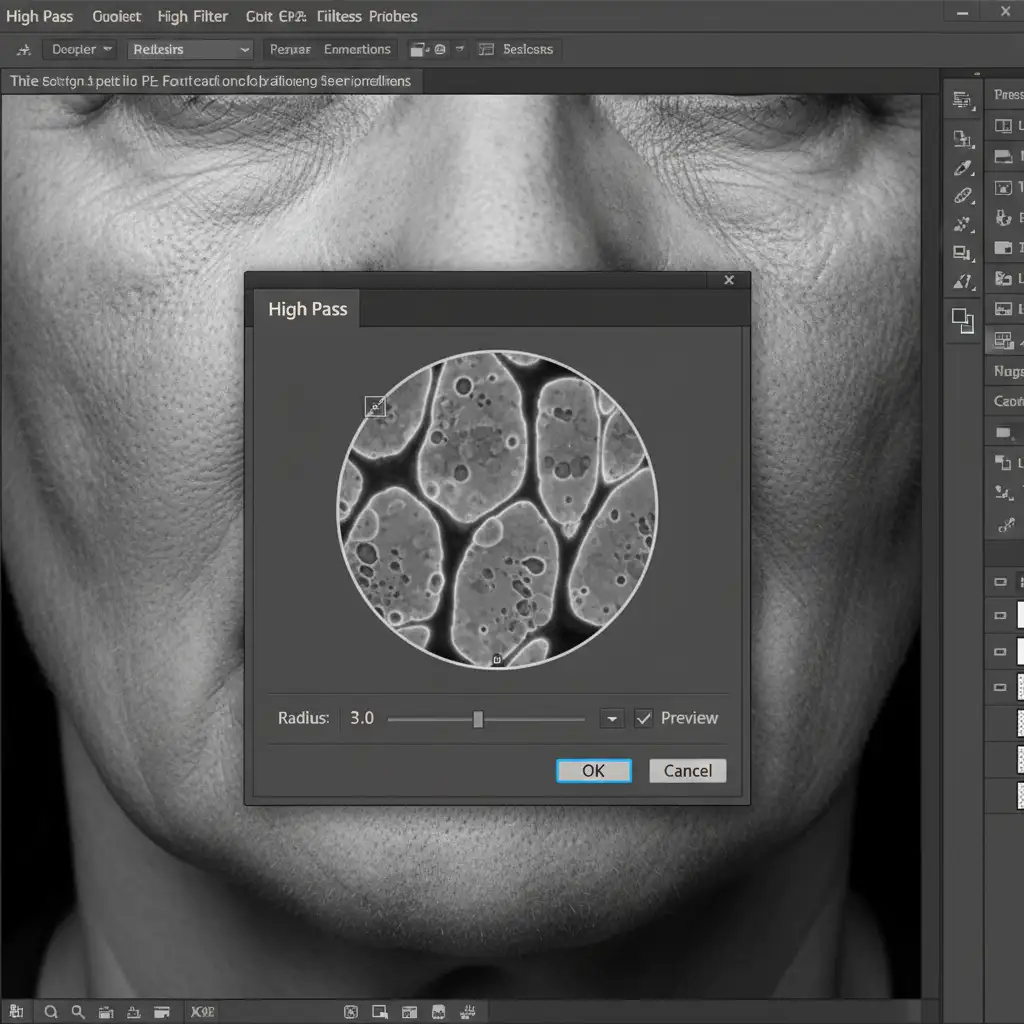
- Apply High Pass Filter: Go to Filter > Other > High Pass. Set the radius between 2.0 and 4.0 pixels. You want to see the sharp edges of the pores without bringing in underlying tonal shadows.
- Blend and Clip: Set this layer’s blend mode to Linear Light. Finally, create a Clipping Mask (Alt/Option + Click between layers) to clip this borrowed texture directly to your Generative Fill layer, ensuring the pores only appear over the plastic AI skin.
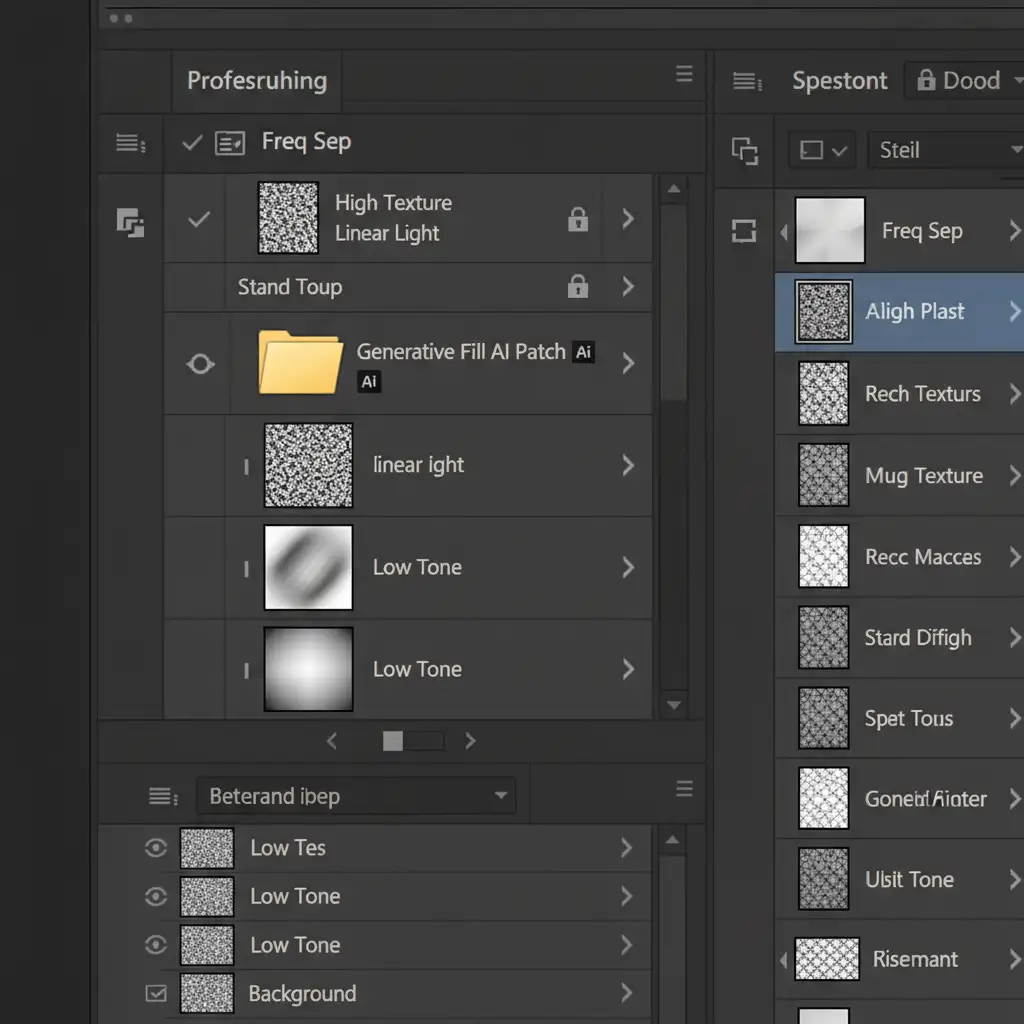
Method 3: The Technical Deep-Dive (Frequency Separation Integration)
The ultimate, most flawless way to restore natural skin texture after generative fill is to prevent the loss of texture in the first place by combining AI with Frequency Separation. This technique splits your image into two distinct layers: Color/Tone (Low) and Texture (High).
Step-by-Step Workflow:
- Prepare the Stack: Group your current layers, create a stamped visible layer (Ctrl/Cmd + Shift + Alt/Option + E), and duplicate it so you have two identical layers.
- Create Low and High Frequencies: Name the bottom layer “Low Tone” and the top layer “High Texture”. Apply a Gaussian Blur to the Low layer until pores disappear. Apply Image > Apply Image to the High layer (subtracting the Low layer) to extract the micro-contrast, then set it to Linear Light.
- Isolate the AI: Here is the secret-run your Generative Fill only on the “Low Tone” layer.
- The Result: The Firefly AI will perfectly handle the structural blending, blemish removal, and color matching on the low-frequency layer. Meanwhile, your native, high-frequency pore texture remains 100% intact on the layer above it.
You can further refine the blending using Luminosity Masking to ensure the transitions between the AI-generated tones and native shadows are imperceptible.
Stop Fighting the AI: Outsource Your High-End Retouching
Learning how to restore natural skin texture after generative fill is essential for modern editors, but executing these precise High Pass and Frequency Separation workflows takes significant time. When you are managing an editorial campaign, an e-commerce catalog, or a massive wedding gallery, spending 15 minutes fixing AI-generated plastic skin on every single photo is a massive drain on your profitability.
You don’t have to choose between the speed of AI and the quality of natural photography.
Partner with Image Work India and Cloud Retouch. Our expert teams specialize in high-end, high-volume commercial retouching. We utilize advanced, non-destructive workflows that preserve perfect natural skin texture, micro-contrast, and lighting-delivering flawless, print-ready images that never look artificially generated.
Stop letting AI dictate the quality of your professional output. [Contact Cloud Retouch today] to elevate your image editing pipeline and reclaim your time.