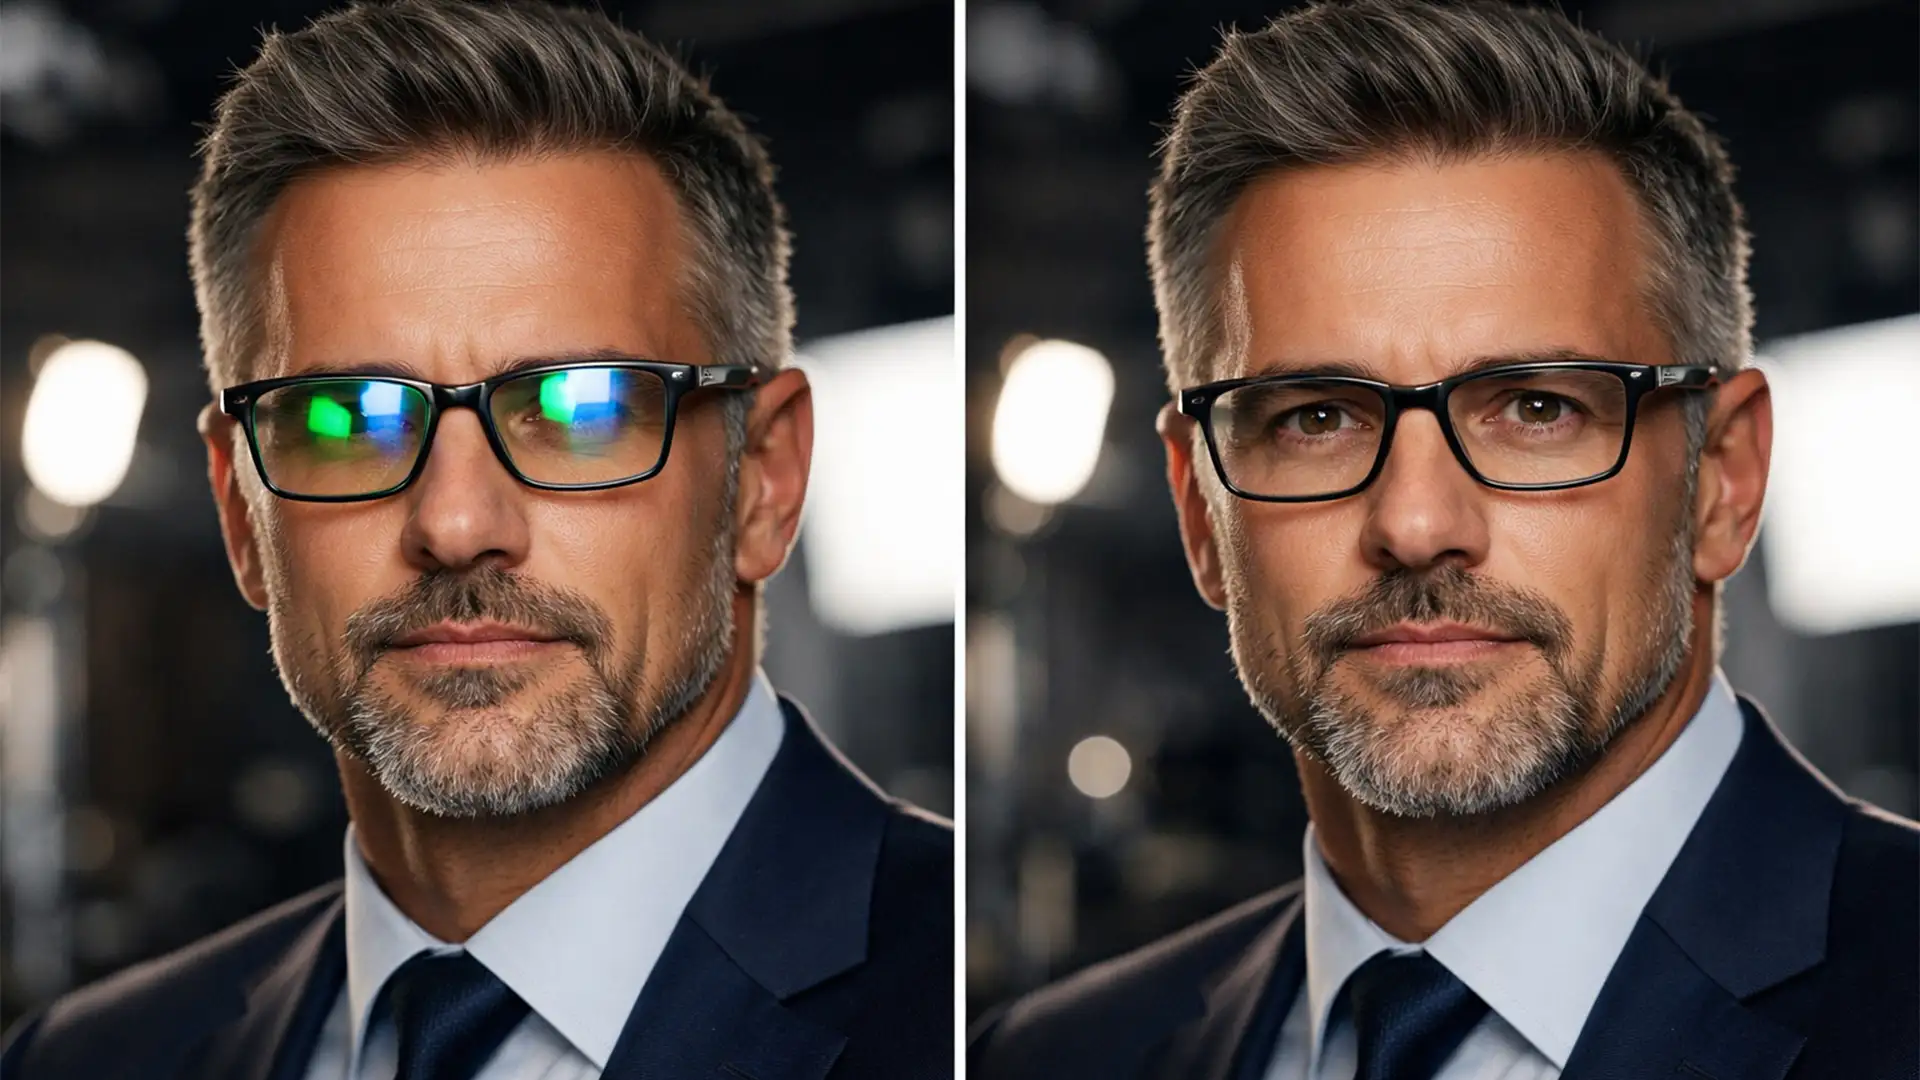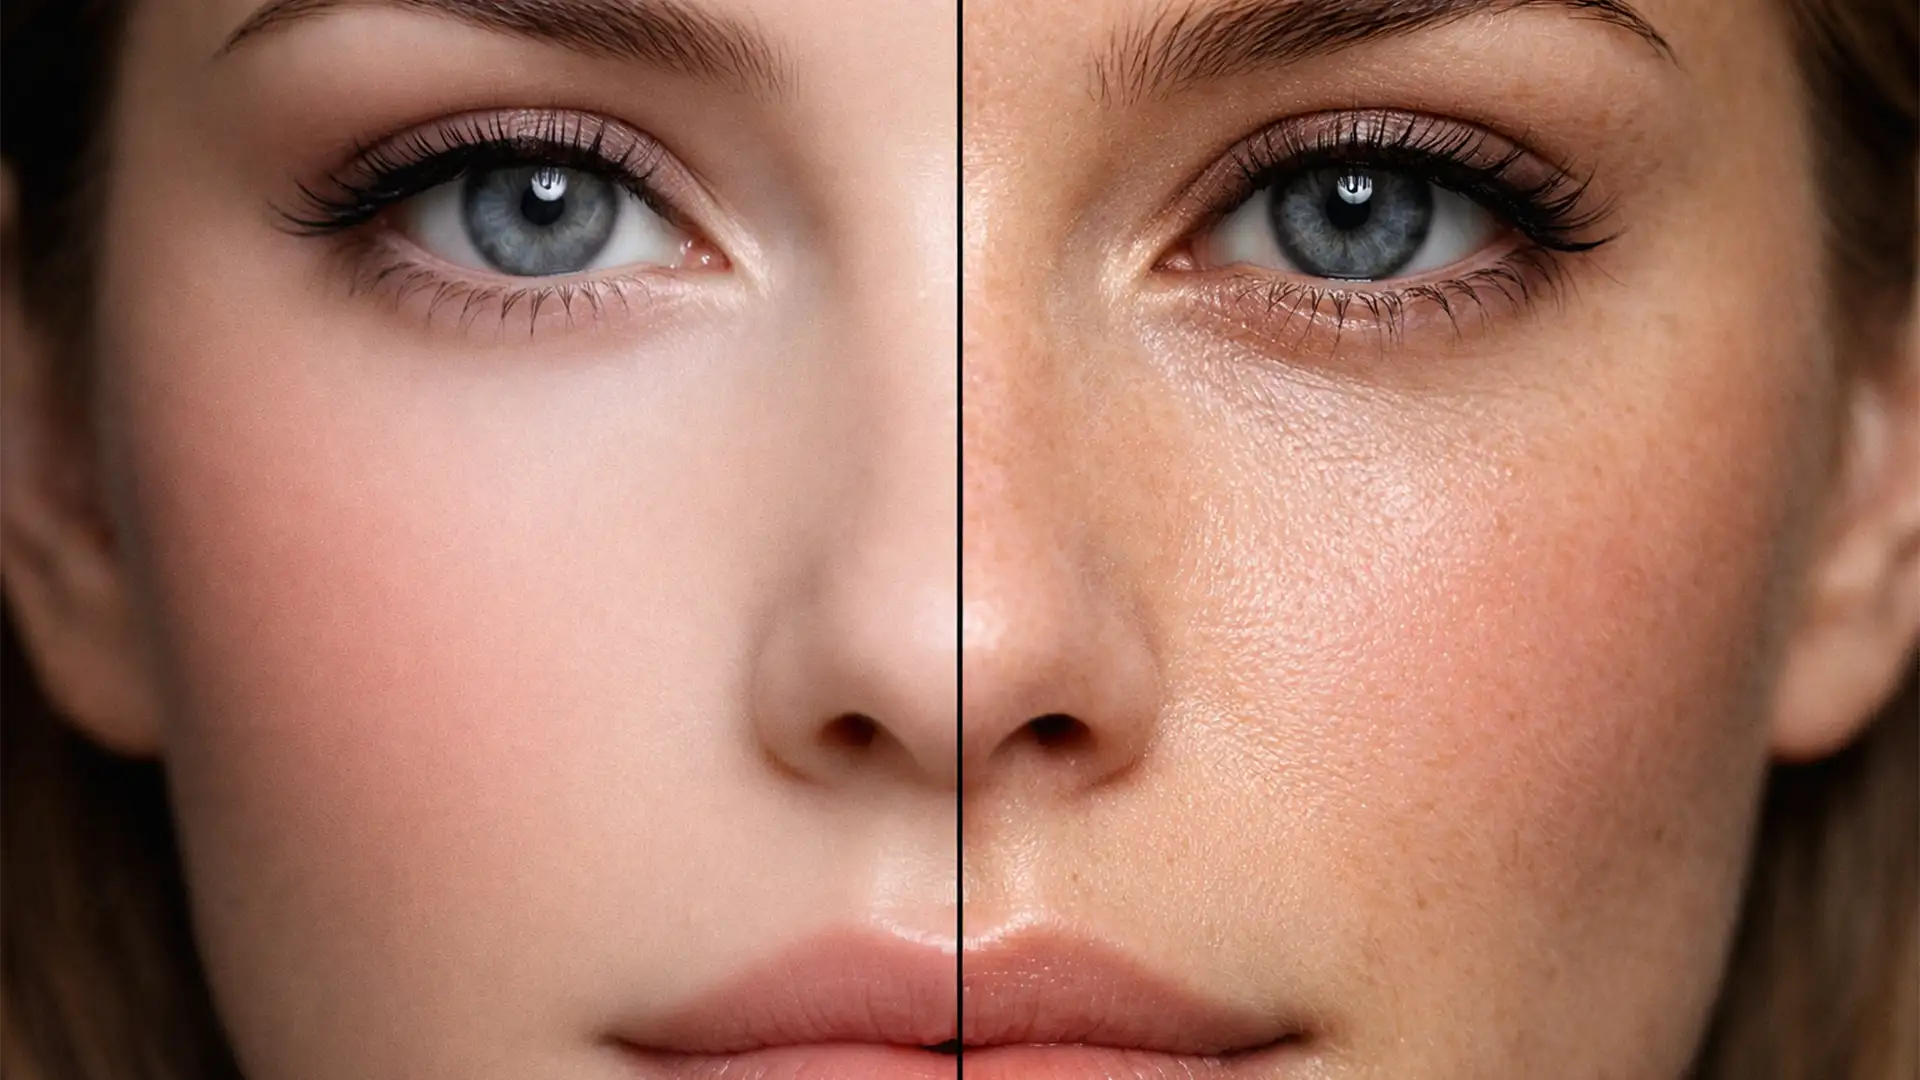
You have just generated the perfect corporate headshot using Midjourney or Stable Diffusion. The lighting is flawless, the composition is professional, and the subject looks exactly the way you envisioned. But there is one glaring issue: the restoring skin looks like it belongs to a wax figure.
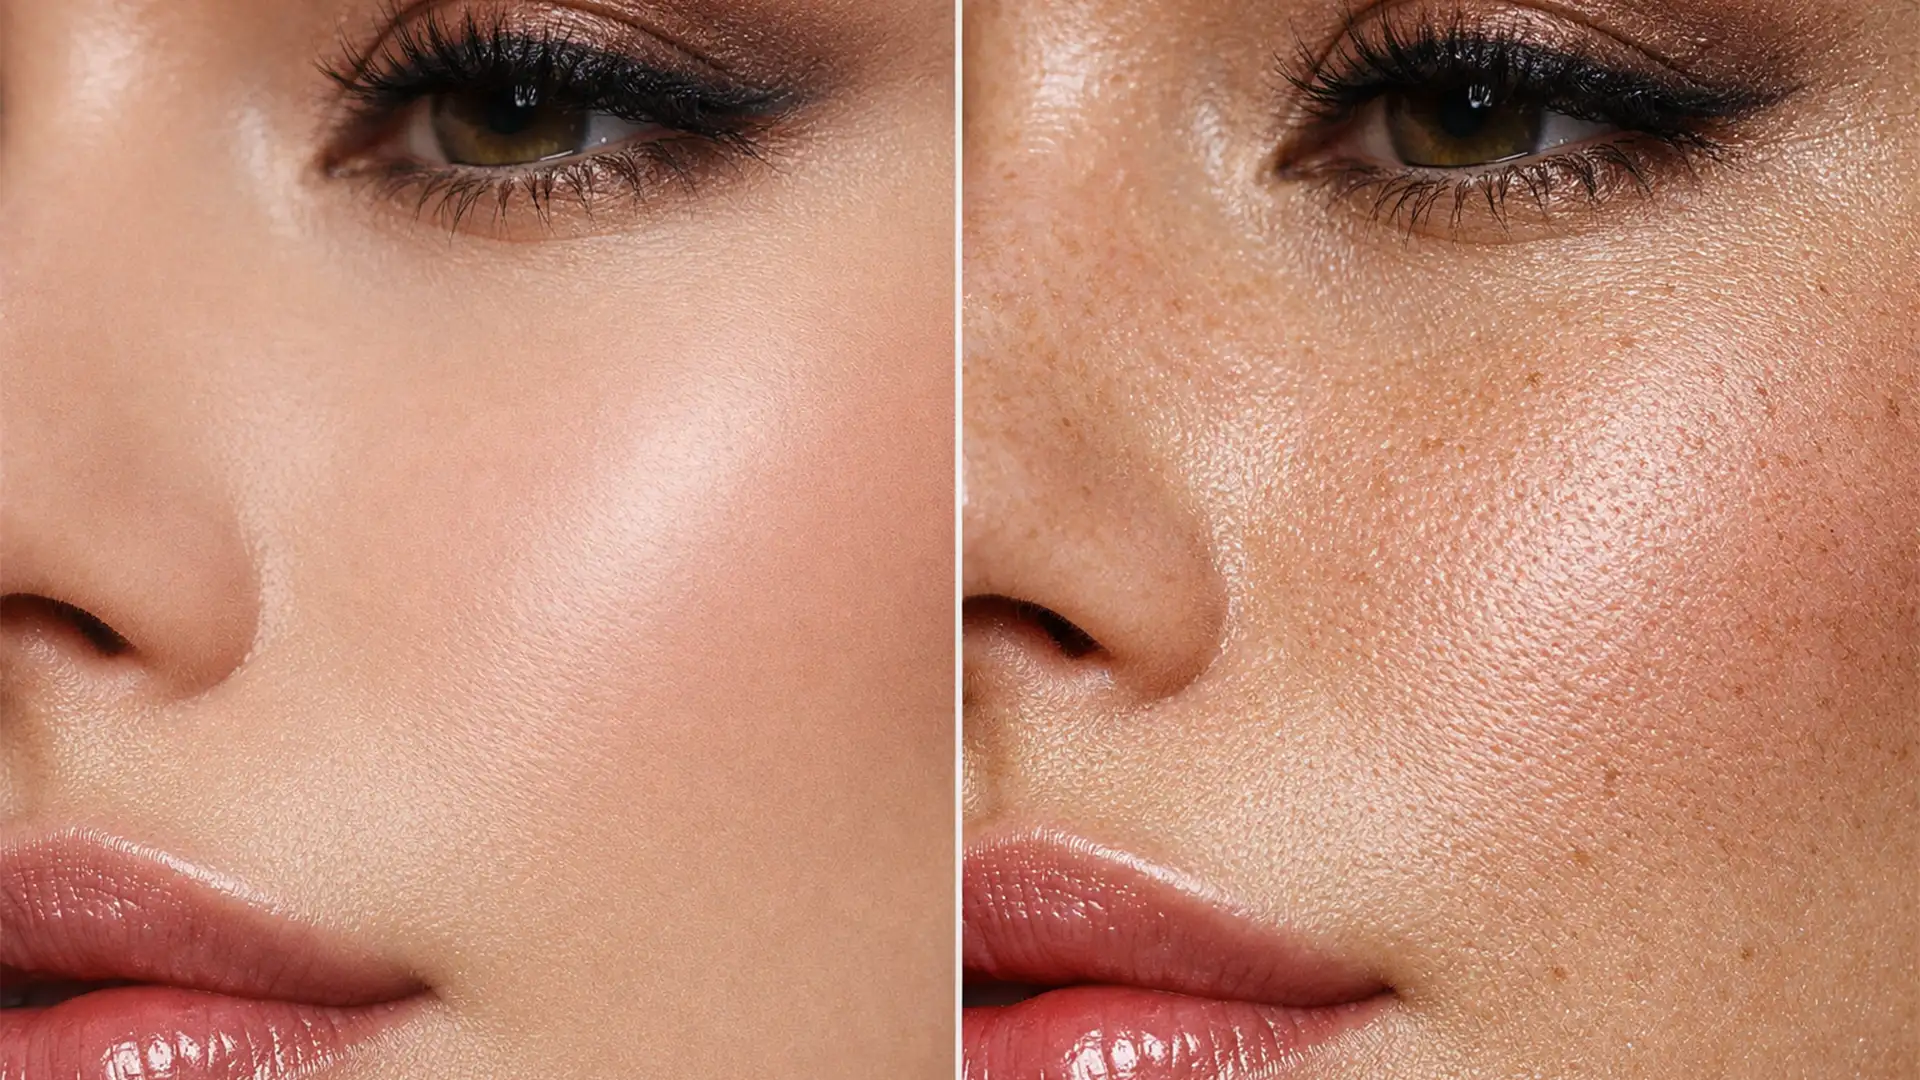
AI image generators are notoriously aggressive when it comes to over-smoothing skin. They strip away the micro-contrast and high-frequency detail necessary to make a human portrait look genuinely photorealistic. Without pores, micro-blemishes, and peach fuzz, the subject falls squarely into the uncanny valley.
In this guide, we will walk you through the professional Photoshop CC 2024 workflows for restoring skin pores in AI headshots. By rebuilding high-frequency data without destroying the AI-generated lighting, you can bridge the gap between artificial generation and photographic reality.
Why AI Generators Produce “Plastic” Skin
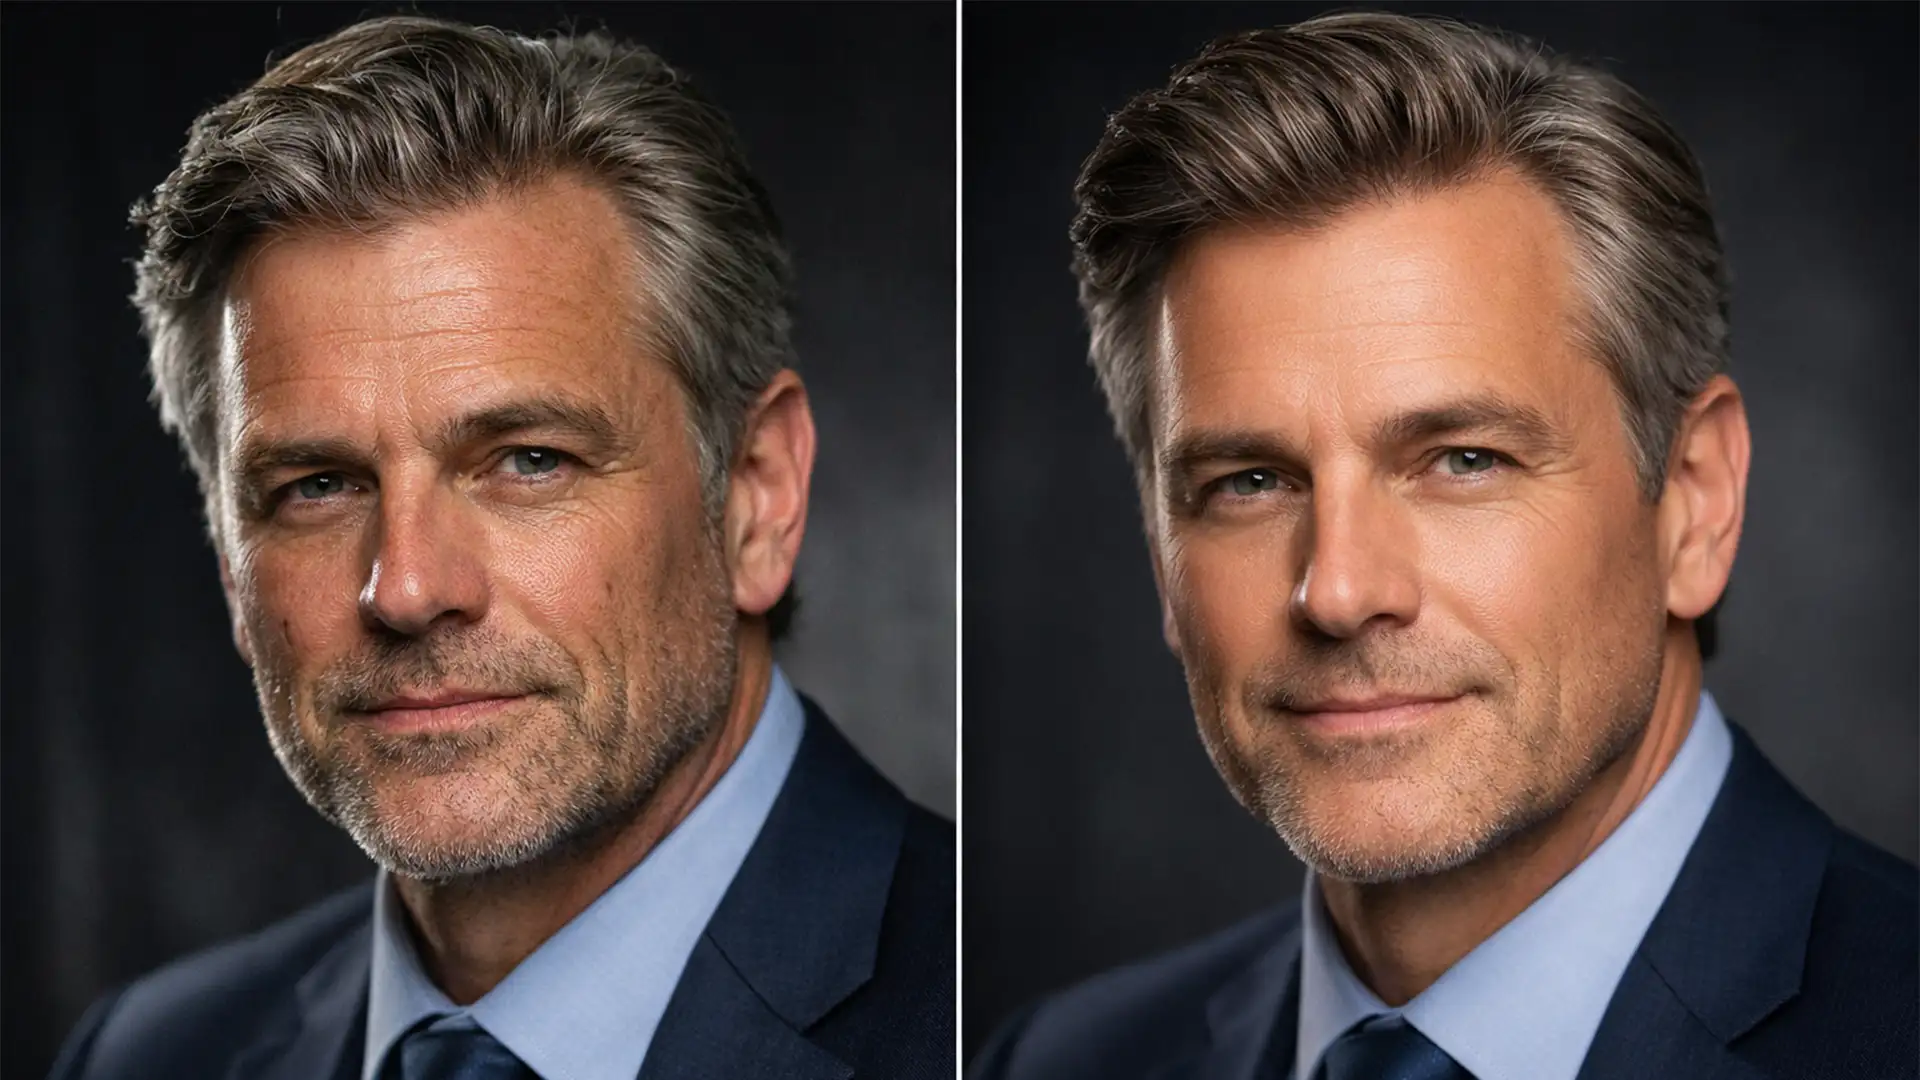
When an AI model renders a face, it often prioritizes low-frequency color maps and broad lighting gradients-the foundational bone structure and highlight roll-off. However, it struggles to accurately render dermal scattering data.
In real photography, light penetrates the skin and scatters beneath the surface (subsurface scattering), while the outermost layer reflects light off millions of tiny imperfections. By flattening these details, AI strips the image of its natural texture. To fix this, we must artificially reintroduce that high-frequency detail.

3 Professional Methods for Restoring Skin Pores in AI Headshots
Depending on the required level of realism, there are three distinct Photoshop techniques to fix plastic AI skin.
Method 1: The Quick Fix (Procedural Noise)
If you need a rapid solution for a batch of images, simulating basic pores using a non-destructive noise layer is highly effective.
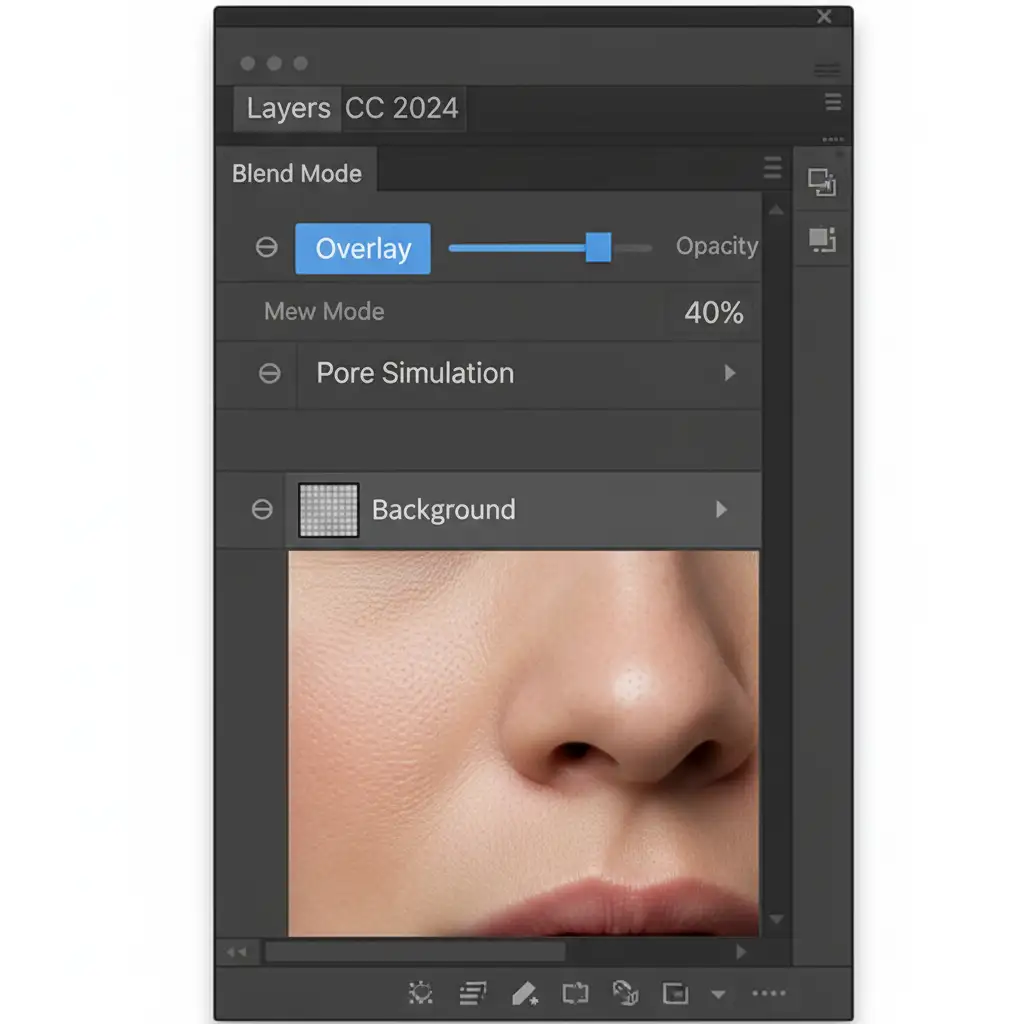
- Create a Neutral Layer: Add a new blank layer above your AI headshot. Fill it with 50% Gray (Edit > Fill > 50% Gray).
- Change Blending Mode: Set this layer’s blending mode to Overlay. The gray will become invisible, but any adjustments made to it will affect the image below.
- Generate Texture: Go to Filter > Noise > Add Noise. Select Gaussian and Monochromatic, setting the amount between 3% and 5%.
- Soften the Pores: Raw noise looks like digital grain, not skin. Apply a slight Gaussian Blur (Filter > Blur > Gaussian Blur) set to 0.5px.
- Blend: Lower the layer opacity to around 30-40% until the simulated pores look natural.
Method 2: The Pro Workaround (Frequency Separation Texture Grafting)
For high-end retouching, procedural noise isn’t enough. You need actual human skin texture. This method involves extracting high-frequency detail from a real photograph and grafting it onto your AI subject using a variation of frequency separation.
- Source a Donor Image: Find a high-resolution stock photo of a real human face with excellent skin texture and lighting that matches your AI image.
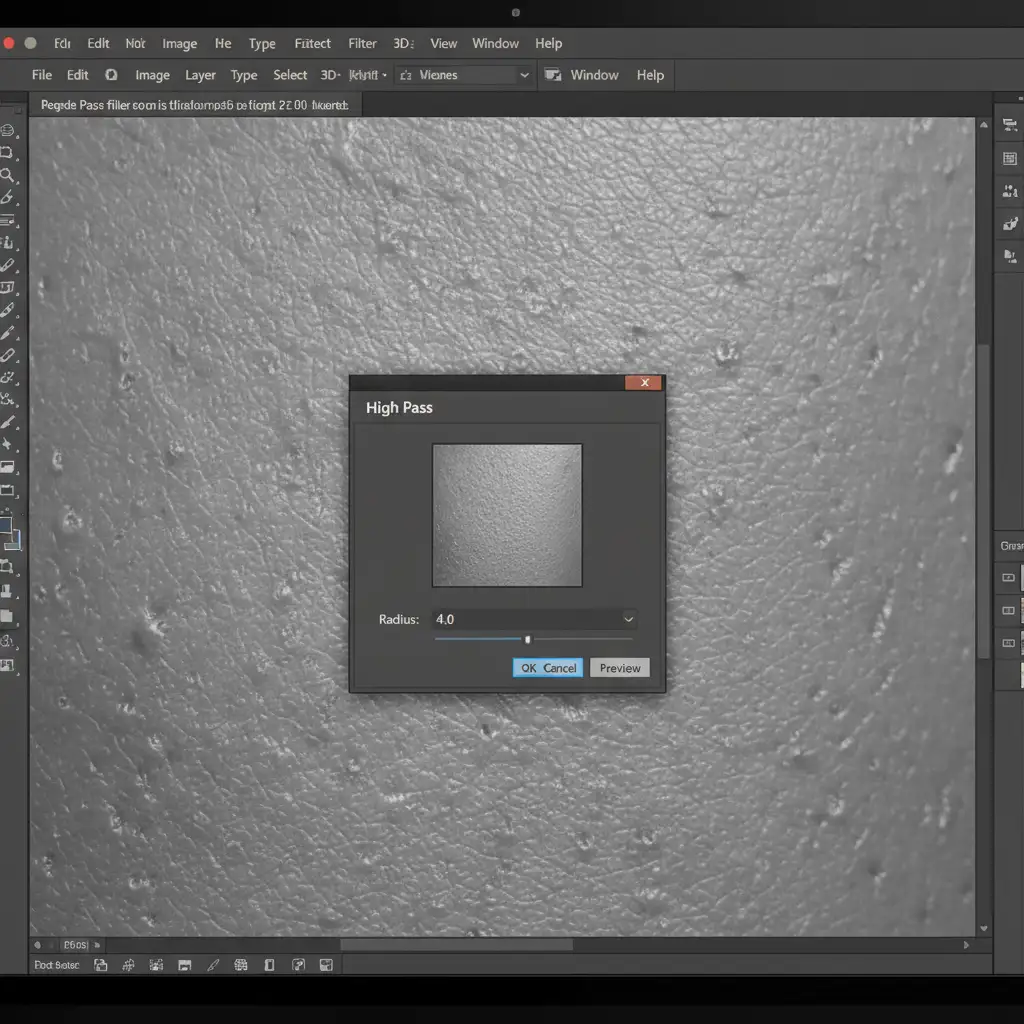
- Extract the Texture: Paste the donor image over your AI headshot. Go to Filter > Other > High Pass. Set the radius to 3-5px. This strips away all color and lighting, leaving only the micro-contrast and pores on a gray background.
- Desaturate: Press Ctrl+Shift+U (Windows) or Cmd+Shift+U (Mac) to remove any residual color data from the donor texture.
- Apply the Graft: Change the texture layer’s blending mode to Linear Light. The real pores will now map directly onto the AI skin.
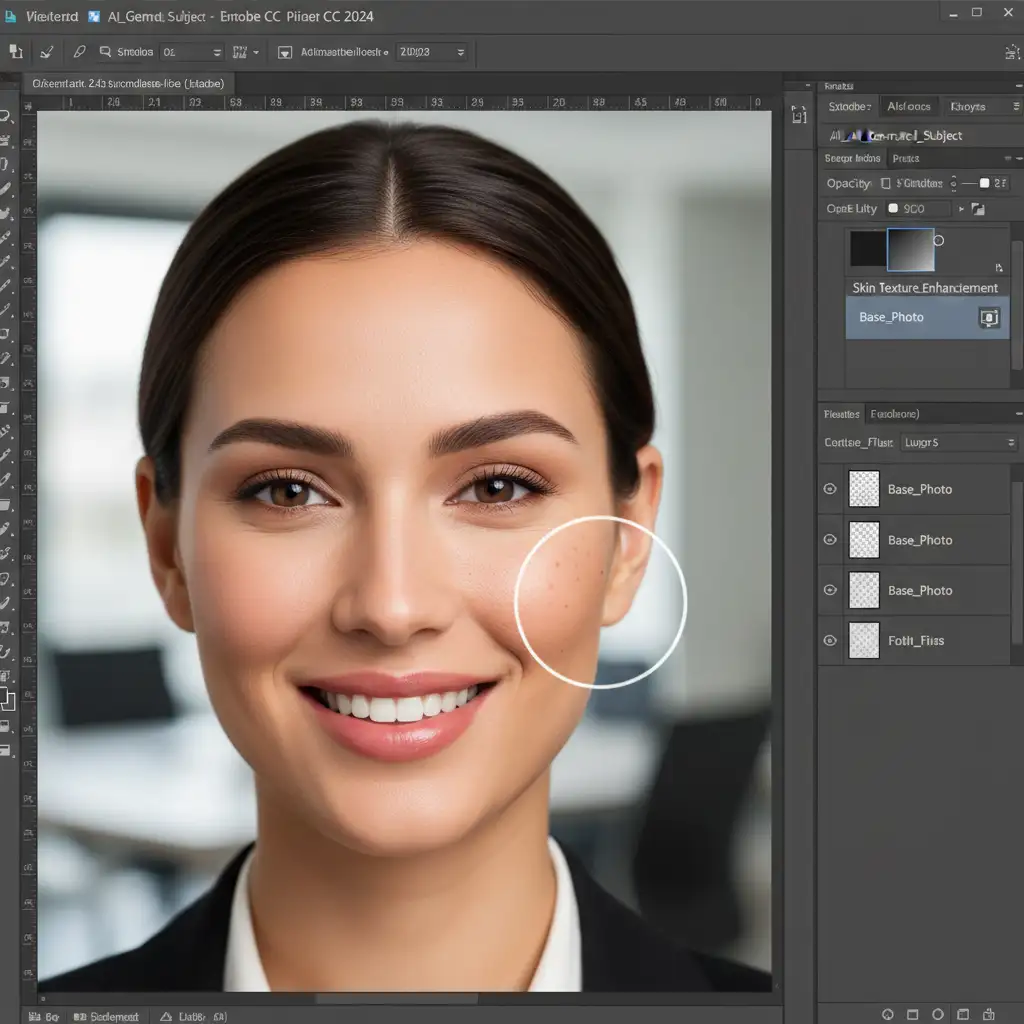
- Mask the Details: You only want pores on the skin-not the eyes, hair, or clothing. Add a black Layer Mask to the texture layer. Using a soft white brush, carefully paint the texture back in over the cheeks, forehead, chin, and nose.
Method 3: The Technical Deep-Dive (Procedural Generation & Displacement)
If you want the ultimate control over how pores wrap around the three-dimensional geometry of the face, you must utilize Smart Objects and displacement maps.
- Prepare the Image: Convert your AI image into a Smart Object (Right-click layer > Convert to Smart Object). This ensures all filters remain non-destructive.
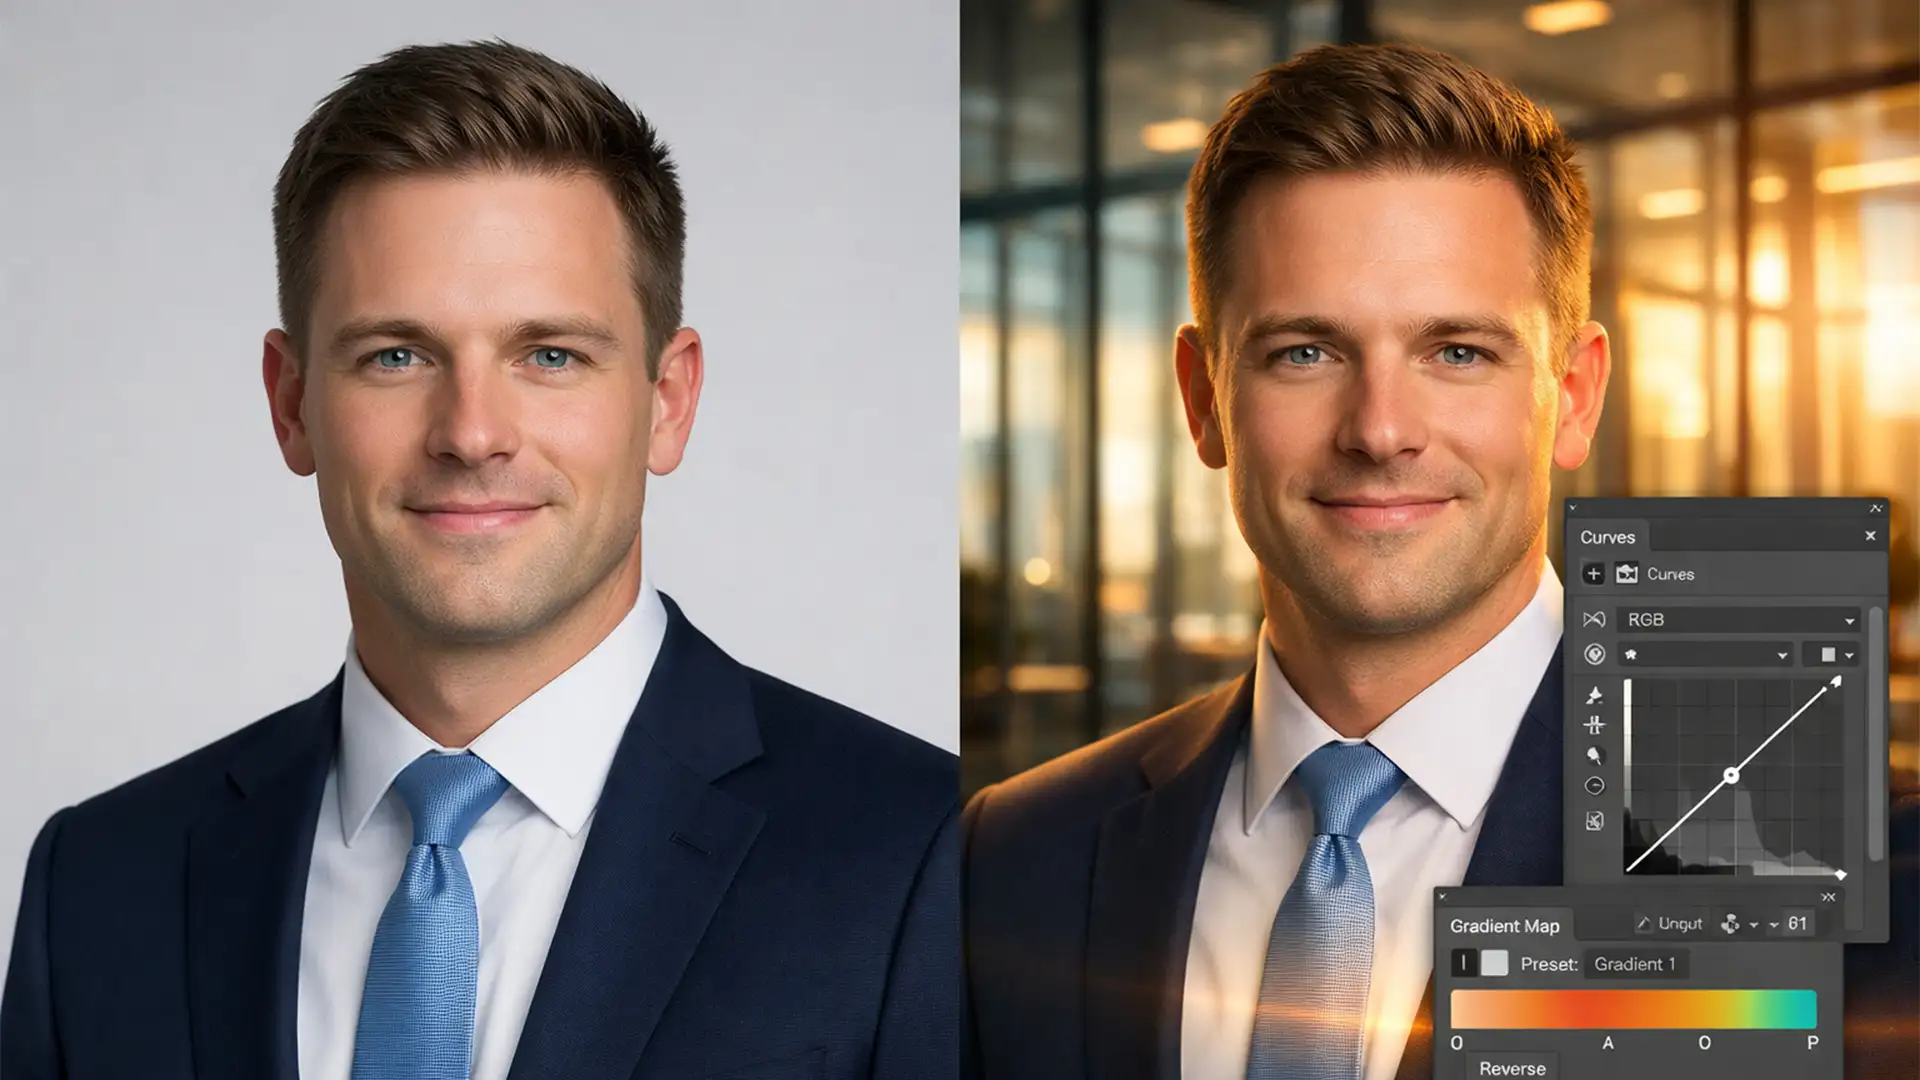
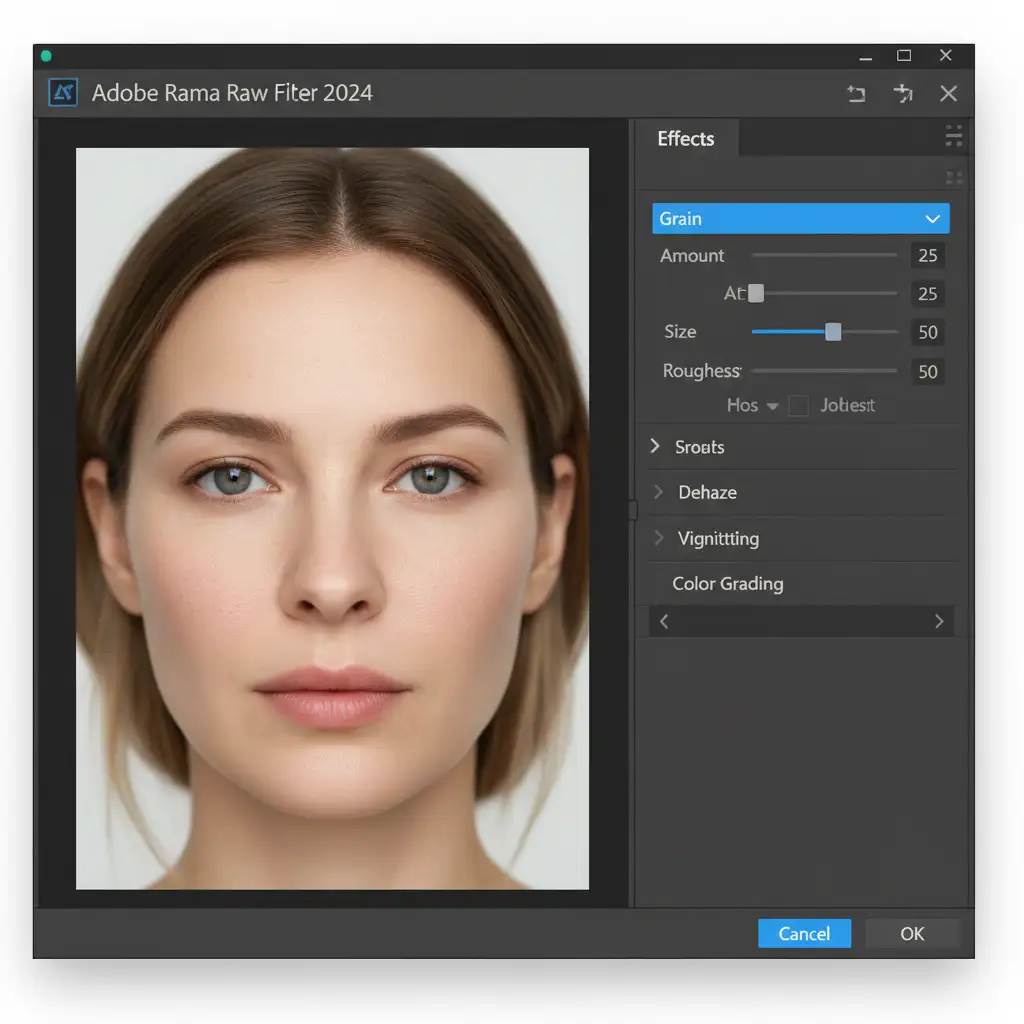
- Build Micro-Contrast: Open the Camera Raw Filter (Filter > Camera Raw Filter). Navigate to the Effects tab. Push the Grain slider to a Size of 25 and a Roughness of 50. This creates a highly organic, randomized micro-texture that mimics cellular dermal structures better than standard Photoshop noise.
- Create a Displacement Map: Duplicate your base image, desaturate it, and blur it heavily (around 10px). Save this as a separate .psd file. This acts as a depth map of the face’s contours.
- Wrap the Texture: Apply the Filter > Distort > Displace filter to your textured layer, selecting the .psd you just saved. This forces the generated pores to stretch and wrap realistically around the curves of the nose and cheekbones, rather than sitting flatly on top of the image.
Stop Struggling with “AI Look” Post-Production
Restoring skin pores in AI headshots is the ultimate secret to taking your generated imagery from “obviously artificial” to “indistinguishable from reality.” By mastering frequency separation, high-frequency detail extraction, and displacement maps, you can completely eliminate the plastic wax figure effect.
However, executing these techniques flawlessly across dozens or hundreds of corporate headshots requires significant time and advanced Photoshop expertise.
If you are struggling to make your AI-generated corporate headshots look entirely human, you don’t have to do it alone. Our expert retouchers at Cloud Retouch and Image Work India specialize in photorealistic AI texture restoration. From rebuilding subsurface scattering to seamless texture grafting, we bring your digital portraits to life with pixel-perfect precision.
Ready to humanize your AI imagery? Contact Image Work India today and let our professional retouching team handle the heavy lifting.