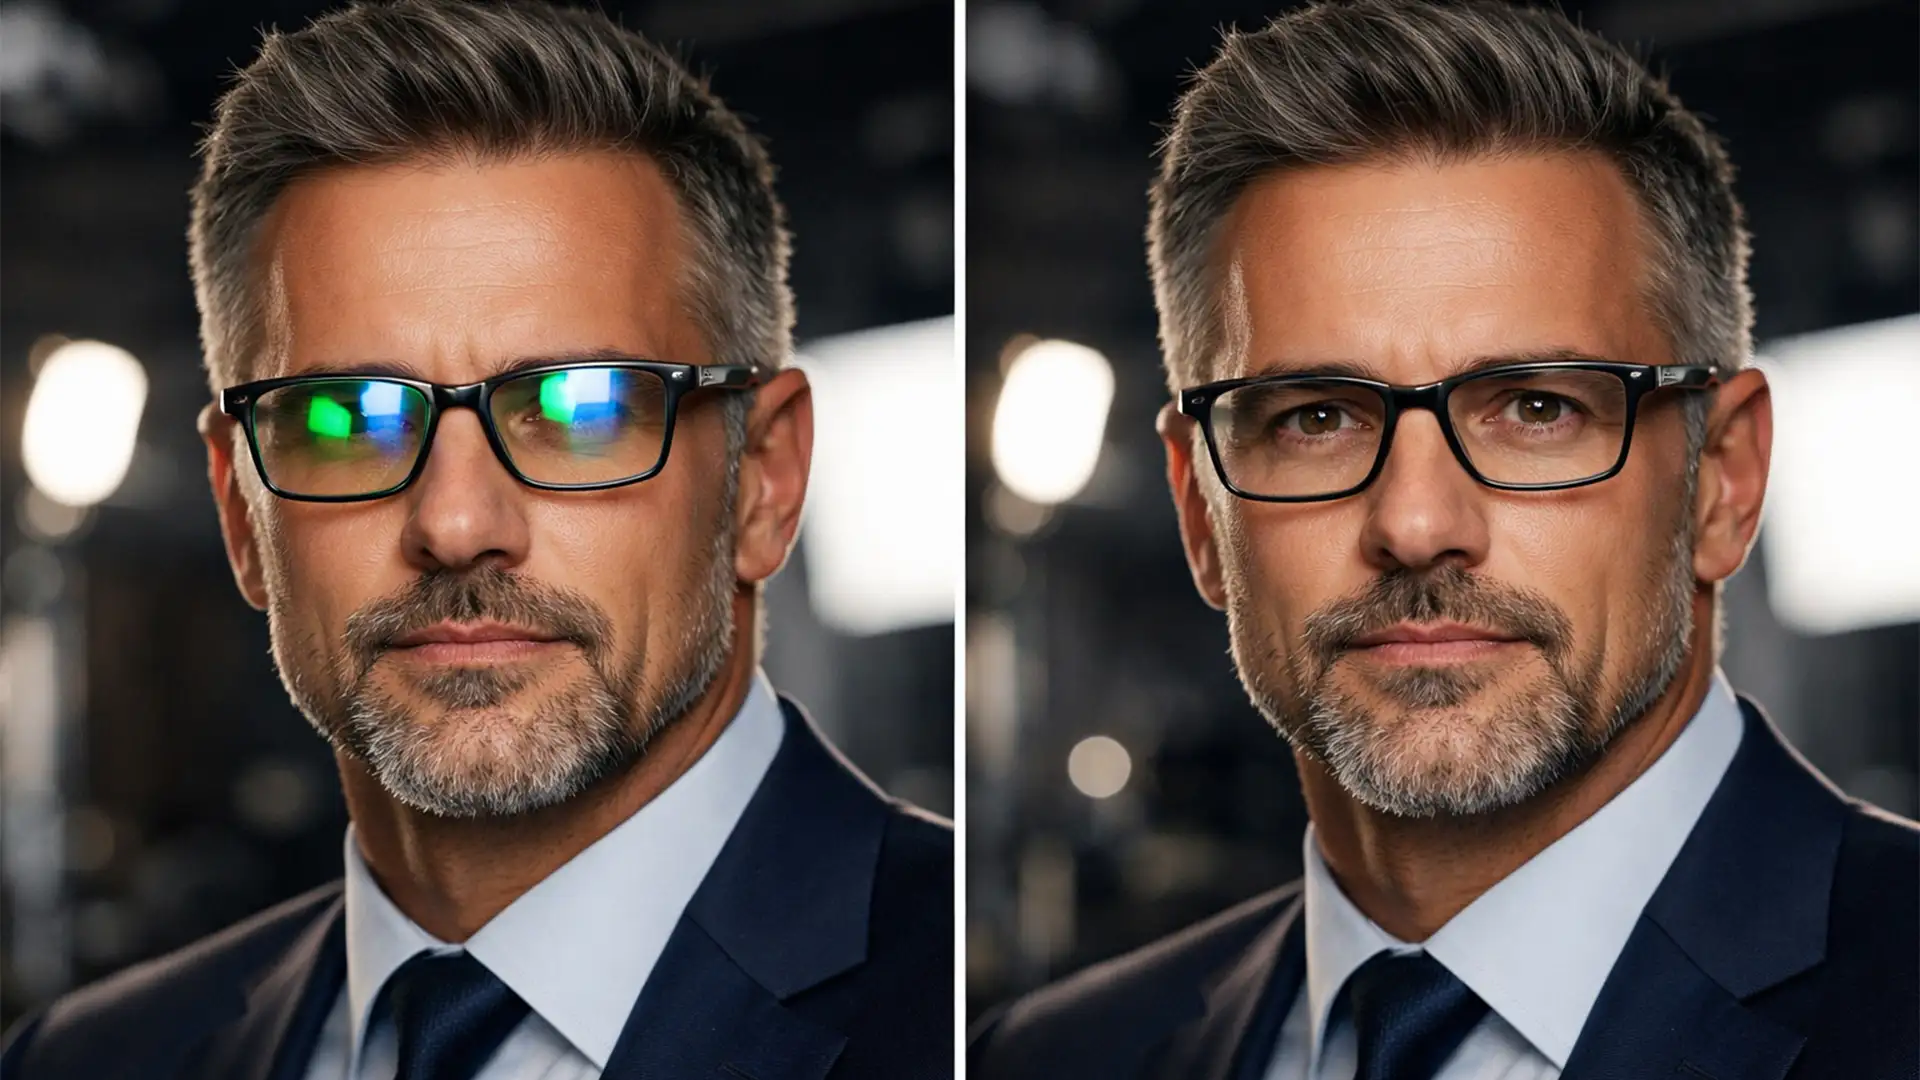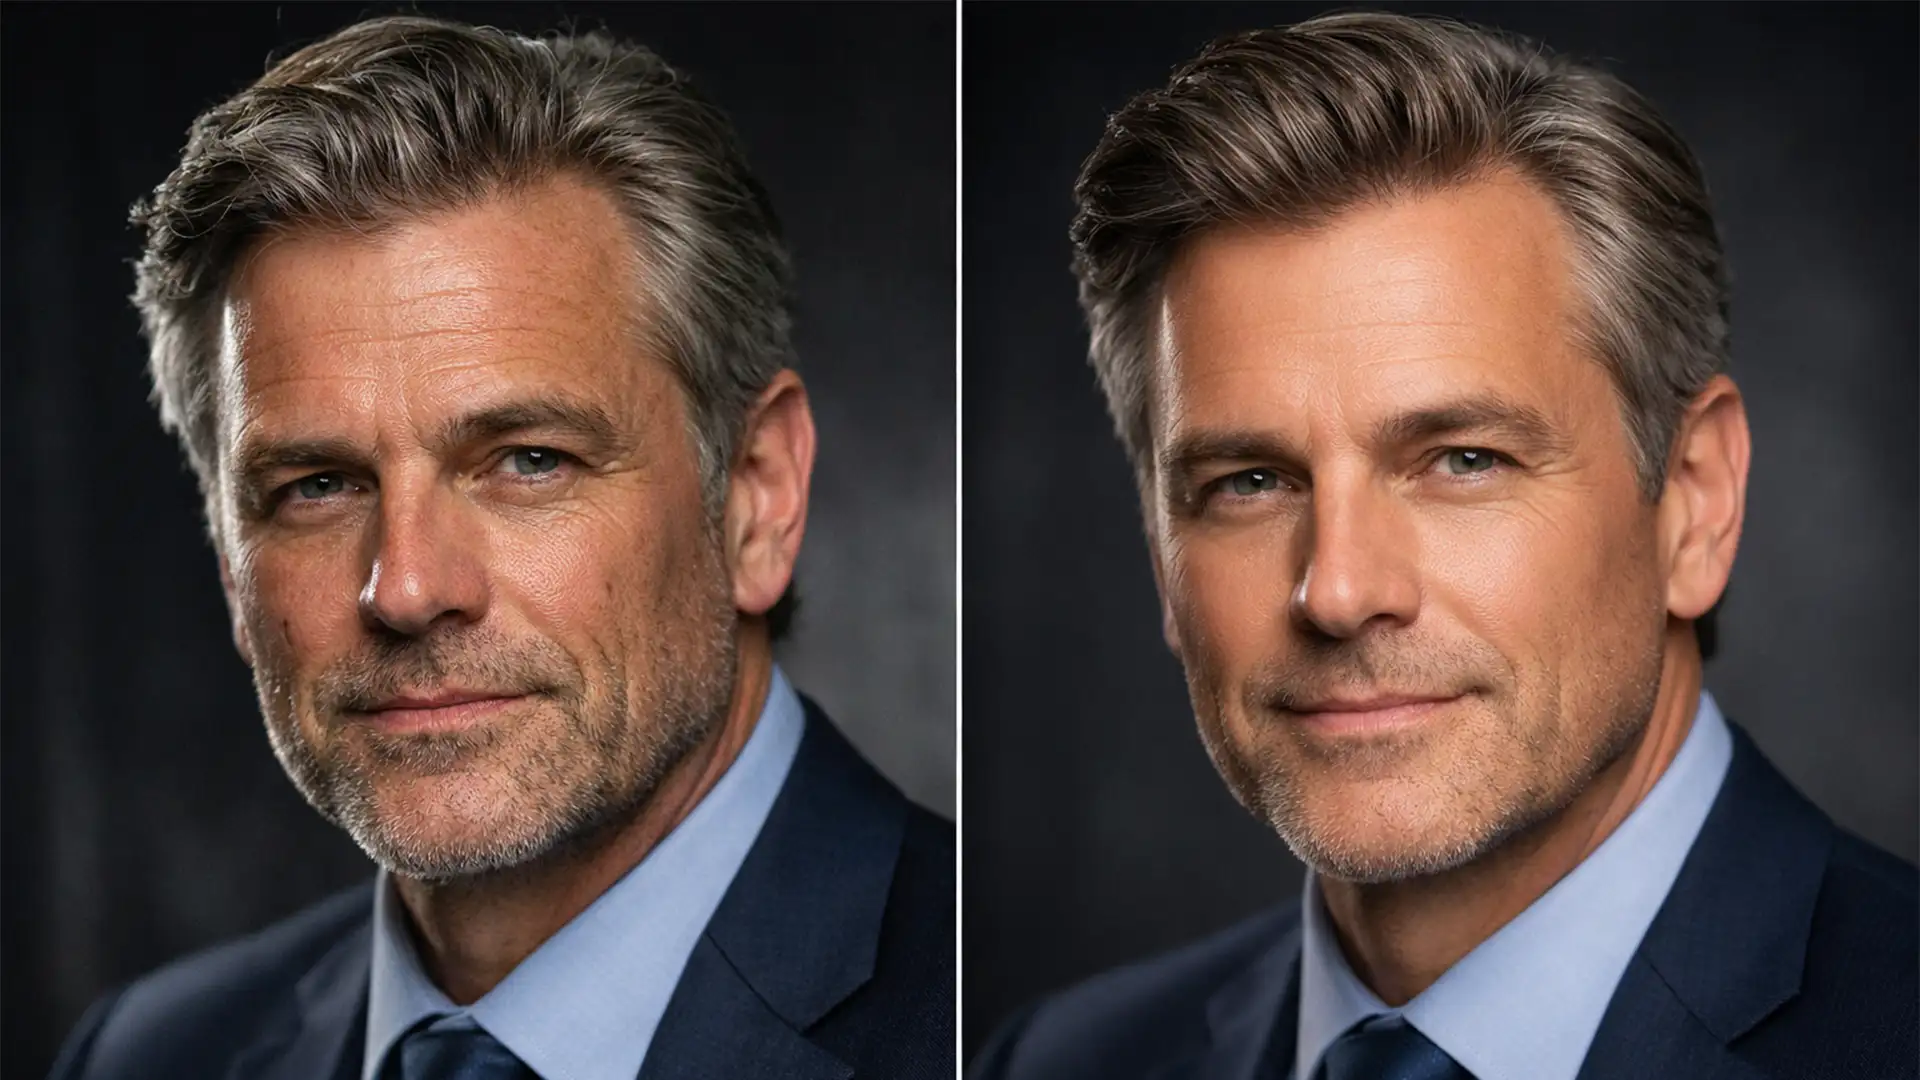
When executives sit for professional portraits, they expect to project a balance of authority and approachability. Yet, a common tragedy occurs in post-production: the dreaded “plastic skin” effect. Driven by the over-use of Neural Filters or aggressive frequency separation in Adobe Photoshop v25.x, automated edits often strip away the very essence of a person’s face. Pores vanish, laugh lines are erased, and the final image looks entirely artificial.
If you are struggling with retouching headshots without losing character, you are not alone. The secret to high-end portraiture lies in a minimalist approach-removing temporary distractions like blemishes while meticulously preserving the micro-contrast and permanent features that make a face authentic.
Here is how to master the “Minimalist Retouch” technique and keep your executive portraits looking natural, professional, and true to life.
The Problem with Automated Retouching in Photoshop v25.x
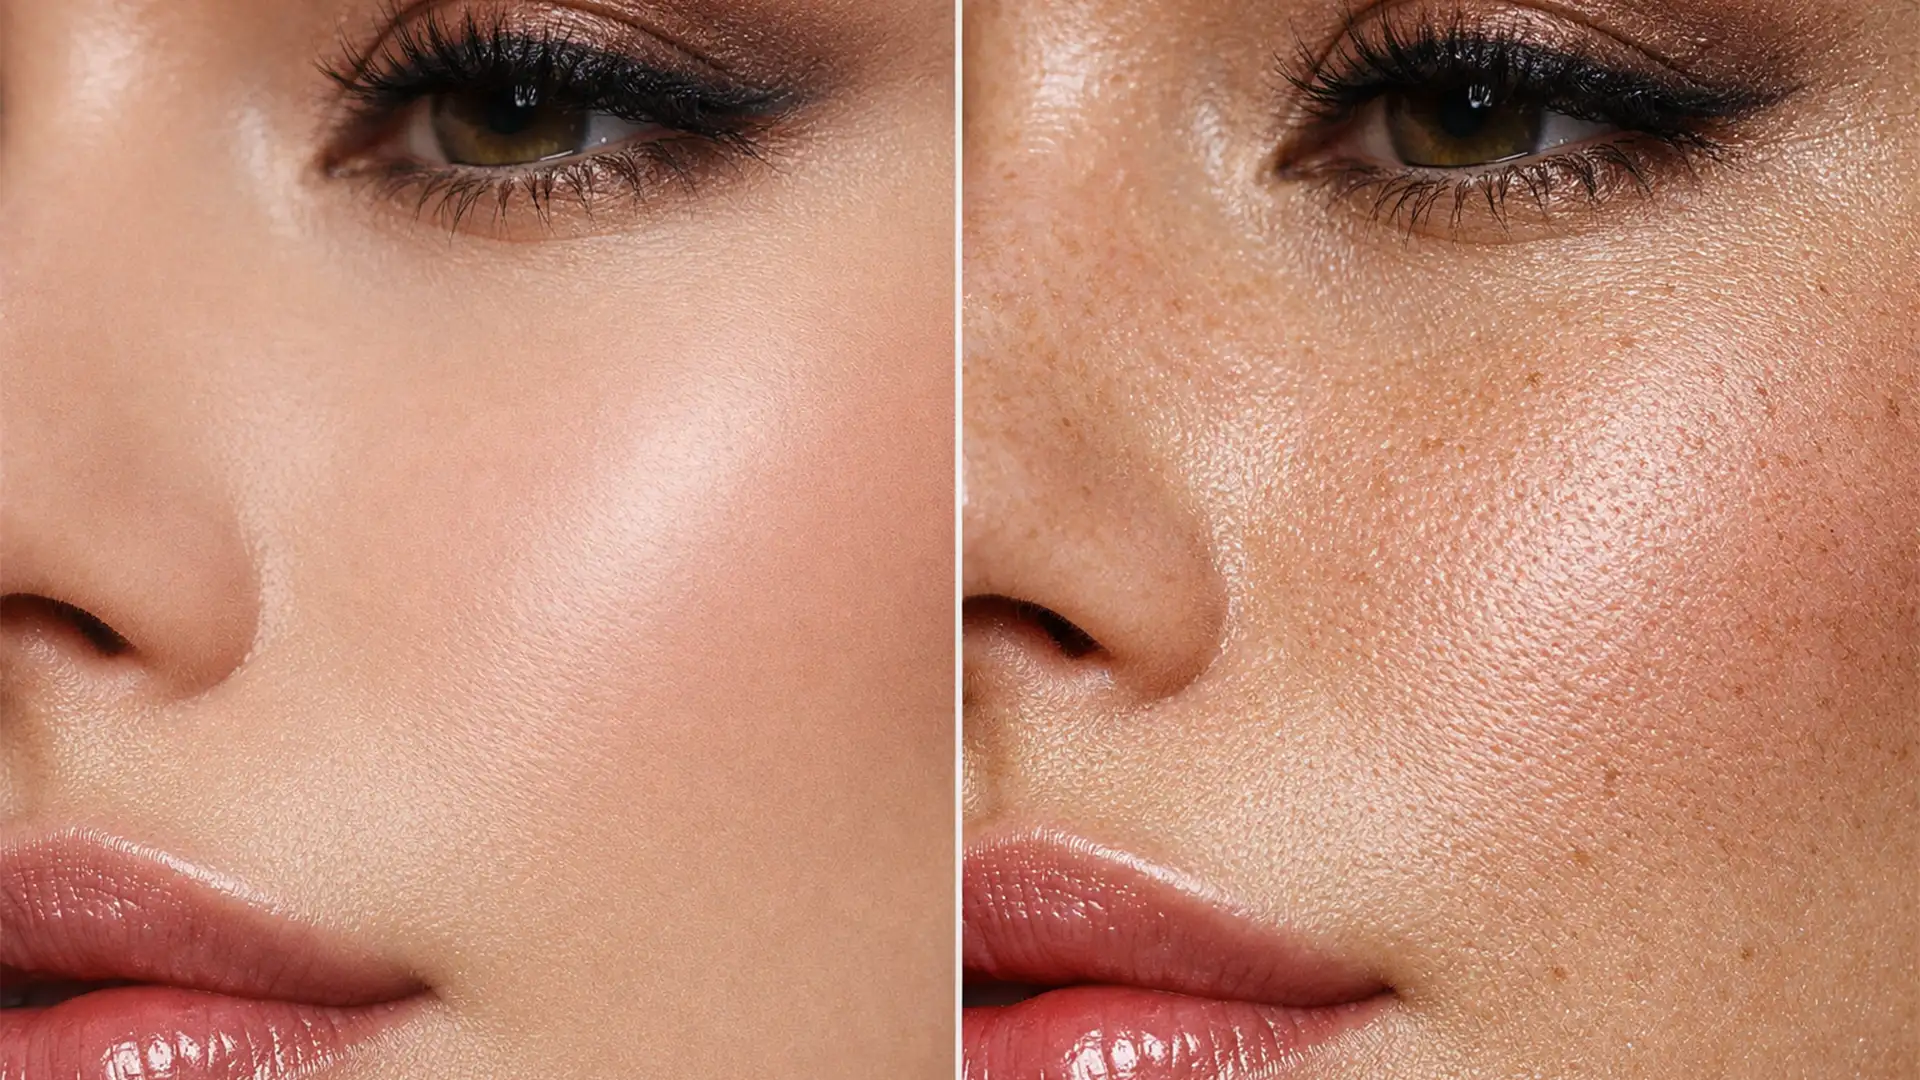
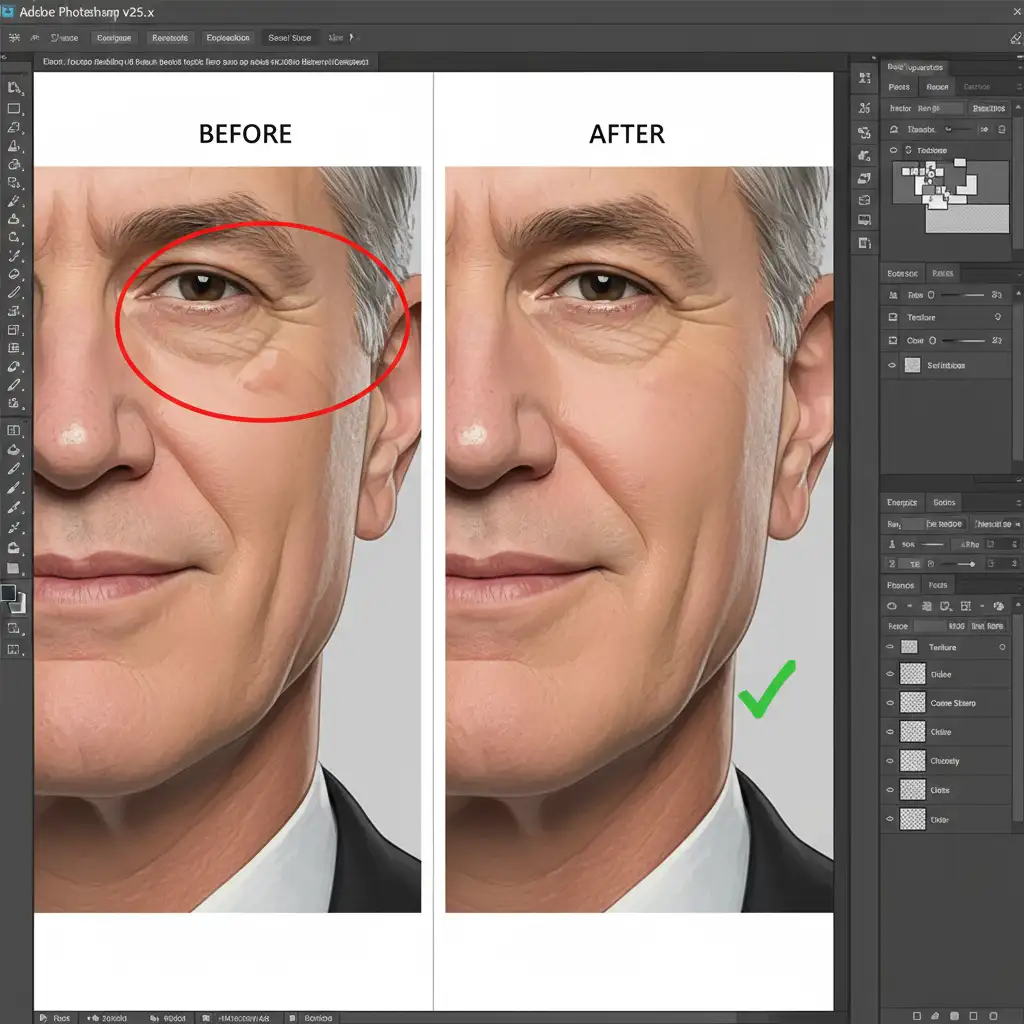
With the introduction of AI-driven tools in Photoshop v25.x (2024), it has never been easier to smooth skin. However, many retouchers mistakenly rely on the Blur tool or excessive use of the Healing Brush Tool. This fundamentally destroys the texture layer of the image.
The goal of high-end retouching is non-destructive editing. You want to eliminate temporary issues (acne, redness, stray hairs) while retaining permanent features (freckles, laugh lines, crow’s feet). Blurring the skin destroys the micro-contrast-the tiny variations in light and shadow that define pores and skin texture-resulting in a mannequin-like appearance.
To fix this, we need to shift from destructive blurring to targeted, layer-based adjustments.
3 Pro Methods for Retouching Headshots Without Losing Character
Whether you need a quick fix or a high-end commercial polish, these three methods will help you maintain the subject’s natural character.
Method A: The Quick Fix (Targeted Spot Healing)
For fast turnarounds, avoid global skin smoothing entirely. Instead, focus strictly on temporary blemishes.
- Create a new blank layer above your base image to ensure non-destructive editing.
- Select the Spot Healing Brush Tool and ensure “Sample All Layers” and “Content-Aware” are checked in the options bar.
- Crucially, set your brush hardness to a low setting (around 30%).
- Click only on temporary blemishes like pimples or stray hairs. Leave permanent features, especially the nasolabial folds (laugh lines) and under-eye creases, completely untouched.
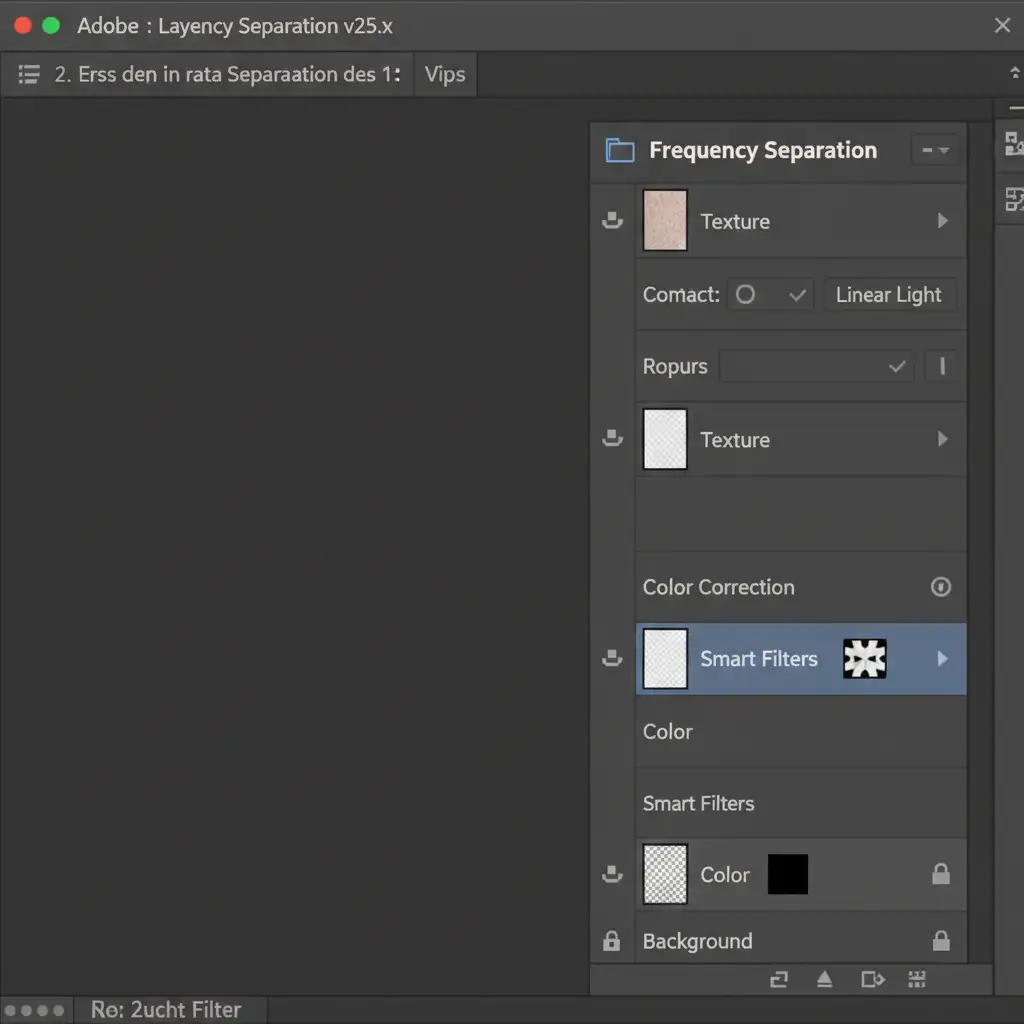
Method B: The Pro Workaround (Modified Frequency Separation)
Traditional frequency separation often leads to flat, lifeless skin if done incorrectly. The key to our modified approach is preserving the high-frequency details.
- Duplicate your base image twice. Name the bottom duplicate “Color” (Low Frequency) and the top duplicate “Texture” (High Frequency).
- Apply a slight Gaussian Blur to the Color layer-just enough to blend uneven skin tones, but not enough to lose facial structure.
- Apply the “Apply Image” command to the Texture layer (subtracting the Color layer) and set its blend mode to Linear Light.
- The Secret Step: Keep the texture layer at exactly 100% opacity. Do not blur or heal this layer globally.
- To fix dark under-eye circles, add a blank layer between the Color and Texture layers. Use a soft brush at 10% flow to gently sample nearby skin tones and paint over the shadows.
By utilizing layer masking and strictly controlling your opacity and flow, you even out the complexion without touching the physical texture of the skin.
Method C: The Technical Deep-Dive (Dodge and Burn Contouring)
For the absolute highest quality executive headshots, dodge and burn is the industry standard. This technique reshapes light without altering pixels.
- Create a new layer and fill it with 50% Gray.
- Change the layer’s blend modes to Soft Light (or Overlay for a stronger effect).
- Select the Brush tool, set your foreground color to White (to Dodge/lighten) or Black (to Burn/darken).
- Critical Setting: Drop your brush flow to 2-5%.
- Gently paint over deep wrinkles. You are not removing the lines; you are simply reducing the depth of the shadow within the wrinkle. This softens the appearance of aging while preserving the authentic character lines and micro-contrast perfectly.

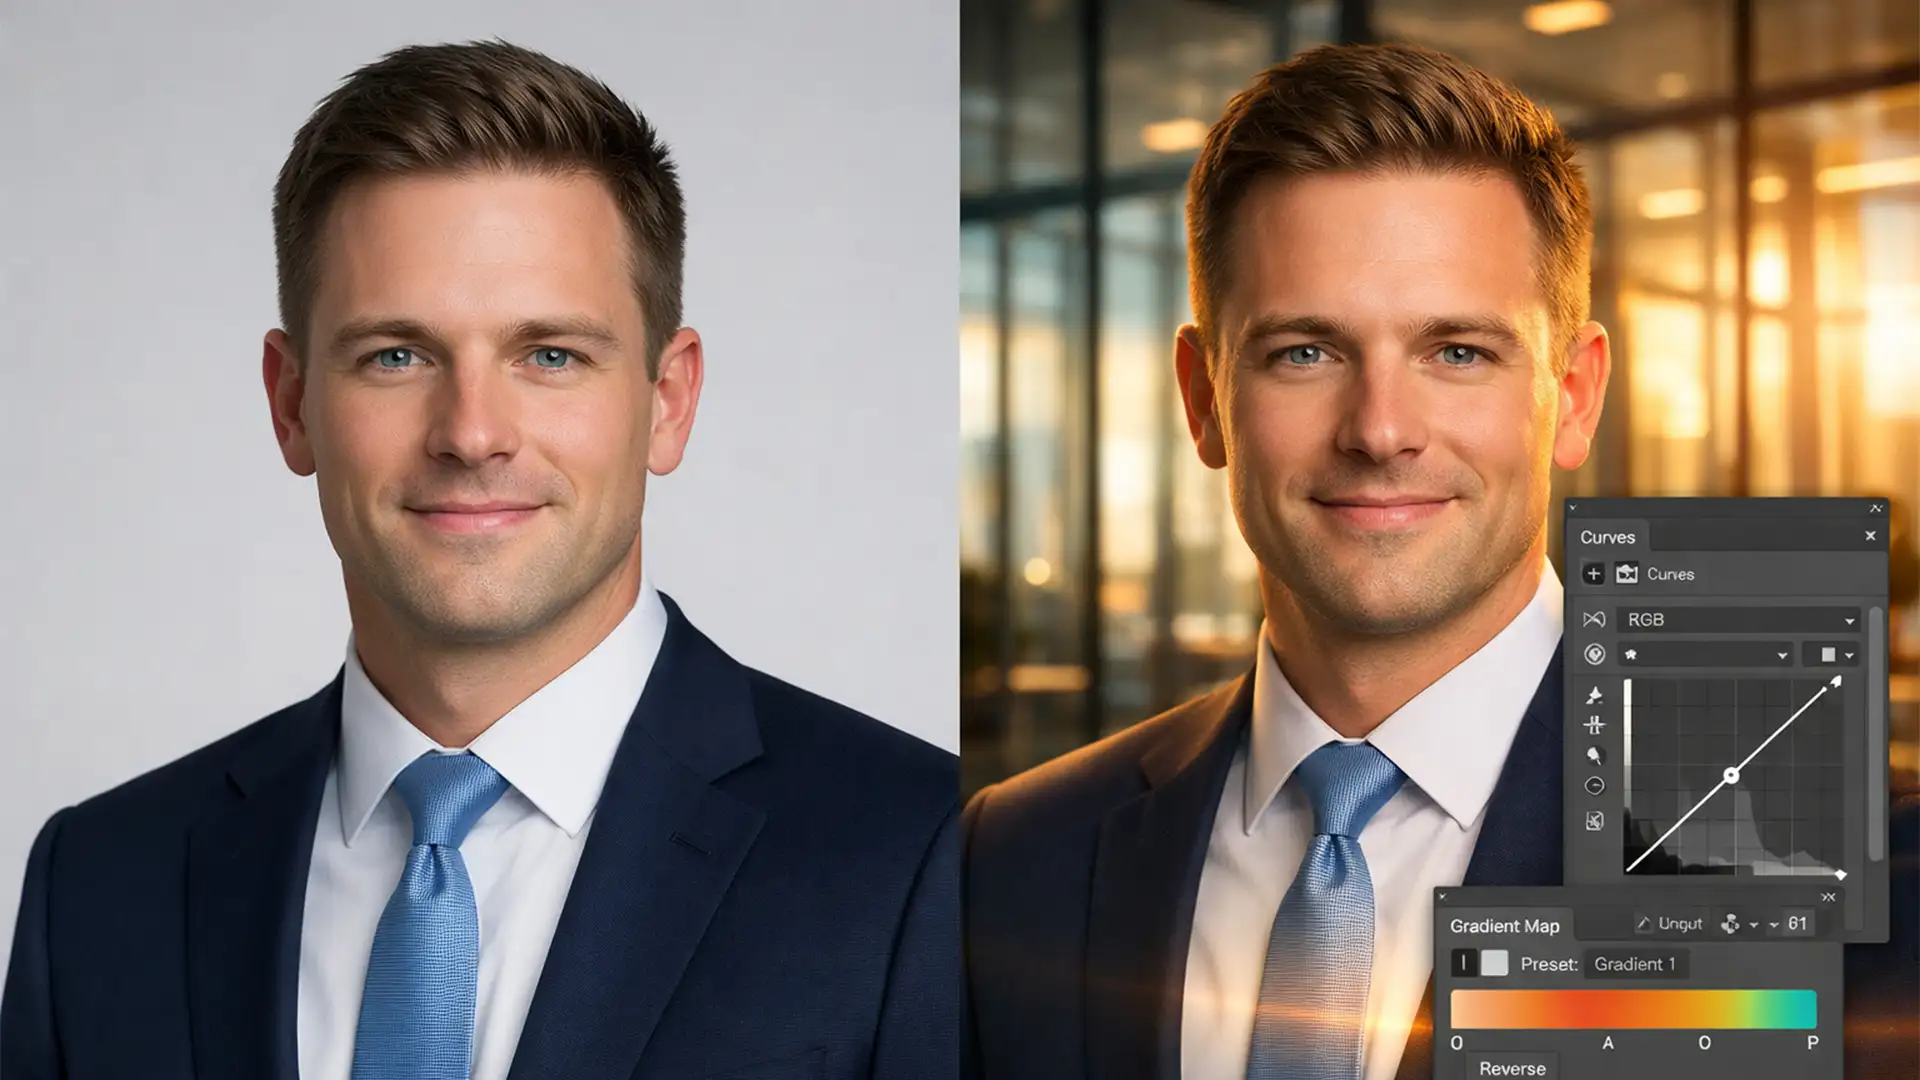
Scaling Your Headshot Retouching Workflow
When processing hundreds of corporate headshots, consistency is vital. To speed up your workflow without sacrificing quality, convert your base images into a Smart Object before applying camera raw adjustments. This allows you to sync color grades across multiple portraits non-destructively before moving into the detailed dodge and burn phases.
Let the Experts Handle Your High-End Retouching
Retouching headshots without losing character requires a delicate balance of technical skill, artistic eye, and immense patience. If you are dealing with large volumes of executive portraits or simply want to guarantee a pixel-perfect, authentic result without spending hours in Photoshop, we are here to help.
At Image Work India and Cloud Retouch, our team of professional retouchers specializes in high-end, non-destructive portrait editing. We utilize advanced dodge and burn techniques and meticulous frequency separation to ensure your subjects look their absolute best-polished, professional, and unmistakably themselves.
Ready to elevate your corporate branding? [Contact Image Work India and Cloud Retouch today] to handle your high-end retouching needs at scale.