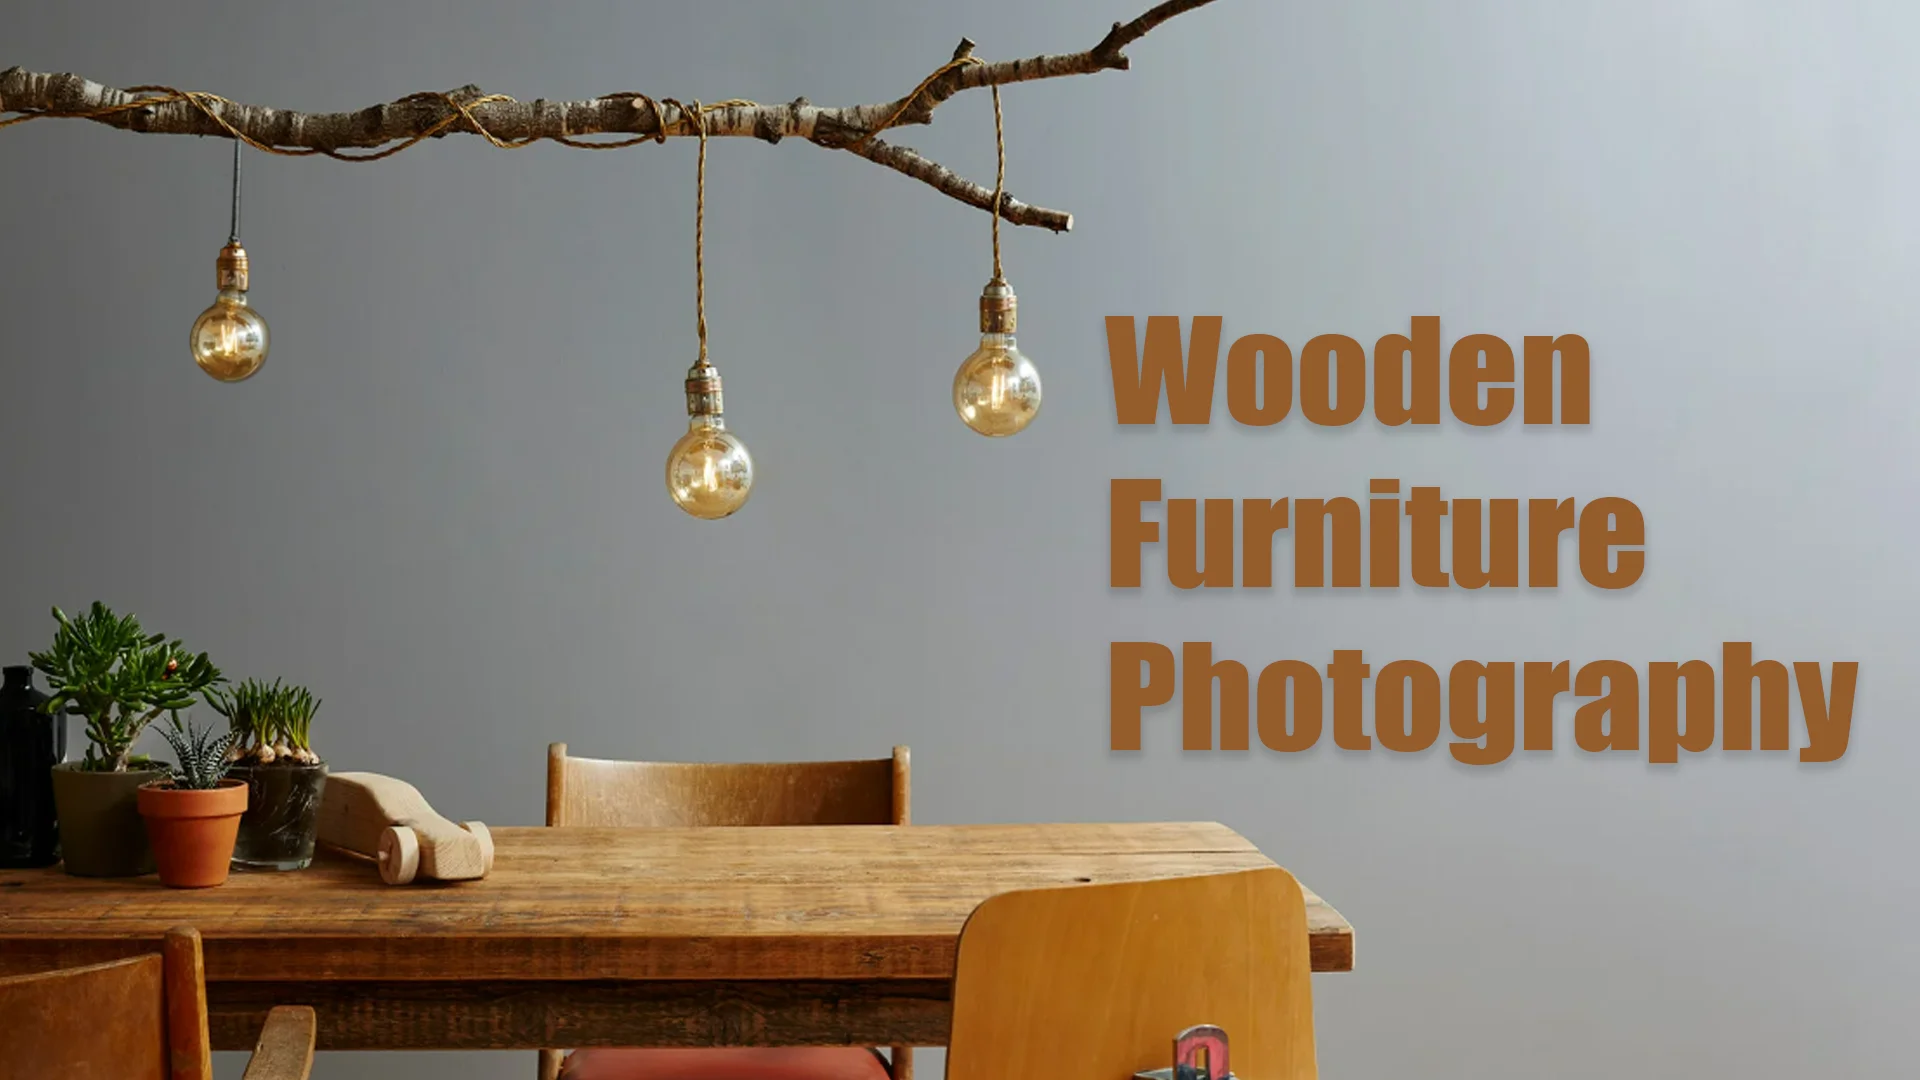
Wooden furniture photography is an art that captures the rich textures, warm tones, and intricate details of wood to showcase its natural beauty. Whether you are a professional photographer, a furniture maker, or someone passionate about home decor, knowing how to photograph wooden furniture can make a huge difference in presenting it beautifully. The key to great wooden furniture photography is mastering lighting, angles, and composition to bring out the wood’s grain, depth, and craftsmanship.
What is Wooden Furniture Photography?
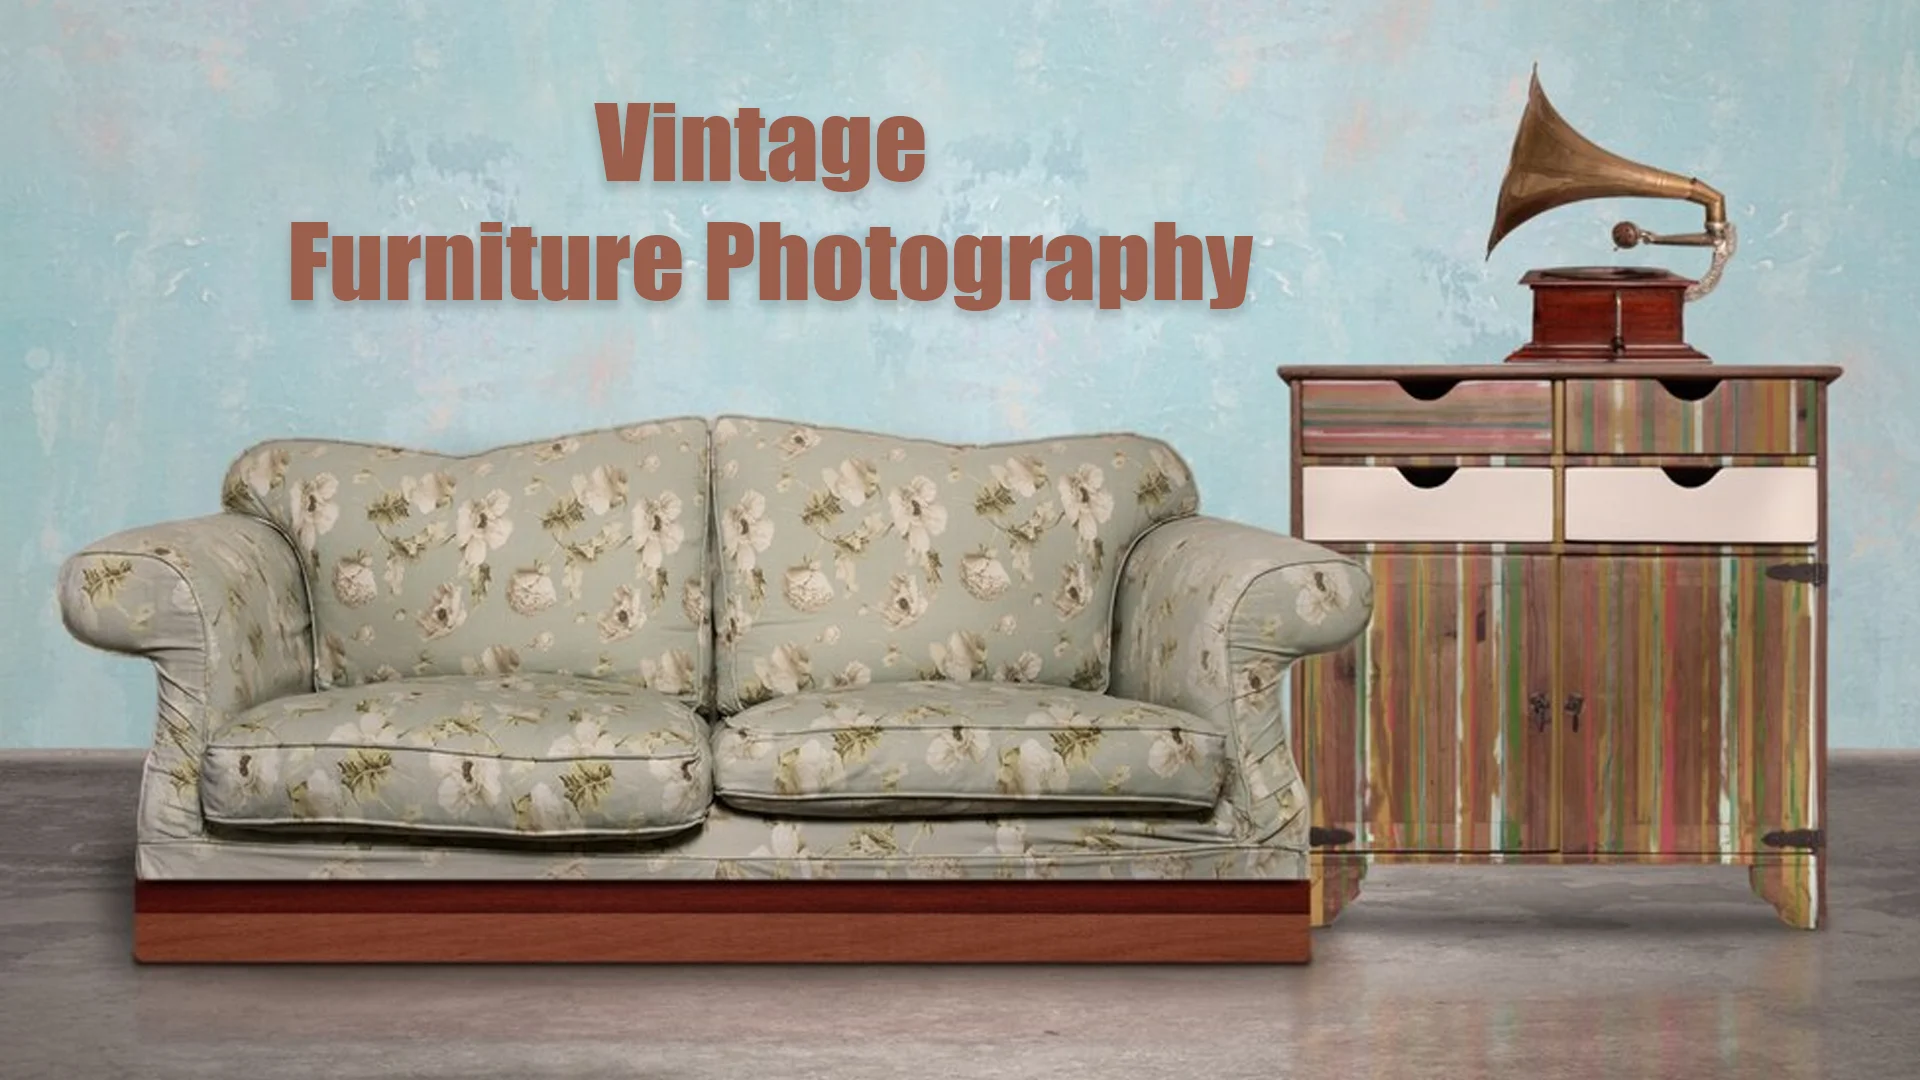
Wooden furniture photography is the art of capturing the beauty, texture, and intricate details of wooden furniture in photographs. Unlike traditional product photography, this type of photography focuses on highlighting the natural elegance of wood. It is all about showcasing the grain patterns, the smooth finishes, and the rich colors of different wood types. Whether it’s a cozy coffee table, a stylish bookshelf, or a classic wooden chair, every piece of furniture has its own unique qualities that can be brought to life with the right photographic techniques.
The Importance of Wooden Furniture Photography
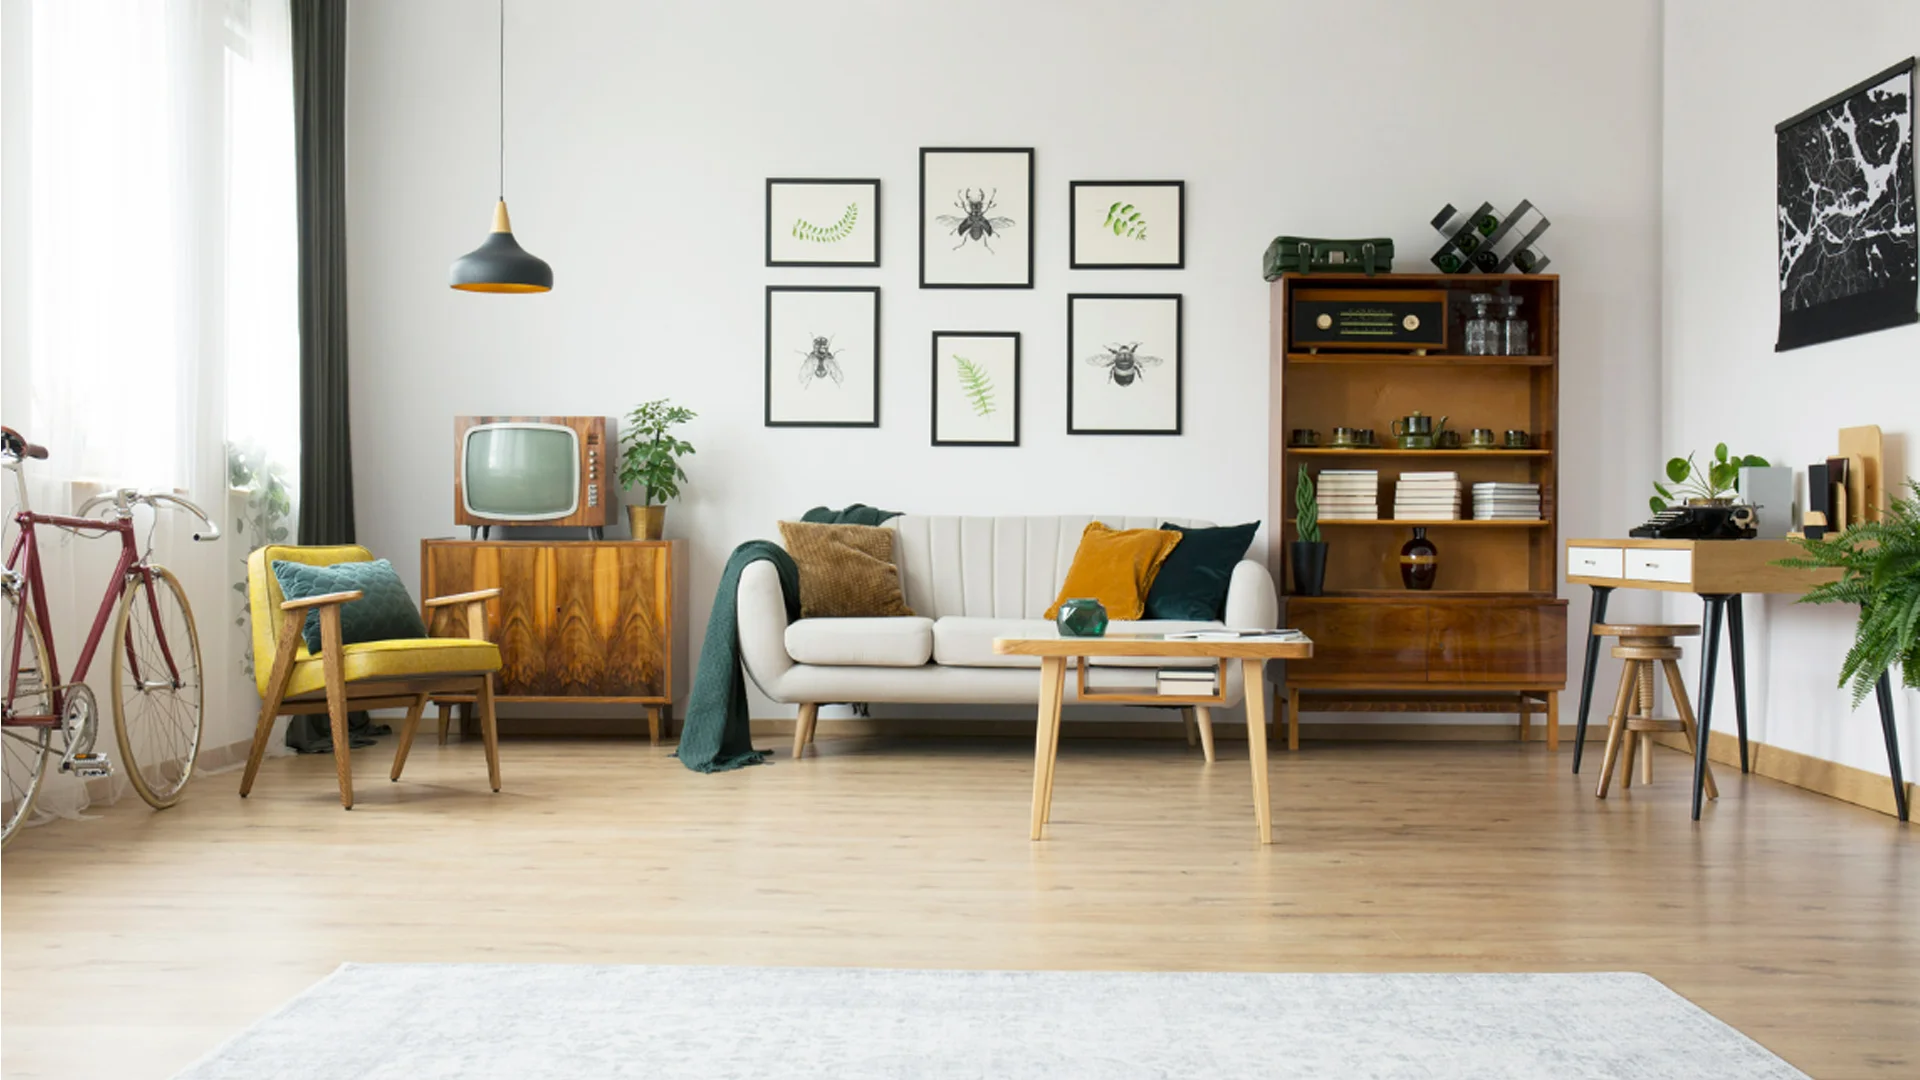
Wooden furniture is timeless, durable, and adds character to any space. When properly photographed, it can truly shine and make a strong impact, whether you’re looking to sell the furniture online or simply want to create a beautiful portfolio. The natural beauty of wood comes alive when light, texture, and composition are used to their full potential. By focusing on the aesthetics and craftsmanship, wooden furniture photography can show potential buyers or admirers just how special a particular piece is.
Capturing the essence of wooden furniture requires an understanding of how light interacts with different surfaces. The right lighting can emphasize the natural grains of the wood, enhance the texture, and add a sense of depth that makes the furniture appear more inviting. On the other hand, poor lighting can create harsh shadows or wash out the details, making the piece look flat and unappealing.
Choosing the Right Lighting for Wooden Furniture Photography
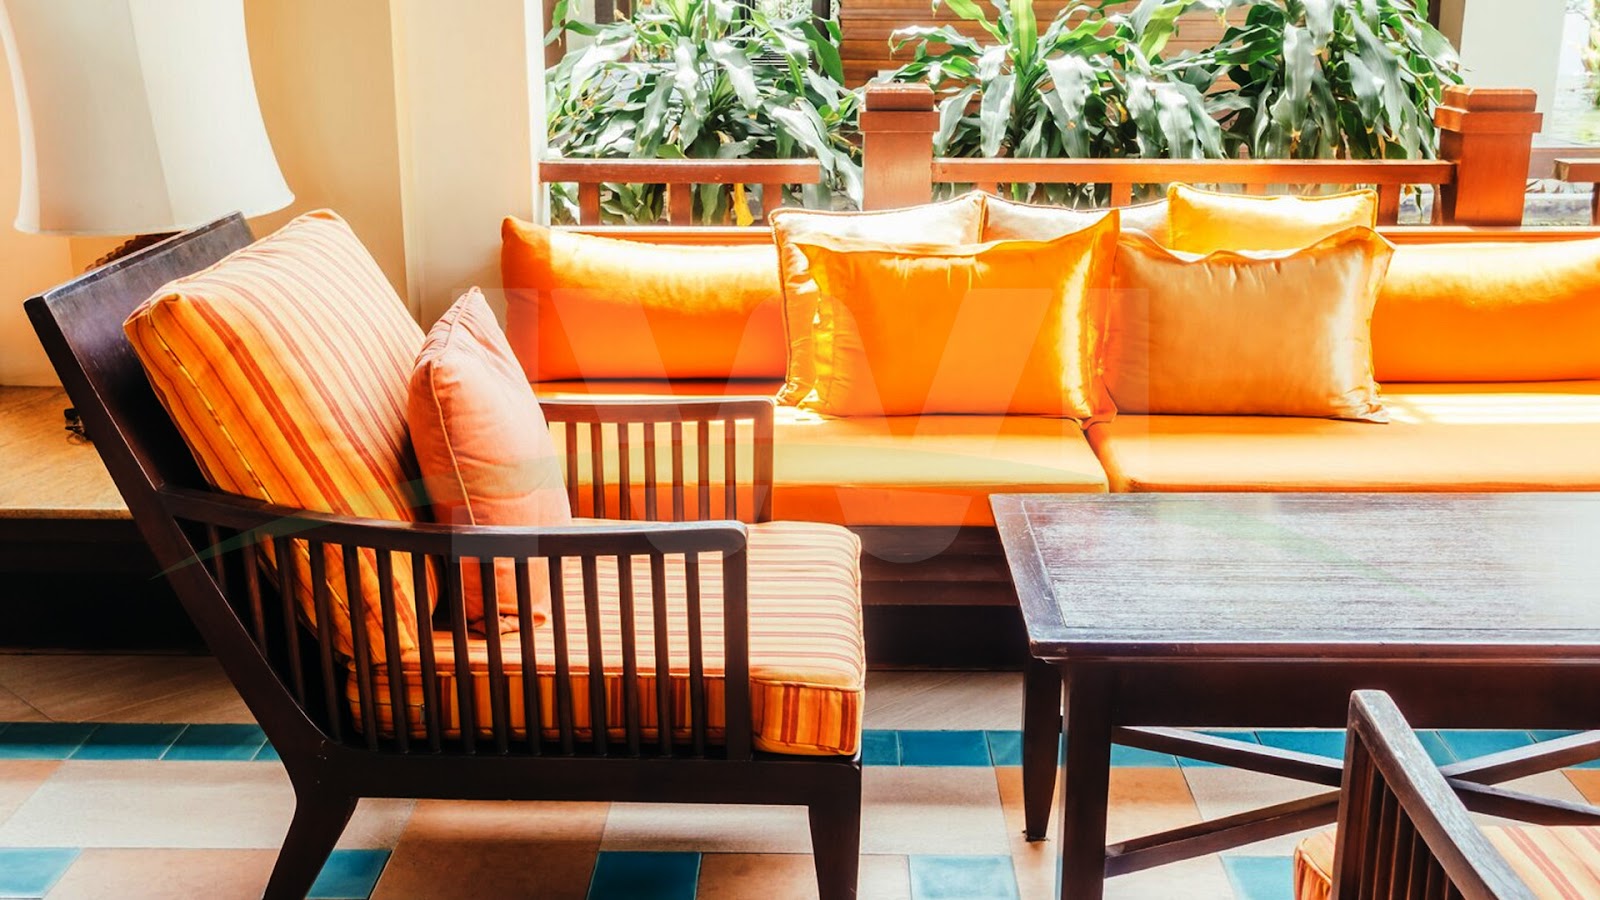
Lighting plays a crucial role in wooden furniture photography. Natural light is often the best option because it highlights the warm tones of wood and brings out its natural textures. Shooting near a large window with soft diffused light can create a beautiful effect. Harsh artificial lights can create unwanted reflections and shadows, which might make the furniture look unnatural.
When shooting indoors, using softbox lighting can help in diffusing the light and reducing harsh shadows. Positioning lights at an angle can bring out the depth of the wood grain and add a three-dimensional look to the image. If possible, avoid using flash directly on the furniture as it can create glare and distort the true color of the wood.
Choosing the Best Angles for Wooden Furniture Photography
The right angle can make a huge difference in wooden furniture photography. Straight-on shots work well to capture the overall design of the furniture, while angled shots help showcase the depth and craftsmanship. Close-up shots are essential to highlight details such as the wood grain, joinery, and carved accents.
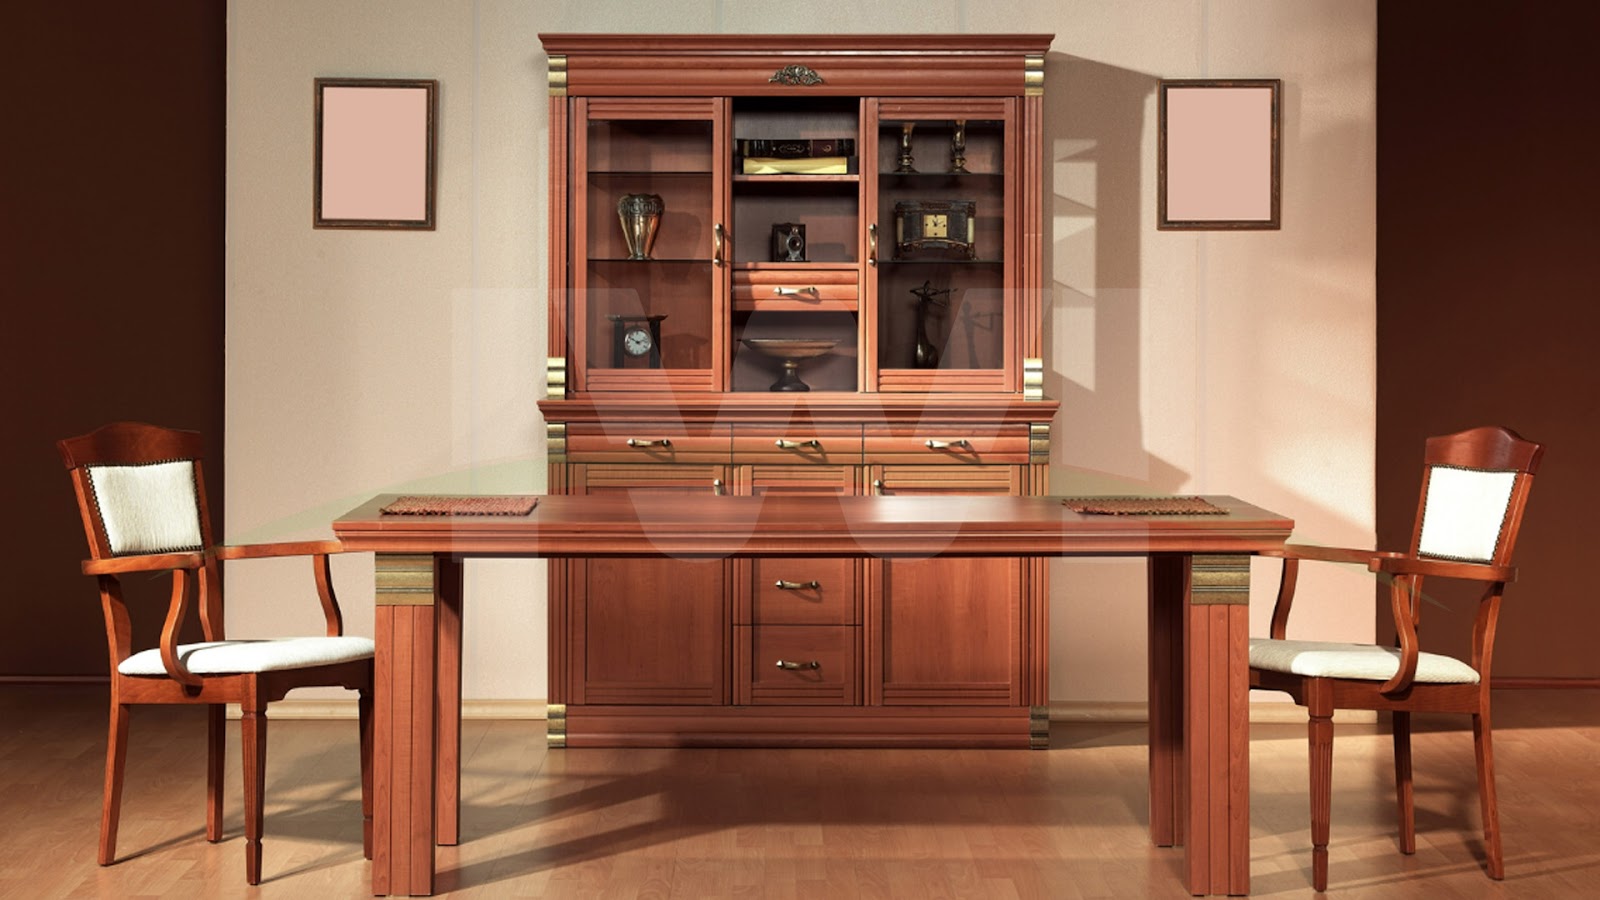
Using a low angle can make furniture look more grand and elegant, especially for larger pieces like dining tables and wardrobes. Overhead shots work well for flat surfaces like coffee tables and desks to showcase the design and material quality. Experimenting with different angles helps in capturing the furniture in the most flattering way possible.
Selecting the Right Background for Wooden Furniture Photography
The background you choose for wooden furniture photography can greatly impact how the furniture stands out. A neutral or minimalist background helps keep the focus on the furniture. White or light-colored walls work well as they create contrast with dark wood tones, while darker backgrounds can enhance the beauty of lighter wood.
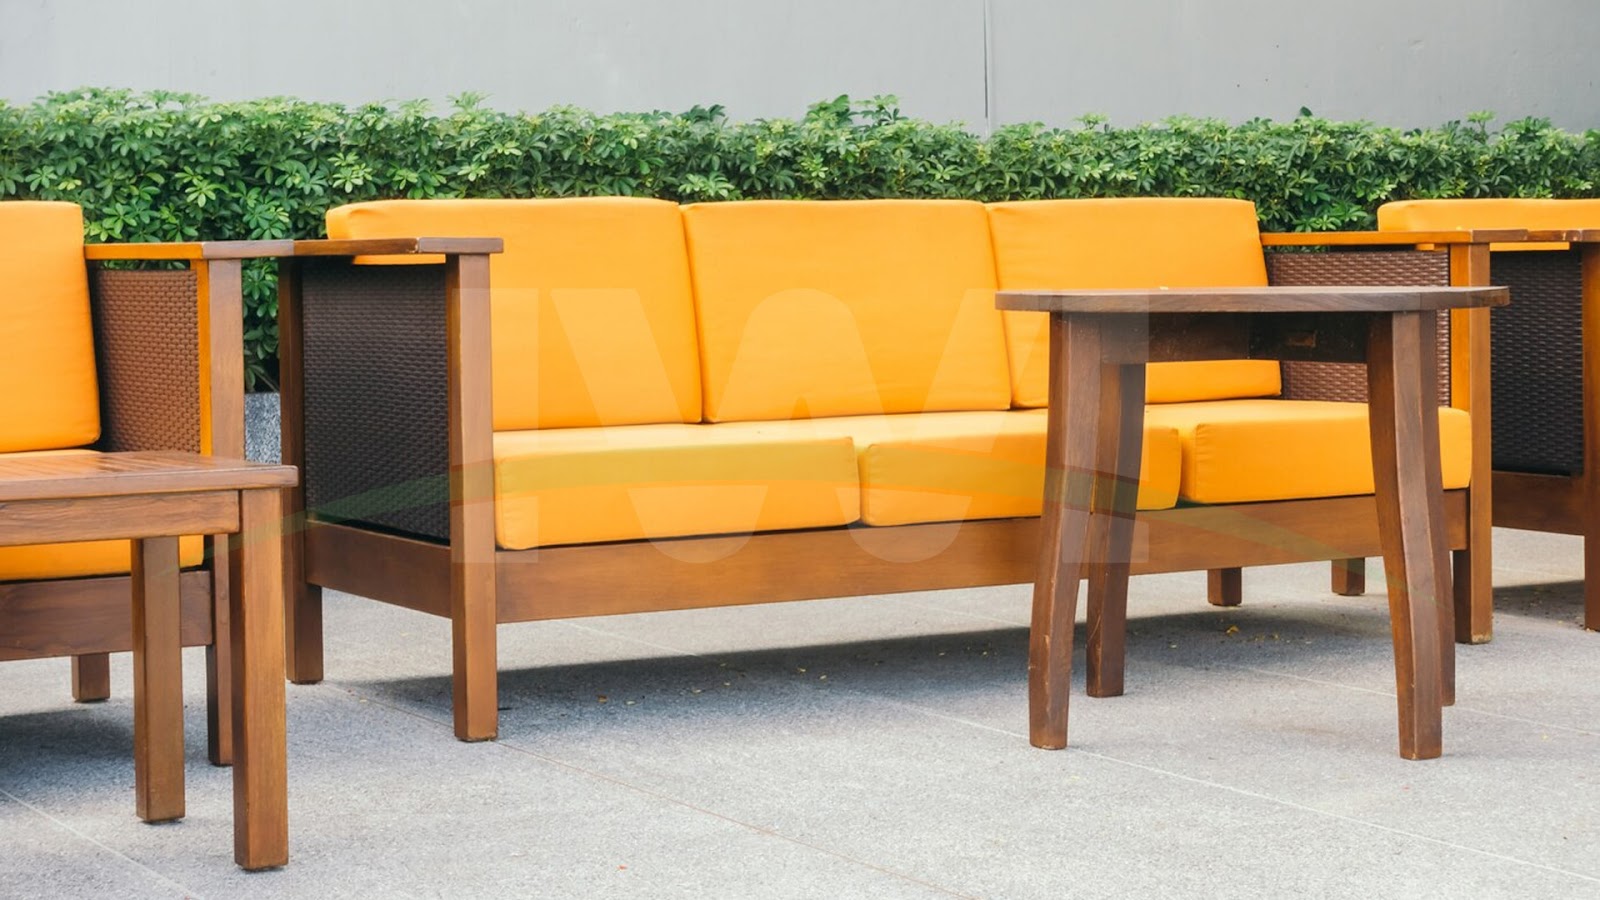
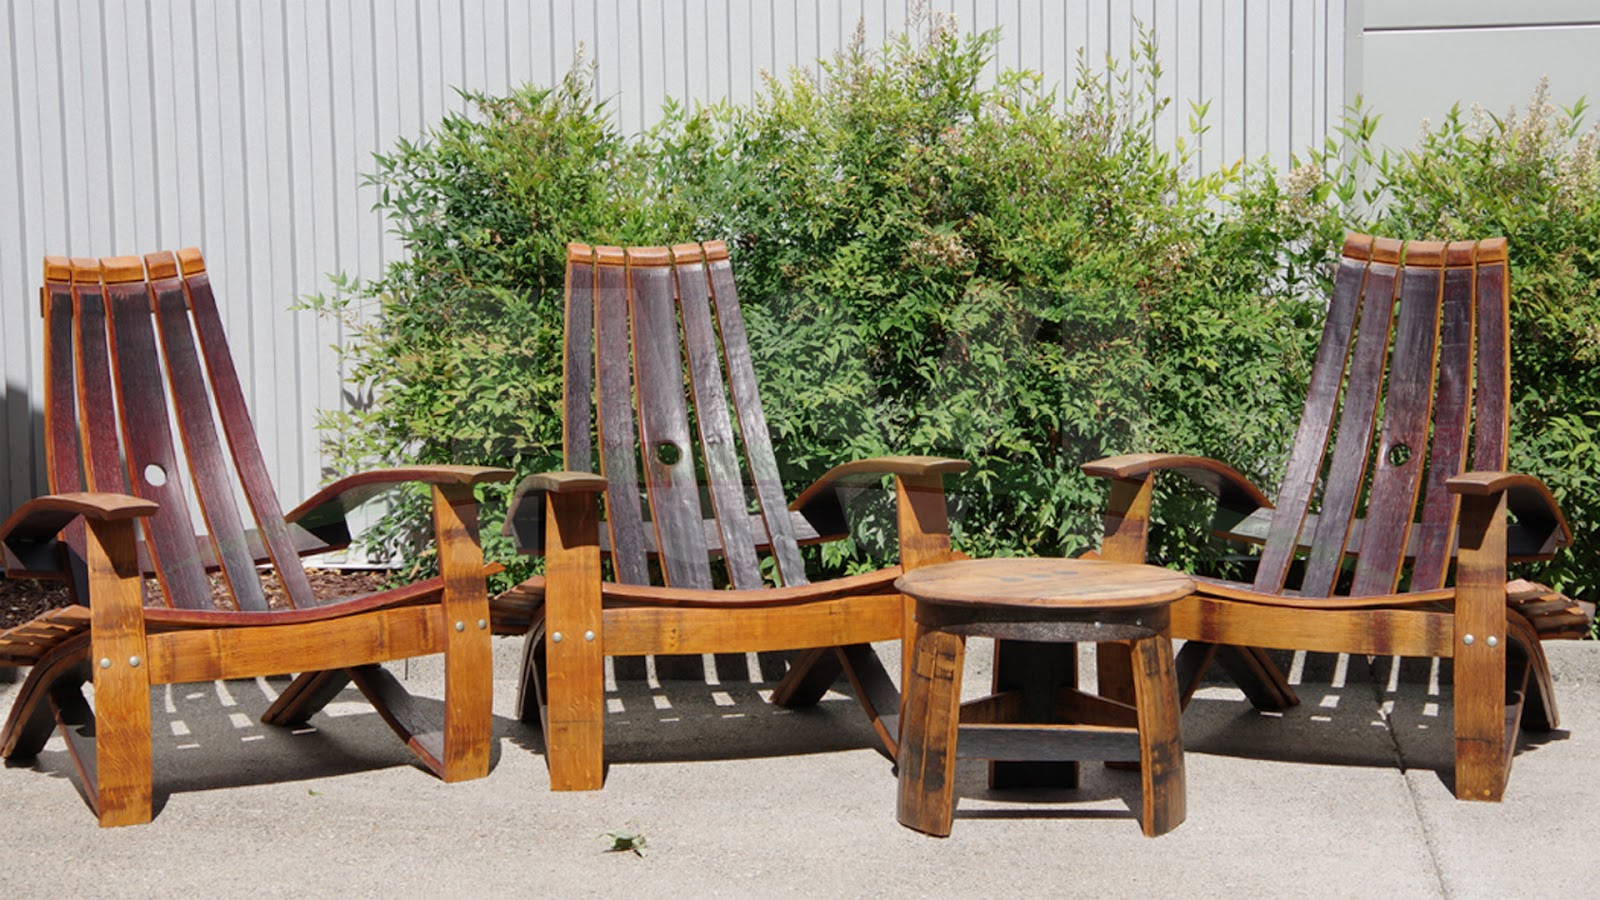
Outdoor backgrounds, such as a garden or patio, can add a natural and rustic feel to the images. If shooting indoors, using a simple fabric backdrop or textured wall can add depth to the composition. The key is to ensure that the background complements the furniture without distracting from it.
Enhancing Wooden Textures in Photography
One of the main goals of wooden furniture photography is to highlight the natural textures of wood. Using side lighting helps in bringing out the grain patterns and creating a sense of depth. Adjusting the camera settings, such as increasing the contrast slightly, can make the wood textures more pronounced.
Post-processing also plays a role in enhancing wood textures. Adjusting highlights and shadows can make the grain stand out, while sharpening the image can add a crisp and detailed look. However, it is important not to over-edit the images, as this can make the furniture appear unnatural.
Composition Techniques for Stunning Wooden Furniture Photography
Composition is key in creating visually appealing wooden furniture photography. The rule of thirds can help in positioning the furniture in a balanced way. Leaving negative space around the furniture allows it to stand out without looking cluttered.
Incorporating props such as plants, books, or soft textiles can add context to the furniture without overpowering it. When photographing multiple furniture pieces together, arranging them in a harmonious way can create an aesthetically pleasing composition.
Camera Settings for Wooden Furniture Photography
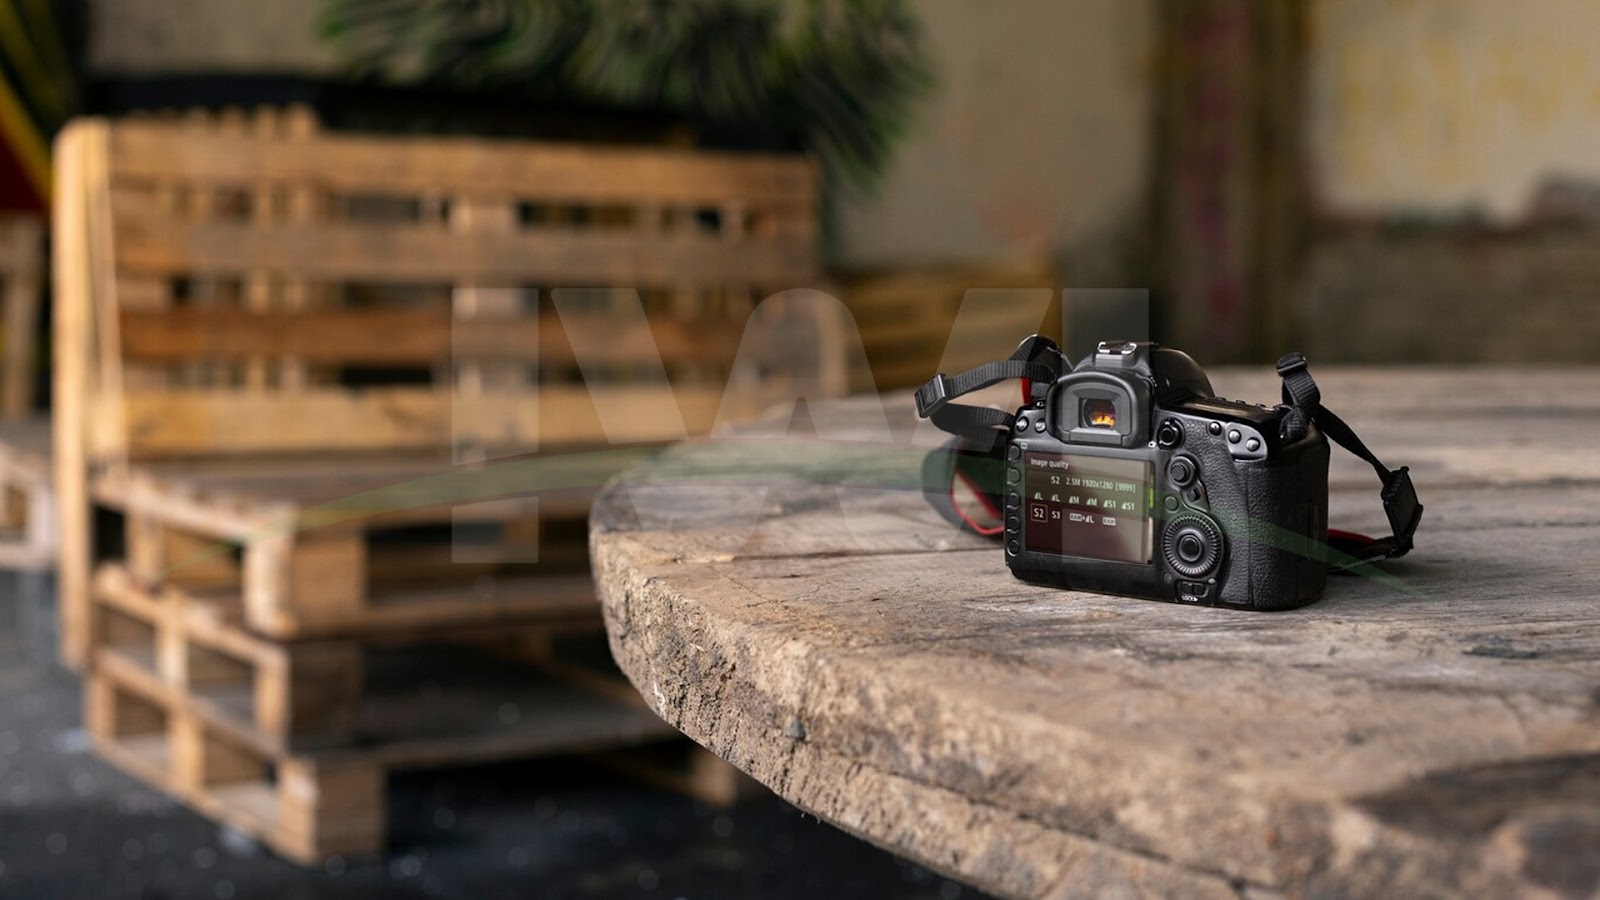
Using the right camera settings can make a huge difference in wooden furniture photography. A low ISO setting ensures minimal noise in the images, while a narrow aperture (high f-stop) helps in keeping the entire furniture piece in sharp focus. A tripod is essential to avoid camera shake and achieve sharp images.
For close-up shots, using a macro lens can capture the fine details of the wood grain. A slightly slower shutter speed can help in capturing more details while ensuring proper exposure. Experimenting with different white balance settings can help in achieving accurate wood tones.
Editing Wooden Furniture Photos for a Professional Look
Post-processing is an important step in wooden furniture photography. Basic adjustments such as brightness, contrast, and saturation can enhance the natural beauty of wood. Removing any distracting elements in the background using editing software can improve the overall presentation of the furniture.
Color correction ensures that the wood tones appear natural and true to life. Applying subtle sharpening enhances the details of the grain without making the image look overly processed. Maintaining a clean and consistent editing style helps in creating a professional portfolio of wooden furniture photography.
Conclusion
Wooden furniture photography is an art form that allows you to capture the natural beauty of wood, showcasing its texture, color, and craftsmanship in stunning images. By using the right lighting, composition, camera settings, and editing techniques, you can create photographs that highlight the elegance and timeless appeal of wooden furniture. Whether you are a professional photographer, a furniture maker, or just someone who appreciates beautiful craftsmanship, understanding how to properly photograph wooden furniture will elevate your work and bring out the best in every piece.
Frequently Asked Questions (FAQs)
What is the best lighting for wooden furniture photography?
Natural lighting is the best option as it highlights the warm tones and textures of wood. Soft diffused light from a window or softbox lighting helps in reducing harsh shadows and glare.
How can I make the wood grain more visible in photos?
Using side lighting and increasing contrast in post-processing helps in making the wood grain more pronounced. Adjusting shadows and highlights also enhances the depth and texture of the wood.
What background works best for wooden furniture photography?
A neutral or minimalist background works best as it keeps the focus on the furniture. White or light-colored walls contrast well with dark wood, while darker backgrounds enhance lighter wood tones.
What camera settings should I use for wooden furniture photography?
A low ISO setting, a narrow aperture (high f-stop), and a tripod help in capturing sharp images. A macro lens is useful for close-up shots of wood grain details.
How can I edit wooden furniture photos to look more professional?
Basic edits such as brightness, contrast, color correction, and sharpening enhance the natural beauty of wood. Removing distractions from the background and maintaining a consistent editing style also improves the overall presentation.
Should I use props in wooden furniture photography?
Yes, props like plants, books, and textiles add context and warmth to the images without overpowering the furniture. Keeping the arrangement simple ensures that the furniture remains the main focus.