The world of interior design photoshoots combines creativity, precision, and technical expertise to produce images that captivate audiences and sell design concepts. Imagine walking into a beautifully curated space and knowing your job is to make every detail shine. That’s the exciting challenge of an interior design photoshoot. Whether you’re photographing for an interior designer, a real estate agency, or a home decor brand, having the right approach can make or break the final results.
In this article, we will dive deep into the essential steps and techniques every photographer needs to succeed in an interior design photoshoot. From preparation to execution, we will guide you through everything you need to know to create stunning and marketable photos that truly reflect the essence of a space.
Preparation: The Foundation of a Successful Shoot
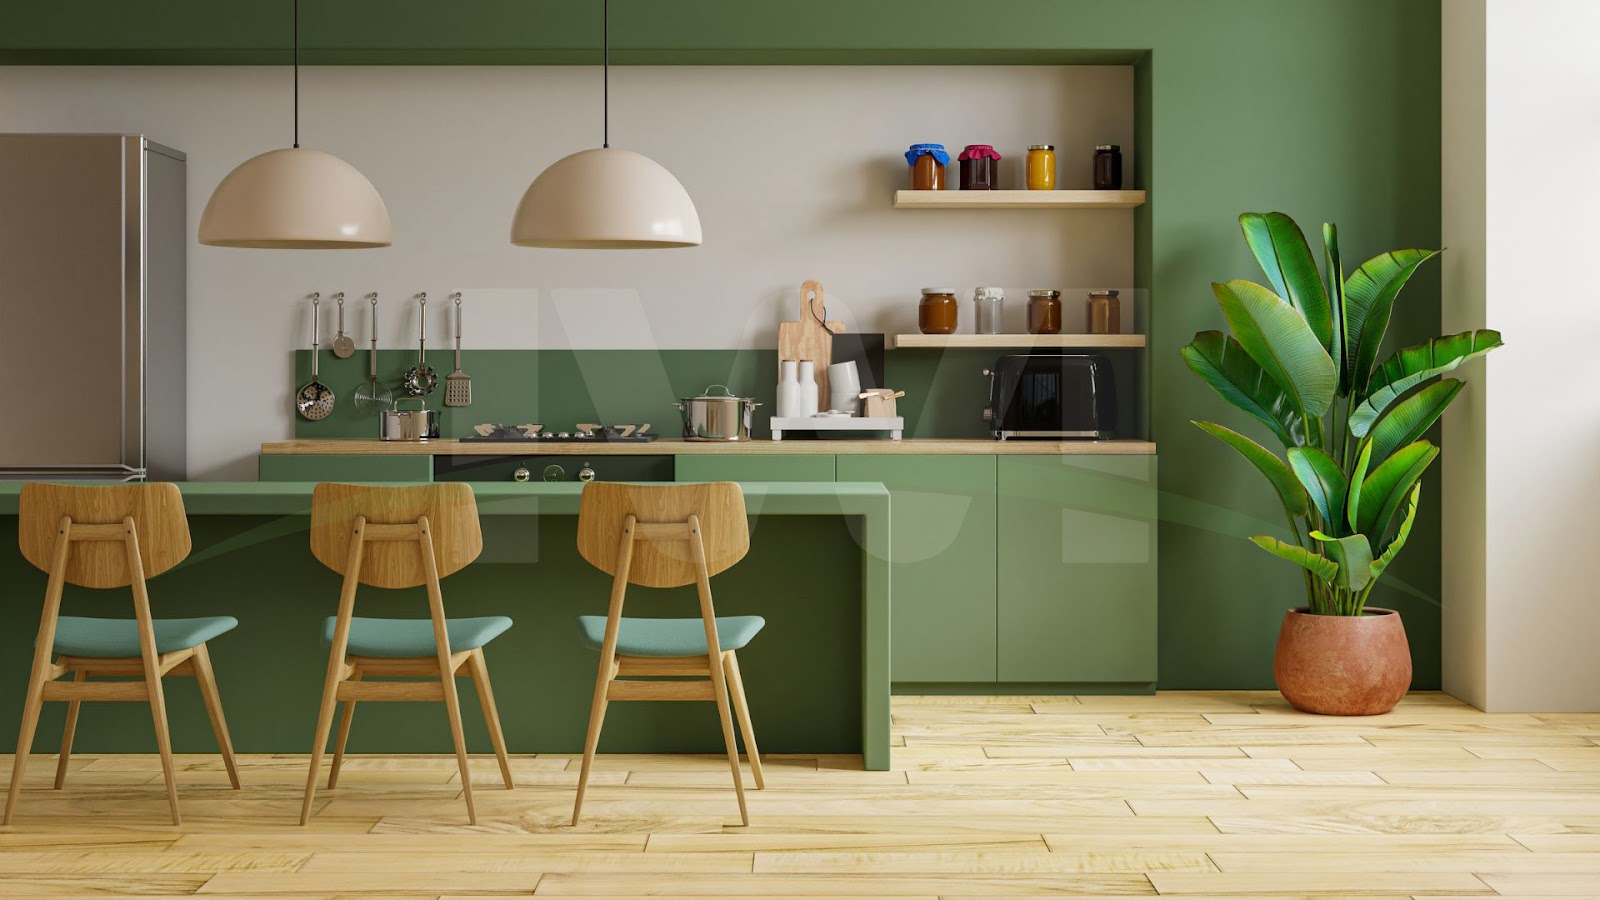
Before stepping into an interior design photoshoot, preparation is key. A well-planned shoot saves time, reduces stress, and ensures every element of the design is captured flawlessly. Start by understanding the client’s goals. Are they showcasing a luxury living room? Promoting modern kitchen layouts? Highlighting sustainable materials? Knowing the purpose will help you determine the style and focus of your shots.
Next, conduct a site visit. This allows you to identify the best angles, lighting conditions, and potential challenges. Take note of how natural light enters the room at different times of the day, as this will influence the shoot schedule. Communication with the client or designer is also critical at this stage. Ask them to highlight the key features of the space, such as unique furniture pieces, artwork, or architectural details they want to emphasize.
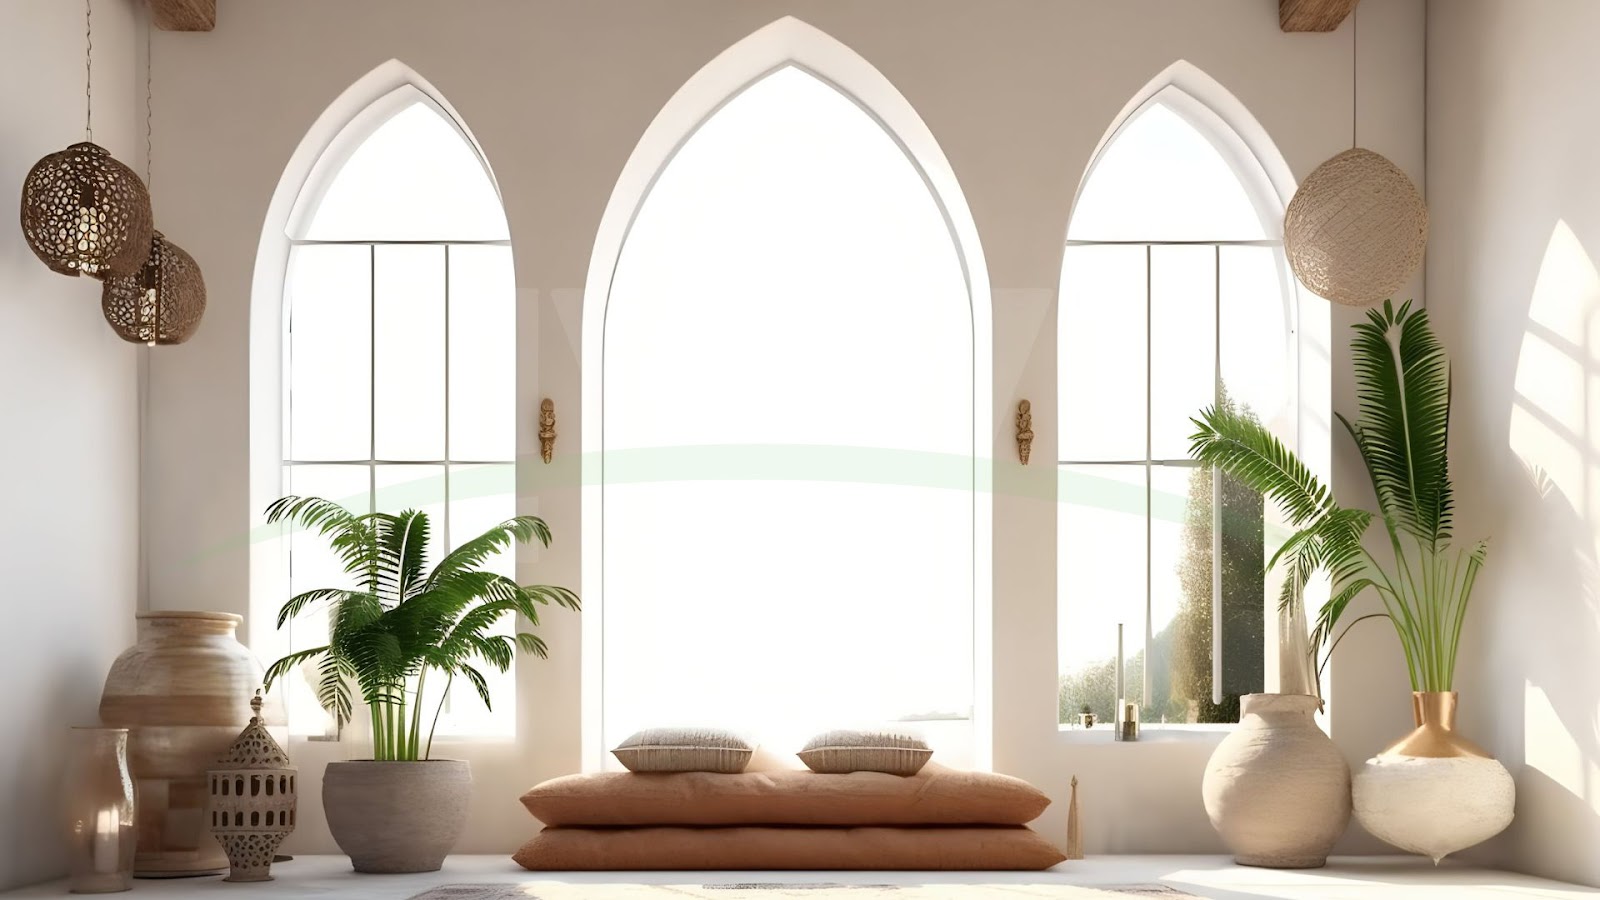
The Importance of Lighting in Interior Design Photoshoots
Lighting is the heart and soul of any interior design photoshoot. The way light interacts with the space can transform an ordinary room into an extraordinary one. Start by using natural light as much as possible. Early morning or late afternoon light provides a soft, warm glow that enhances the textures and colors of a space. Avoid shooting during midday when light is harsh and creates unwanted shadows.
However, natural light alone may not always be sufficient. Bring additional lighting equipment, such as softboxes and reflectors, to fill in darker areas and balance the overall exposure. Be careful with artificial lighting, as it can sometimes create an unnatural color cast. To counter this, use color-correcting gels or adjust the white balance settings on your camera.
When lighting a room, pay attention to the mood you want to convey. For a cozy and inviting space, use warmer tones. For modern and minimalistic interiors, opt for cooler, brighter lighting.
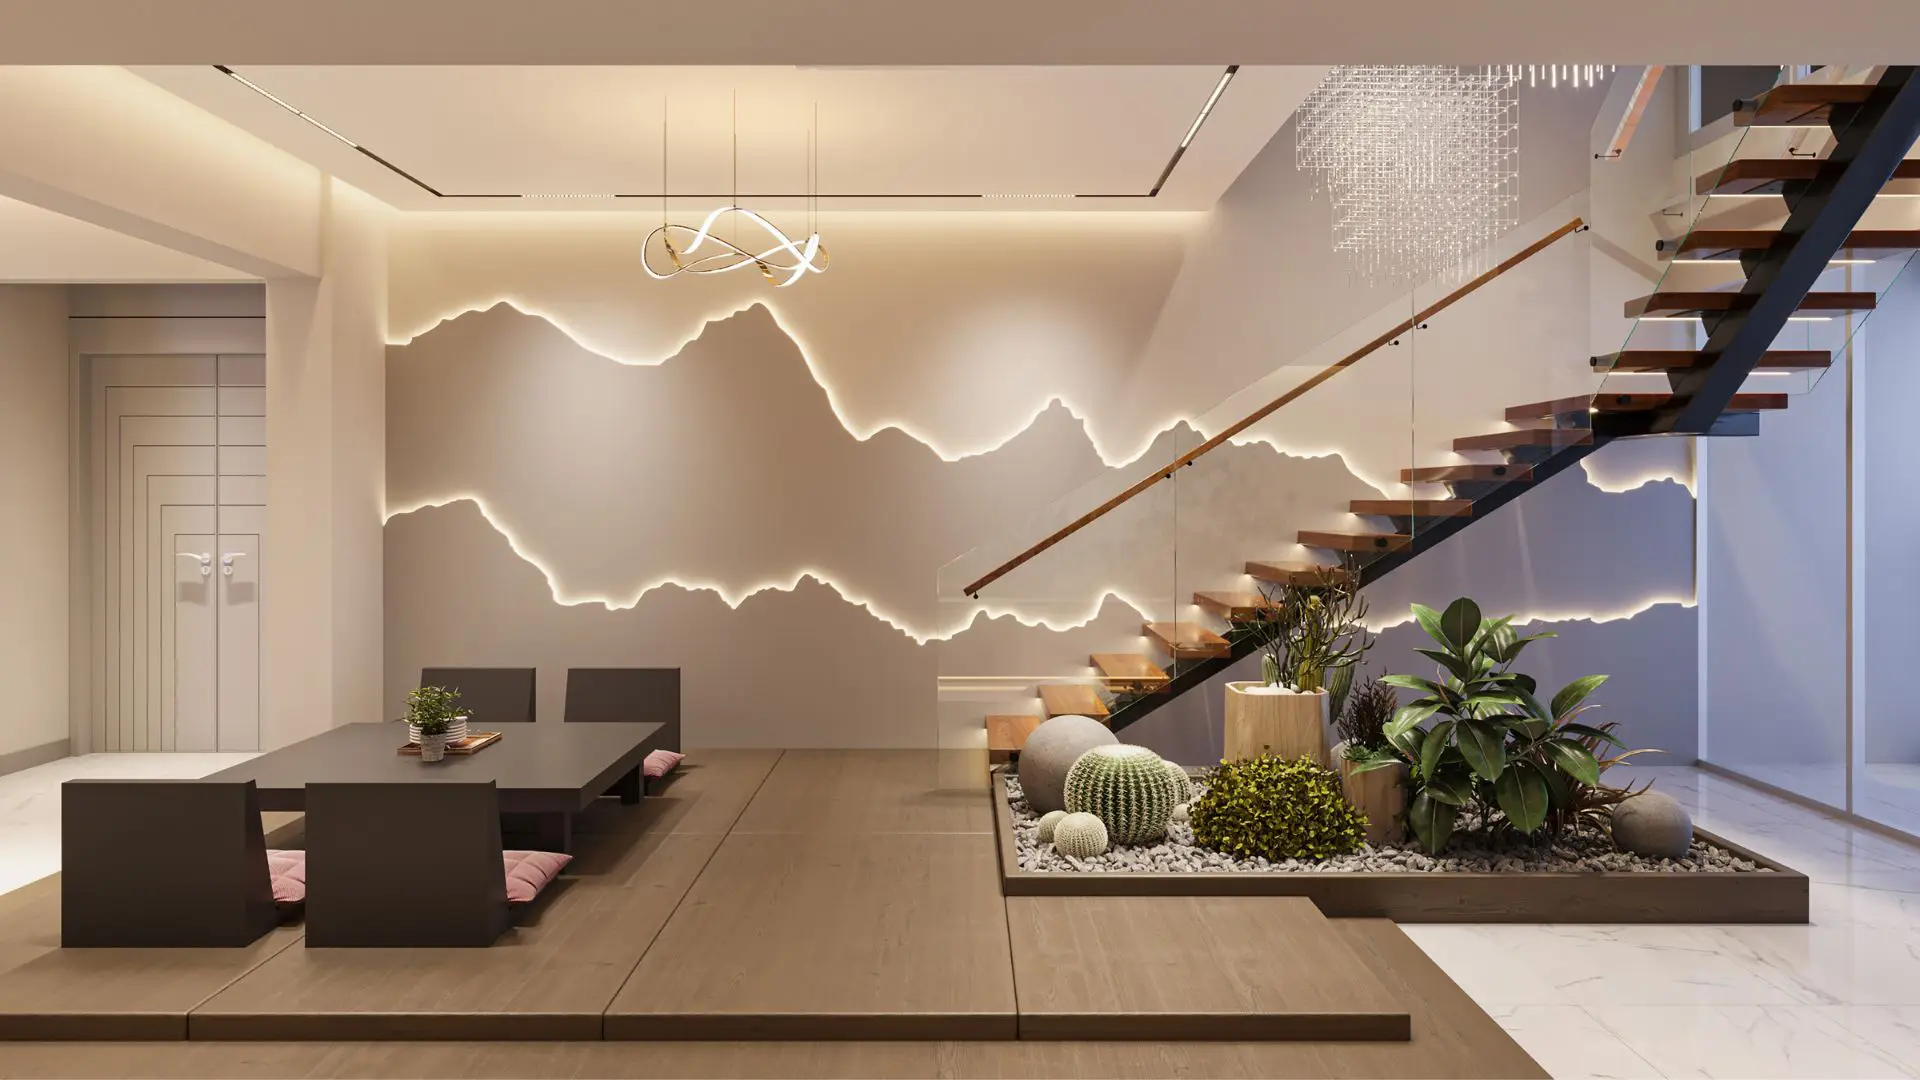
Framing and Composition: The Art of Telling a Story
Every interior design photoshoot should tell a story about the space. Framing and composition play a vital role in achieving this. One of the most effective techniques is to use the rule of thirds, where the room is divided into nine equal parts. Place key elements, such as furniture or decor, along these lines to create balanced and visually appealing compositions.
Another essential tip is to shoot at eye level or slightly lower. This perspective mimics how we naturally view a room and makes the space feel more immersive. Wide-angle lenses are particularly useful for interior shots as they capture more of the room. However, be cautious not to overuse them, as they can distort the proportions of the space.
Incorporate leading lines to guide the viewer’s eye through the photo. For example, a hallway or a piece of furniture can direct attention to focal points like a fireplace or a stunning window view. Always remember to declutter the space before shooting; less is more when it comes to creating clean and impactful compositions.
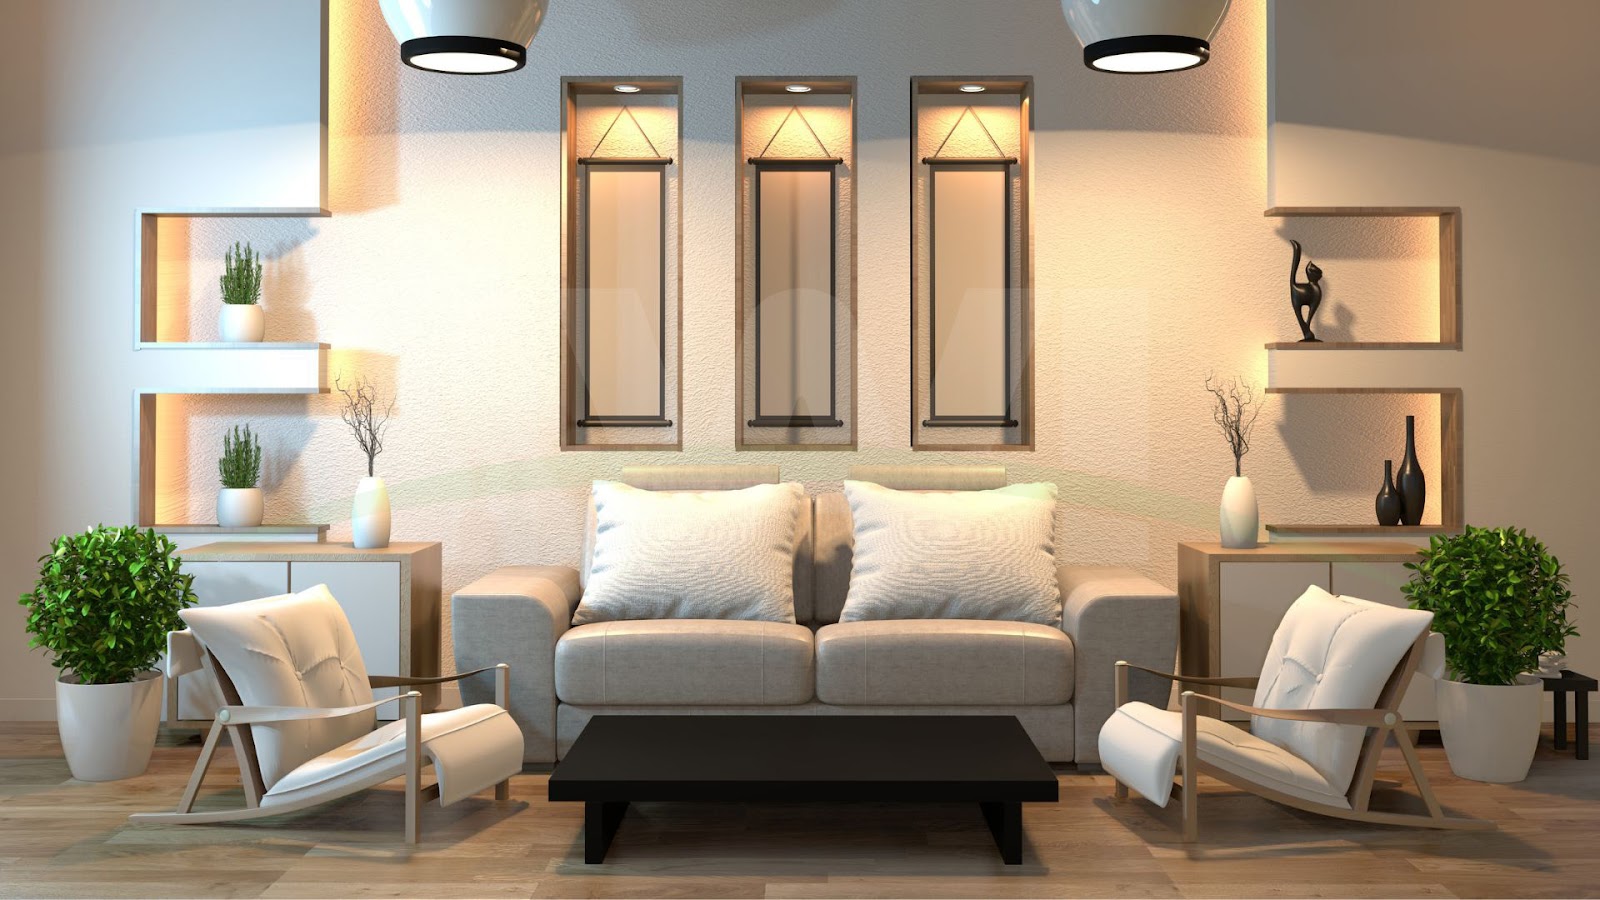
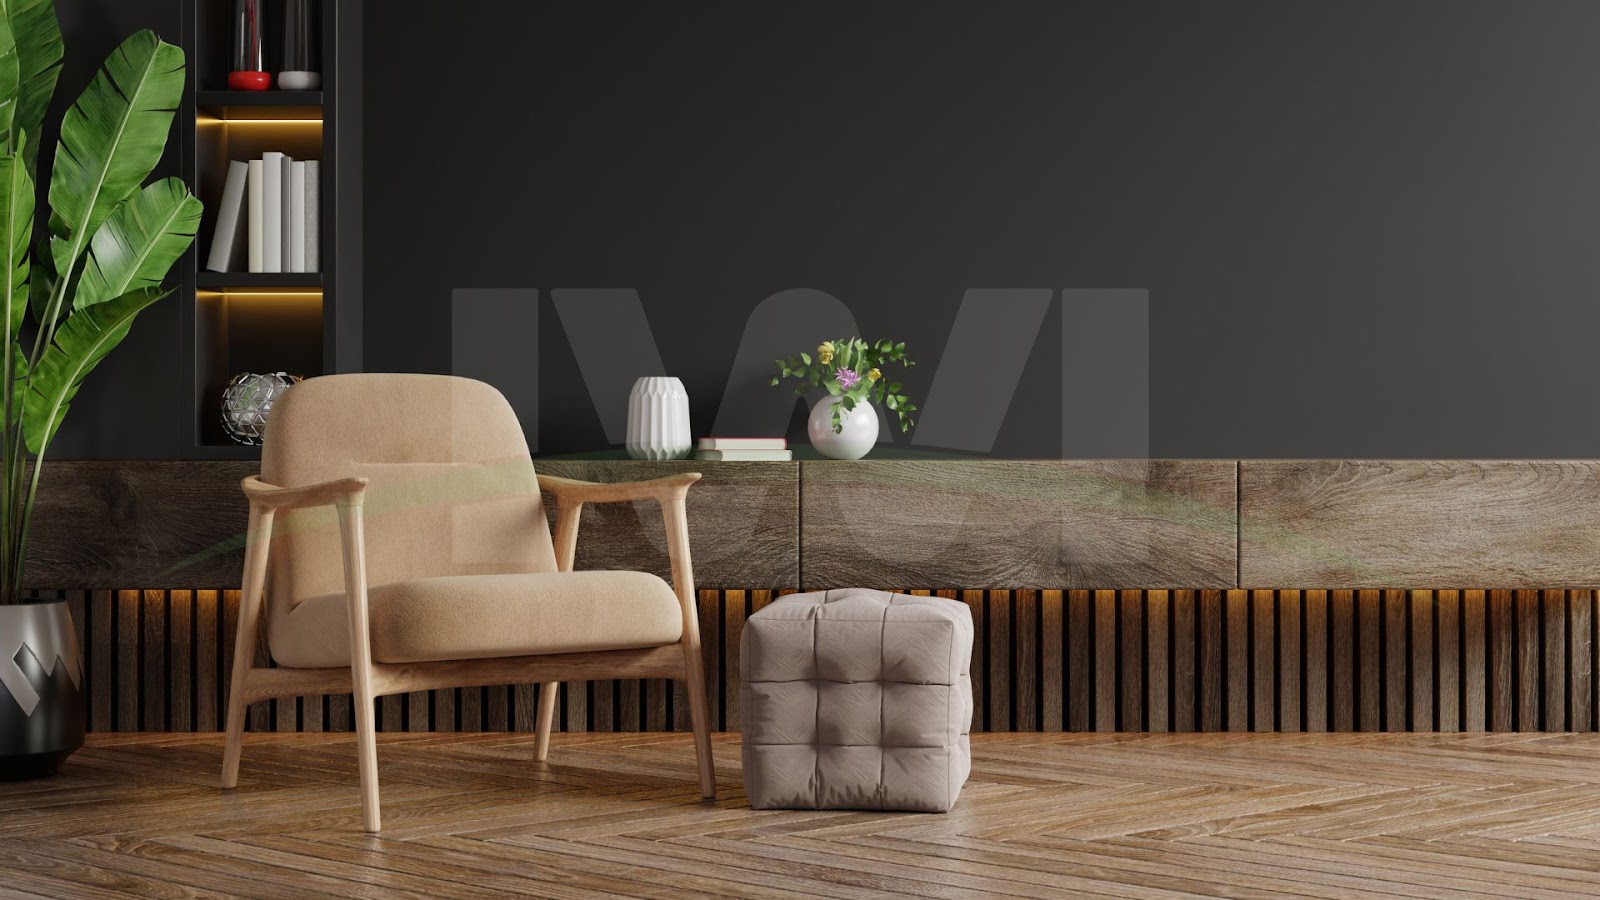
Styling the Space: Enhancing Visual Appeal
Styling is a crucial aspect of any interior design photoshoot. While the room might already be beautifully designed, minor adjustments can make a big difference in how it appears on camera. Begin by ensuring the space is clean and organized. Dust, smudges, and clutter can distract from the design and ruin an otherwise perfect shot.
Add finishing touches to enhance the room’s aesthetic. For example, fluff the pillows on the sofa, adjust the curtains to frame the windows, or add fresh flowers to a table. These small details can bring life and personality to your photos. If the space feels too sterile, consider incorporating props like books, candles, or textiles to add warmth and depth.
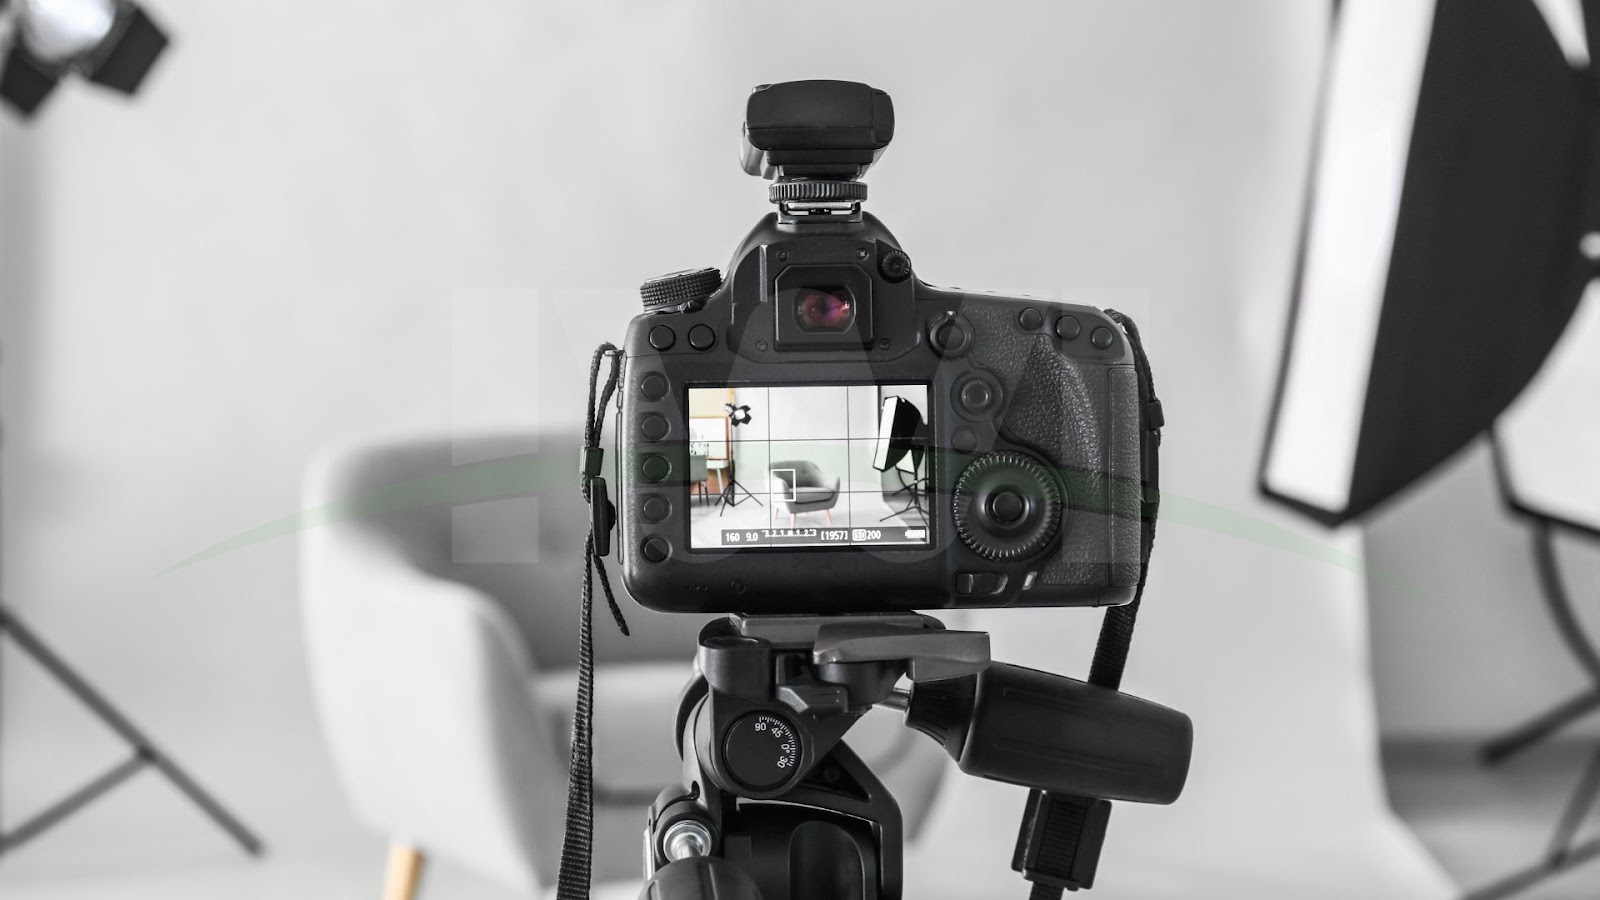
Camera Settings and Equipment for Interior Design Photoshoots
Using the right equipment and camera settings can elevate your interior design photoshoot from good to great. Start with a high-quality DSLR or mirrorless camera, as these offer greater control over settings and produce higher resolution images. A sturdy tripod is essential for achieving sharp and consistent shots, especially in low-light conditions.
For optimal results, shoot in manual mode. This allows you to control the aperture, shutter speed, and ISO to suit the lighting conditions. A small aperture (e.g., f/8 to f/16) is ideal for achieving a deep depth of field, ensuring that both the foreground and background are in focus. Keep the ISO as low as possible to avoid graininess and adjust the shutter speed accordingly to maintain proper exposure.
Consider using a tilt-shift lens to correct perspective distortion, especially when photographing tall elements like cabinets or bookshelves. This lens is a game-changer for interior design photoshoots as it ensures vertical lines remain straight and true to life.
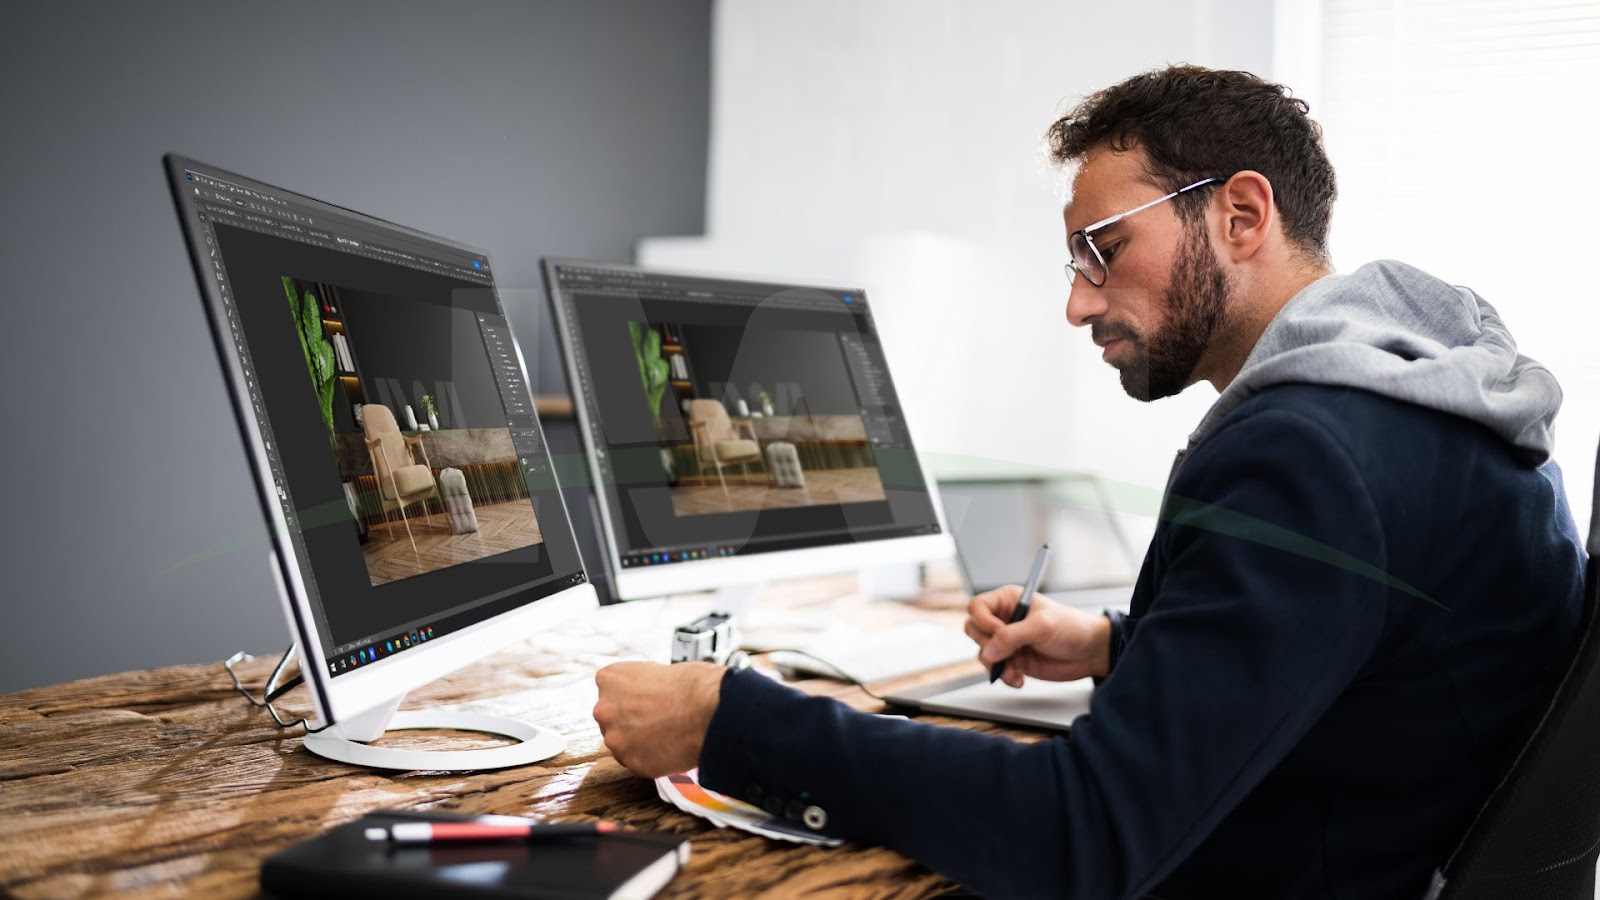
Post-Processing: Refining the Final Look
No interior design photoshoot is complete without post-processing. Editing allows you to enhance colors, correct lighting issues, and refine the overall look of your images. Start by importing your photos into software like Adobe Lightroom or Photoshop. Adjust the brightness, contrast, and saturation to make the colors pop while maintaining a natural appearance.
Use perspective correction tools to straighten lines and eliminate any distortion caused by the lens. Pay attention to details like removing blemishes, such as stray cords or smudges, that may have been missed during the shoot. If the lighting appears uneven, use gradient filters to balance the exposure across the image.
Finally, export your images in high resolution to ensure they look sharp and professional on all platforms, from print to digital.
Building Your Portfolio: Showcasing Your Best Work
An impressive portfolio is essential for attracting clients in the world of interior design photography. Curate a collection of your best work that highlights your versatility and expertise. Include a variety of styles, from modern minimalism to cozy traditional spaces, to appeal to a broader audience.
When presenting your portfolio, focus on quality over quantity. A well-organized selection of 10–20 outstanding images is far more impactful than a large collection of mediocre shots. Consider creating an online portfolio to make it easier for potential clients to discover your work.
Conclusion
Interior design photoshoots are a rewarding yet challenging niche in photography. By mastering preparation, lighting, composition, styling, and post-processing, you can produce images that showcase the beauty and functionality of a space. Remember, every detail matters in this field, and the effort you put into each step will be evident in the final results. With this checklist in hand, you’re well on your way to creating stunning interior design photoshoots that leave a lasting impression.
Frequently Asked Questions (FAQs)
What equipment is essential for an interior design photoshoot?
A high-quality camera, a sturdy tripod, a wide-angle lens, and additional lighting equipment like softboxes are essential for capturing professional interior shots.
How can I make an interior space look more appealing in photos?
Styling is key. Add fresh flowers, adjust furniture placement, and remove clutter to create a clean and visually appealing space.
What are the best lighting conditions for interior photography?
Natural light is ideal, especially during early morning or late afternoon. Supplement with artificial lighting when necessary to balance the exposure.
Why is post-processing important in interior design photoshoots?
Post-processing enhances colors, corrects lighting issues, and ensures a polished and professional final image.
How do I deal with tight spaces during a photoshoot?
Use a wide-angle lens to capture more of the room. If possible, move furniture slightly to create better angles and compositions.
Can I use my smartphone for an interior design photoshoot?
While smartphones can capture decent images, professional cameras provide better control, higher resolution, and superior image quality for interior design photography.