Capturing the beauty of furniture is an art that combines creativity, technical expertise, and an understanding of design. Whether you’re a professional photographer or a furniture seller aiming to showcase your products online, mastering furniture photography can make a significant difference. With the right techniques, you can create images that not only highlight the craftsmanship of the furniture but also inspire potential buyers. Let’s explore the world of furniture photography in depth and uncover the secrets to achieving perfect shots.
The Importance of Furniture Photography
In today’s digital age, furniture photography plays a vital role in the buying process. Consumers rely heavily on images to make purchase decisions, especially when shopping online. High-quality photographs that showcase the details, textures, and colors of furniture can create trust and drive sales. Poorly lit or unflattering photos, on the other hand, may deter potential buyers.
Furniture photography is not just about taking pictures—it’s about telling a story. Every piece of furniture has a purpose, style, and ambiance it creates within a space. Great furniture photography captures these elements and conveys them to the viewer, creating an emotional connection.

Setting Up the Perfect Environment
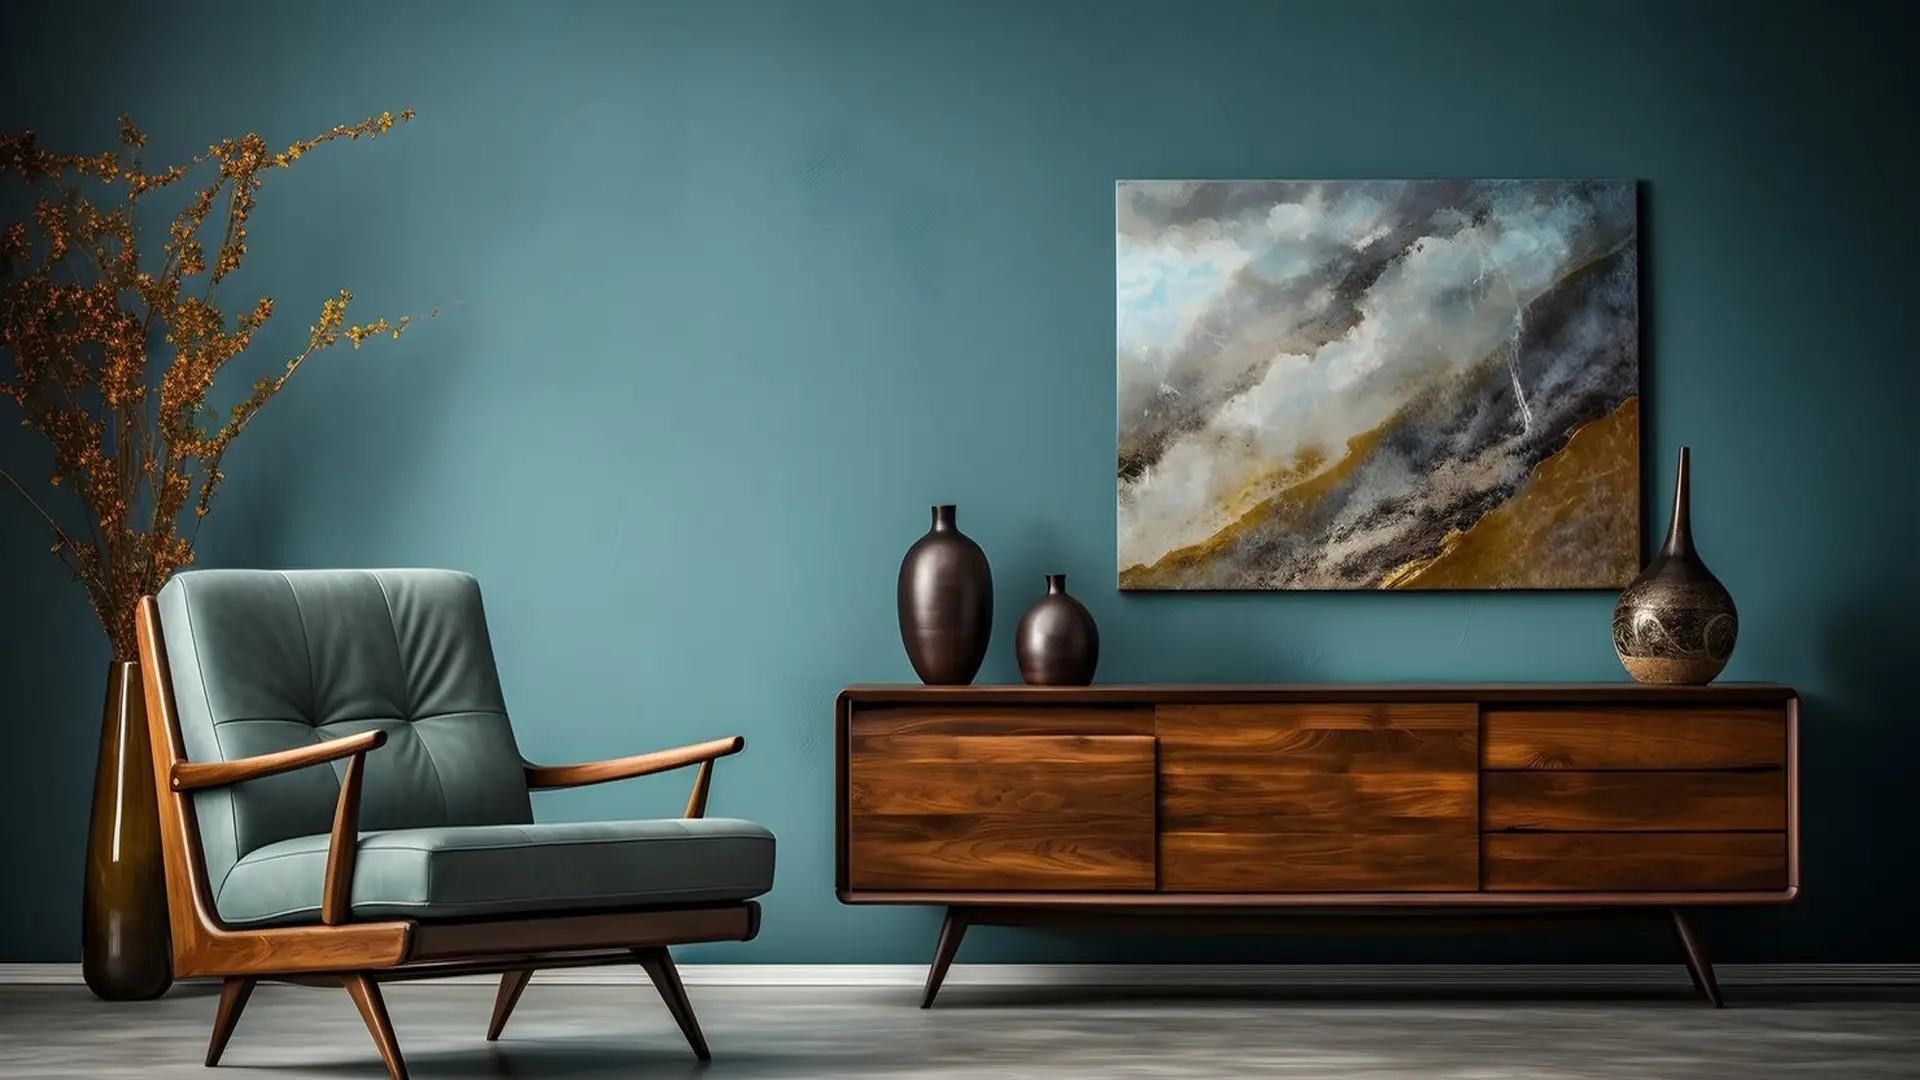
A well-thought-out environment is crucial for furniture photography. The surroundings should complement the furniture rather than distract from it. Start by choosing a clean and neutral background to ensure the furniture remains the focal point. Solid-colored walls or minimalistic interiors often work best for this purpose.
Lighting is another critical factor. Natural light is ideal for furniture photography as it highlights textures and creates a warm, inviting feel. If natural light isn’t sufficient, consider using softbox lights to mimic daylight. Avoid harsh shadows or overexposed areas, as they can detract from the overall quality of the image.
The placement of the furniture within the frame is equally important. Centering the piece can create a balanced composition, while an off-center placement might add a dynamic touch. Experiment with angles and arrangements to find the most appealing perspective.

Choosing the Right Equipment
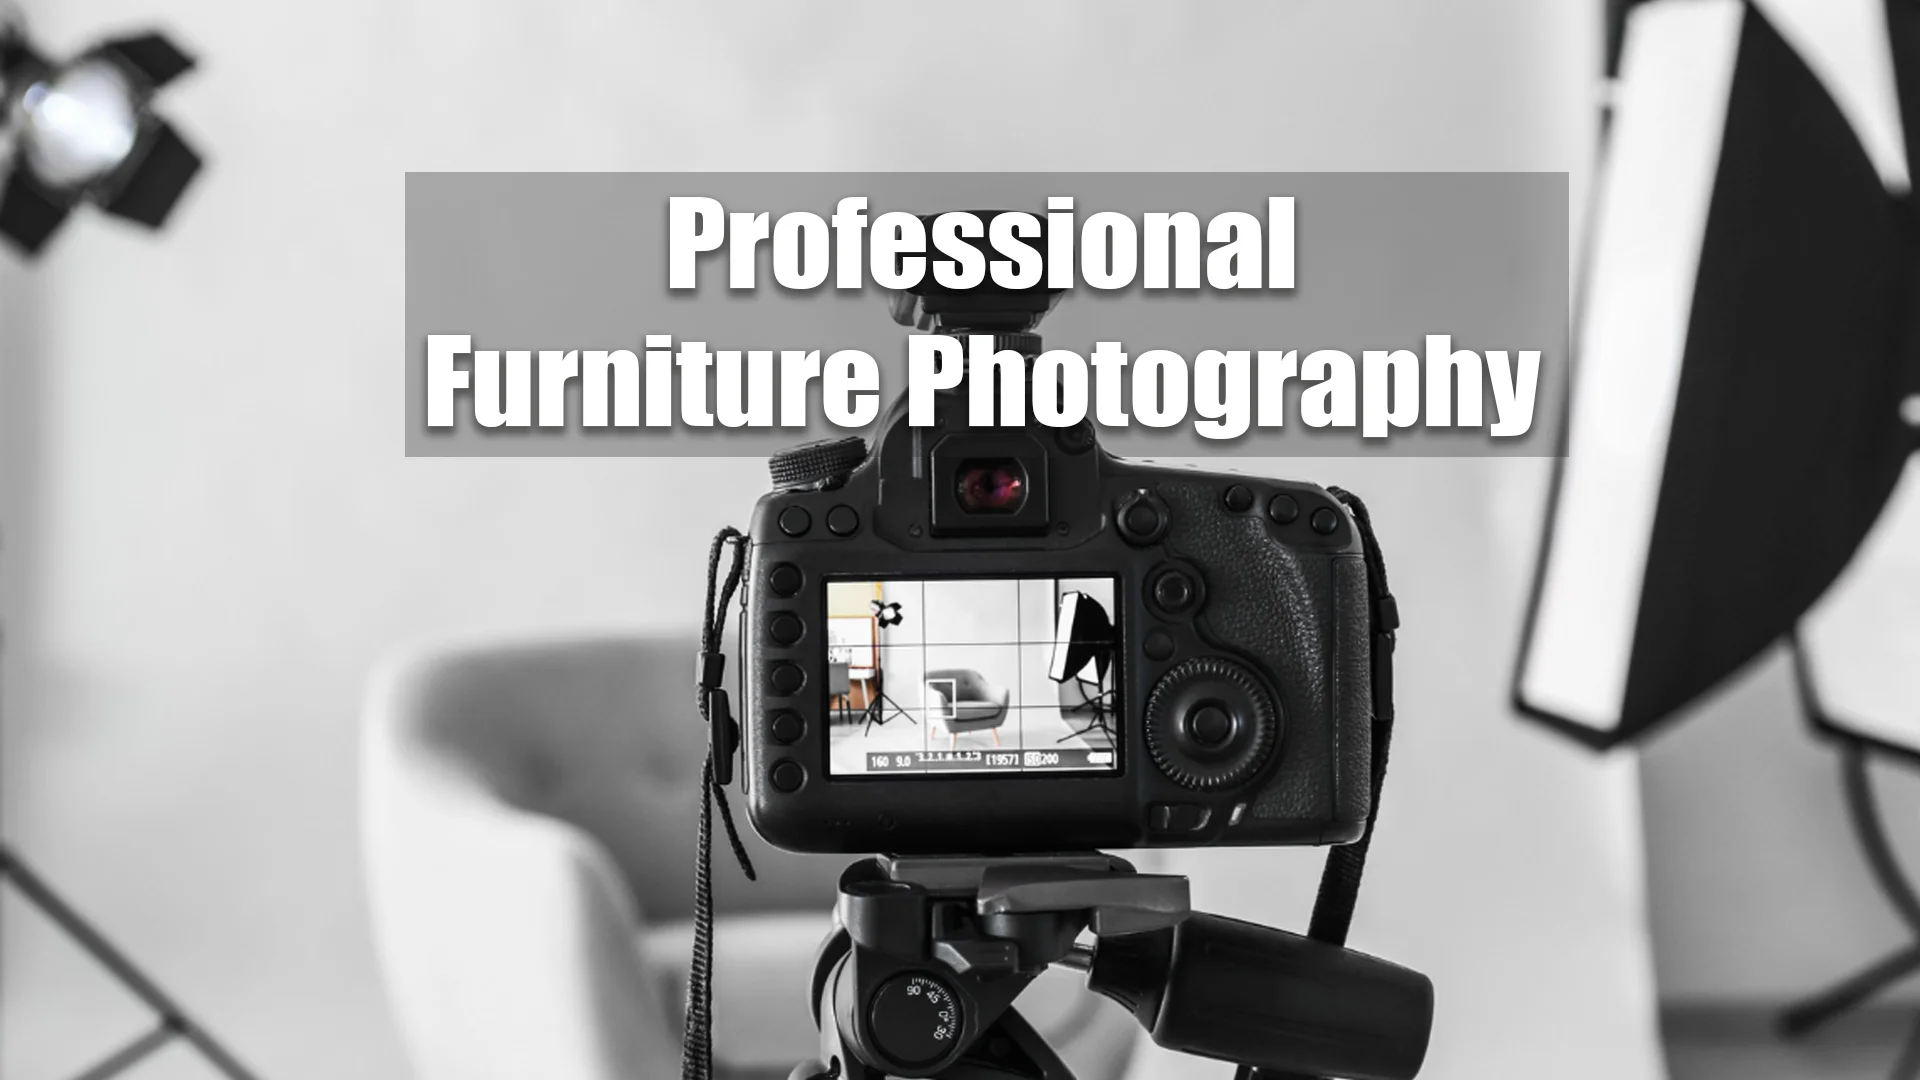
While it’s possible to take decent photos with a smartphone, investing in a good camera can elevate your furniture photography. A DSLR or mirrorless camera with a wide-angle lens is often preferred for capturing furniture. The wide-angle lens allows you to include more of the scene, making it easier to showcase larger pieces.
A tripod is another essential tool for furniture photography. It ensures stability, eliminates motion blur, and allows for consistent framing across multiple shots. For added precision, use a remote shutter release to avoid camera shake.
To emphasize the finer details of the furniture, consider using a macro lens. This type of lens is ideal for close-up shots that highlight textures, finishes, and intricate designs.

Mastering Composition
Composition is the backbone of any great photograph. In furniture photography, the goal is to guide the viewer’s eye to the most important features of the piece. The rule of thirds is a useful guideline—divide your frame into nine equal parts and position the furniture along the intersecting lines for a balanced look.
Consider the height and orientation of the furniture when composing your shot. For taller pieces like bookshelves or wardrobes, vertical compositions work well. On the other hand, horizontal compositions are better suited for sofas or dining tables.
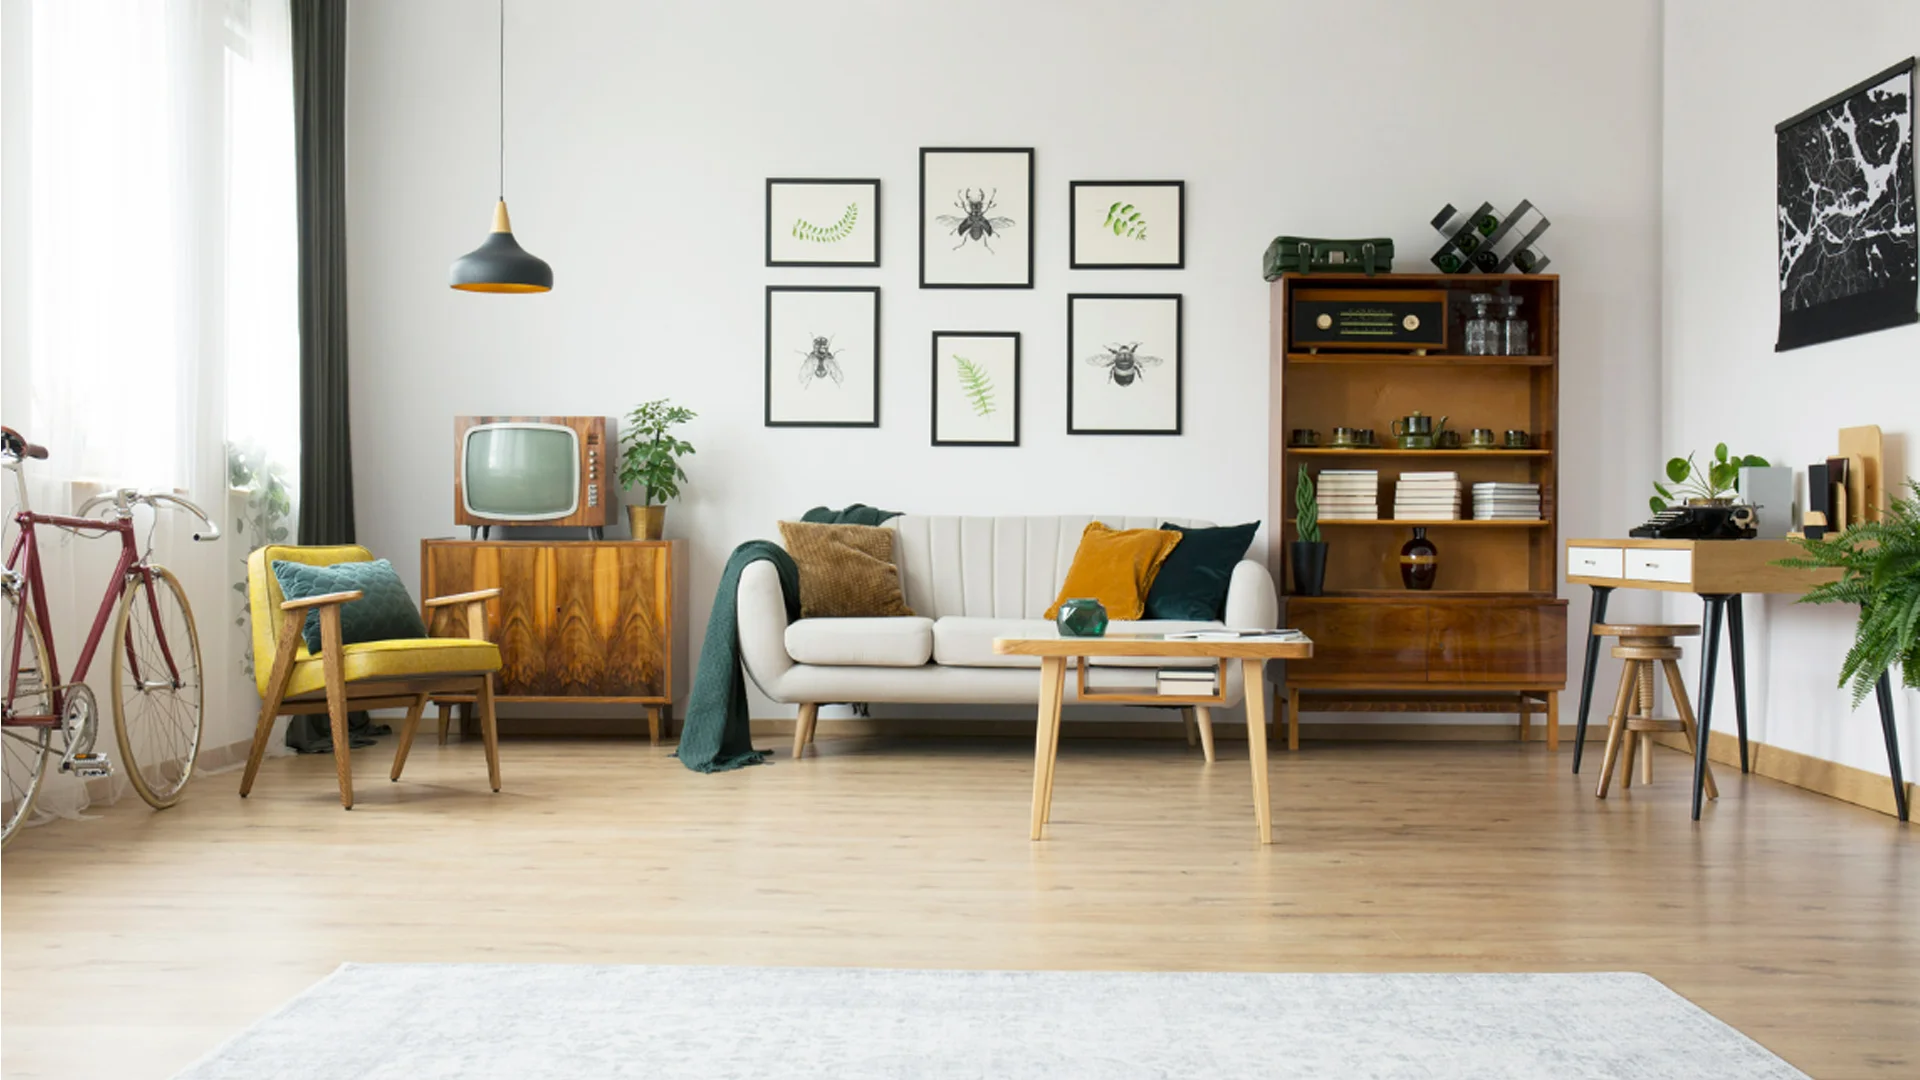
Props can also enhance furniture photography. Adding complementary items like cushions, vases, or rugs can provide context and help viewers envision the furniture in their own homes. However, be cautious not to overcrowd the frame. The furniture should remain the star of the show.
Highlighting Details and Features
Furniture photography isn’t just about capturing the whole piece; it’s also about showcasing its unique features. Take close-up shots of interesting details like hand-carved patterns, upholstery textures, or hardware finishes. These details can set your furniture apart from the competition.
Experiment with different angles to highlight the furniture’s design. For example, a low-angle shot can emphasize the height and grandeur of a tall cabinet, while an overhead shot is perfect for showcasing the surface of a dining table.

Editing for a Polished Look
Post-processing is the final step in achieving perfect furniture photography. Editing software like Adobe Lightroom or Photoshop can help enhance the colors, adjust the exposure, and remove any imperfections in the image.
Focus on maintaining the furniture’s true colors and textures during editing. Overediting can make the furniture appear unrealistic and mislead potential buyers. Subtle adjustments can go a long way in creating professional-quality images.
Adapting Techniques for Different Furniture Types
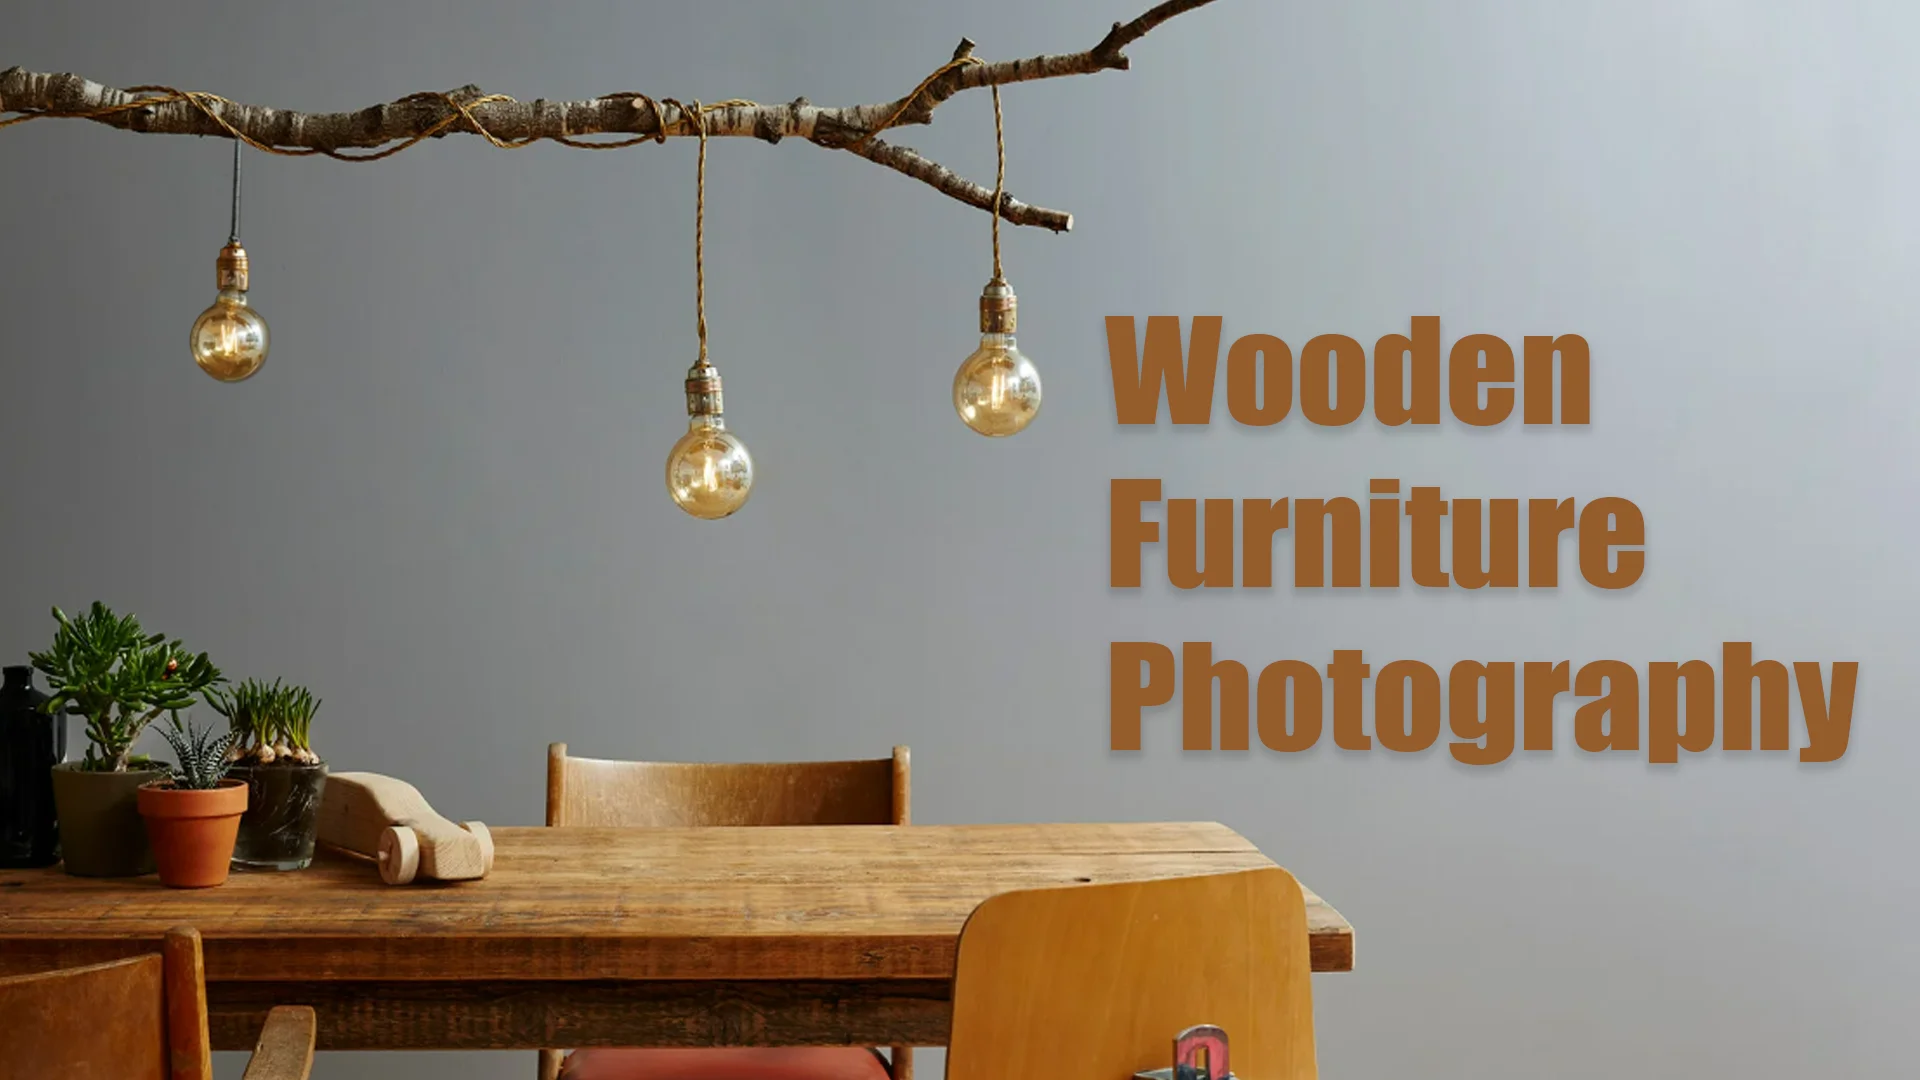
Different types of furniture require different approaches in photography. For example, photographing a glass coffee table may involve dealing with reflections and glare, while a fabric sofa might require lighting that highlights its texture. Wooden furniture often looks best under warm lighting that brings out its natural grain and tones.
Outdoor furniture photography comes with its own challenges, such as dealing with changing light conditions and ensuring the surroundings enhance the furniture. Choosing the right time of day—like early morning or late afternoon—can help achieve soft, flattering light.

Using Furniture Photography for Marketing
High-quality furniture photography is a powerful marketing tool. Use your photos to create an appealing online store, social media posts, or print catalogs. Captions and descriptions should complement the images, providing additional information about the furniture’s materials, dimensions, and features.
For e-commerce platforms, consider uploading multiple angles of each piece, including close-ups. Interactive features like 360-degree views can further enhance the shopping experience and boost buyer confidence.
Conclusion
Mastering furniture photography requires a combination of technical knowledge, creativity, and patience. By choosing the right equipment, using the best lighting, experimenting with angles, and focusing on details, you can create stunning images that bring out the beauty and craftsmanship of the furniture you’re capturing. With practice, your furniture photography skills will elevate your work, whether you’re shooting for a client, an online store, or your own portfolio. Keep experimenting, and soon you’ll be taking perfect shots that truly do justice to the stunning pieces you’re photographing.
Frequently Asked Questions (FAQs)
Why is furniture photography important for online sales?
Furniture photography helps potential buyers visualize the product, build trust, and make informed decisions. High-quality images can significantly increase sales and customer satisfaction.
What type of camera is best for furniture photography?
A DSLR or mirrorless camera with a wide-angle lens is ideal for furniture photography. These cameras provide high resolution and better control over settings.
How can I reduce glare when photographing glass furniture?
Use soft lighting, polarizing filters, and position the camera at an angle to minimize reflections and glare.
What are some common mistakes to avoid in furniture photography?
Avoid poor lighting, cluttered backgrounds, and misaligned compositions. Ensure the furniture is clean and free of imperfections before shooting.
How can I showcase the texture of fabric furniture?
Use side lighting to create shadows that emphasize the texture. Close-up shots can also highlight fabric details effectively.
Can I use my smartphone for furniture photography?
Yes, modern smartphones with good cameras can produce decent results. However, for professional-quality images, a DSLR or mirrorless camera is recommended.