If you’ve ever wondered how some interior photography looks so flawless—capturing the perfect angles, lighting, and mood—you’re not alone. Interior photography, when done right, can make even the most ordinary rooms look like they belong in a high-end design magazine. Whether you’re a real estate agent, an interior designer, or just someone who wants to improve their photography skills, mastering the art of interior photography is key. In this article, we’ll explore ten expert tips that will help you elevate your interior photography to a professional level.
Understanding the Importance of Interior Photography
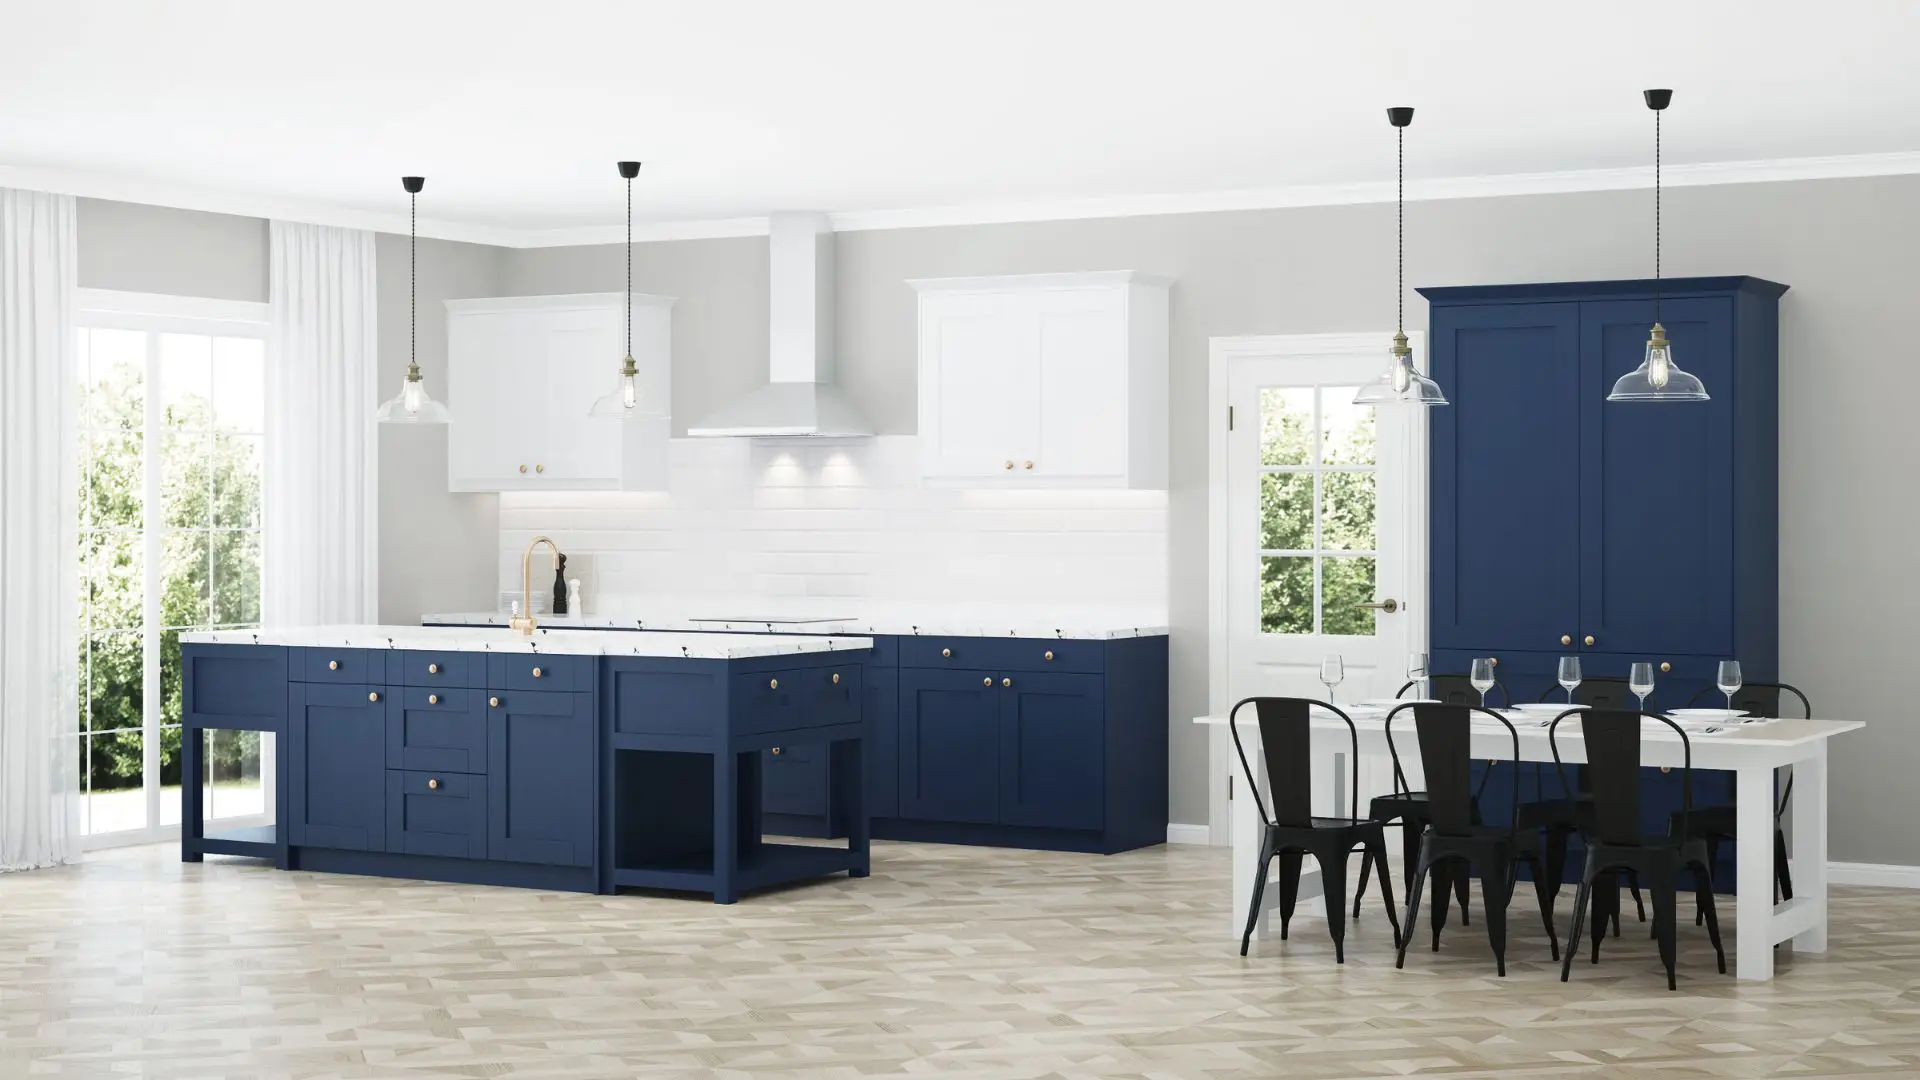
Interior photography is all about capturing spaces in a way that tells a compelling visual story. Great interior photography doesn’t just show what a space looks like—it conveys how it feels. The lighting, angles, and even the colors you choose can completely change how a room is perceived. For business owners, interior photography can be the difference between attracting a client or losing one. For real estate agents, high-quality interior photos can help sell a property faster and for a higher price.
So, whether you’re trying to sell a property, showcase an interior design project, or simply improve your photography portfolio, professional-level interior photography can give you an edge. Let’s dive into the essential tips that will help you master this skill.
Tip 1: Invest in the Right Equipment
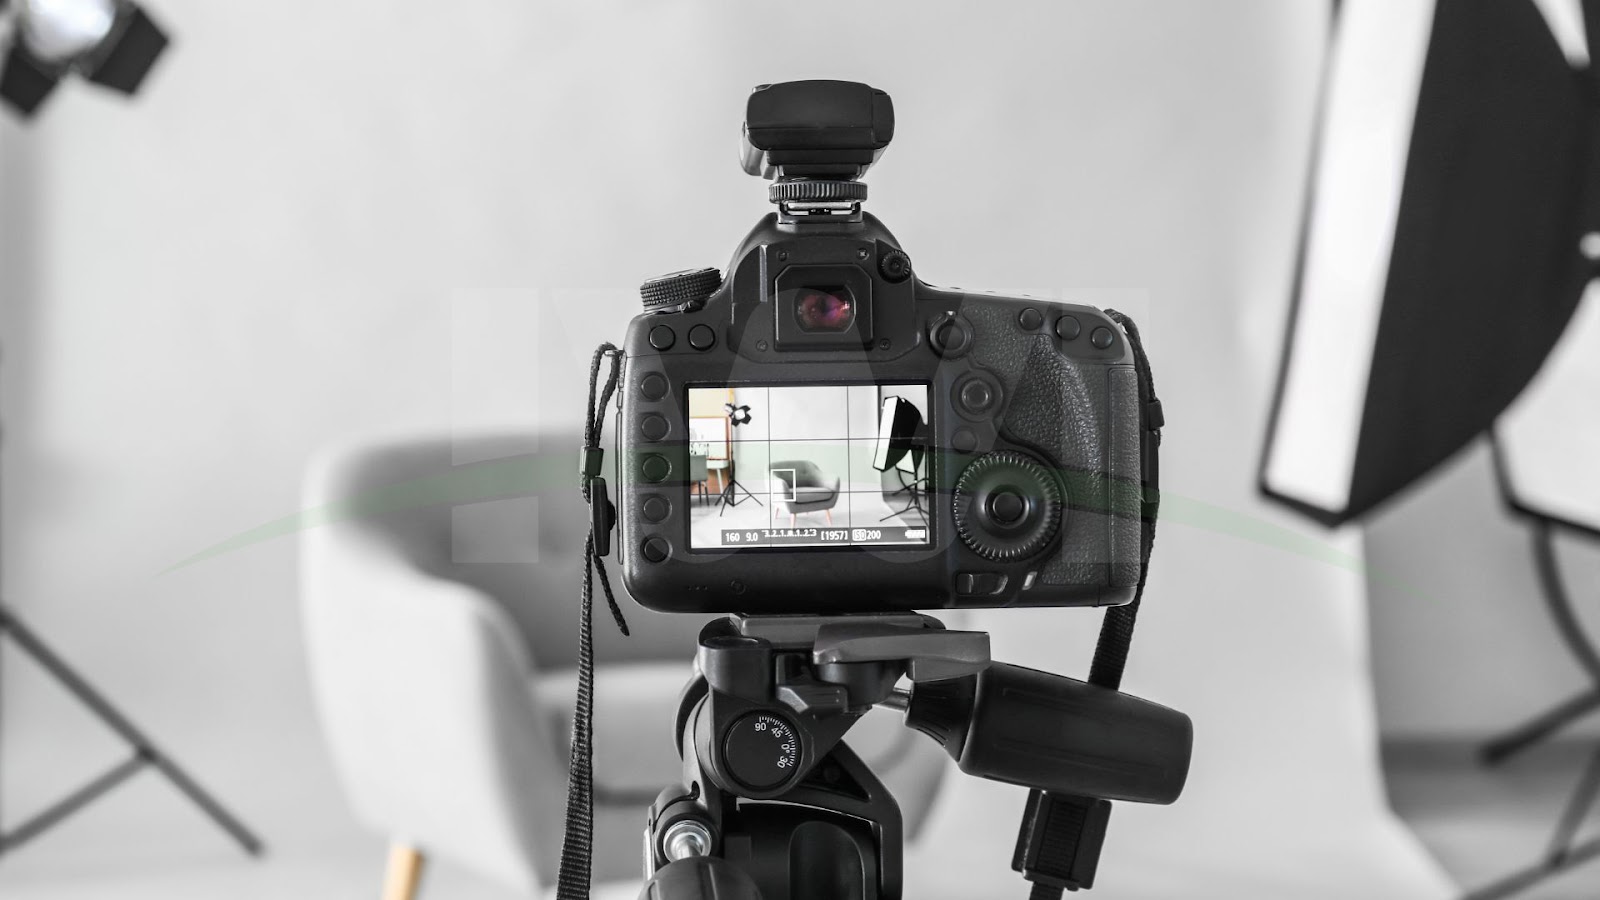
To get professional-level results, you need the right gear for interior photography. While it’s possible to capture decent shots with a smartphone, nothing beats the versatility and control offered by a DSLR or mirrorless camera. A camera with a wide-angle lens, such as a 16-35mm, is especially useful in interior photography. It allows you to capture a larger portion of the room and helps create a sense of spaciousness.
In addition to the camera and lens, you’ll also want to invest in a tripod. A tripod ensures your camera remains stable, preventing blurry photos due to long exposure times, which are common when working with low light in interior photography. A remote shutter release or using your camera’s timer function can also help you avoid any camera shake when taking the shot.
Tip 2: Use Natural Light to Your Advantage
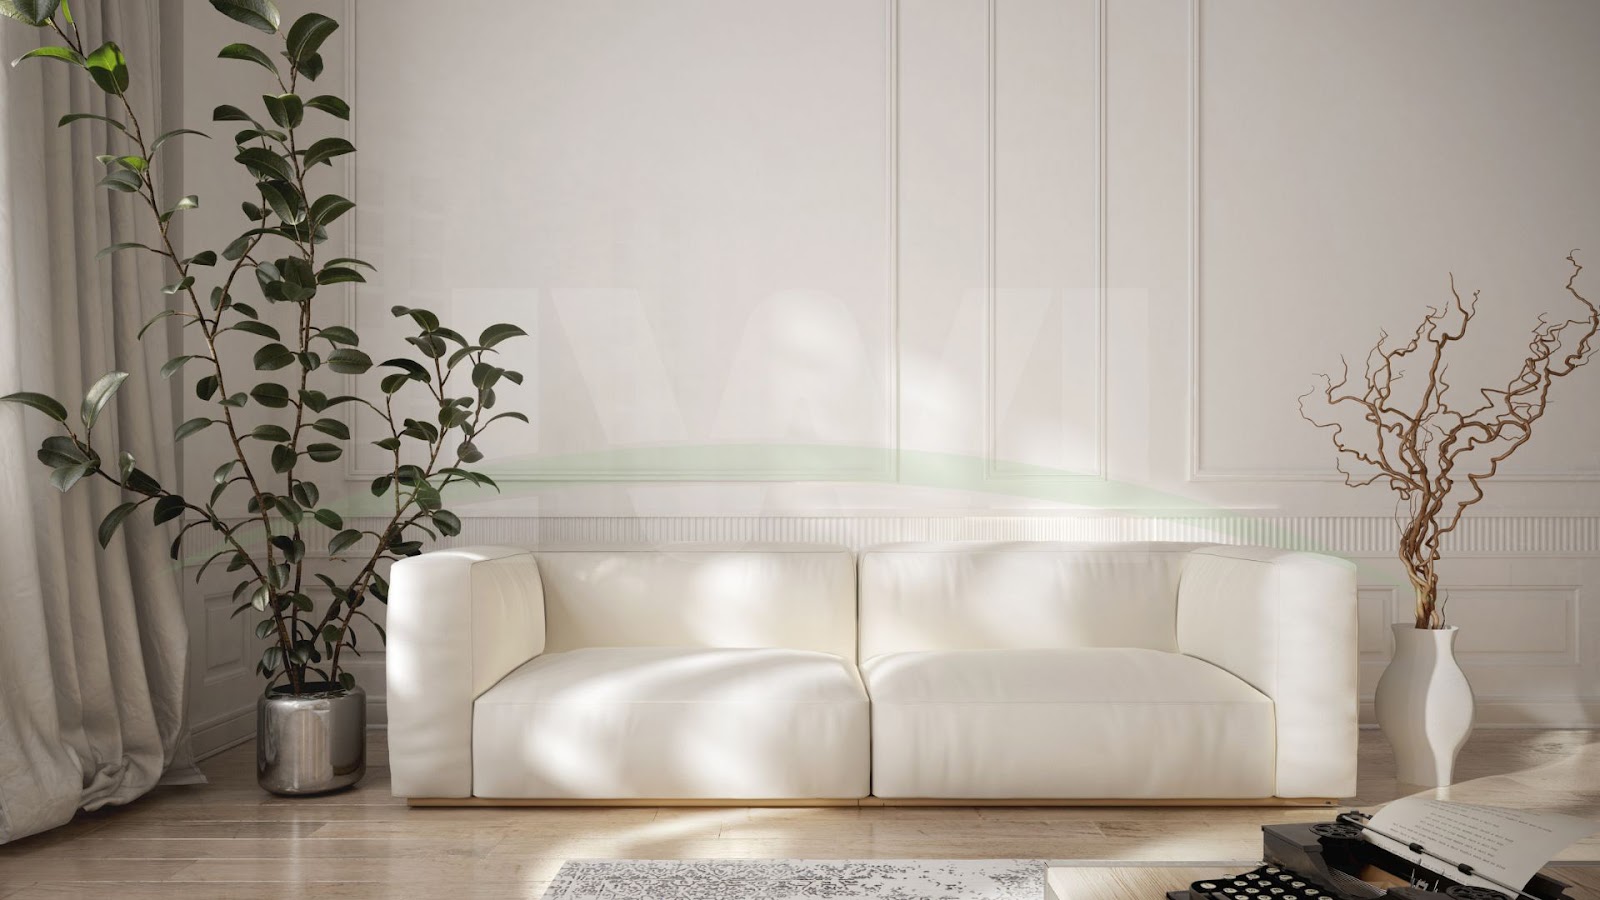
Natural light is one of the most effective tools for creating a professional look in your interior photography. Whenever possible, try to work with natural light to illuminate the space. Open the curtains or blinds to let in as much light as possible. Early morning or late afternoon, when the sunlight is softer, is an ideal time to shoot.
In some cases, artificial light might be necessary to brighten up dark areas or balance out shadows. However, the key to great interior photography is to ensure that the natural light still plays a significant role in your composition. Avoid harsh, direct sunlight, as it can create distracting shadows or cause overexposure.
Tip 3: Master Composition and Framing
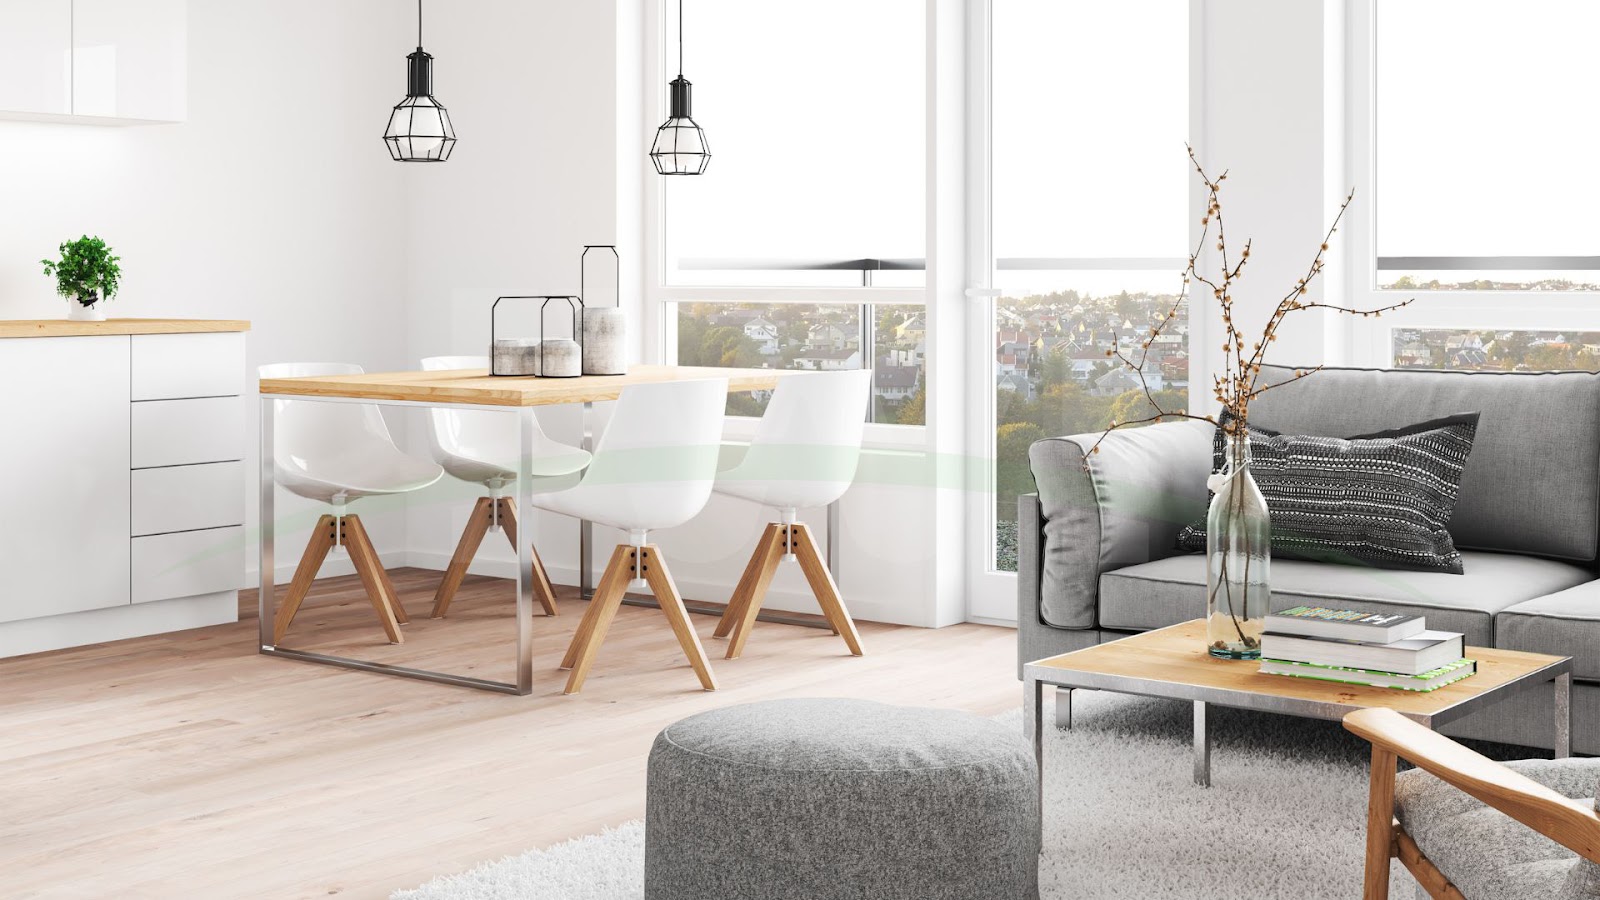
Composition plays a critical role in interior photography. The way you frame the shot can dramatically impact the viewer’s perception of the space. One of the most important aspects of composition is creating balance. A well-balanced shot gives a sense of harmony and professionalism.
You can achieve balance by using the rule of thirds, where you mentally divide the frame into nine equal parts and place key elements along those lines. In interior photography, try to frame the shot so that the key furniture pieces or design elements are placed strategically within the composition. Avoid cluttered images and instead focus on clean, well-structured shots.
Tip 4: Shoot at Eye Level for Realism
One of the easiest ways to make your interior photos appear more professional is to shoot from eye level. This perspective creates a more natural, realistic look. If you’re photographing a living room, for instance, get down to the level of the sofa or chair. This simple trick gives the viewer the feeling of being inside the room, making the space feel more inviting.
If the space has high ceilings, consider shooting from a higher angle to emphasize the volume and height of the room. A combination of different perspectives will add variety and interest to your interior photography.
Tip 5: Pay Attention to Details
Professional interior photography is all about capturing the small details that bring the room to life. Before you start shooting, take a moment to tidy up the space. Remove any clutter, straighten pillows, and ensure that decorative objects are neatly arranged. These small adjustments can make a big difference in the final result.
When you photograph a room, focus on elements that add character and style, such as unique furniture pieces, textured fabrics, or interesting lighting fixtures. These details contribute to the overall mood of the photo and can highlight the design style of the space.
Tip 6: Control the Exposure
Getting the right exposure in interior photography can be tricky, especially in rooms with mixed lighting conditions. You might have bright natural light coming through the windows, but darker corners in the room. To achieve balanced exposure, use your camera’s manual settings and adjust the aperture, shutter speed, and ISO accordingly.
A good rule of thumb is to start with a small aperture (around f/8 or f/11) for maximum depth of field. This ensures that the entire room, from foreground to background, stays in focus. If you’re shooting in low light, you can increase the ISO, but be mindful that higher ISO settings can introduce noise into the image.
Tip 7: Use a Wide-Angle Lens for Spaciousness
One of the hallmarks of professional interior photography is the ability to make a space look larger than life. To achieve this, a wide-angle lens is essential. A lens in the range of 16-35mm is perfect for shooting interiors, especially smaller spaces, as it allows you to capture more of the room in one shot.
Be cautious not to overdo it with wide angles, though. Excessive distortion can make your photos look unnatural. Use the lens to capture as much of the room as possible while still keeping the proportions accurate.

Tip 8: Edit Your Photos Carefully
Once you’ve captured your interior shots, it’s time to enhance them with editing. Post-processing is a critical step in professional interior photography. Use photo editing software, like Adobe Lightroom or Photoshop, to adjust the exposure, white balance, and contrast of your images.
Don’t overdo the edits; aim to enhance the photo’s natural beauty rather than completely changing the way the room looks. Pay close attention to the color temperature and make sure that the image reflects the true ambiance of the space. A well-edited photo can elevate your interior photography and make it look more polished.
Tip 9: Experiment with Different Angles
While it’s essential to get standard shots that show the entire room, don’t be afraid to get creative with your angles. Take a step back and capture wide-angle shots to convey the scale of the room, but also try shooting from a lower or higher angle to highlight unique features of the space. Close-up shots of design details, such as a beautiful chair or a cozy corner, can also add variety to your portfolio.
By experimenting with different angles and perspectives, you give the viewer a more comprehensive view of the space. This technique adds depth and dimension to your interior photography.
Tip 10: Keep Practicing and Learning
Interior photography, like any other skill, requires practice. Don’t be discouraged if your first few shots don’t turn out perfectly. Keep experimenting with different settings, lighting conditions, and compositions. As you gain more experience, you’ll develop an intuitive sense of what works and what doesn’t.
Taking the time to study professional interior photographers and analyze their work can also help you improve your skills. Over time, you’ll develop your own style and approach to interior photography.
Conclusion
Mastering interior photography requires a blend of technical expertise, artistic vision, and attention to detail. By focusing on lighting, composition, and post-processing, you can elevate your skills and produce professional-level images that captivate viewers. Whether you’re shooting for real estate, interior design, or personal projects, these tips will help you create stunning photographs that highlight the beauty of any space. With practice and dedication, you’ll be able to take your interior photography to the next level.
Frequently Asked Questions (FAQs)
Do I need a professional camera to take good interior photos?
While a professional camera offers more control over your shots, it’s not absolutely necessary. With the right techniques and composition, you can capture great photos with a smartphone, although a DSLR or mirrorless camera will provide higher quality and more flexibility.
How can I make a small room look larger in photos?
Use a wide-angle lens, shoot from a corner of the room, and make sure to keep the horizon level. Avoid cluttering the space with too many items, as this can make the room appear cramped.
How do I balance artificial and natural light in interior photography?
Start by using natural light as much as possible, and supplement with artificial light only when necessary. Adjust your camera settings to ensure the exposure is balanced, and avoid overexposing the windows while keeping the darker areas visible.
What editing software should I use for interior photography?
Adobe Lightroom and Photoshop are two of the most popular photo editing tools for interior photographers. Both allow you to adjust exposure, color, and contrast, among other settings, to enhance your photos.
How do I avoid lens distortion in wide-angle shots?
To reduce distortion, avoid placing your camera too close to the subject. Additionally, make sure your camera is level and not tilted up or down, as this can cause lines to appear curved.
What time of day is best for interior photography?
Natural light is usually softest in the early morning or late afternoon. This “golden hour” light can create beautiful, warm tones that enhance the mood of your photos. If you’re shooting in a room with lots of windows, these times offer the best lighting.