When it comes to capturing the essence of furniture, whether for online listings, catalogs, or your personal portfolio, mastering furniture photography is crucial. A well-executed photograph not only showcases the beauty of the piece but also conveys its features, design, and function. If you’re looking to improve your photography skills, this furniture photography tutorial will guide you through every step of the process. Whether you’re a beginner or looking to refine your skills, by the end of this article, you’ll have a comprehensive understanding of how to photograph furniture in a way that attracts attention and enhances the selling potential of each piece.
Understanding Furniture Photography
Furniture photography plays a significant role in the visual presentation of furniture. Imagine shopping for a new couch, desk, or dining table online. What’s the first thing you notice? The photos. Without high-quality and detailed images, potential buyers might not be able to appreciate the design or features of the item. A furniture photography tutorial is essential for anyone wanting to showcase their furniture products effectively. It highlights techniques that help to represent the furniture in the best possible light.
Great furniture photos are not just about showing the object clearly; they’re about creating an experience. They need to tell a story of comfort, functionality, and style. In this furniture photography tutorial, we will explore how to use lighting, camera settings, and composition to ensure you achieve professional-looking photographs that are not only aesthetically pleasing but also functional in selling your products.
Choosing the Right Equipment
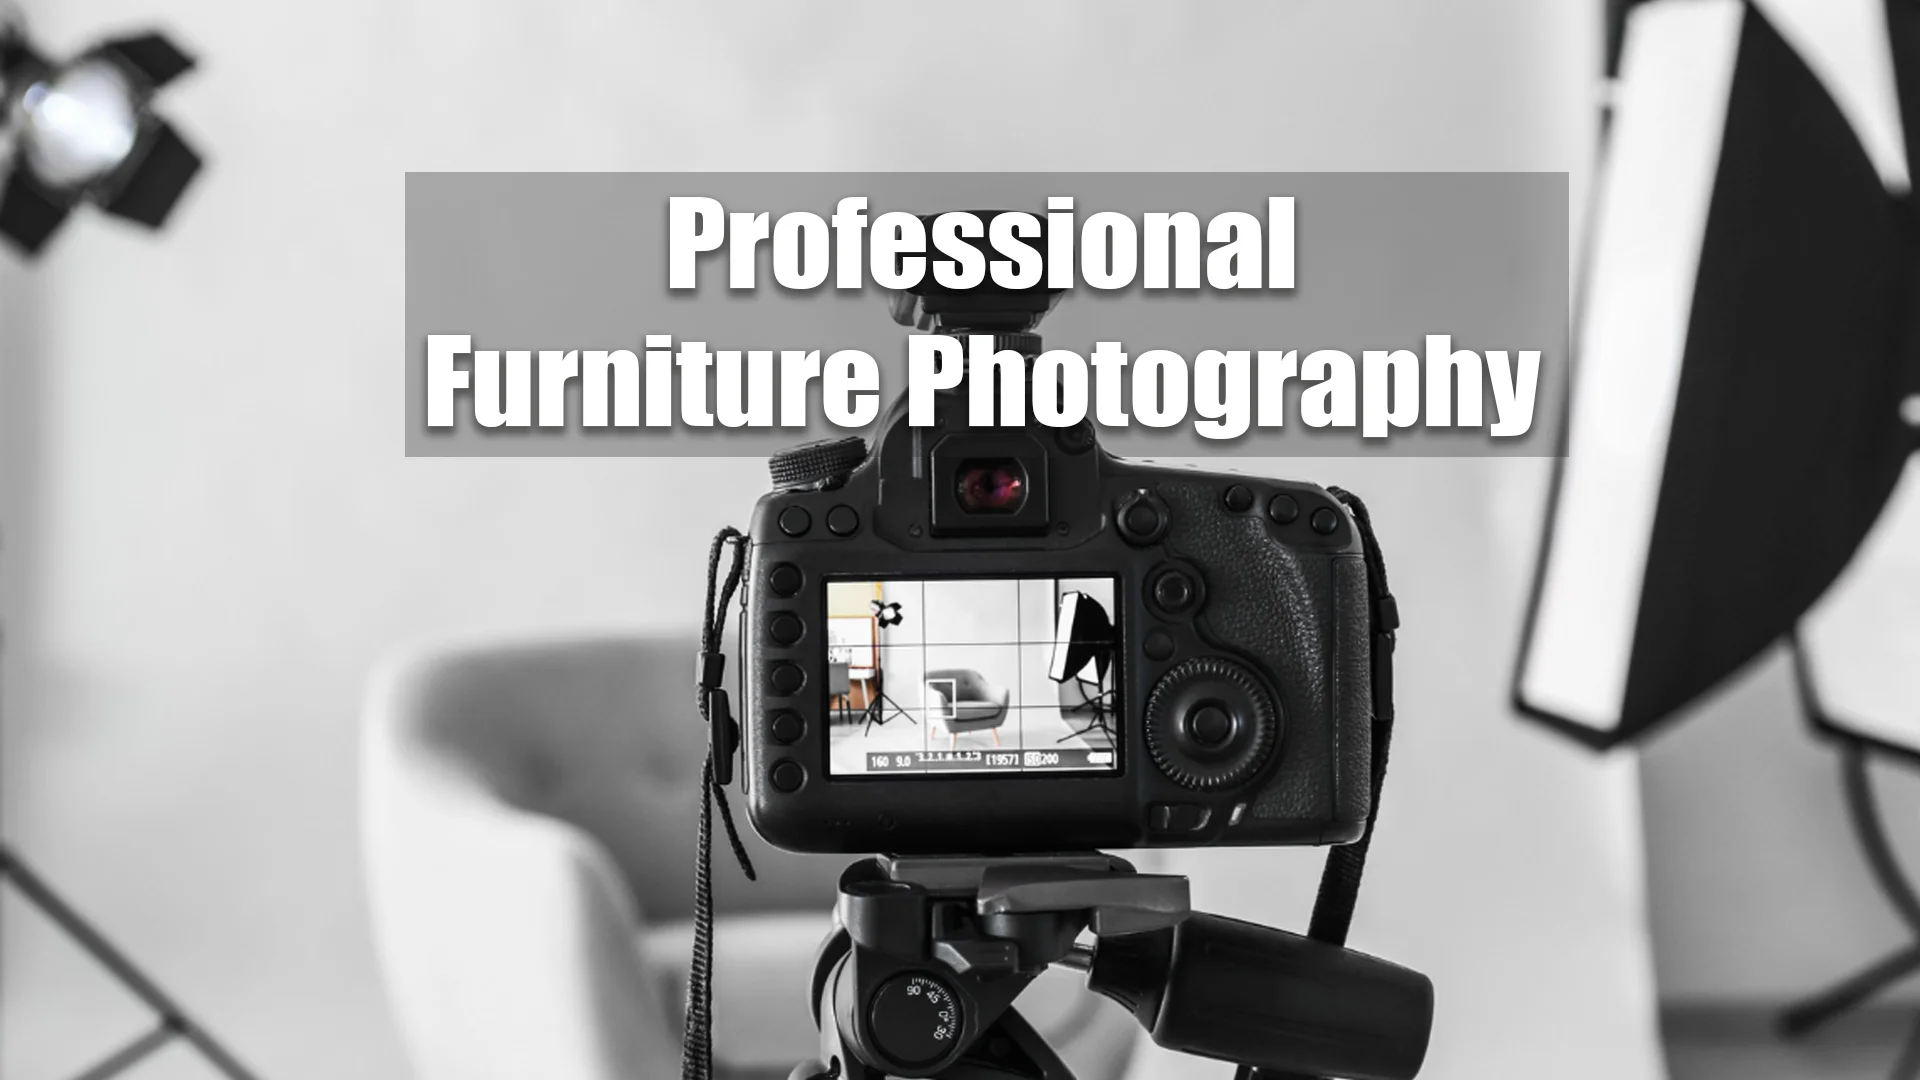
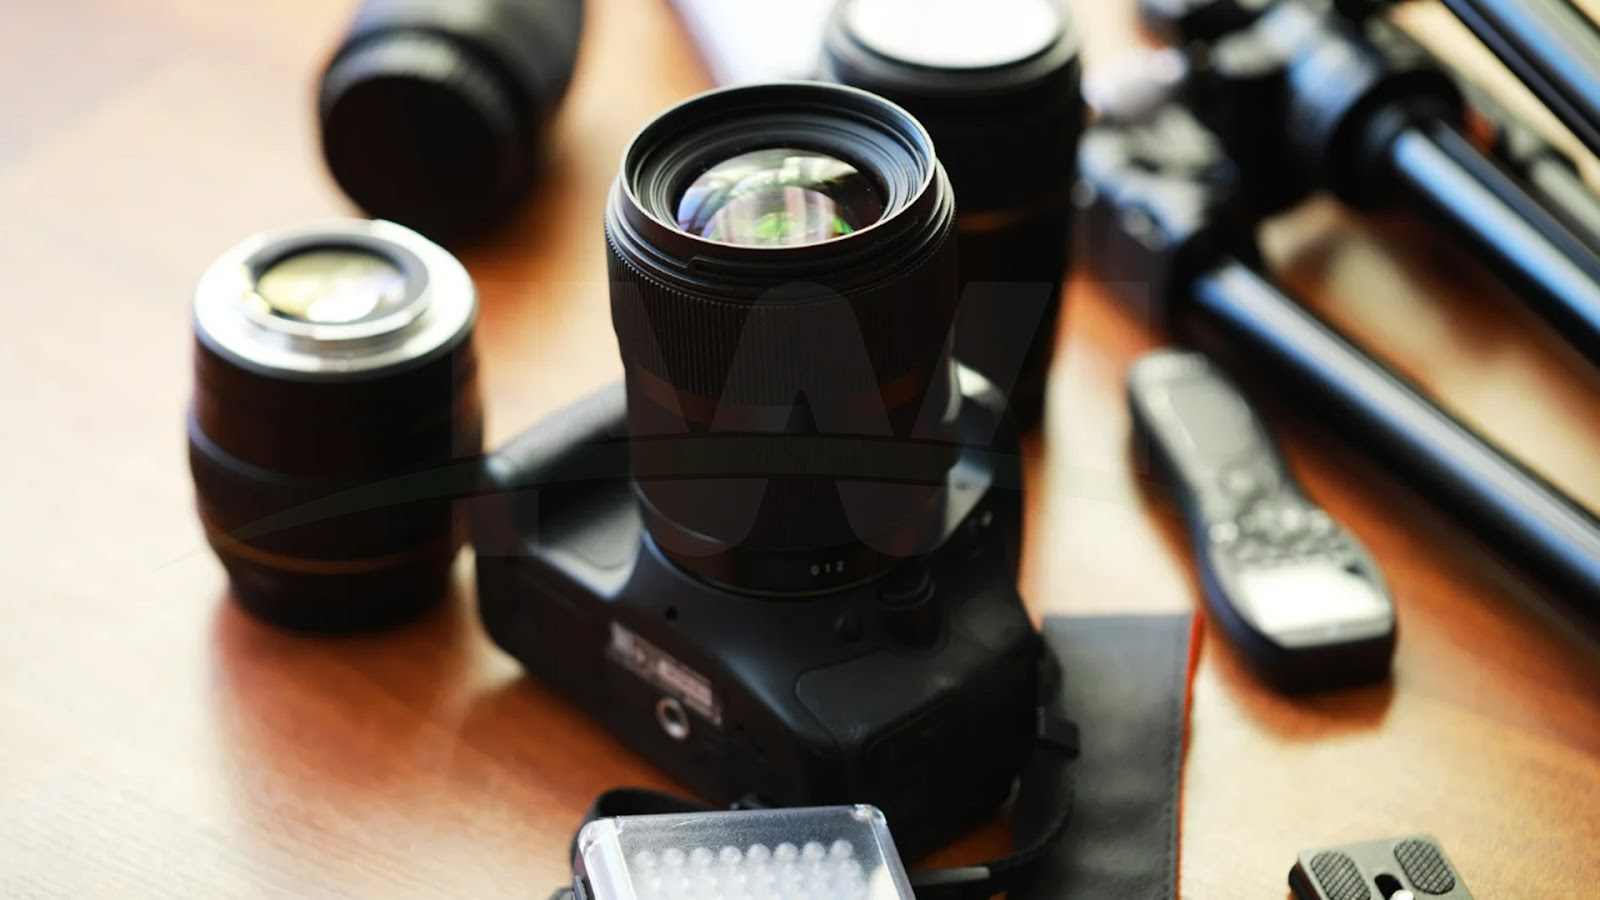
A good furniture photography tutorial always begins with the right tools. You don’t need the most expensive gear, but having the right camera and accessories can make a huge difference. A DSLR or mirrorless camera with a high-resolution sensor is ideal for capturing fine details. A wide-angle lens can help in shooting larger pieces, while a macro lens is great for close-up shots of textures and finishes.
Tripods are essential for stability and consistency, especially when shooting from multiple angles. A remote shutter or timer function helps reduce vibrations, ensuring sharp images. While smartphones with advanced cameras can be useful, professional cameras provide greater control over lighting and depth.
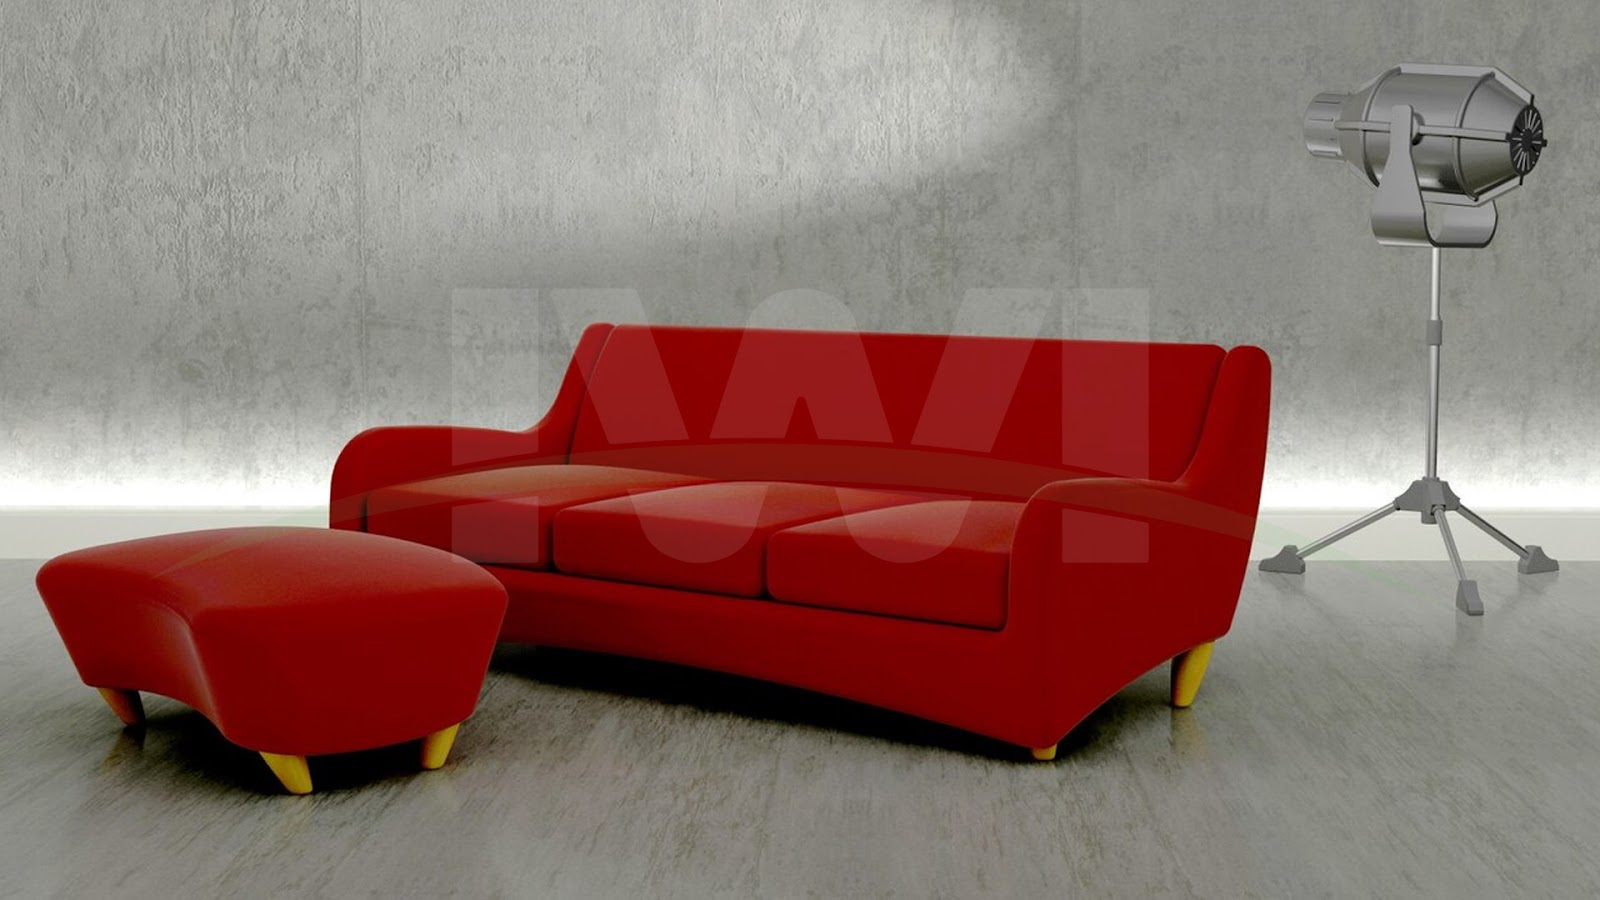
Setting Up the Perfect Lighting
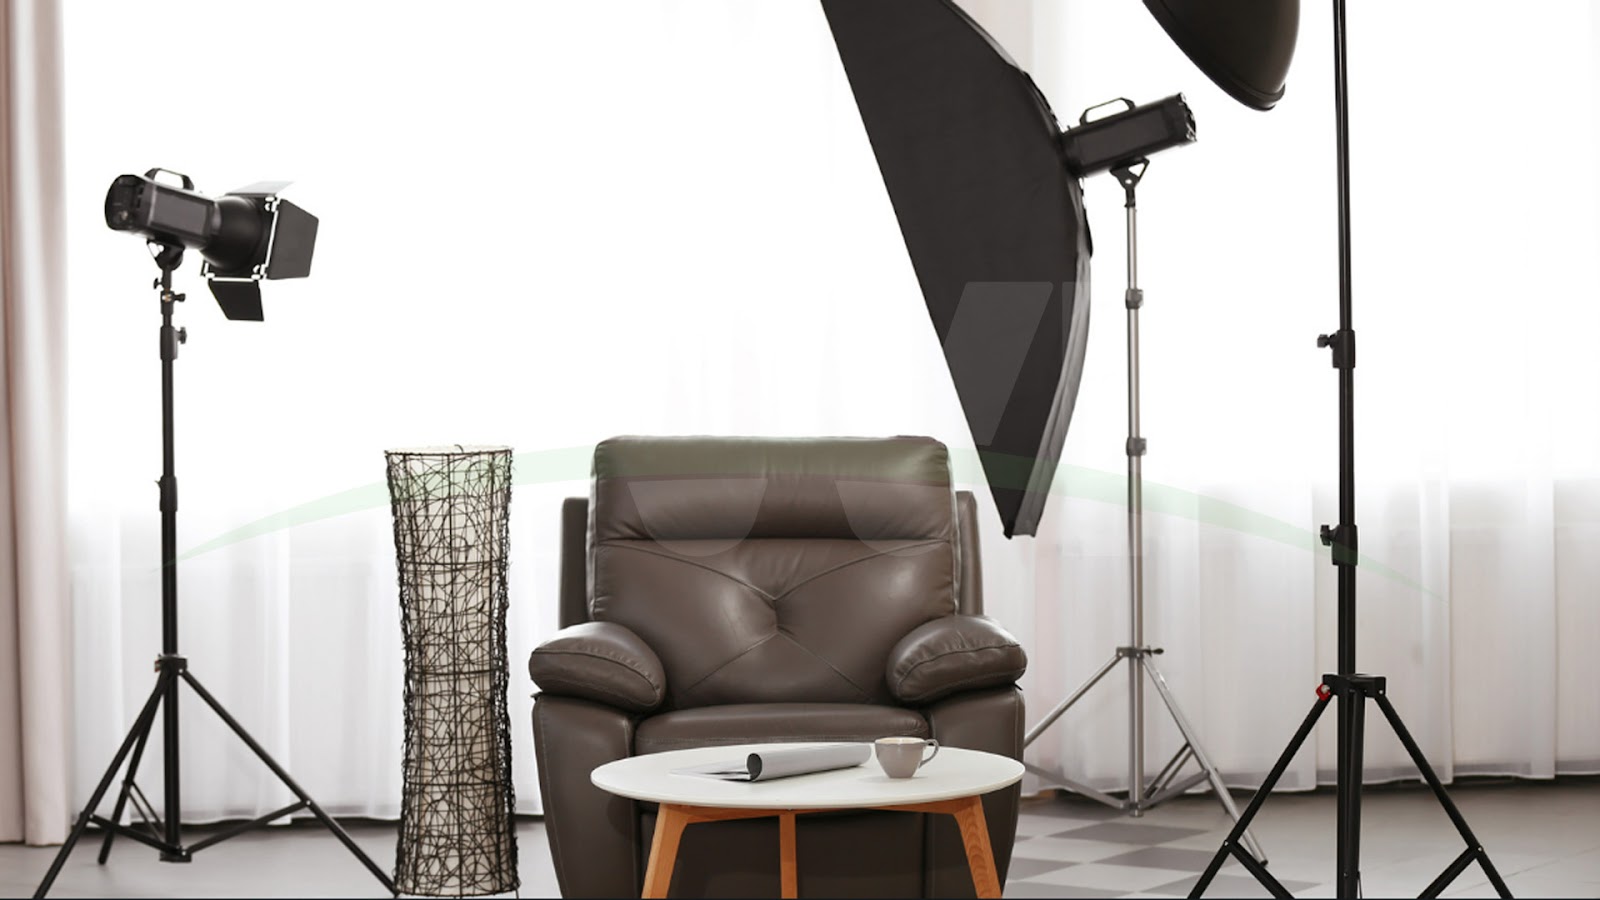
Lighting plays a crucial role in furniture photography. The best light source is natural light, preferably soft and diffused. Shooting near a large window with sheer curtains can create a beautiful, even glow. Avoid direct sunlight, as it creates harsh shadows and highlights.
Artificial lighting, such as softbox lights or LED panels, can help in controlled environments. Using reflectors and diffusers will balance out harsh shadows, making the furniture appear more polished and attractive. Experimenting with different lighting angles helps highlight the textures and design elements of the furniture.
Choosing the Best Background
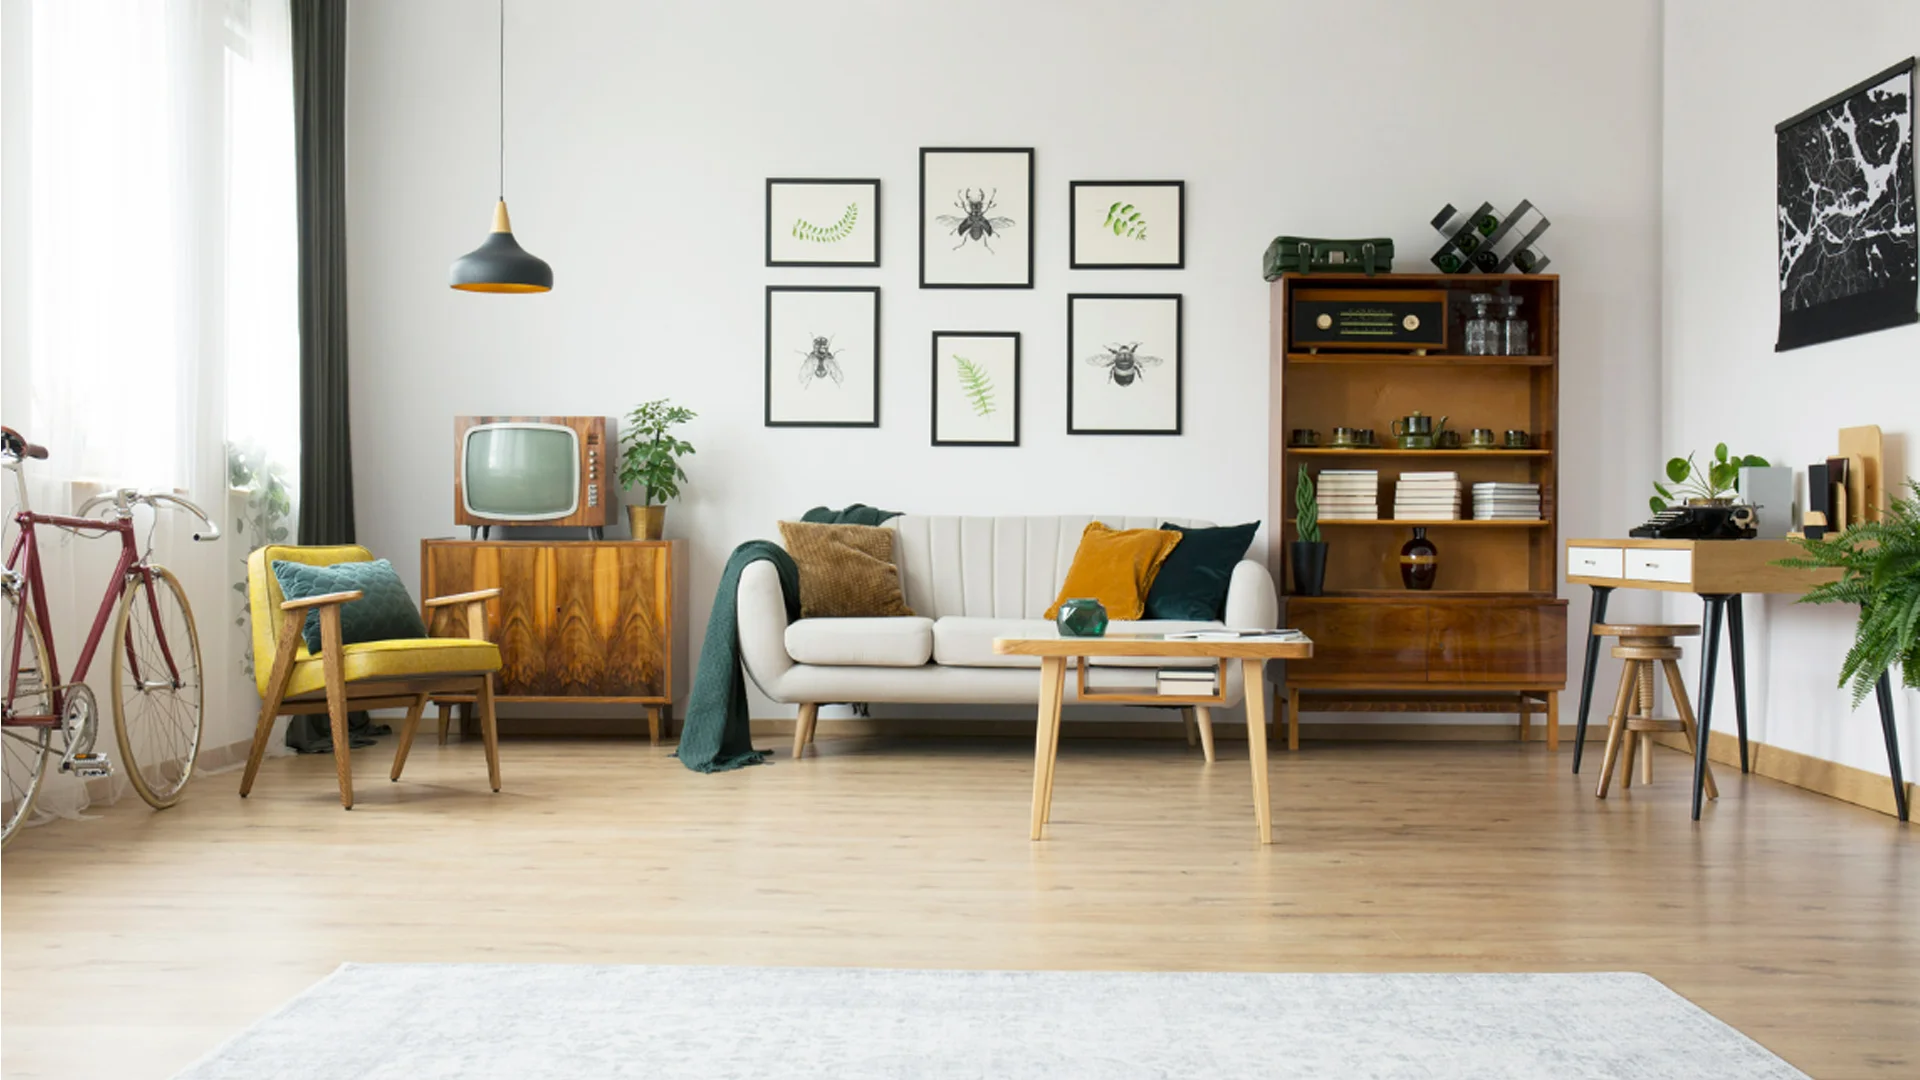
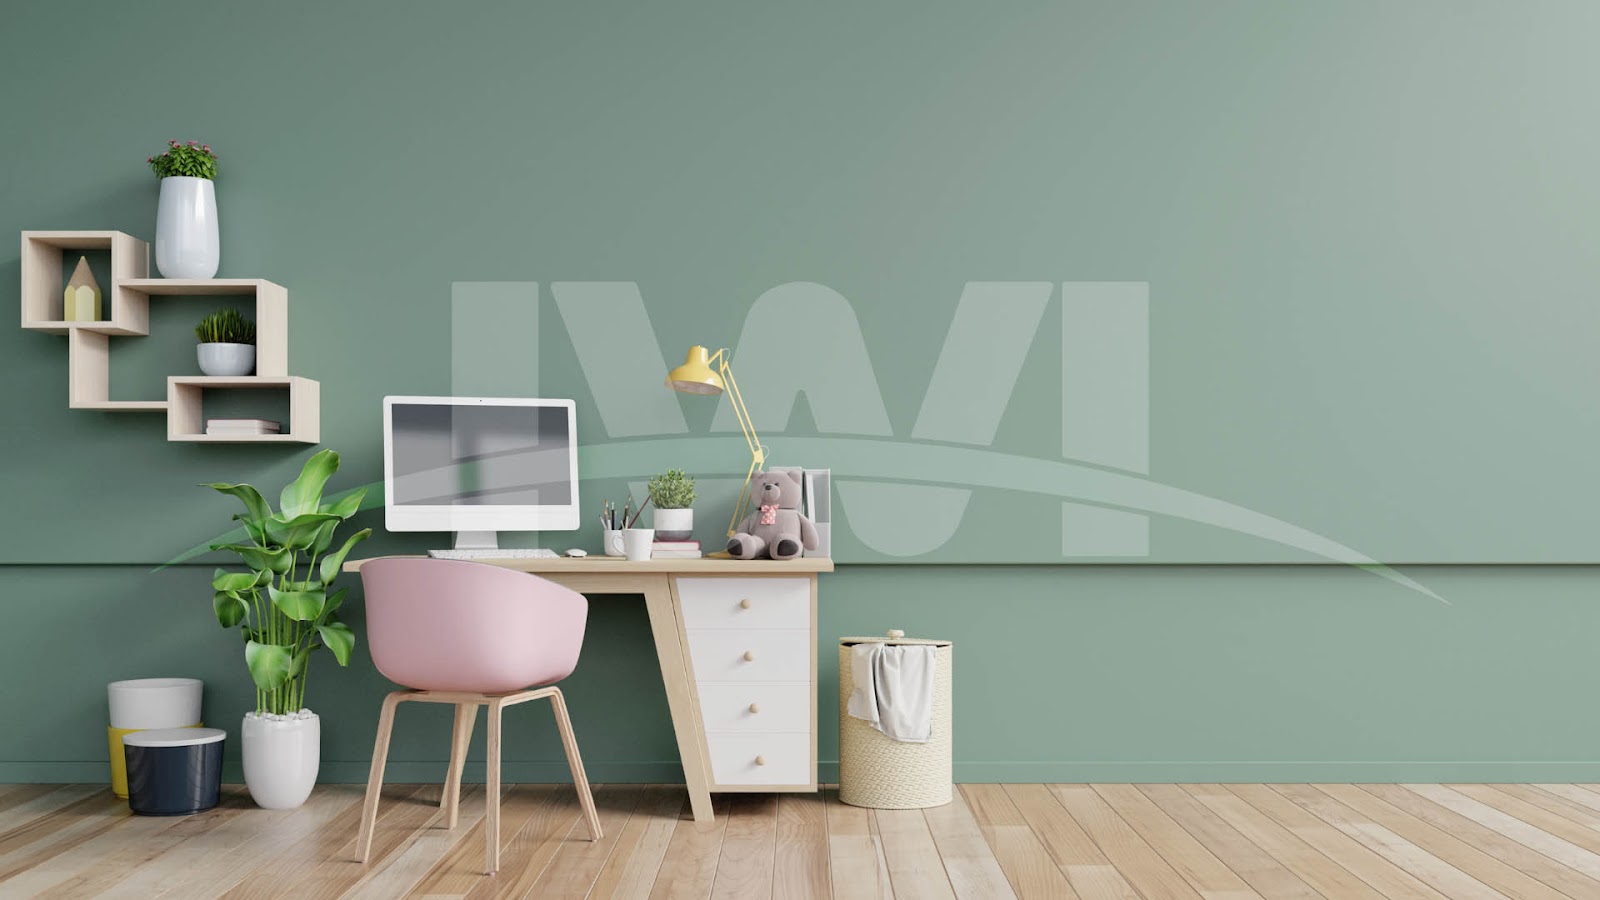
The background of your furniture photos should complement the subject rather than distract from it. A plain, neutral background works best, as it keeps the focus on the furniture. White, grey, or pastel shades enhance the furniture’s color and texture without overpowering the scene.
For a lifestyle feel, staging furniture in a well-decorated room can make it more appealing to buyers. However, ensure that the surrounding elements do not clutter the composition. A clean, well-organized setting allows the furniture to be the star of the photo.
Positioning and Composition
Composition is the key to engaging furniture photography tutorial images. Positioning furniture correctly within the frame ensures balance and appeal. The rule of thirds, a popular photography technique, helps in creating a visually appealing composition.
Experimenting with angles is also important. Shooting from eye level is ideal for a natural perspective, while a slightly lower angle can make the furniture look more grand and imposing. Close-up shots focusing on unique design features, textures, and craftsmanship add depth to the photos.
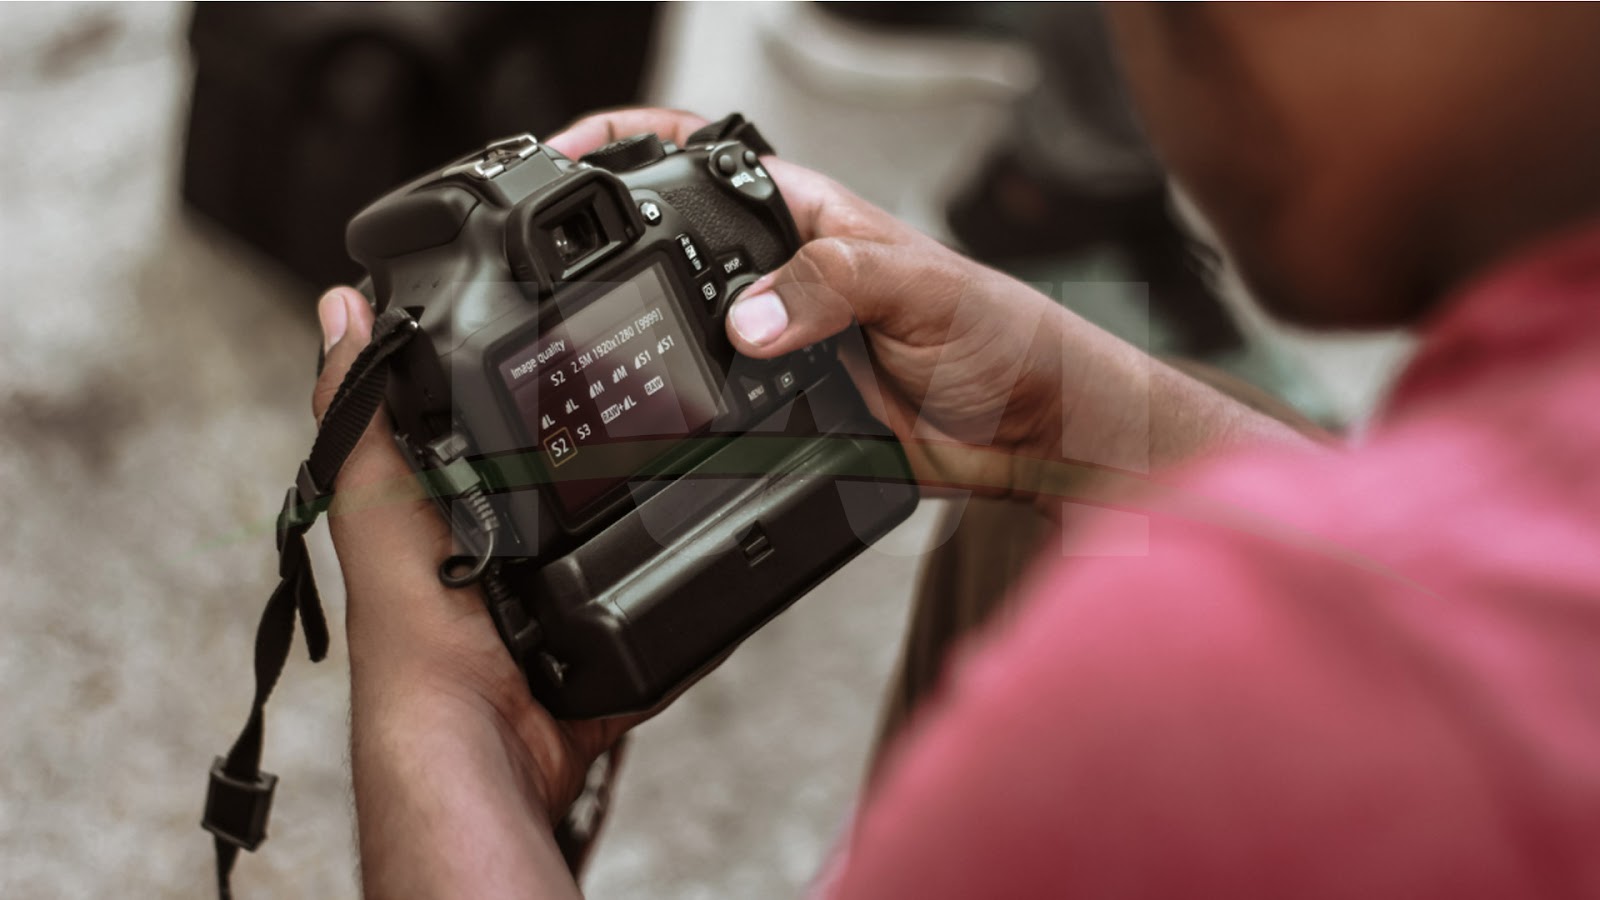
Camera Settings for the Best Results
Adjusting the right camera settings ensures your furniture photos are sharp and well-exposed. A lower ISO (between 100-400) reduces noise and keeps the image crisp. A small aperture (f/8 to f/16) maintains sharpness across the entire furniture piece.
Using a slower shutter speed (with a tripod) helps capture more light, especially in indoor settings. The white balance should match the lighting conditions to keep the colors accurate. Taking test shots and adjusting settings accordingly will help achieve the best possible results.
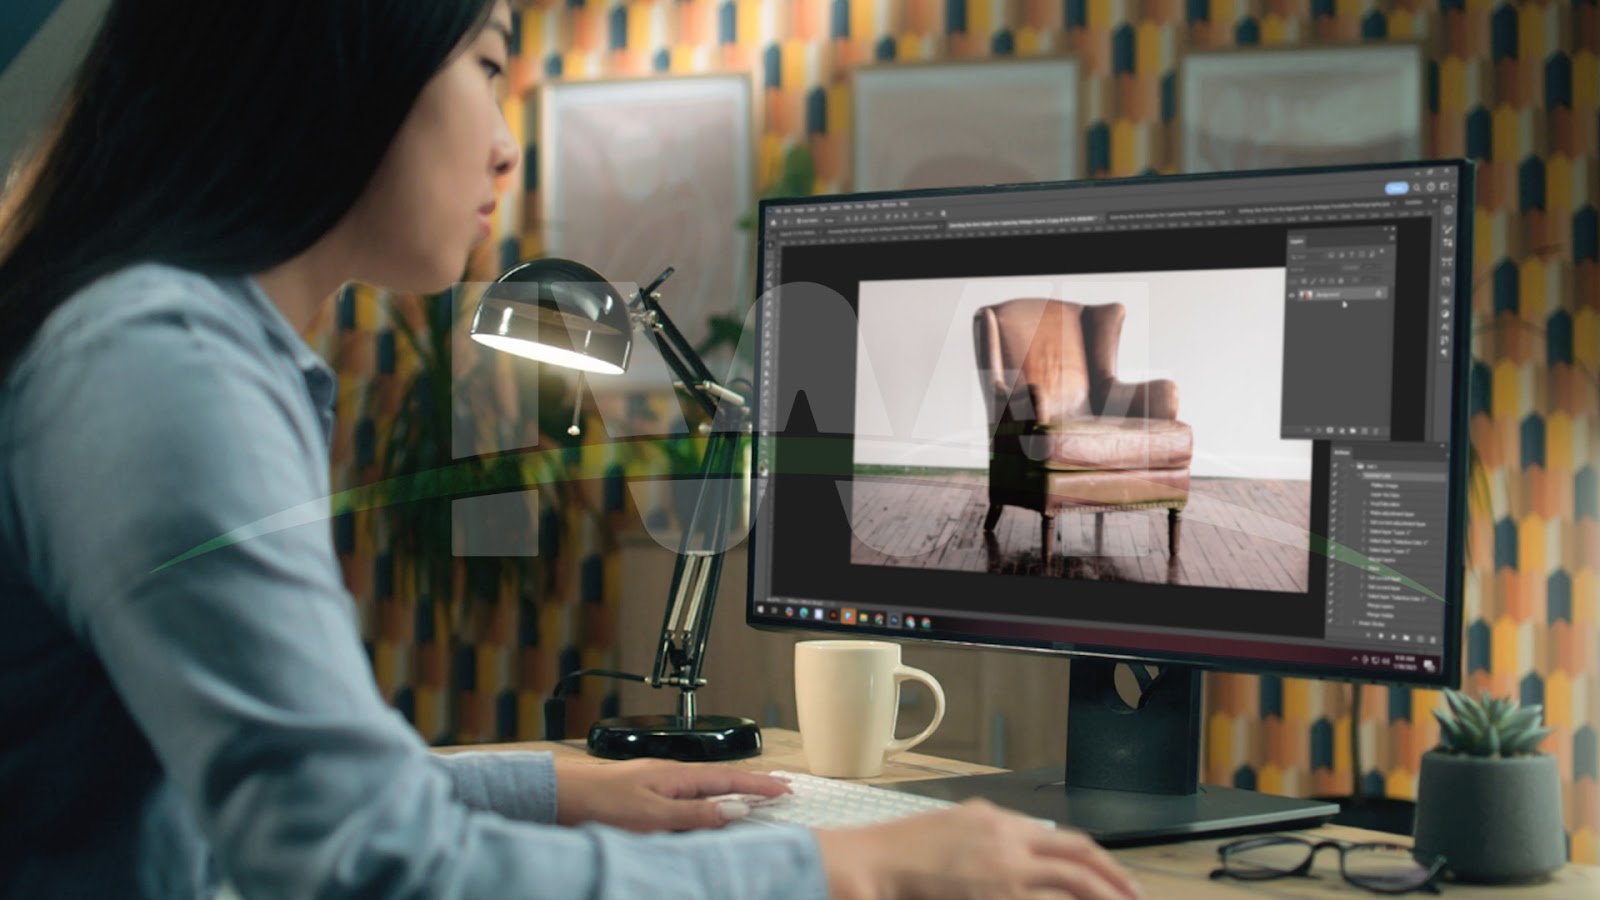
Editing and Retouching Furniture Photos
Post-processing is essential for enhancing furniture images. Basic adjustments in brightness, contrast, and sharpness can make a significant difference. Using software like Adobe Lightroom or Photoshop allows fine-tuning of colors, removal of distractions, and enhancing details.
Correcting lens distortions and straightening lines ensures the furniture appears proportional. Removing blemishes, dust, or unwanted reflections makes the furniture look more polished. However, maintaining a natural look is important; over-editing can make the image appear unrealistic.

Showcasing Your Furniture Photos
After capturing and editing, the next step is displaying your furniture images effectively. If you are selling furniture online, ensure the images are high resolution and properly formatted for web use. Including multiple angles and close-up shots gives potential buyers a complete view of the furniture.
For social media and marketing, creating a visually cohesive feed with well-lit and styled images increases engagement. Using descriptive captions and hashtags helps in reaching a wider audience. A professional portfolio or website with well-organized categories enhances credibility and attracts more clients.
Common Mistakes to Avoid
Avoiding common mistakes can improve the quality of your furniture photography tutorial images. One major mistake is poor lighting, which results in dull or overly harsh images. Cluttered backgrounds can also distract from the furniture’s appeal.
Incorrect camera settings, such as high ISO or an unsuitable aperture, can affect image sharpness and clarity. Over-editing should also be avoided, as it can make furniture look unrealistic. Taking time to carefully stage, shoot, and edit ensures high-quality results.
Conclusion
Mastering furniture photography requires practice and patience, but following these step-by-step instructions will greatly improve your results. From selecting the right equipment to setting up lighting, composing shots, and editing, each step contributes to creating stunning furniture photos. Whether you are a professional or a beginner, this furniture photography tutorial provides all the essential techniques to capture high-quality images that enhance the appeal of any furniture piece.
Frequently Asked Questions (FAQs)
What is the best lighting for furniture photography?
Natural light is ideal, especially soft, diffused sunlight. If shooting indoors, use softbox lights or LED panels to create even lighting.
What camera settings should I use for furniture photography?
Use a low ISO (100-400), a small aperture (f/8-f/16) for sharpness, and a slow shutter speed with a tripod for better exposure.
How can I make my furniture photos look more professional?
Use a clean background, proper lighting, stable composition, and edit the images to enhance colors and details without over-processing.
Should I use a tripod for furniture photography?
Yes, a tripod ensures stability, reduces camera shake, and allows for consistent framing and better exposure in low-light conditions.
What software is best for editing furniture photos?
Adobe Lightroom and Photoshop are the most commonly used software for editing furniture images, providing tools for color correction, sharpness, and retouching.
How do I avoid reflections when photographing glossy furniture?
Positioning lights at angles, using polarizing filters, and diffusing the light source can help minimize reflections on shiny surfaces.