Are you looking to make your product photos stand out in a crowded market? Editing product photos in Photoshop can be the game-changer your business needs. Whether you’re selling online, creating promotional materials, or simply showcasing your products, high-quality product photos are essential to capture your audience’s attention. But how do you achieve that professional, polished look? In this guide, we’ll walk you through expert tips and techniques for editing product photos in Photoshop that will help you enhance your images and make your products shine.
Why Editing Product Photos in Photoshop Is Essential
In today’s visual world, photos are often the first impression customers have of your product. If your product photos aren’t high quality, you may risk losing potential customers. Editing product photos in Photoshop allows you to enhance the visual appeal, improve clarity, correct colors, and add finishing touches that make the image pop. By mastering editing product photos in Photoshop, you can create images that make your products irresistible and ultimately boost sales.
Getting Started with Editing Product Photos in Photoshop
Before you dive into editing product photos in Photoshop, it’s important to understand the basics of the program. Photoshop is a powerful tool for enhancing images, but it can be overwhelming if you’re just starting. Don’t worry though—editing product photos in Photoshop is easy once you get the hang of it.
First, make sure your product photos are taken in good lighting and high resolution. Photoshop can work wonders with editing, but it’s always easier to start with a high-quality image. If the original photo is blurry or poorly lit, you might not be able to salvage it entirely.
Crop and Align Your Product Photos
One of the first steps when editing product photos in Photoshop is cropping. Cropping allows you to eliminate unwanted background elements, focus on the product, and create a cleaner composition. Use the crop tool to trim excess space around your product. When editing product photos in Photoshop, alignment is also crucial—make sure the product is centered and that the product lines are straight.
Cropping is often one of the easiest and most effective ways to enhance the look of a product image, and it can significantly improve the final result.
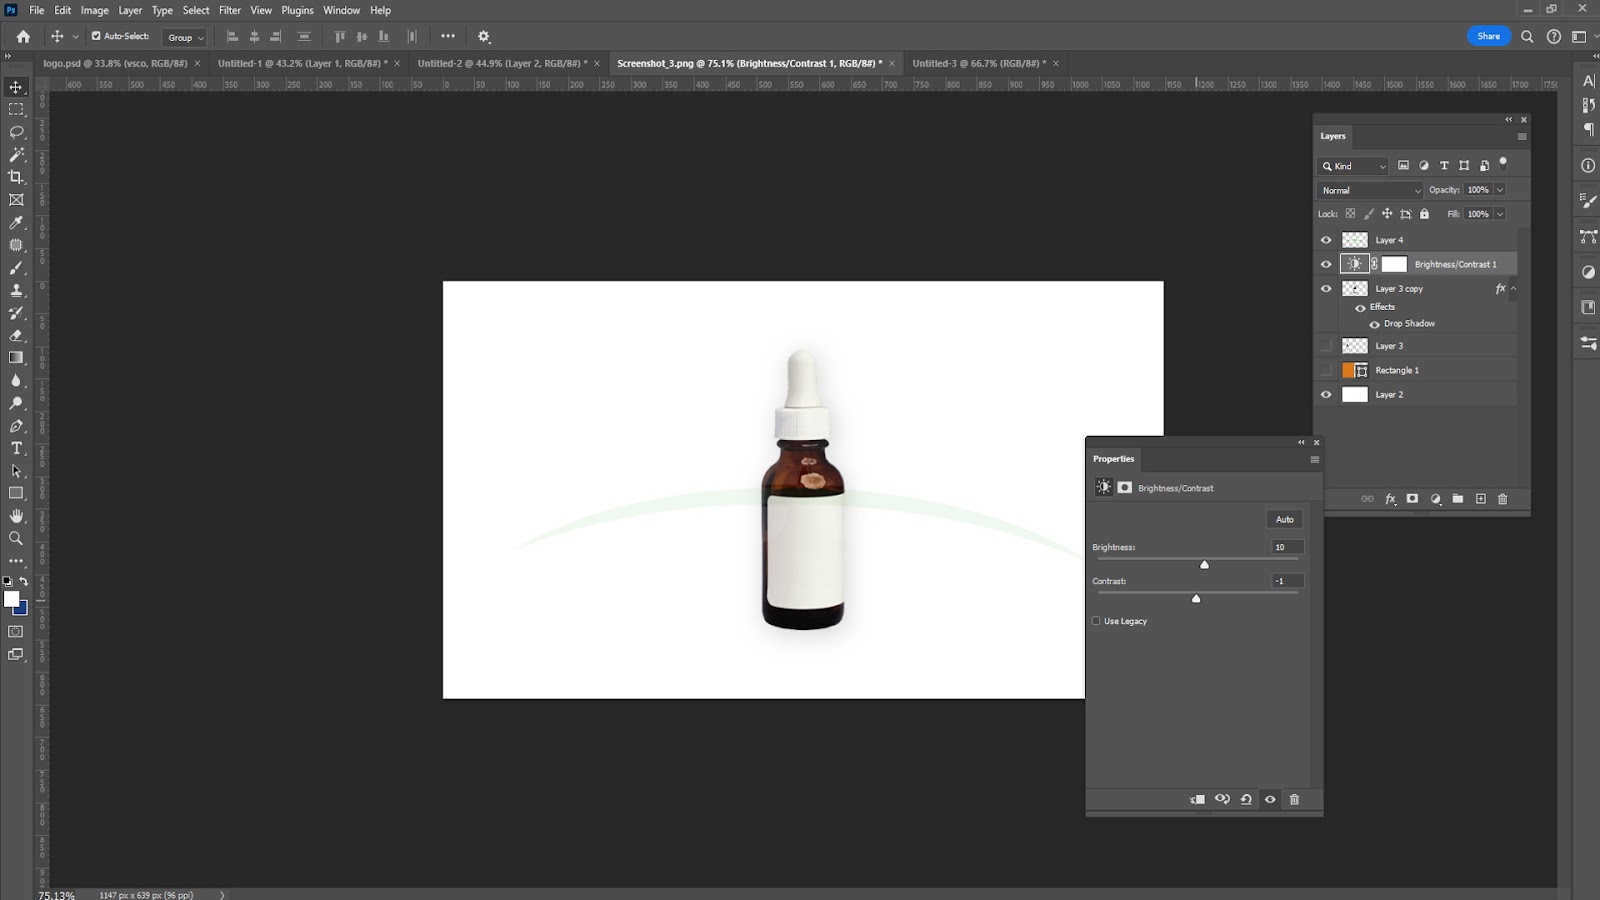
Adjusting Brightness and Contrast
Lighting is a crucial factor when it comes to product photography. However, even with the best lighting, your photos may require some adjustment during editing. Editing product photos in Photoshop gives you the ability to adjust brightness and contrast to make the product look more vibrant.
Start by adjusting the brightness of the image. If your photo is too dark, increase the brightness, but be careful not to overexpose the image. On the other hand, if the photo looks too washed out, reduce the brightness a little. Once the brightness is adjusted, fine-tune the contrast to ensure your product’s details stand out and don’t blend into the background.
These simple adjustments are among the first steps in editing product photos in Photoshop to create a more polished and professional look.
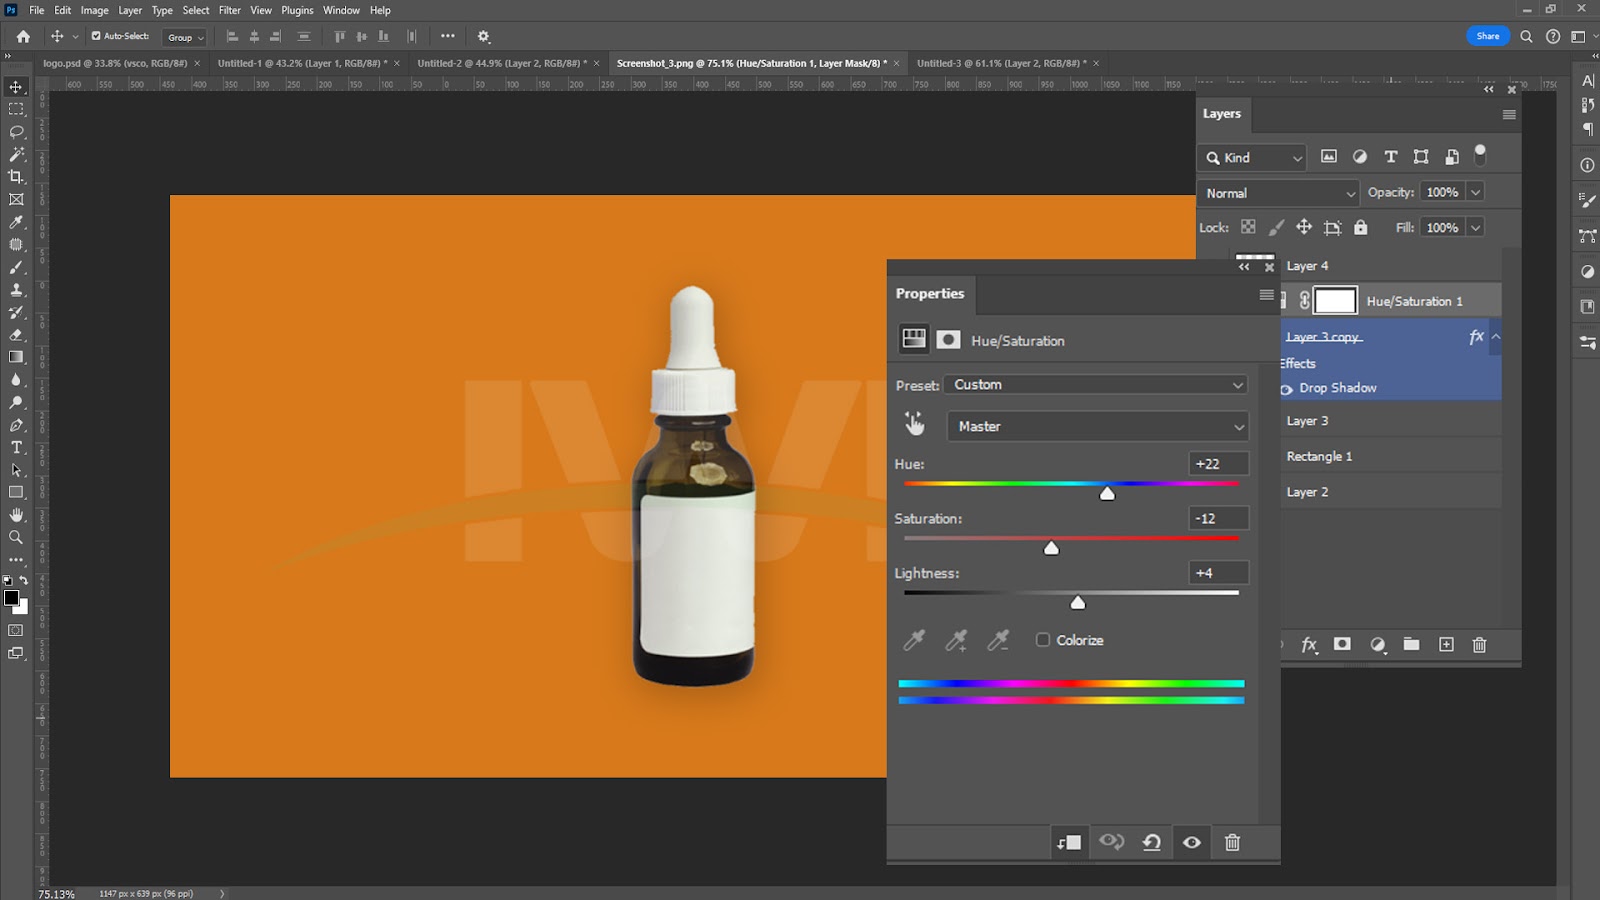
Enhancing Colors with Hue and Saturation
Color plays a significant role in the visual appeal of your product photos. When editing product photos in Photoshop, you have the power to adjust the colors to make your products more eye-catching. The Hue/Saturation adjustment layer is a powerful tool for modifying color intensity and balance.
You can use the Hue slider to change the overall color tone of your product image, and the Saturation slider to increase or decrease the intensity of colors. Be careful not to go overboard with saturation, as overly vibrant colors may appear unnatural. With subtle adjustments, you can make your product pop without sacrificing the integrity of the photo.
In Photoshop, you can also target specific colors by selecting the appropriate channel in the Hue/Saturation adjustment panel. This gives you more control over individual hues, helping you to refine your product photos for the perfect look.
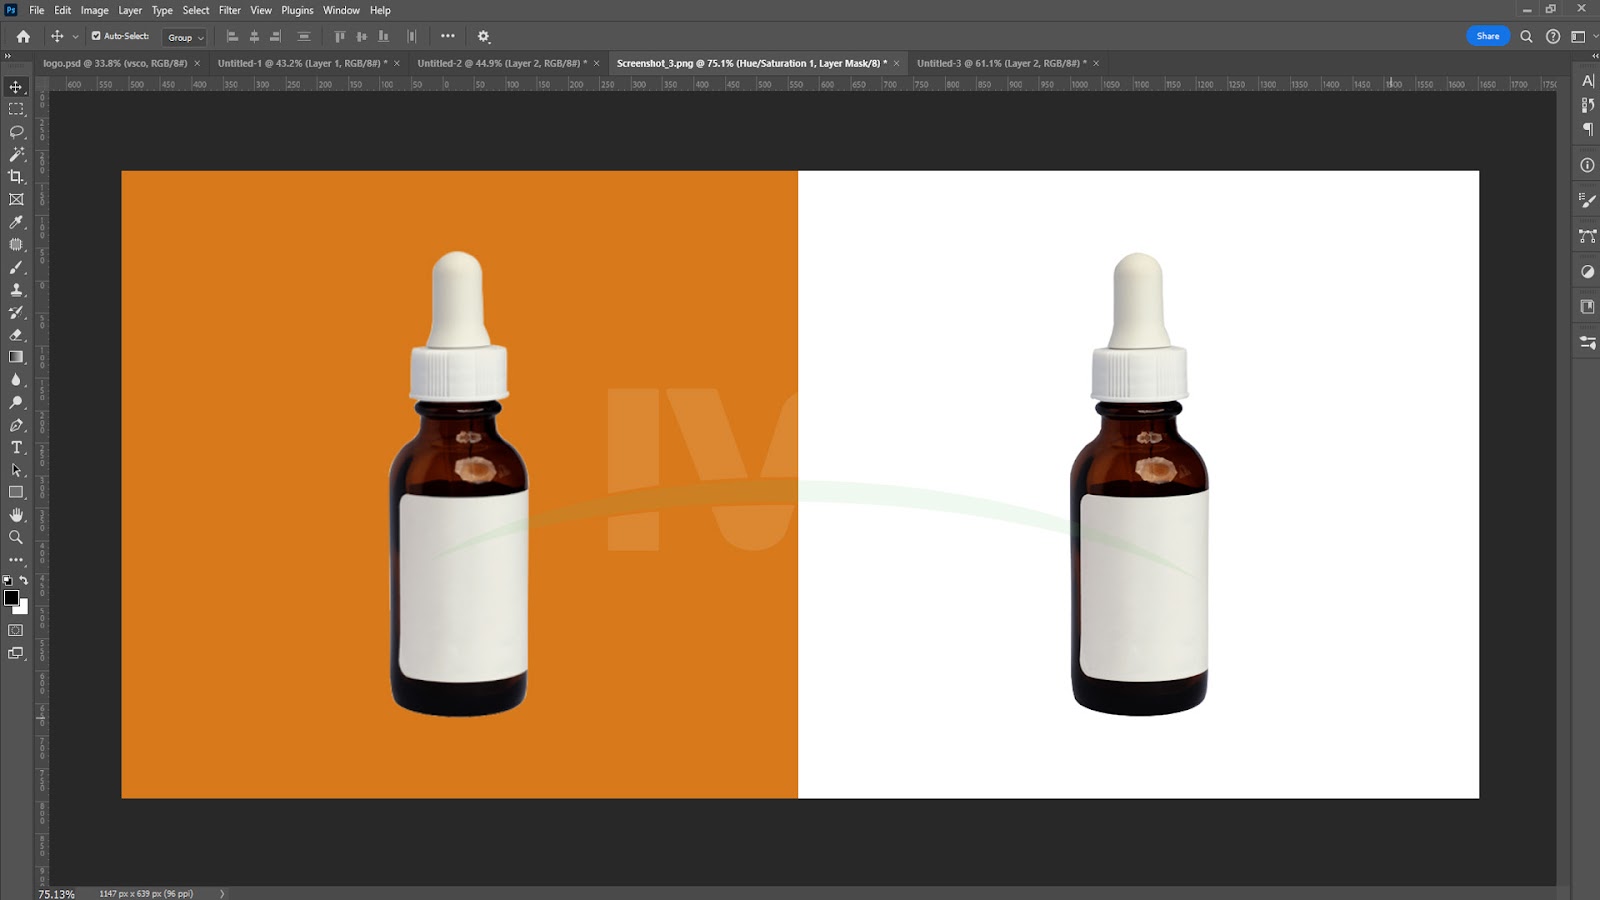
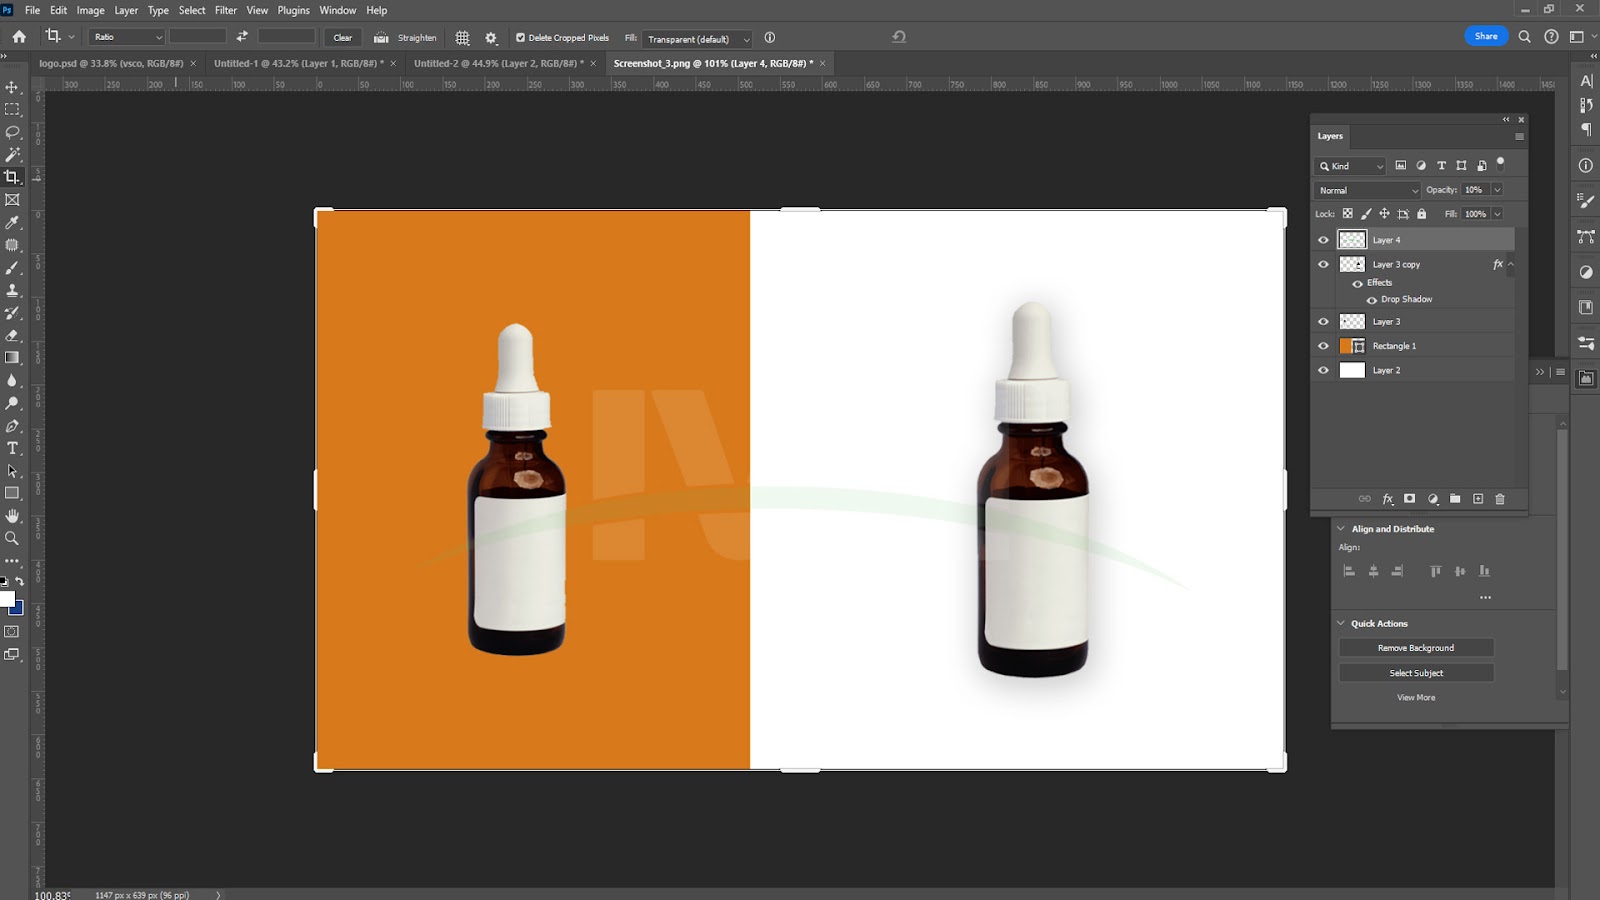
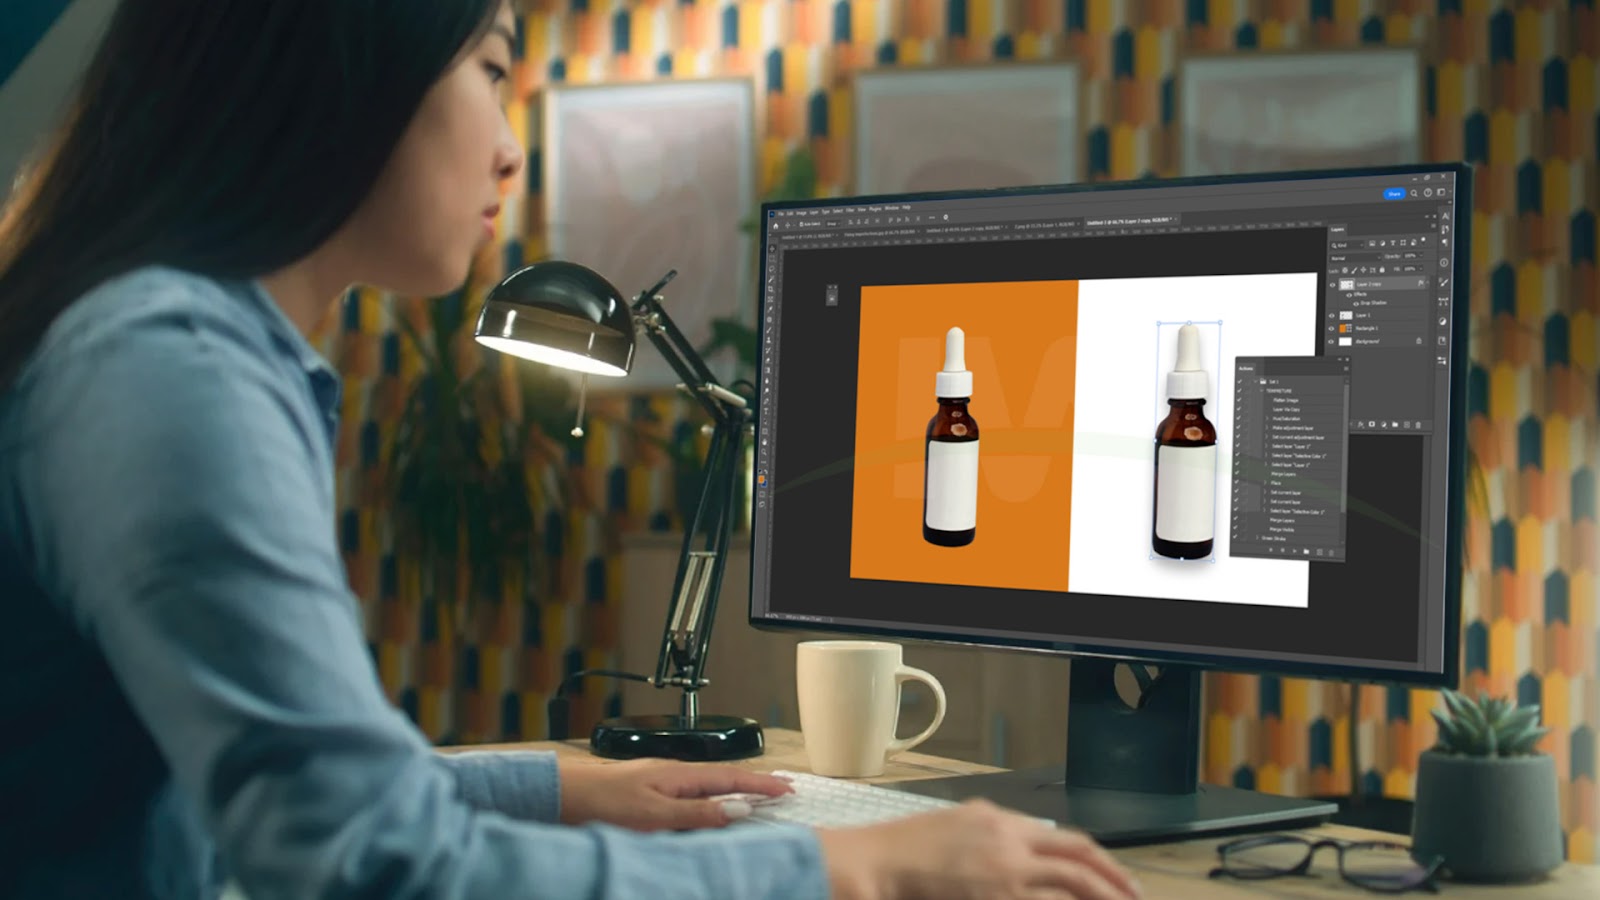
Removing Unwanted Backgrounds
Another common task when editing product photos in Photoshop is removing or replacing the background. An uncluttered background allows the focus to remain entirely on the product, which is especially important in e-commerce. Photoshop offers several tools to help you remove distracting backgrounds.
The Magic Wand tool is useful for selecting and deleting large areas of a single color or texture. Alternatively, the Quick Selection tool allows you to paint over areas to automatically detect edges. If you need more precision, the Pen tool is a great option for creating a clean and detailed selection around your product.
Once you’ve removed the unwanted background, you can replace it with a solid color, gradient, or a more suitable image. Some online stores prefer using a white background for a clean, consistent look. With Photoshop, editing product photos in Photoshop has never been easier.

Fixing Imperfections
No matter how carefully you photograph your product, imperfections can sometimes make their way into the image. Scratches, dust, and minor blemishes are common in product photos, especially in close-up shots. Thankfully, Photoshop offers a variety of tools to clean up these imperfections and restore the image to its original beauty.
The Spot Healing Brush tool is perfect for removing small blemishes, dust, or unwanted marks. Simply brush over the area you want to fix, and Photoshop will automatically blend the surrounding pixels to match the texture. The Clone Stamp tool is another option, which allows you to sample pixels from one part of the image and paint over an area that needs correction.
These tools make it easy to perform touch-ups and make your product photos look flawless.
Sharpening Details
A sharp image is crucial for product photography, as it helps to emphasize fine details and textures. After making adjustments to your image’s brightness, contrast, and colors, sharpening the photo is often one of the last steps in editing product photos in Photoshop.
To sharpen your image, go to the Filter menu and select the Sharpen option. You can experiment with different sharpening filters like the “Unsharp Mask” or “Smart Sharpen” to find the best effect for your product photo. Be careful not to over-sharpen the image, as this can introduce unwanted noise and halos.
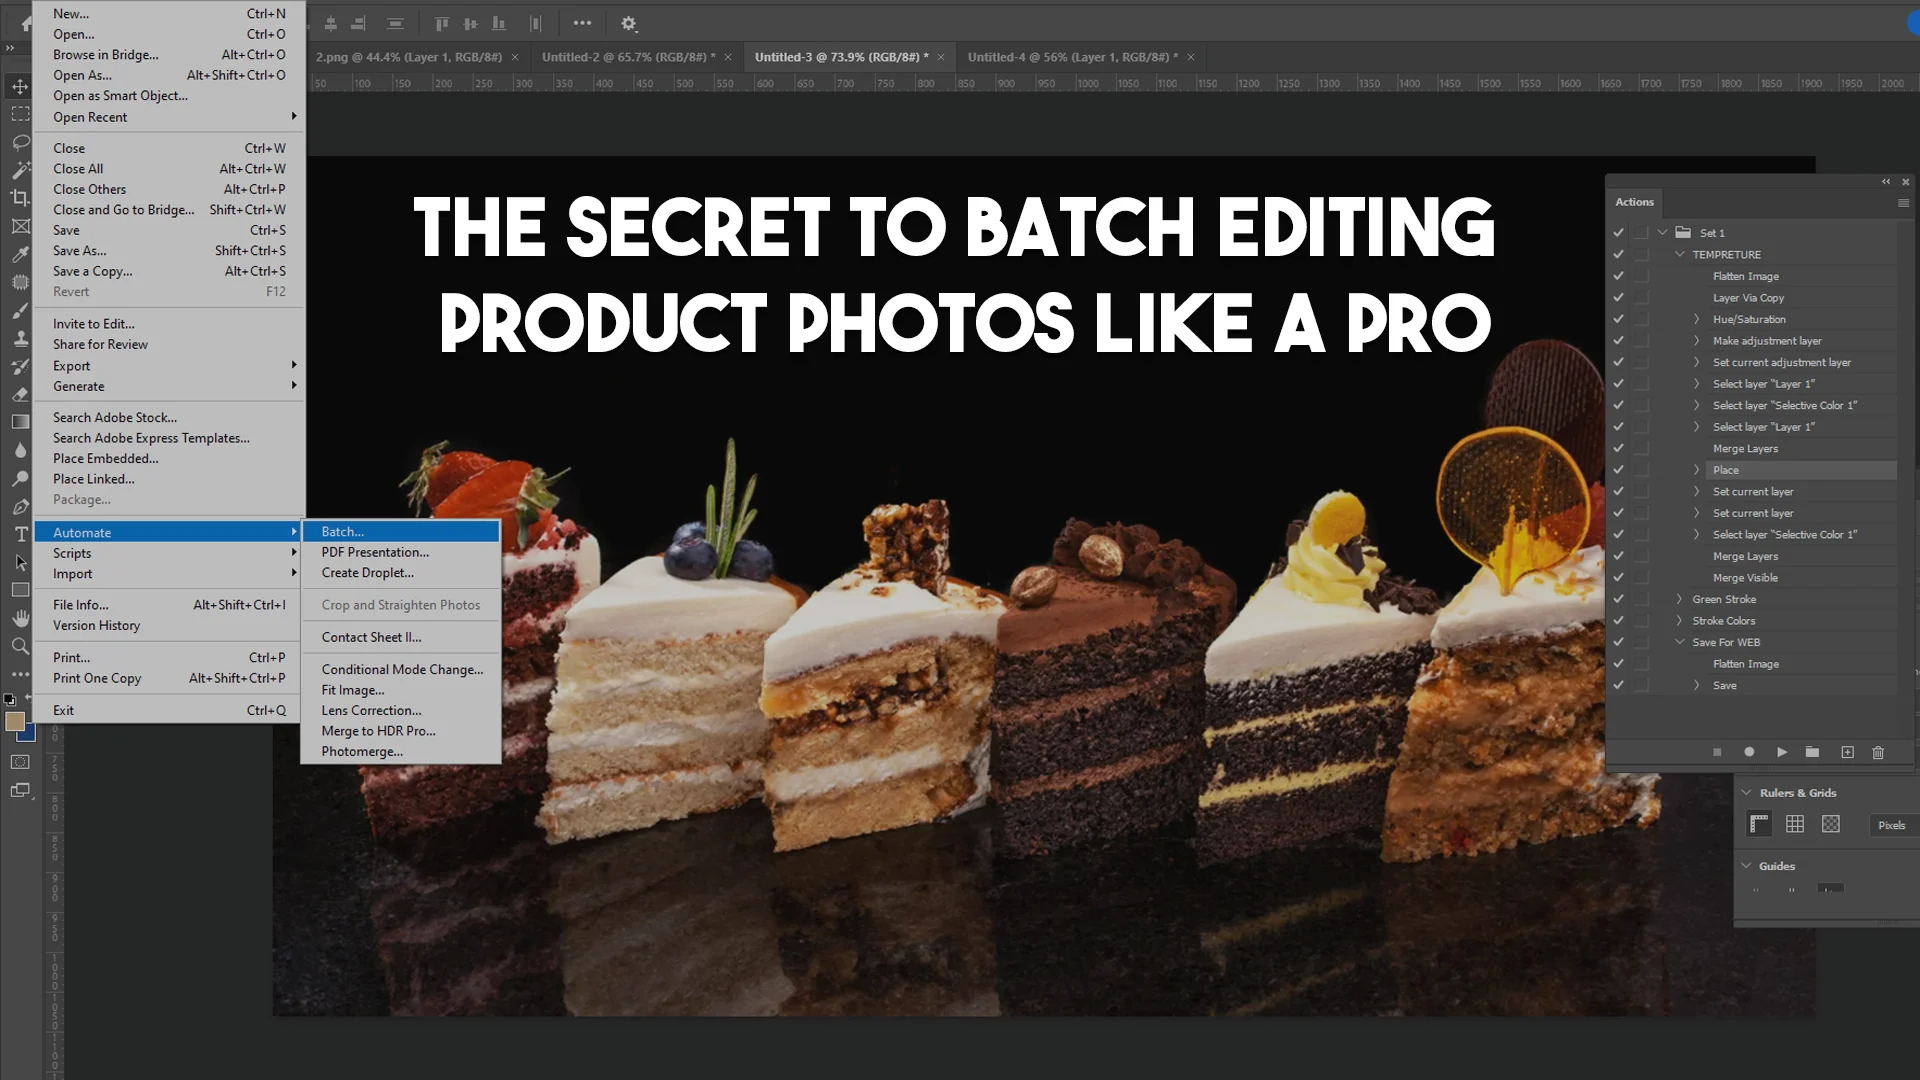
Batch Edit in Photoshop
Batch editing in Photoshop is an incredibly time-saving feature that allows users to apply the same set of edits to multiple images at once. This is especially useful when handling large numbers of product photos that require constant adjustments such as cropping, color correction, resizing, or applying filters. Photoshop allows users to create a custom “action” — a recorded series of editing steps — and apply it to multiple images in one go.
With batch editing, you can automate repetitive tasks like adjusting brightness, contrast, and saturation, making the entire process far more efficient. Once you’ve set up an action, you can process an entire folder of photos, ensuring that the same adjustments are applied uniformly, saving you significant time and effort while maintaining consistency across your images.
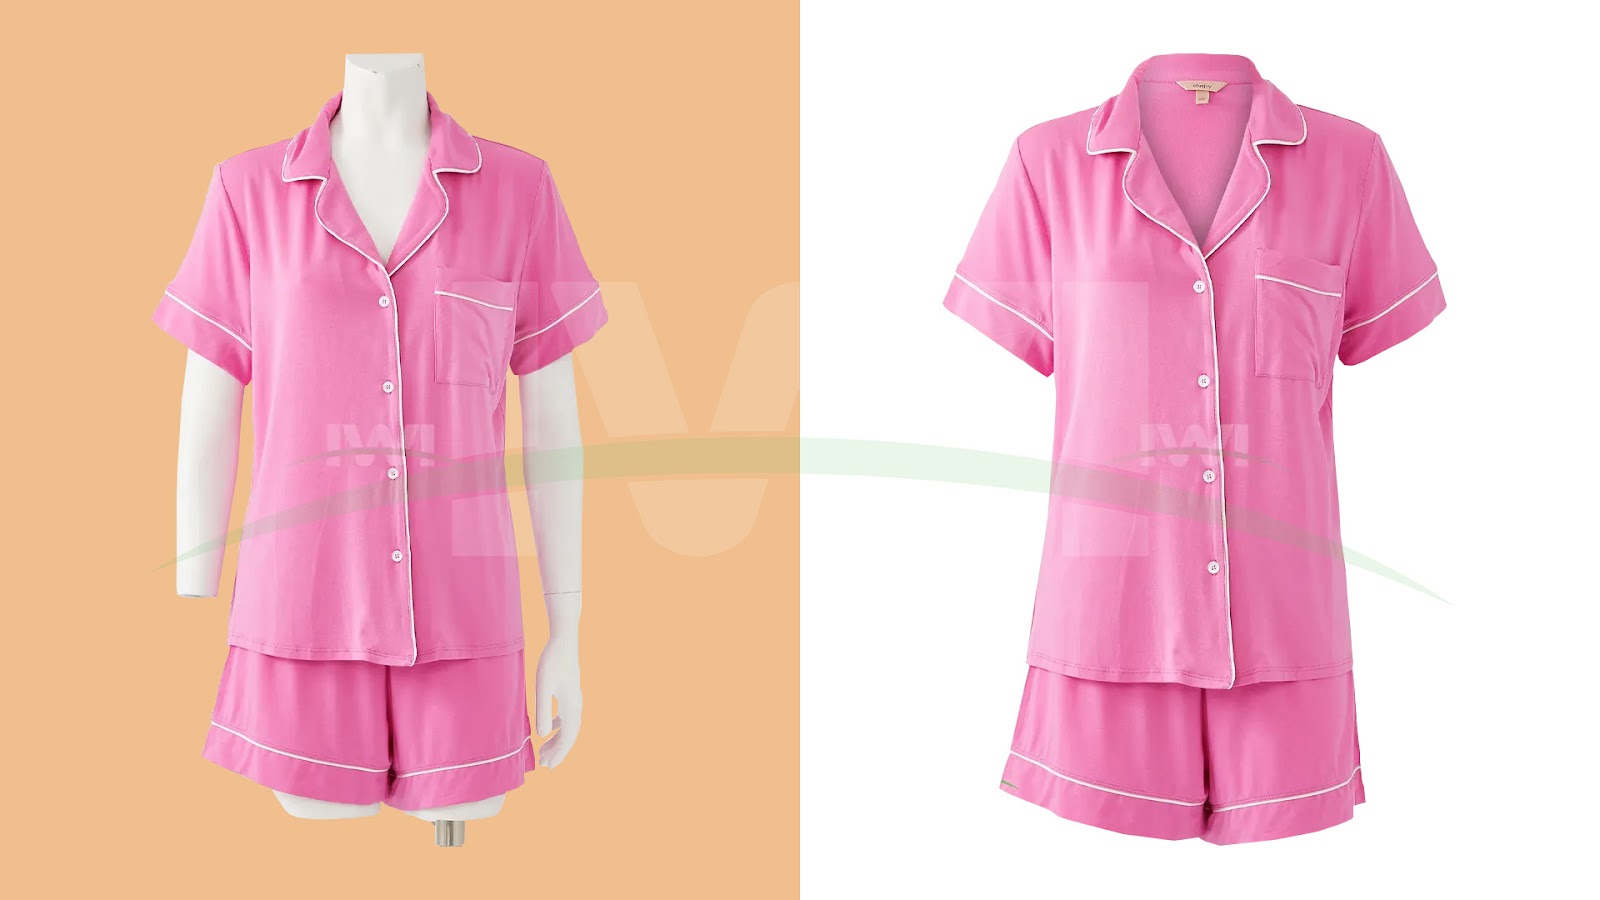
Ghost Mannequin Technique
The ghost mannequin technique is a popular method used in fashion and apparel photography to showcase clothing in a way that makes it appear as though the garment is floating on its own, without a mannequin or model. In Photoshop, the process starts with taking two photos — one with the mannequin or model wearing the product and one without it. The main task is to remove the mannequin from the first image and seamlessly blend in the second photo to complete the clothing’s shape and structure.
Using Photoshop tools like layer masks and blending modes, you can carefully erase the mannequin, and adjust the product to ensure it looks natural. This technique gives the clothing a clean and professional look, which is ideal for e-commerce websites, where customers want to see the product’s fit and design clearly.
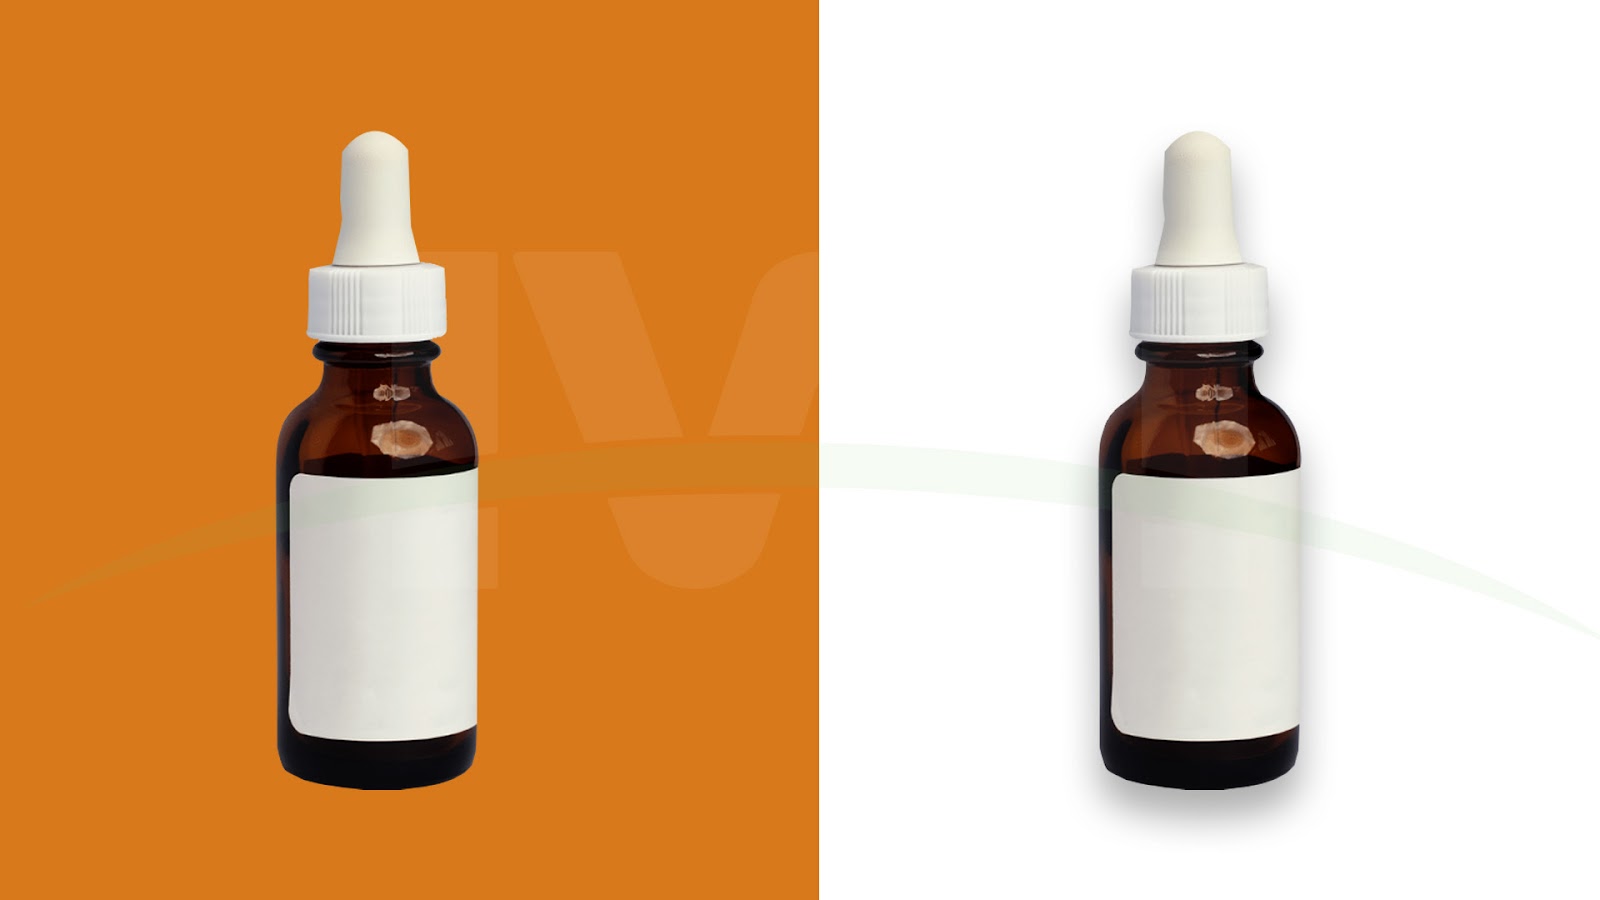
Shadow Creation in Photoshop
Creating realistic shadows in Photoshop is essential for making product images look more lifelike and three-dimensional. Shadows help provide depth and context, grounding the product within the image. To create a shadow, start by selecting the product layer and creating a new layer below it. Using the Pen Tool or Lasso Tool, you can manually draw the shape of the shadow, typically beneath or adjacent to the product, based on the light source in the image. Once the shadow shape is selected, you can fill it with a solid black color, apply a Gaussian Blur to soften the edges, and adjust the opacity to achieve a natural look.
By transforming and positioning the shadow layer appropriately, you can ensure it mimics the lighting of the product, providing a realistic and polished final image. Shadows are a small but powerful detail that can make a product look more realistic and appealing to potential buyers.
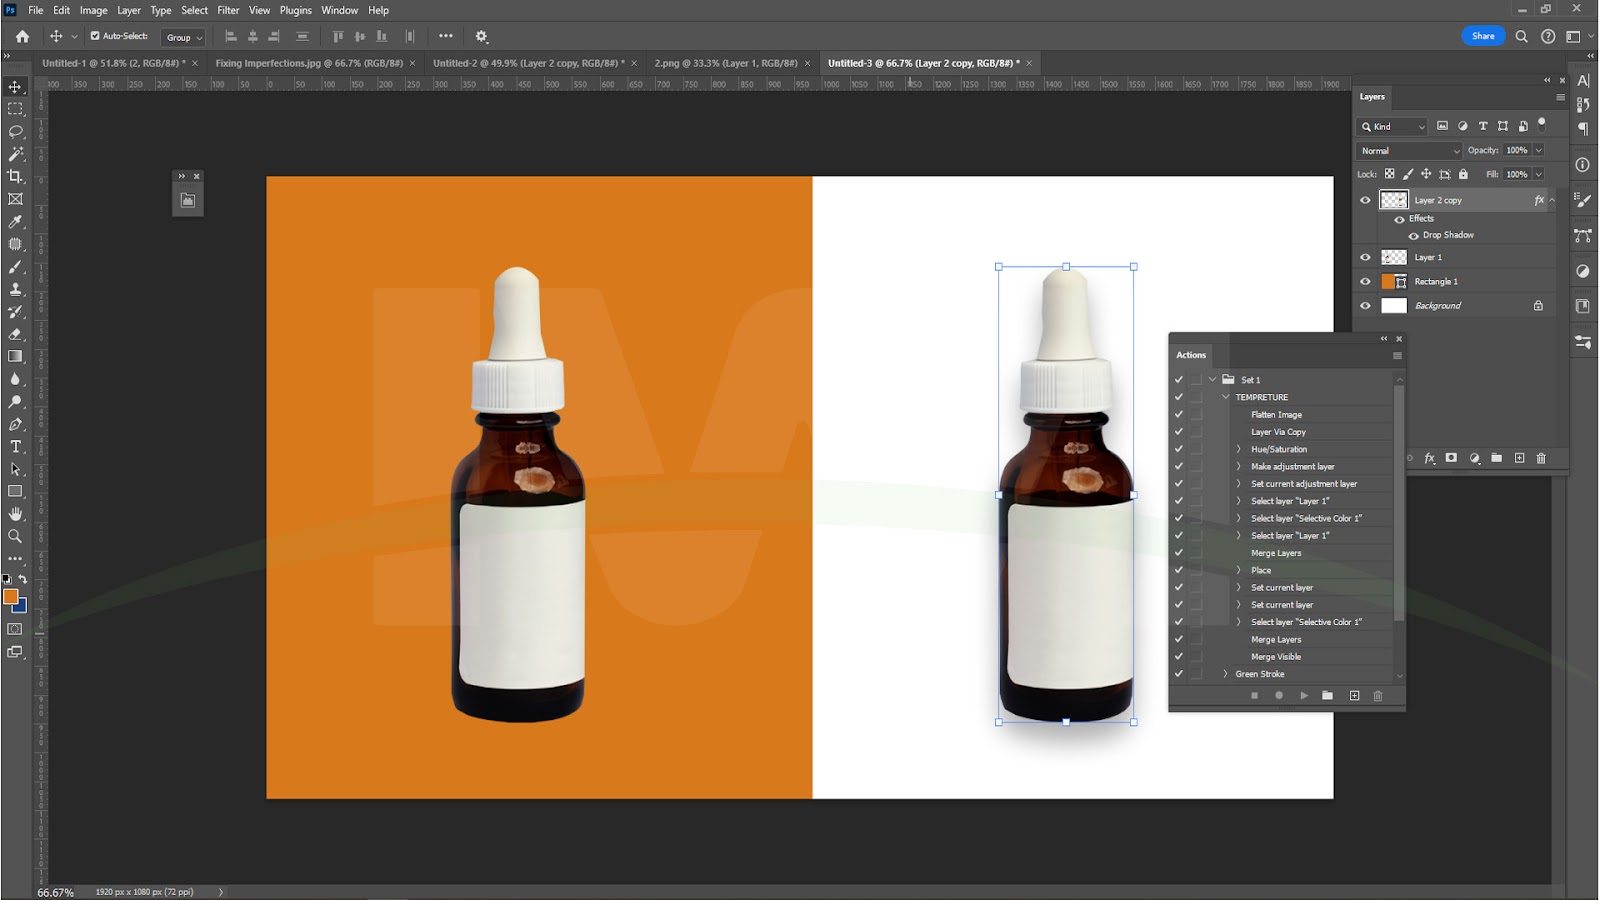
Actions in Photoshop
Actions in Photoshop are a key feature that allows you to automate repetitive editing tasks, making your workflow faster and more efficient. An action is a recorded series of steps, such as adjusting brightness, cropping an image, or applying filters. Once an action is created, you can apply it to other images with just a click of a button, which is especially helpful for batch editing. To create an action, start by performing the desired editing steps on an image, then save those steps as an action in the Actions Panel. Once saved, you can apply the same action to multiple images using Photoshop’s batch processing feature.
Actions help streamline workflows, especially for those working with large numbers of product photos that require the same adjustments. By automating routine tasks, Photoshop actions not only save you time but also ensure consistency across all your images.
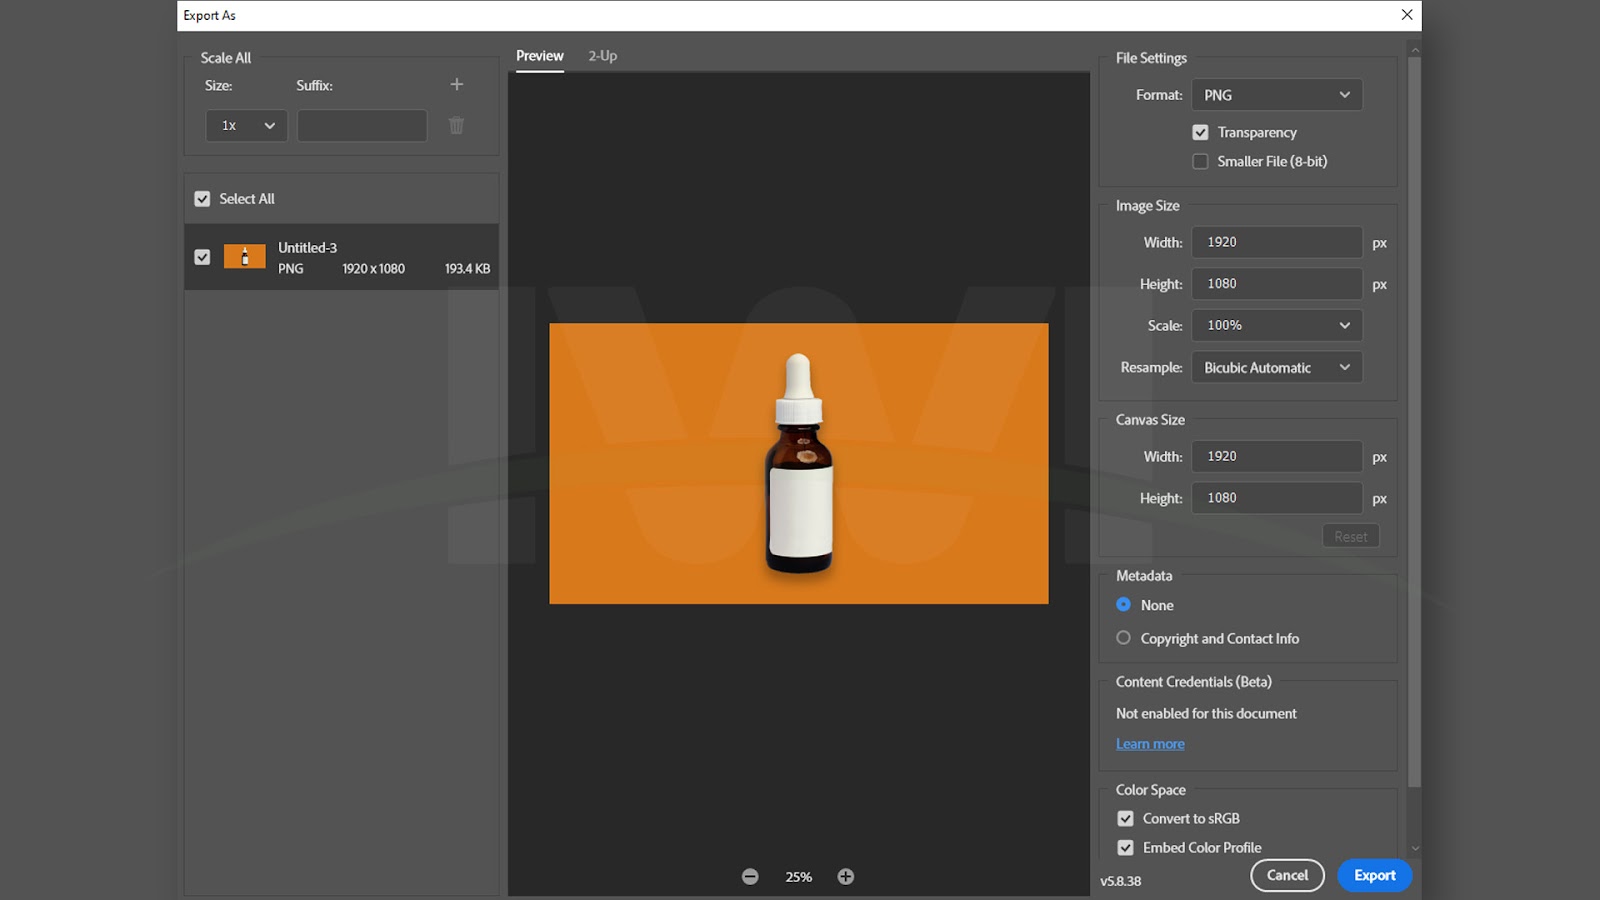
Resizing and Exporting the Image
After you’ve completed all of your edits, the final step in editing product photos in Photoshop is resizing and exporting the image. Depending on where you intend to use the image, you may need to resize it for web optimization or printing. For online stores, it’s important to maintain high resolution while reducing file size to ensure fast loading times.
To resize an image, go to Image > Image Size, and adjust the dimensions and resolution as needed. Be sure to check that the resolution is set to 72 DPI for web use, or 300 DPI for print.
Once the resizing is complete, export your image by going to File > Export > Export As. Choose the appropriate file format, such as JPEG or PNG, and ensure that the image quality is set to high to preserve details.
Conclusion
Editing product photos in Photoshop is a powerful skill that can take your product images to the next level. With the right tools and techniques, you can enhance the quality, sharpness, and vibrancy of your photos to create stunning visuals that will captivate your audience. By understanding how to adjust lighting, color, background, and details, you’ll be able to create high-quality images that make your products look their best.
Remember, the key to editing product photos in Photoshop is practice. The more you experiment with different techniques, the more confident you’ll become in your editing skills. Start small, and before you know it, you’ll be creating professional-quality product photos that will impress your customers and boost your business.
Frequently Asked Questions (FAQs)
What is the best Photoshop tool for removing the background from product photos?
The Quick Selection tool is great for removing backgrounds, especially when you need to select areas with a consistent color. The Magic Wand tool is also effective for simpler backgrounds, while the Pen tool offers the most precision for complex edges.
How can I make my product photos look more vibrant in Photoshop?
To make your product photos more vibrant, you can adjust the saturation using the Hue/Saturation adjustment layer. However, don’t overdo it, as too much saturation can make the colors look unnatural.
Should I always use a white background for my product photos?
Using a white background is a popular choice for e-commerce because it provides a clean, professional look that keeps the focus on the product. However, depending on your brand and the style of your product, you can also experiment with other background colors or textures.
Can I fix blurry product photos in Photoshop?
While Photoshop can help reduce some blur, it can’t fully recover a photo that is out of focus. You can use the “Shake Reduction” filter for slight motion blur, but the best approach is to ensure sharp images during the photography process.
How do I sharpen my product photos in Photoshop without overdoing it?
Start by applying a small amount of sharpening using the “Unsharp Mask” or “Smart Sharpen” filter. Adjust the Amount and Radius settings carefully, and always zoom in to check the results at 100% before applying the final sharpening.
What is the ideal resolution for product photos in Photoshop?
For web use, 72 DPI is generally sufficient. For printing, use 300 DPI to ensure high-quality prints. For online stores, make sure your product images are large enough to show detailed features without taking up excessive file size.