In today’s world, visual content plays a vital role in online business success. Whether you are selling products on an e-commerce platform or promoting your brand on social media, high-quality product photos are essential for attracting potential customers. But what if you don’t have access to professional equipment or advanced editing software? Don’t worry! With your iPhone, you can easily capture and enhance stunning product images that will make your products stand out. In this article, we’ll explore how to edit product photos on iPhone, offering you easy tips and tricks to elevate your photography game.
Why Edit Product Photos on iPhone?
Before we dive into the specifics of how to edit product photos on iPhone, it’s important to understand the significance of photo editing. Edited product photos are more visually appealing and can improve the overall customer experience. When you take the time to fine-tune your images, you enhance their professionalism, making them look more polished and attractive to potential buyers.
The best part is that with the built-in photo editing tools on your iPhone and third-party apps, you can easily improve the quality of your product images, even without being a photography expert.
How to Edit Product Photos on iPhone: Getting Started
First and foremost, let’s address how to get started with editing product photos on an iPhone. Apple’s Photos app comes with a powerful suite of editing tools that are perfect for making simple adjustments to your photos. In addition, there are various third-party apps you can download to access even more advanced editing features.
When you start editing your product photos, always keep in mind your main goal: to showcase your products in the best light possible while maintaining a realistic look that represents the product accurately.
Use the Built-In Tools on Your iPhone
When you learn how to edit product photos on iPhone, the built-in editing tools in the Photos app will be your best friend. These tools can help you make quick adjustments to enhance the photo without needing to rely on external software. Here are some features within the Photos app that you can use to edit your product photos.
Adjust Brightness and Exposure
One of the most common edits for product photos is adjusting the brightness and exposure. If your product photo looks too dark or too bright, you can adjust these settings to ensure the image looks well-lit. Simply open the photo in the Photos app, tap on “Edit,” and then use the exposure slider to increase or decrease the brightness levels. For darker photos, increasing the exposure will help bring out the details of your product, while reducing it can help balance out overexposed shots.

Enhance Color with Saturation and Contrast
Color correction is another key step when learning how to edit product photos on iPhone. Use the saturation and contrast sliders to enhance the vibrancy of the colors in your image. Saturation helps make the colors more vivid, while contrast can make the image look sharper by increasing the difference between light and dark areas. When editing product photos, you’ll want to make sure the colors are accurate, but you can also increase saturation slightly to make the product pop.
Crop and Straighten Your Image
Cropping and straightening are basic yet essential steps when editing product photos. Sometimes, the image may have unwanted background distractions, or the product might not be perfectly centered in the frame. By cropping the image, you can eliminate any distractions and focus more on the product itself. Additionally, if the image is tilted, the straightening tool will allow you to fix that and create a more balanced, professional-looking photo.
Sharpen the Image
To make sure the product details are crisp and clear, use the sharpness tool to enhance the image’s clarity. Be cautious not to overdo it, as too much sharpness can create a harsh and unnatural look. Aim for a subtle increase in sharpness to highlight the product’s fine details while maintaining a natural appearance.
Editing with Third-Party Apps
While the built-in tools are great, there are some limitations when it comes to advanced features. That’s where third-party apps come in handy. If you’re serious about learning how to edit product photos on iPhone and want more control over your edits, these apps offer additional capabilities. Some popular apps that you can use include Adobe Lightroom, Snapseed, and VSCO.
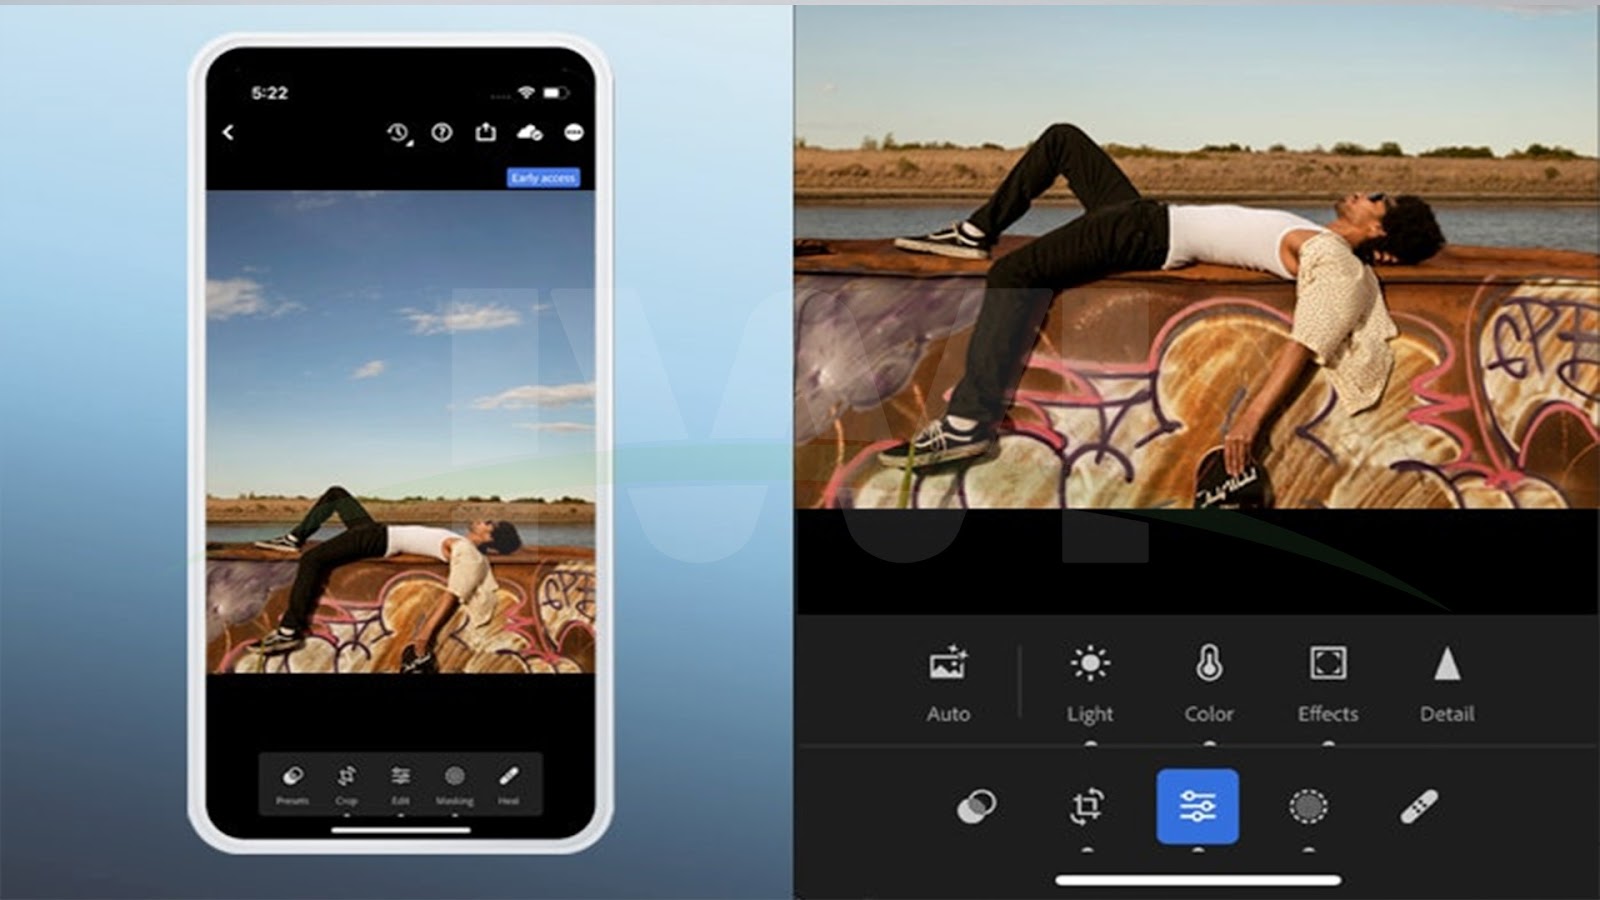
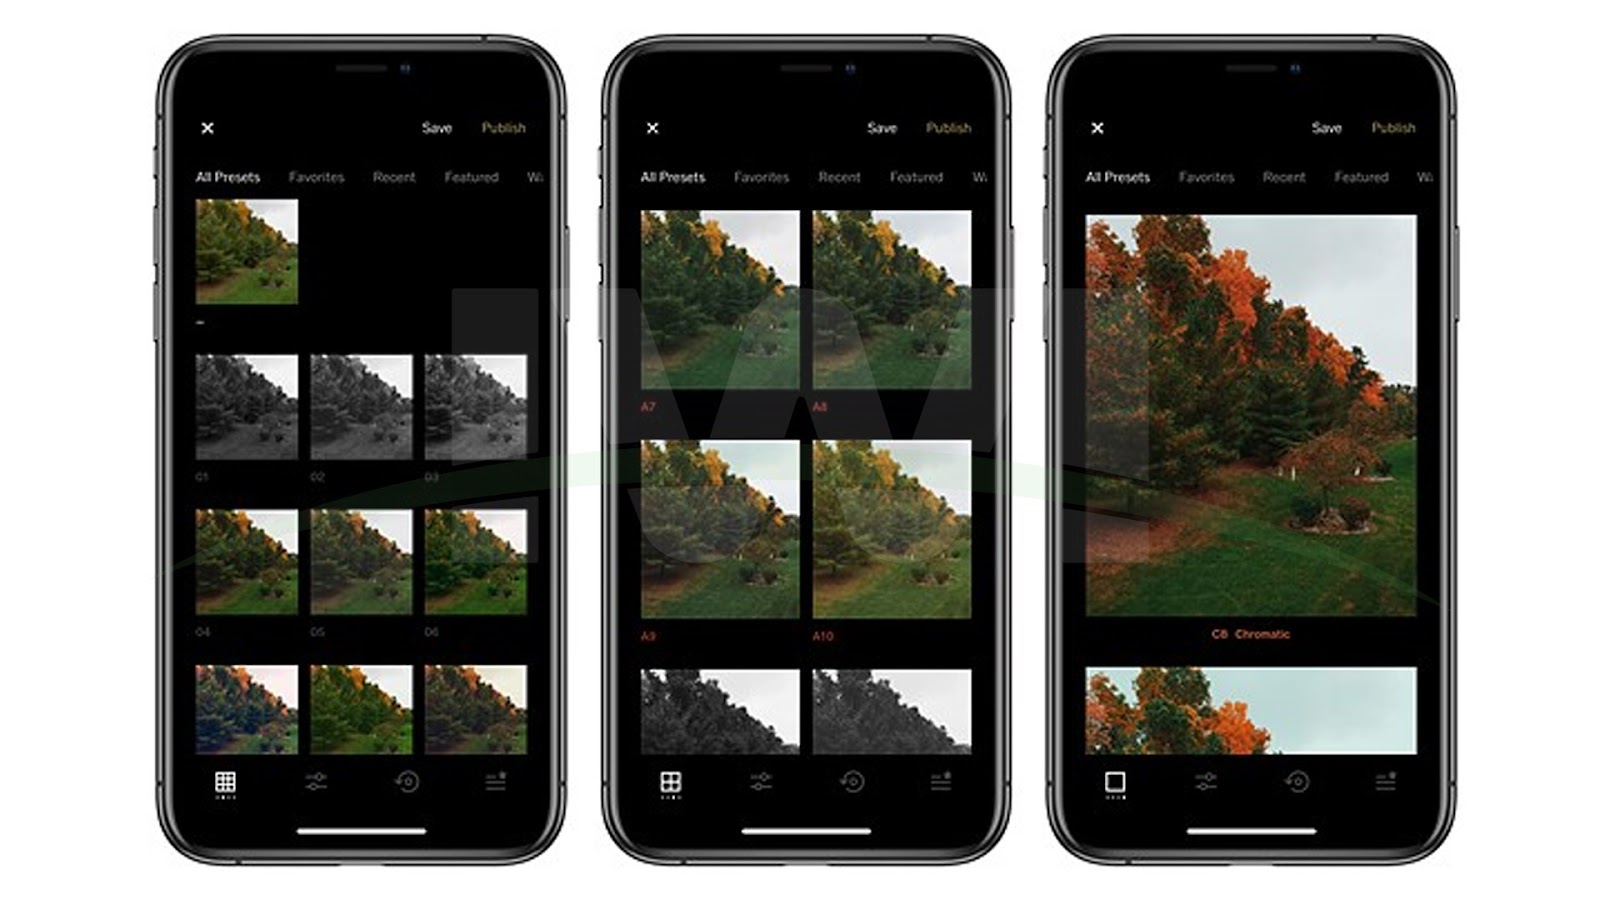
Adobe Lightroom
Adobe Lightroom is one of the most professional photo editing apps available for iPhone. With Lightroom, you can edit your product photos with incredible precision, adjusting everything from exposure to color grading and even removing blemishes. One standout feature is its ability to apply presets, which can help you create a consistent look for your product images across your entire collection. The app also includes advanced editing features like lens correction, which can be handy if your product photos have distortion.

Snapseed
Snapseed is another powerful editing app that is user-friendly and offers a wide range of editing tools. It provides features such as selective adjustments, healing tools for removing unwanted objects, and fine-tuning options for brightness, contrast, and saturation. If you want to remove imperfections from your product photos, Snapseed’s healing tool works wonders, allowing you to erase blemishes and distractions easily.
VSCO
For those who want a more artistic or stylized approach to editing, VSCO is a great choice. This app provides a variety of filters and presets that you can apply to your product photos, giving them a unique look. You can also adjust the intensity of the filters and make manual adjustments to improve the photo’s exposure and color balance. VSCO’s easy-to-use interface makes it perfect for beginners, while still providing enough flexibility for advanced users.
Tips for Editing Product Photos on iPhone
To get the best results when learning how to edit product photos on iPhone, here are a few essential tips to keep in mind:

Focus on Lighting
Lighting plays a crucial role in product photography. When taking your photos, ensure that the product is well-lit to avoid any harsh shadows or overexposure. Natural light is often the best option, but if you’re shooting indoors, try to use soft, diffused light to create an even and flattering effect. Editing can help enhance the light in your photos, but nothing beats starting with a well-lit shot.
Keep the Background Simple
A cluttered or distracting background can take attention away from the product itself. When setting up your product shots, aim for a clean, neutral background that complements the product. You can use the editing tools to blur the background further, ensuring the product remains the focal point.
Be Consistent
When editing multiple product photos for your e-commerce site or social media, consistency is key. Whether you’re adjusting the brightness, saturation, or contrast, aim to keep the editing style consistent across all your product images. This helps establish a cohesive look for your brand and makes your website or social media page more visually appealing.
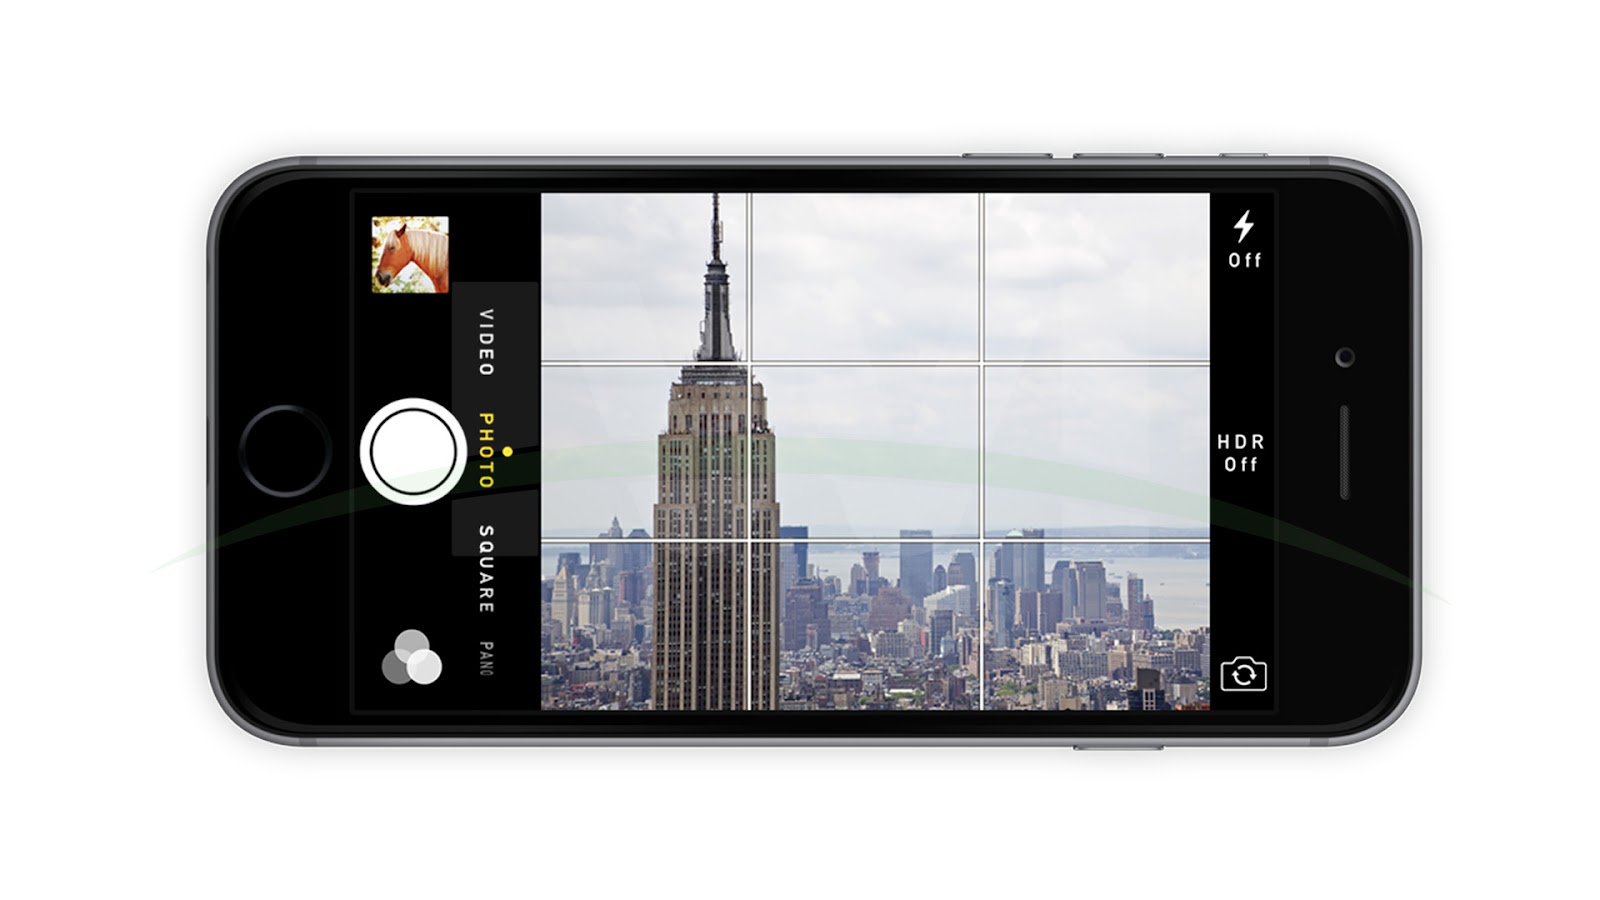
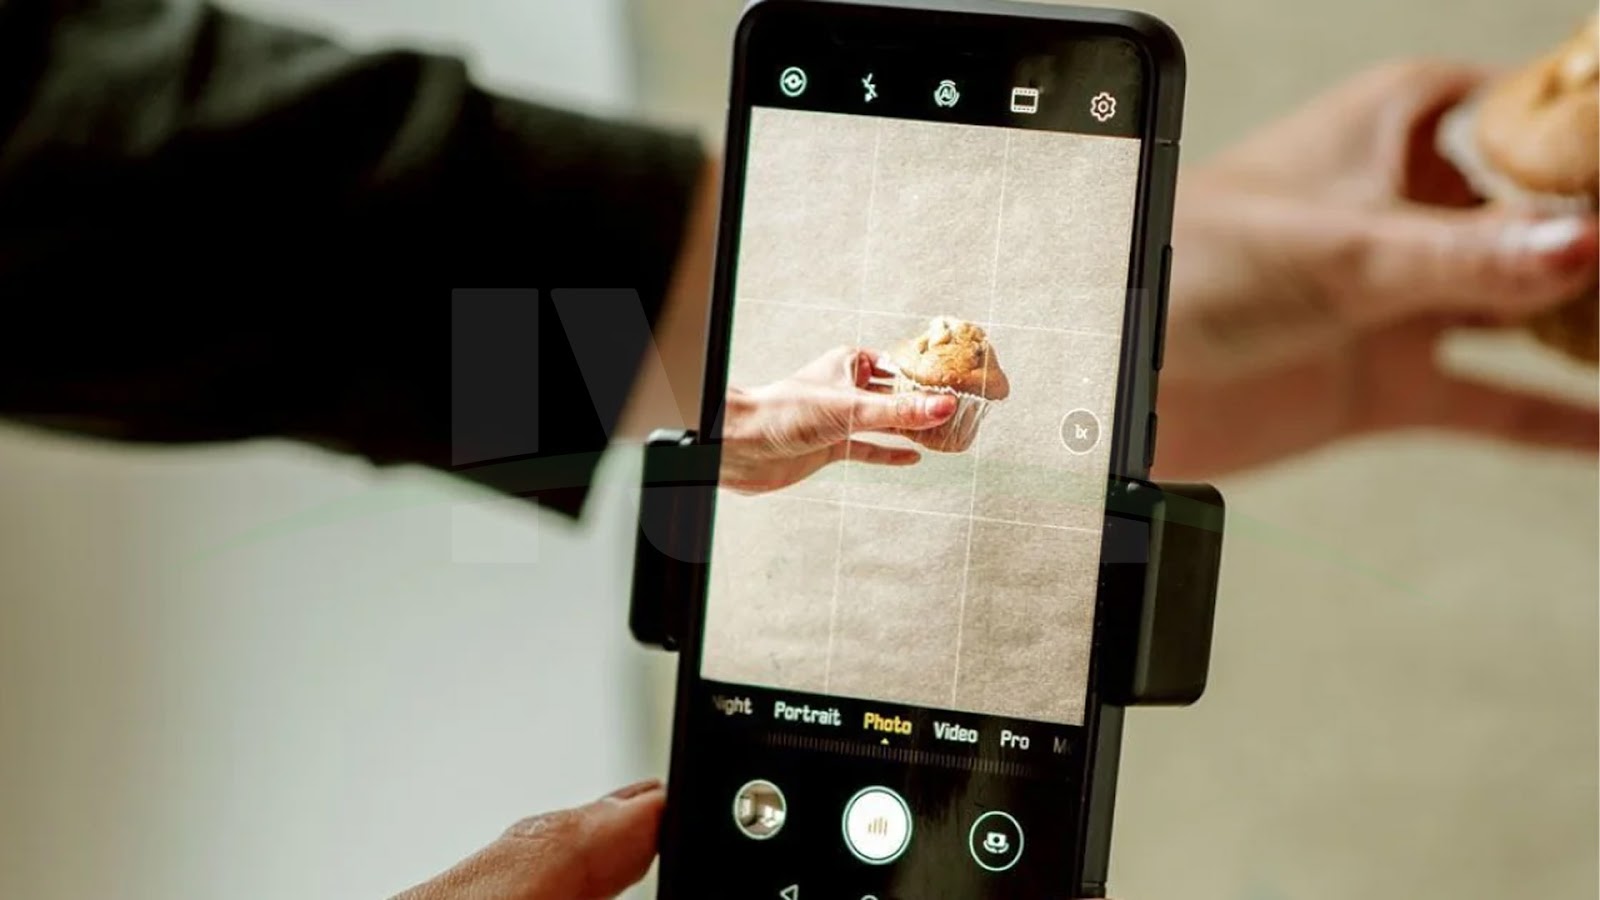
Use Grid Lines for Composition
The iPhone’s camera has a grid line feature that can help you align your product in the frame properly. Using grid lines allows you to follow the rule of thirds, which is a fundamental photography composition technique. With this approach, your product photos will appear more balanced and professional.
Avoid Over-Editing
While it’s tempting to enhance your product photos, it’s essential to avoid over-editing. The goal of editing is to improve the image without making it look unnatural. Keep the product’s true appearance in mind and refrain from using extreme filters or making drastic color adjustments that could mislead your customers.
Conclusion
Knowing how to edit product photos on iPhone can make a significant difference in your online presence and sales performance. With the right techniques and tools, you can transform ordinary product photos into eye-catching images that will captivate your audience. Whether you’re using the built-in iPhone tools or third-party apps, these tips will help you create professional-quality product images that look polished and appealing. So, grab your iPhone, start experimenting with these editing tips, and take your product photography to the next level!
Frequently Asked Questions (FAQs)
How do I enhance the color of my product photos on iPhone?
To enhance the color of your product photos on iPhone, use the saturation and vibrancy sliders in the Photos app. Increasing the saturation will make the colors more vivid, while adjusting the vibrancy can help make the colors pop without over-saturating them.
Can I remove unwanted objects from my product photos on iPhone?
Yes! If you have unwanted objects in your product photos, third-party apps like Snapseed offer a healing tool that lets you remove them seamlessly. This feature works by filling in the selected area with pixels that match the surrounding background.
Should I always edit my product photos?
While it’s not necessary to edit every photo, editing can help enhance your product images, making them more professional and appealing to potential customers. Basic edits like adjusting brightness, cropping, and sharpening can make a significant difference.
What’s the best app for editing product photos on an iPhone?
The best app for editing product photos depends on your needs. Adobe Lightroom is ideal for professional-grade edits, while Snapseed offers great tools for quick and detailed adjustments. VSCO is perfect if you want to apply filters and create a more stylized look.
How can I make my product photos look more professional on the iPhone?
To make your product photos look more professional, focus on good lighting, simple backgrounds, and consistent editing. Use the iPhone’s built-in editing tools or third-party apps to adjust brightness, contrast, and saturation, and ensure your product is clearly visible and well-presented.
Can I use my iPhone to take high-quality product photos?
Absolutely! With the iPhone’s advanced camera technology and editing tools, you can take high-quality product photos. Make sure to use proper lighting, set up your shots thoughtfully, and take advantage of editing apps to fine-tune your photos for the best results.