Photography is a beautiful way to capture life’s moments, but the magic doesn’t stop when you press the shutter. Colour grading photography is the secret sauce that takes your images from good to unforgettable, adding mood, style, and emotion. Unlike basic editing, colour grading photography goes beyond fixing flaws—it’s about crafting a visual story that reflects your creative vision. Whether you’re a hobbyist or a professional photographer, mastering colour grading photography can streamline your workflow and elevate your work to new heights. In this step-by-step guide, we’ll walk you through the process, offering tips and insights to make your photos stand out.
At Image Work India, we know how transformative colour grading photography can be. Our team has helped countless photographers enhance their images with expert editing services. This article will break down everything you need to know about colour grading photography, from the tools you’ll need to the techniques that save time and boost quality. Let’s dive in and improve your photography workflow together!
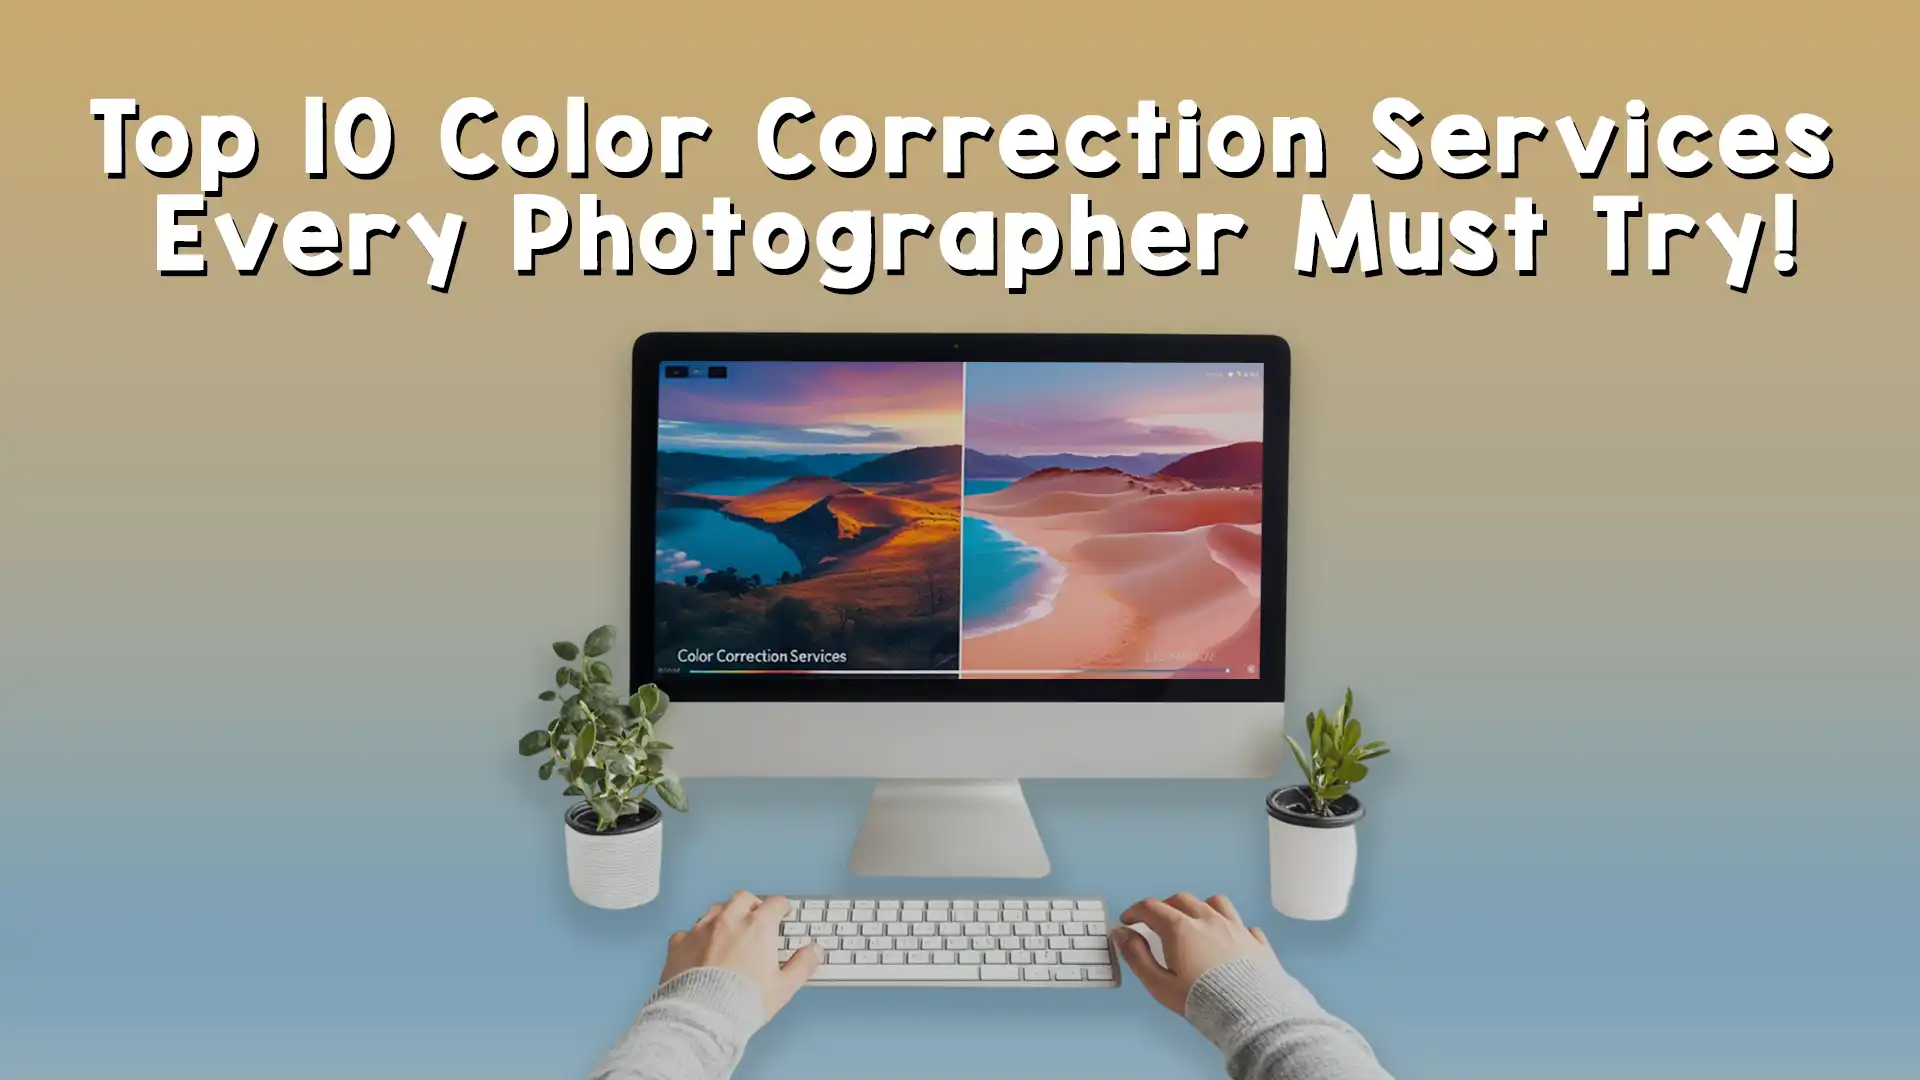
What Is Colour Grading Photography?
Colour grading photography is the art of adjusting the colors, tones, and lighting in an image to create a specific look or feel. It’s different from colour correction, which focuses on making colors accurate—like fixing a blue tint on a white dress. Instead, colour grading photography is about creativity. Want your sunset shots to glow with warm oranges or your portraits to have a cool, cinematic vibe? That’s where colour grading photography comes in. It’s like adding a filter with intention, shaping how viewers experience your photos.
This process involves tweaking elements like saturation, contrast, highlights, and shadows, often using software like Adobe Lightroom, Photoshop, or DaVinci Resolve. Colour grading photography lets you set the mood—think of it as the director’s touch in a film, guiding the audience’s emotions. Whether you’re enhancing a wedding album or styling a travel portfolio, colour grading photography gives your work a polished, professional edge. At Image Work India, we’ve seen how it turns raw shots into breathtaking memories.

Why Colour Grading Photography Matters in Your Workflow
You might think raw photos are enough, especially with today’s high-quality cameras. But colour grading photography is what bridges the gap between what your camera captures and what your heart felt in the moment. A flat, ungraded image might show the scene, but it won’t always convey the atmosphere—like the romance of a golden hour or the drama of a stormy sky. Adding colour grading photography to your workflow ensures your photos don’t just look good—they feel right.
Beyond aesthetics, colour grading photography saves time in the long run. By developing a consistent grading style, you can edit batches of photos faster, creating a cohesive look without starting from scratch each time. It’s a game-changer for photographers juggling multiple projects or tight deadlines. Plus, clients love the polished results—it sets you apart in a crowded field. Colour grading photography isn’t just an extra step; it’s a workflow upgrade that boosts efficiency and impact.
Tools You’ll Need for Colour Grading Photography
Before you start colour grading photography, you’ll need the right tools. Adobe Lightroom is a favorite for its simplicity and power. With sliders for exposure, contrast, and color adjustments, it’s perfect for beginners and pros alike. Photoshop offers deeper control, letting you work with layers and masks to refine specific areas of an image. For a cinematic flair, DaVinci Resolve—originally a video grading tool—brings advanced colour grading photography features like color wheels and curves to your stills.
If you’re just dipping your toes in, presets are a great shortcut. These pre-made settings apply a look with one click, and you can tweak them to fit your style. You’ll find free or paid presets online, tailored for everything from moody landscapes to bright portraits. Mobile apps like VSCO or Snapseed can handle basic colour grading photography too, ideal for quick edits. At Image Work India, we use a mix of these tools to deliver stunning results—check out our image editing services to see how we can support your workflow.

Step 1: Prepare Your Images for Colour Grading Photography
The first step in colour grading photography is setting up your images properly. Start by importing your photos into your chosen software and organizing them—group similar shots (like all the golden hour ones) to keep your workflow smooth. Next, do basic corrections. Adjust exposure to brighten or darken the image, tweak contrast to add depth, and fix white balance to remove any unwanted color casts. This isn’t grading yet—it’s laying a clean foundation.
Think of it like prepping a canvas before painting. If your photo is too dark or has a green tint from fluorescent lights, your grading won’t look right. Spend a few minutes getting these basics in place, and your colour grading photography will be more effective. A well-prepped image lets the creative adjustments shine without fighting technical flaws. This step might feel small, but it’s crucial for a streamlined process.
Step 2: Define Your Vision for Colour Grading Photography
Before you touch a slider, take a moment to envision the mood you want. Colour grading photography is all about storytelling—what story do your photos tell? A warm, golden palette might suit a joyful family shoot, while cool blues and muted tones could enhance a moody cityscape. Consider the subject, lighting, and purpose of the images. Are they for a client who loves vibrant colors or a personal project with a vintage feel?
Having a clear vision guides your edits and keeps them consistent. Write it down if it helps—like “soft pastels for a dreamy wedding” or “bold contrasts for a dramatic portrait.” This step in colour grading photography saves you from aimless tweaking, making your workflow faster and more focused. At Image Work India, we always start by understanding our clients’ goals—it’s the key to grading that resonates.

Step 3: Adjust Tone and Contrast in Colour Grading Photography
With your vision set, begin colour grading photography by shaping the tone and contrast. Open your software’s tone curve or sliders and adjust the highlights, shadows, and midtones. Lifting the highlights can create an airy feel, while deepening shadows adds drama. Contrast ties it together, making colors pop without changing them yet. This step builds the structure of your look—like framing a house before adding paint.
For example, a beach photo might benefit from bright highlights and soft shadows for a light, summery vibe. A night shot could use crushed blacks and lifted midtones for mystery. Play with these settings until the image starts to reflect your vision. Colour grading photography relies on this tonal foundation—get it right, and the colors you add next will feel natural and impactful.

Step 4: Enhance Colors in Colour Grading Photography
Now comes the fun part—playing with colors. In your editing software, head to the HSL (Hue, Saturation, Luminance) panel or color wheels. Adjust the hue to shift colors—like making greens more teal or yellows more golden. Increase saturation for vibrancy or lower it for a muted look. Luminance controls brightness per color—brighten blues for a lively sky or darken reds for richer tones. This is where colour grading photography gets creative.
Experimentation is key. A portrait might glow with warm skin tones and desaturated backgrounds, keeping the focus on the subject. A landscape could shine with vivid greens and subtle purples in the distance. Don’t overdo it—small tweaks often have the biggest impact. This step in colour grading photography brings your vision to life, turning flat images into emotional masterpieces.

Step 5: Apply Split Toning in Colour Grading Photography
Once your colors are taking shape, it’s time to add a cinematic touch with split toning. This step in colour grading photography involves adding different tints to the highlights and shadows, creating depth and style. In Lightroom or Photoshop, find the split toning panel or color grading tools. You might add a warm orange to the highlights for a golden glow and a cool teal to the shadows for contrast. This classic combo is a staple in films and works wonders in colour grading photography too.
Split toning lets you refine the mood. For a romantic portrait, warm highlights and soft purple shadows can feel dreamy. For a bold landscape, try yellow highlights and deep blue shadows for drama. Keep the effect subtle—too much tint can look artificial. Colour grading photography shines when split toning enhances the image without stealing the show. Play with the sliders until it feels balanced, and watch your photos take on a polished, professional vibe.

Step 6: Add Finishing Touches in Colour Grading Photography
The final step in colour grading photography is all about polish. Add a vignette to darken the edges, drawing attention to the center of the frame. This works great for portraits or intimate moments, giving them a cozy, focused feel. Next, consider a touch of film grain for texture—especially if you’re aiming for a vintage look. In tools like Lightroom, the grain slider mimics the charm of old-school film, adding character to your colour grading photography.
Sharpening and noise reduction come into play here too. Boost sharpness slightly to enhance details, but don’t overdo it—too much can make the image harsh. If your photo has grainy noise from low light, smooth it out without losing texture. These finishing touches in colour grading photography tie everything together, ensuring your image looks complete. Step back, review your work, and tweak anything that feels off—you’re almost done!
Practical Examples of Colour Grading Photography
To see colour grading photography in action, let’s look at a few scenarios. Imagine a wedding photo taken at sunset. The raw shot might have decent light, but the colors feel flat—the sky’s oranges blend into a muddy background. Start by lifting the highlights and deepening the shadows for contrast. Boost the orange and yellow saturation, then add warm split toning to the highlights. The result? A glowing, romantic image that feels like a movie scene, all thanks to colour grading photography.
Now picture a rainy cityscape. The unedited photo looks gray and dreary, with muted buildings and a washed-out sky. Adjust the white balance to cool the tones, increase contrast, and enhance the blues for a moody vibe. Add a teal shadow tint and a slight vignette, and suddenly the scene feels atmospheric and cinematic. Colour grading photography turns a dull day into a striking visual story.
For a third example, think of a bright family picnic. The raw image might be overly vivid, with greens and reds clashing. Tone down the saturation for a softer look, lift the midtones for brightness, and add a golden highlight tint. The photo becomes warm and nostalgic, capturing the joy of the moment. These examples show how colour grading photography adapts to any style or setting, improving your workflow with stunning results.

Common Mistakes to Avoid in Colour Grading Photography
Even with a solid process, mistakes can creep into colour grading photography. One big misstep is over-saturating colors. It’s tempting to crank up the vibrancy for impact, but too much can make photos look fake—like a neon sky or cartoonish skin tones. Aim for balance; colour grading photography should enhance, not distort. Compare your edit to the original to keep it grounded.
Another error is skipping the prep work. Jumping straight to grading without fixing exposure or white balance can lead to uneven results. A photo with a blue cast won’t grade well until it’s corrected—your warm tones might turn muddy. Always start with a clean slate, as we covered earlier. Colour grading photography builds on basics, so don’t rush past them.
Finally, avoid inconsistency. Editing one photo with a warm vintage look and the next with cool modern tones can disjoint your collection. Decide on a style upfront and stick to it across your set. Colour grading photography thrives on cohesion—random edits waste time and confuse viewers. Sidestep these pitfalls, and your workflow will stay smooth and professional.
Tips for Consistency in Colour Grading Photography
Consistency is key to a standout portfolio, and colour grading photography makes it possible. Begin by grading a handful of key images—like a wide shot, a close-up, and a detail. Save the settings or create a custom preset based on these edits. In Lightroom, you can sync those adjustments across similar photos, tweaking as needed for lighting changes. This batch approach speeds up your workflow while keeping the look uniform.
Pay attention to the lighting conditions in your set. Outdoor shots might need different grading than indoor ones, but the overall mood should align. For example, a wedding album could have a warm, golden thread running through every image, tying the day together. Test your edits side by side to ensure they flow. Colour grading photography isn’t about identical edits—it’s about a shared vibe that makes your work recognizable and polished.

Why Outsource Colour Grading Photography?
Colour grading photography takes time and skill, and not everyone has the bandwidth to master it. For busy photographers or clients wanting pro-level results without the effort, outsourcing is a smart move. Professional editors can handle the heavy lifting, applying colour grading photography with precision and speed. At Image Work India, we’ve streamlined workflows for countless clients, turning raw shots into graded gems.
Outsourcing frees you to focus on shooting or enjoying your photos, while experts like us perfect the details. Whether it’s a cohesive album or a standout single image, professional colour grading photography delivers quality you can’t beat. Visit our image editing services page to learn more—it’s a workflow upgrade without the learning curve.

Transform Your Workflow with Image Work India
Colour grading photography is more than an edit—it’s a way to bring your photos to life, streamline your process, and impress your audience. This step-by-step guide has walked you through preparing your images, defining your vision, adjusting tones, enhancing colors, and adding finishing touches. With colour grading photography, your workflow becomes faster, your style sharper, and your results unforgettable. But you don’t have to do it alone.
At Image Work India, we’re passionate about making your photos shine. Our image editing services include expert colour grading photography, retouching, and custom edits tailored to your needs. Whether you’re a photographer juggling deadlines or a client dreaming of a perfect album, we’ve got you covered. Head to Image Work India today, request a quote, and let us elevate your photography workflow. Your stunning images are waiting—let’s create them together!