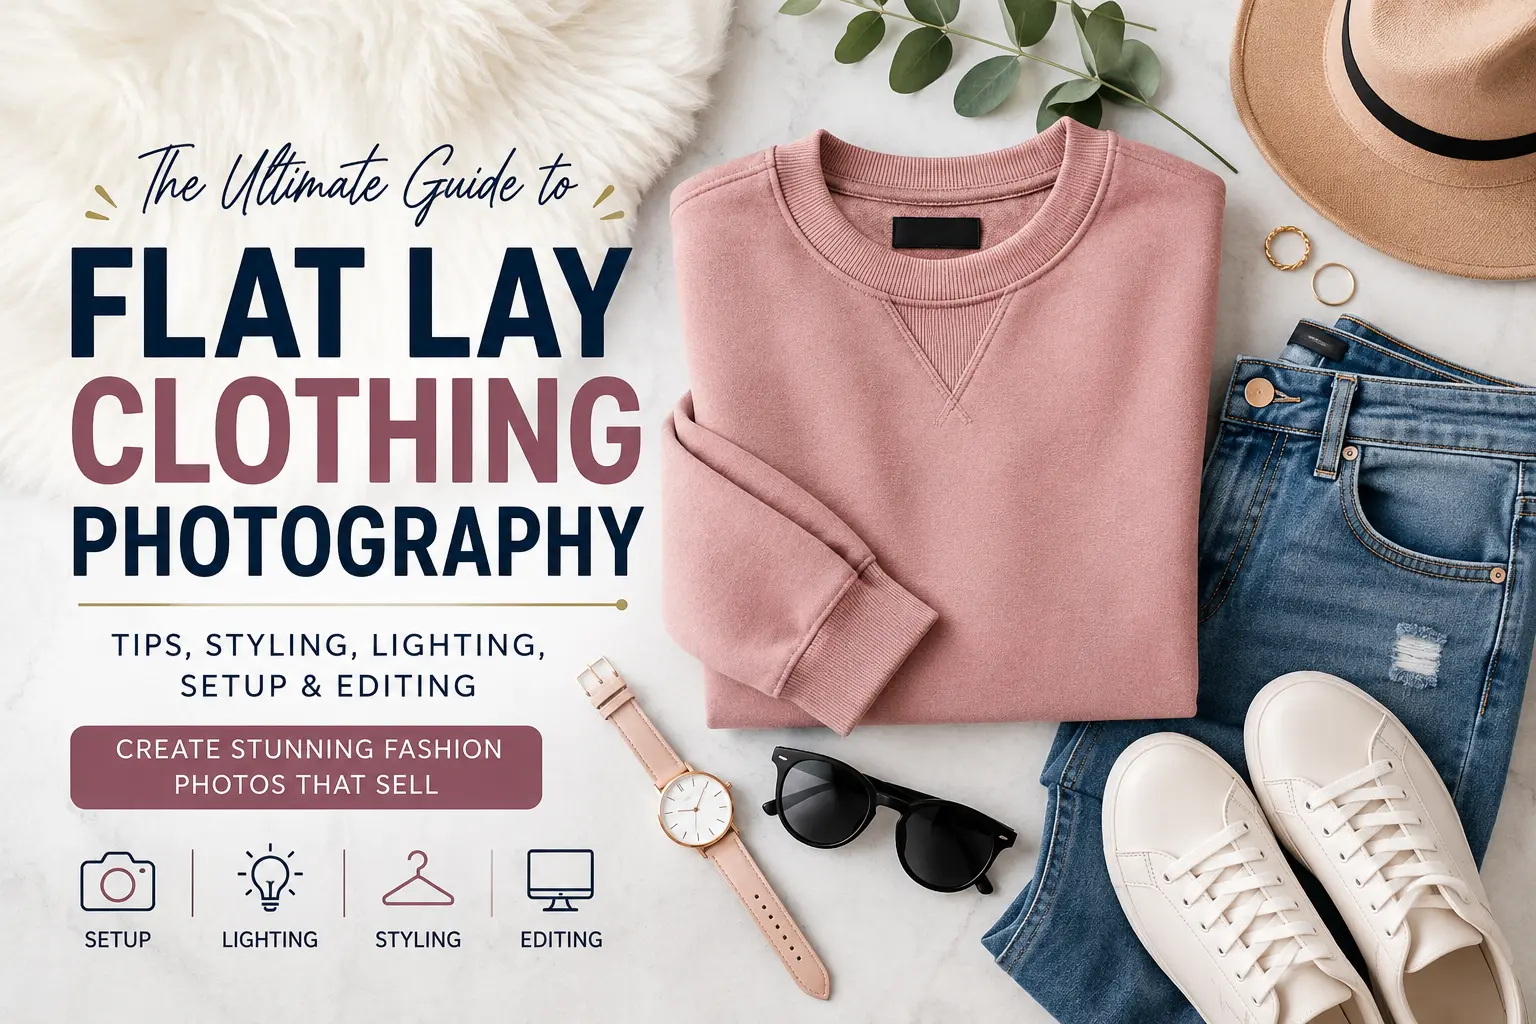
Clothing photography is one of the most important aspects of fashion marketing. Whether you are a small online boutique, an e-commerce platform, or an individual designer, high-quality images help attract customers and boost sales. A perfect clothing photography setup can make a big difference in how your clothes look online. This guide will help you understand everything you need to create a professional clothing photography setup, even if you are working with a limited budget or space.
Why Clothing Photography Matters
Before we get into the technical parts, it’s important to understand why clothing photography is so critical. People shopping online cannot touch, feel, or try on the clothes. The only way they can understand the product is through visuals. If your clothing photos are dull, poorly lit, or unclear, customers will quickly move on to another seller. On the other hand, a sharp, well-lit, and attractive image will help buyers see the fabric, style, and fit clearly. That’s why investing time and effort into a good clothing photography setup is so important.

Choosing the Right Space
A proper clothing photography setup starts with selecting the right space. Ideally, the room should have enough natural light, space to move around, and plain walls. Natural daylight is always the best lighting source, especially for beginners who do not have studio lights. A room with large windows is perfect. You should avoid using rooms with mixed lighting (like yellow ceiling lights and natural light) because it can create uneven color tones in your photos.
If you’re working indoors without windows, make sure the room can be completely controlled in terms of lighting. Using artificial lighting gives you more control, but you will also need to make sure your white balance is adjusted properly to avoid color distortion.

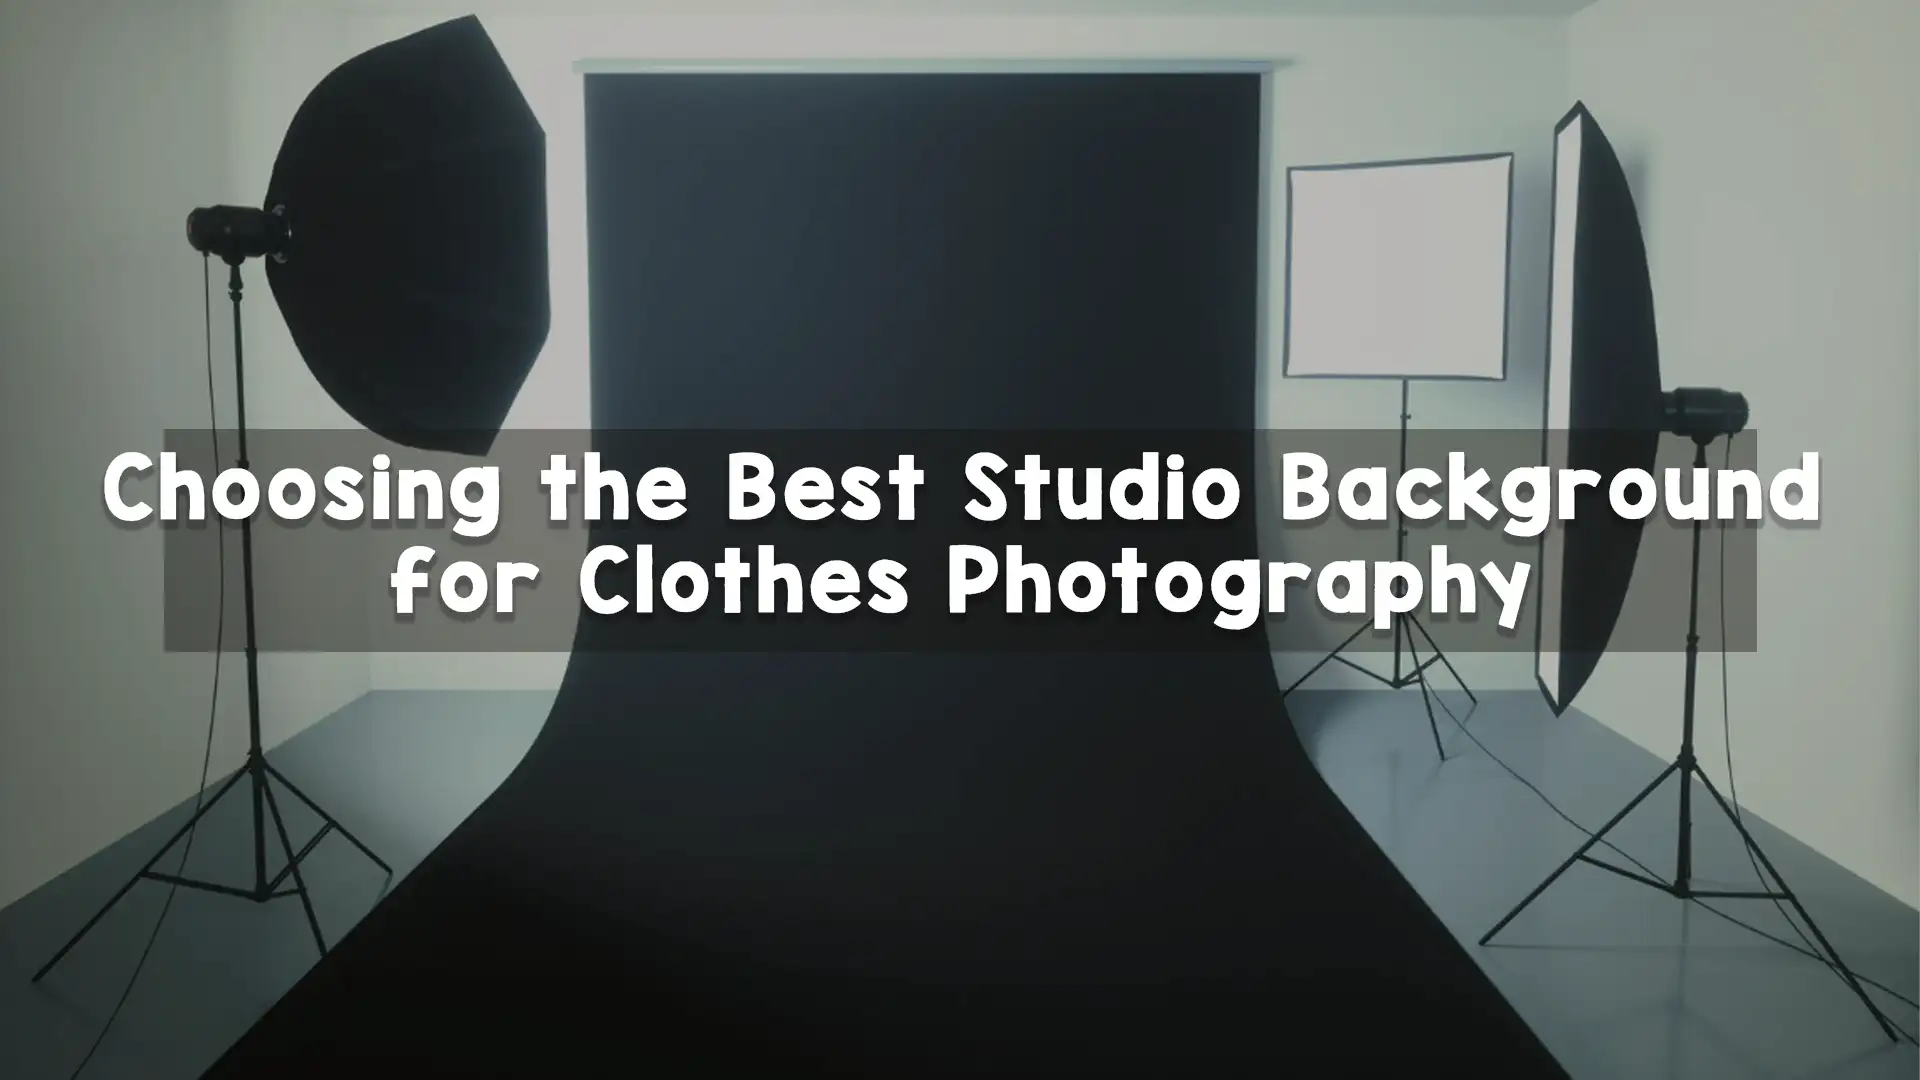
Picking the Background
The background you use plays a major role in how your clothes appear. A plain white or neutral-colored background is most commonly used for product photography. This ensures that the focus remains on the clothing item. A clean background removes distractions and gives a professional look to your images.
Some photographers use seamless paper rolls or fabric backdrops. These options work well to create a clean and simple look. If you are photographing lifestyle shots, like clothes being worn outdoors or in styled settings, then you can explore more creative backgrounds. However, for product listings on e-commerce websites, a plain background is usually required.

Lighting for Clothing Photography
Lighting is the heart of any clothing photography setup. If your lighting is off, your clothing photos will look flat, dull, or overexposed. As mentioned earlier, natural light is great if you are just starting. However, for more consistent results, professional photographers use studio lighting.
A basic studio lighting setup includes two softbox lights. One light is placed on each side of the clothing item at a 45-degree angle. This creates even lighting and reduces harsh shadows. If needed, a third light can be placed behind the clothing to remove shadows from the background.
Using soft lighting is key. Harsh lighting can create unwanted shadows, especially on textured fabrics. Soft light helps to show fabric detail without blowing out the highlights or darkening the shadows. If your light source is too strong, consider using a diffuser or bouncing the light off a wall or ceiling.

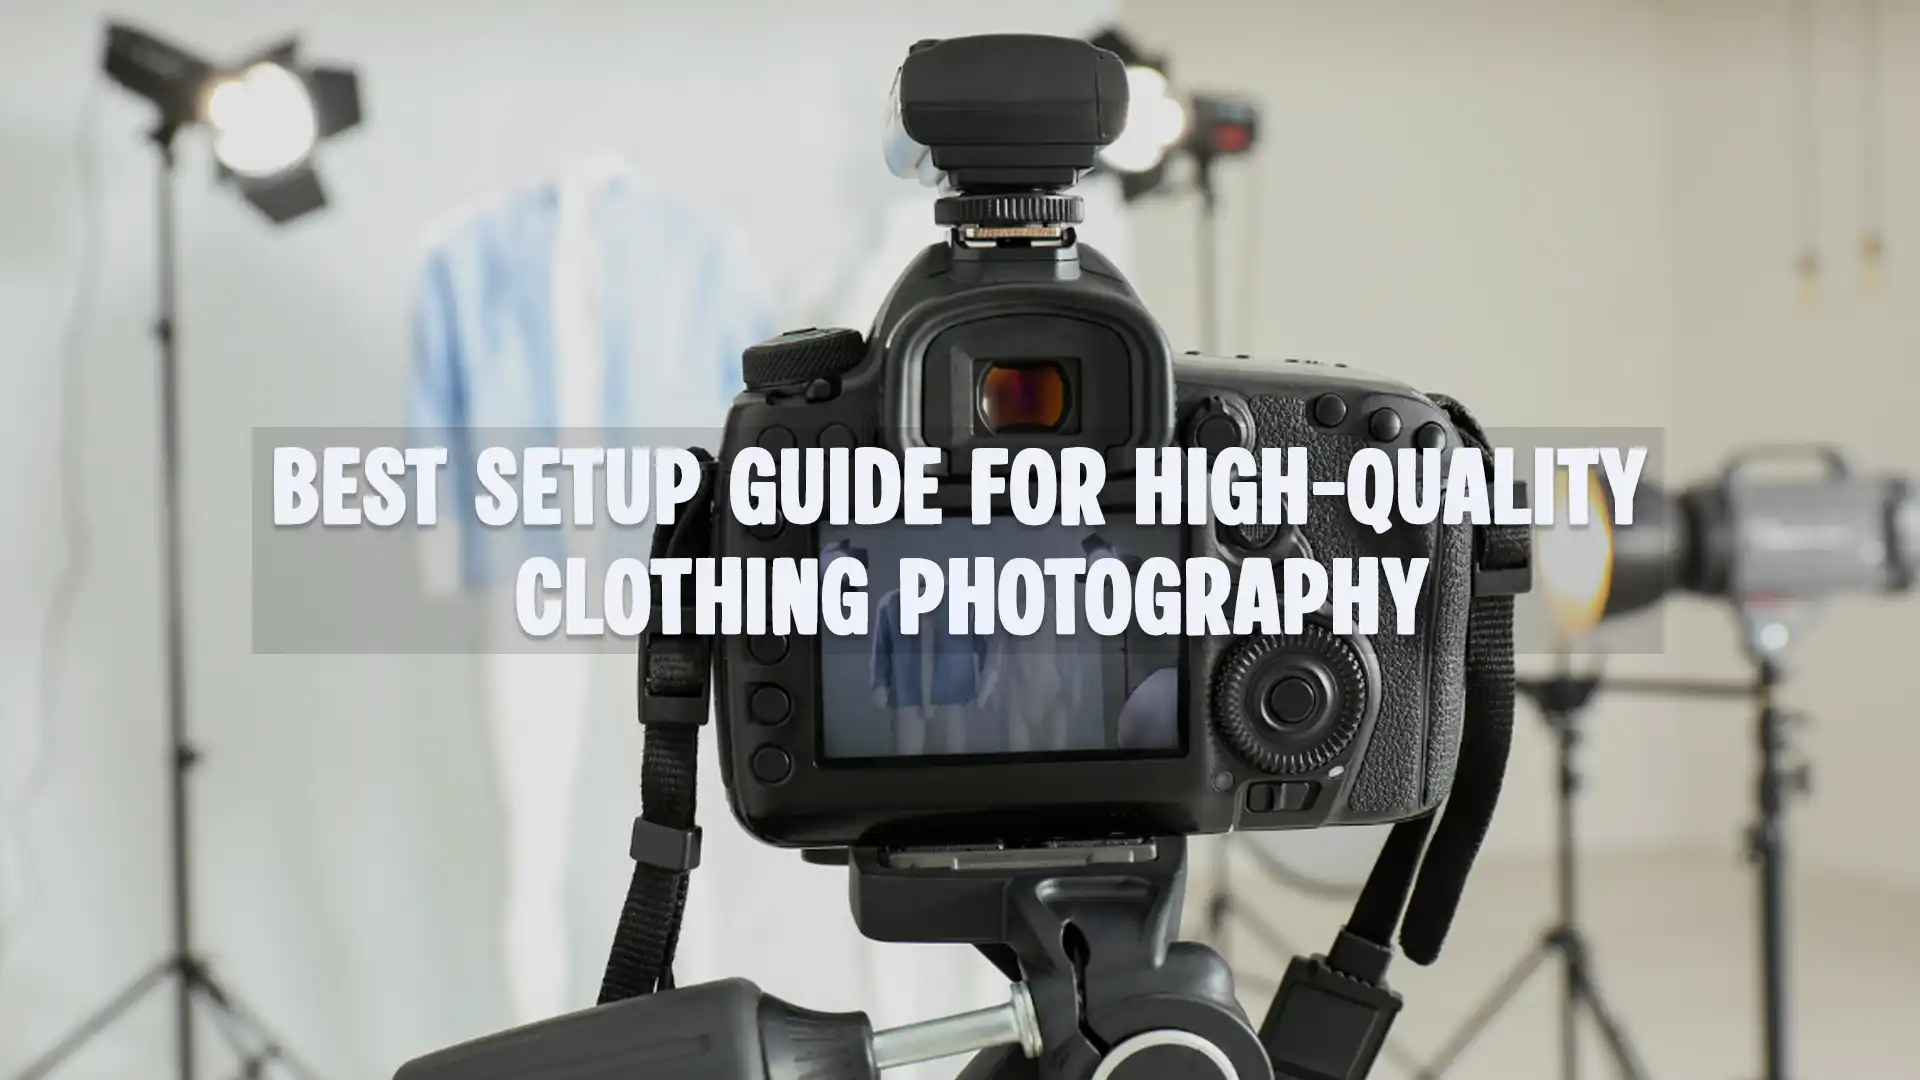
Using a Tripod and Camera Settings
A tripod is a must-have tool in your clothing photography setup. It helps keep the camera stable, which is especially important when shooting with slower shutter speeds. Stability ensures your images are sharp and professional-looking. Without a tripod, you risk getting blurry photos due to hand movements.
When it comes to camera settings, you don’t always need a high-end DSLR. Even a good mirrorless or bridge camera can do the job well. If you are using a DSLR, shoot in manual mode so you can control the aperture, ISO, and shutter speed.
Use a low ISO setting (100–200) to avoid noise in your photos. A medium aperture (like f/8) gives you good depth of field, making sure the clothing item is in sharp focus. Shutter speed should be adjusted according to your lighting setup. Always check your white balance so that the colors of the clothes appear true to life.

Shooting on a Model vs Flat Lay
There are three main ways to photograph clothing: on a model, on a mannequin, or as a flat lay. Each method requires a slightly different clothing photography setup.
Shooting on a model helps customers visualize how the clothing fits and moves. It gives a sense of style, size, and real-world appeal. However, it can be more expensive as it may involve hiring a model and a makeup artist. You’ll also need more space and time.
Using a mannequin is a great middle-ground option. It gives structure to the clothing and is more budget-friendly than using a model. For an even more polished look, you can use a ghost mannequin technique, where the mannequin is edited out of the final image to make the clothing appear as if it’s floating.
Flat lay photography is the simplest and cheapest method. You lay the clothing flat on a surface and shoot from above. It’s ideal for casual clothing like T-shirts or accessories. However, it doesn’t work well for structured garments like jackets or dresses, as they need shape to show properly.
No matter how good your lighting and camera are, if the clothing is wrinkled or poorly styled, the photos will not look good. Preparation is key. Iron or steam all clothing items before the shoot. Remove any dust or lint using a lint roller. Check for loose threads or tags sticking out.
Make sure the clothing fits properly on the model or mannequin. Use clips or pins on the back of the clothing to create a fitted look, especially for loose garments. Styling should be minimal but clean and intentional. The goal is to make the item look its best without adding distractions.

Shooting Angles and Composition
Your clothing photography setup should allow you to shoot from multiple angles. Different angles help show important details like stitching, buttons, zippers, or patterns. Front, side, and back shots are standard for most clothing items. For some items, like jackets or dresses, you might also want to include close-up shots of fabric texture or embellishments.
Try to maintain consistent composition across your product images. Keep the clothing item centered and at a similar distance in each shot. This makes your online store look neat and professional.
If you’re doing lifestyle photography, make sure the composition tells a story. Think about how the model interacts with the environment, how the lighting sets the mood, and what the overall style communicates about the brand.

Editing and Post-Production
After the shoot is done, post-production becomes the final step in your clothing photography setup. This is where you fine-tune the colors, adjust lighting, remove dust or wrinkles, and make sure the photos meet your brand’s quality standards.
Editing software like Adobe Lightroom or Photoshop is commonly used for color correction, background cleaning, and resizing. Keep your editing clean and natural. Avoid using filters that change the original color of the clothing.
Many businesses choose to outsource their post-production work to save time and ensure consistency. Editing hundreds of clothing photos can be time-consuming, so working with a reliable editing company is often a smart choice.
Consistency is Key
No matter what method or style you choose, the most important part of a successful clothing photography setup is consistency. All your product photos should follow a similar style, background, and lighting. This helps customers trust your brand and improves the shopping experience.
If one image is dark and shadowy and another is bright and washed out, it gives a mixed message. On the other hand, a consistent gallery of product photos shows professionalism and makes your store look reliable.
Investing for Better Results
While it’s possible to start with a basic setup, investing in better gear over time will improve your results. Start small—use your smartphone, window light, and a white wall. As your business grows, upgrade your lighting, get a better camera, buy backdrops, and consider using a studio.
Learning about photography and editing can also help improve your images. Even taking a few short online courses can teach you how to frame, light, and edit photos better. Remember, better photos lead to better sales, so it’s worth the investment.

Professional Support from Image Work India
If you are looking for expert help in editing your clothing photos, Image Work India is here to assist. We are a professional image post-production company that specializes in photo editing, background removal, ghost mannequin effects, color correction, and retouching. Our team works with fashion brands, e-commerce stores, and photographers from around the world.
At Image Work India, we understand how important a clean, sharp image is for your clothing brand. Our services help you save time and focus on what you do best—designing and selling amazing clothes. Whether you are an individual seller or a large brand, we offer affordable, high-quality editing solutions tailored to your needs.
With our expert post-processing, your clothing photography setup will look more professional and consistent, attracting more customers and increasing conversions. Let us help you turn your raw images into polished product photos that stand out.
Conclusion
Creating a high-quality clothing photography setup takes planning, effort, and attention to detail. From choosing the right space and lighting to preparing the clothes and editing the final images, every step plays a crucial role. The good news is, you don’t need expensive equipment to get started. With a bit of creativity and consistency, even a small setup can produce professional-looking results.
Whether you’re a beginner or a growing brand, use this guide to build a setup that works for you. And if you ever need help with photo editing or retouching, Image Work India is just a click away. Our expert team is ready to bring out the best in your clothing photography.