Macro jewelry photographers know the struggle: you set up the perfect lighting, but microscopic smudges, lens flare, or light scattering leave your stunning gemstone looking milky and lifeless. In Photoshop v25.x (2024), relying on a global contrast boost or cranking up the generic Dehaze slider usually ends in disaster—resulting in highlight clipping, crushed shadows, and the total destruction of the diamond’s internal reflections (its “fire”). If you are struggling with hazy diamond retouching in Photoshop 2024, you need a targeted, non-destructive approach. Let’s explore how to isolate tonal values from facet sharpness and bring your luxury jewelry photos back to life.
The Problem with Global Adjustments in Macro Jewelry Photography
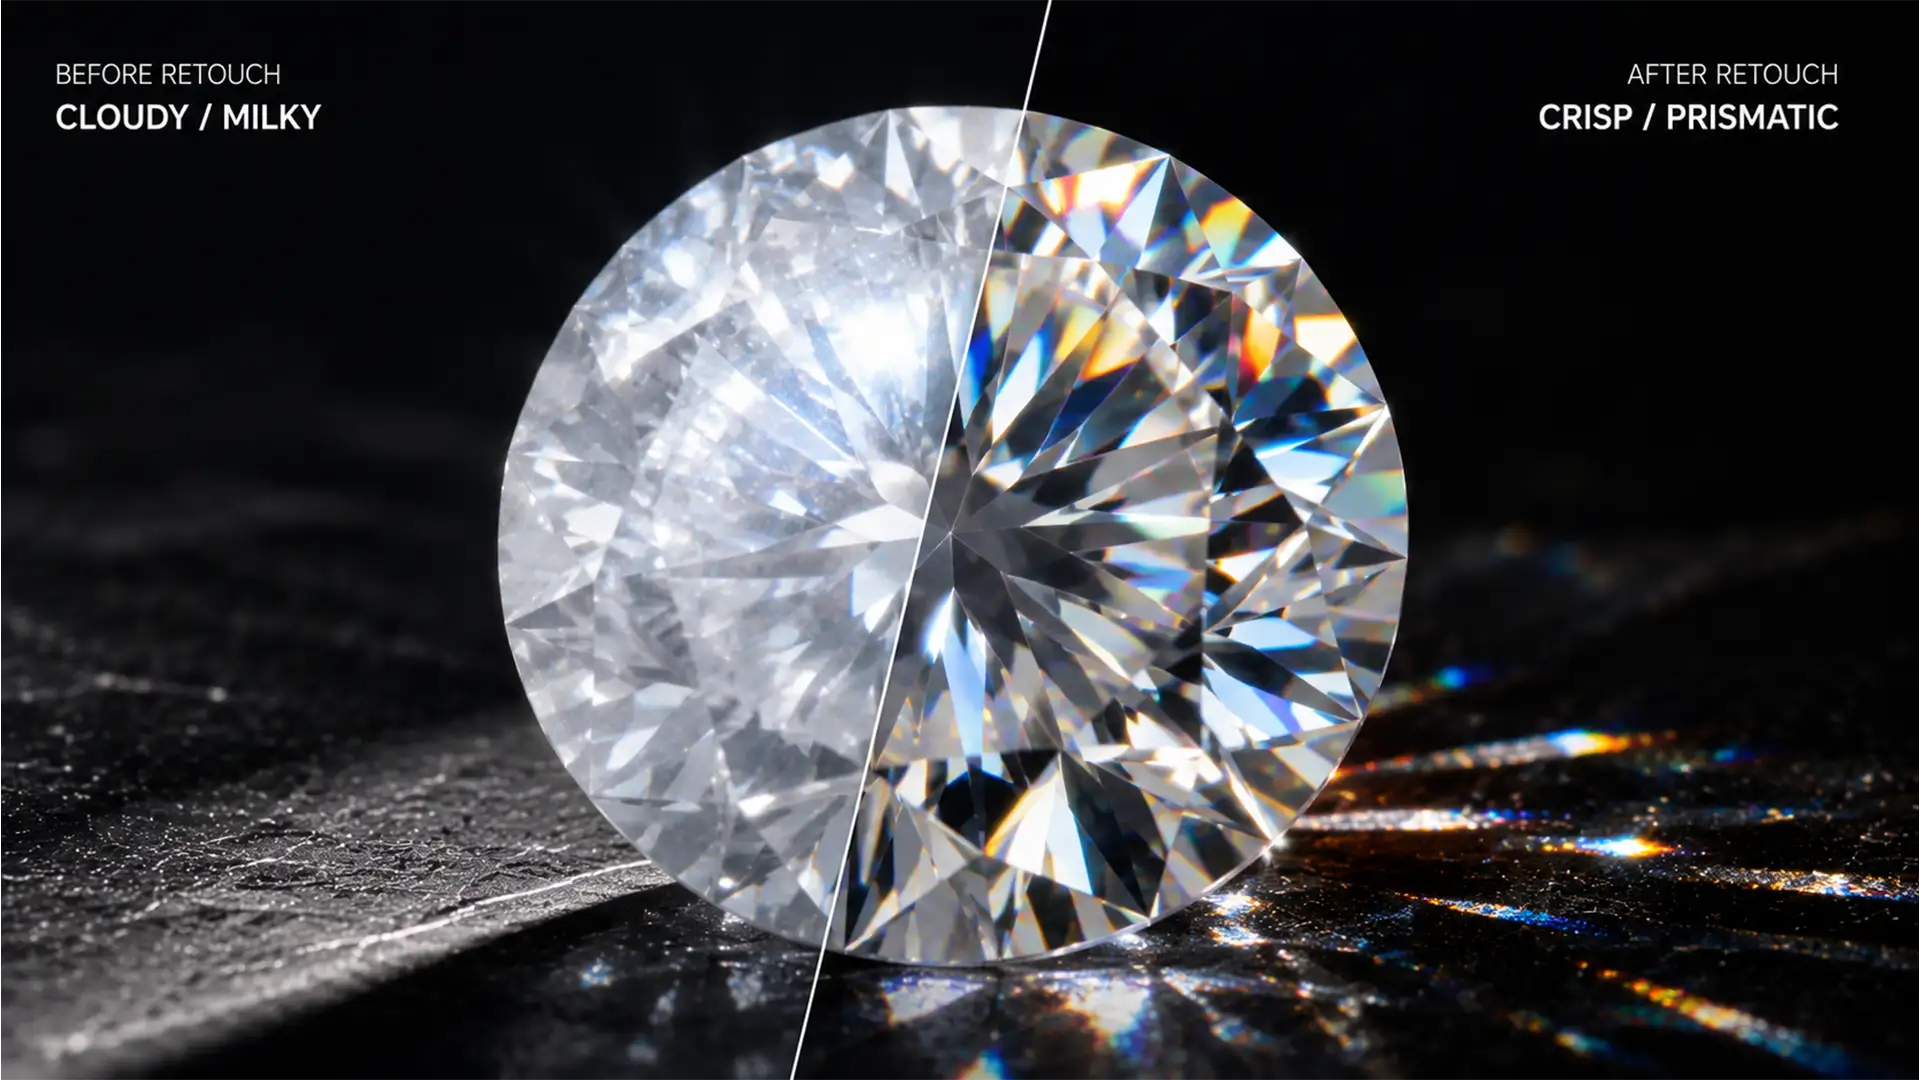
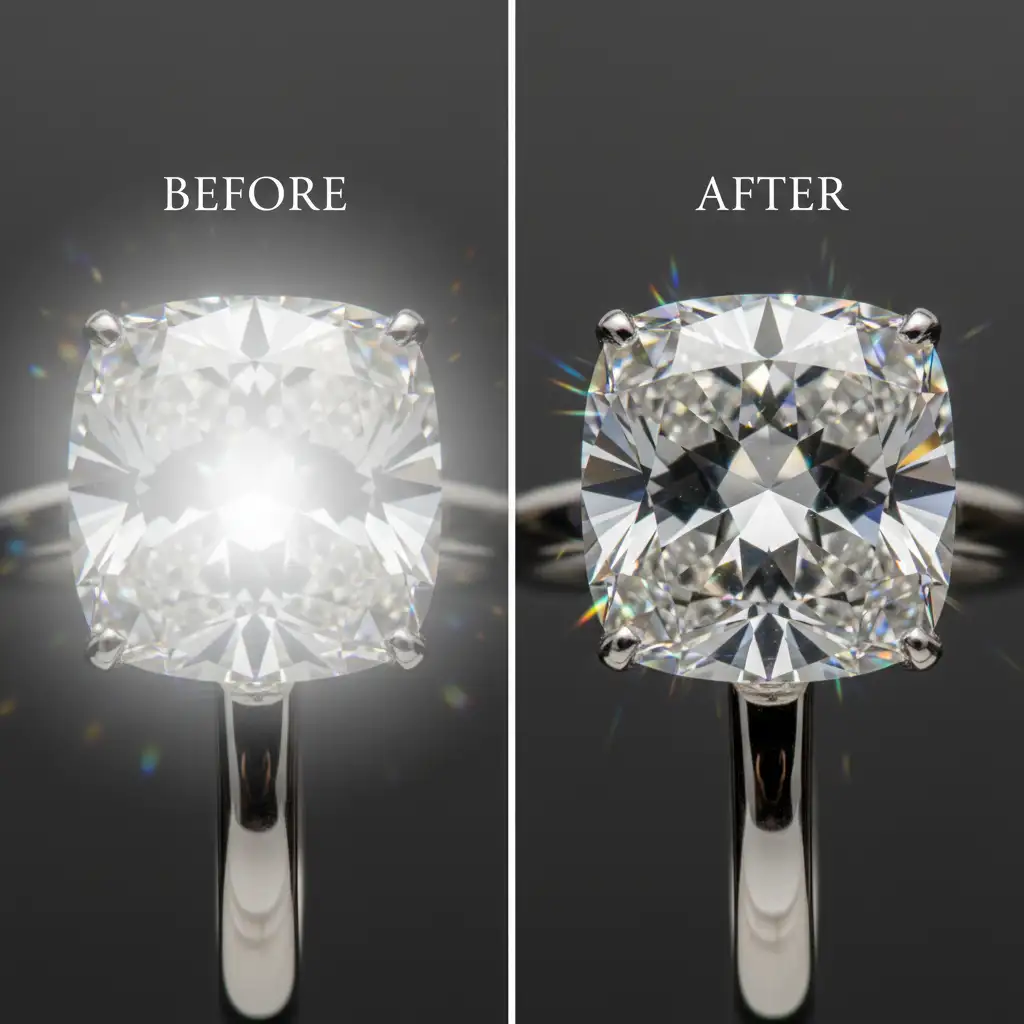
When light hits a diamond, it creates complex internal reflections known as light dispersion. In an unedited RAW file, this often translates to a soft, milky wash over the facets.
Many retouchers immediately reach for brightness/contrast adjustments. However, global edits cannot differentiate between the unwanted milky haze and the brilliant specular highlights of the diamond. The result is a flat, artificial-looking stone. To preserve diamond fire while cutting through the haze, we must use localized, non-destructive techniques.
Method 1: The Quick Fix Using Camera Raw and Smart Objects
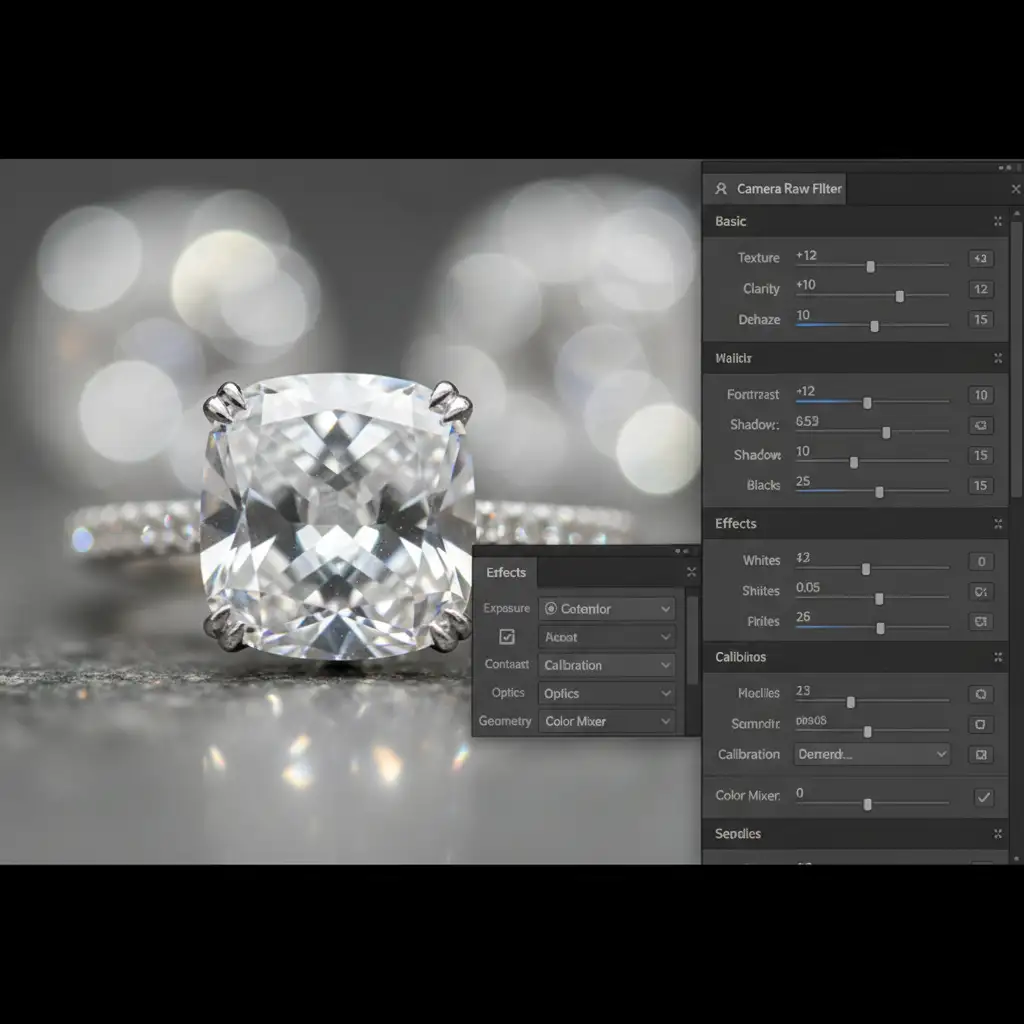
For mild cases of light wash, the Camera Raw Filter in Photoshop 2024 offers powerful localized tools, provided you use them carefully.
Step-by-Step Workflow
- Convert to Smart Object: Right-click your image layer and select “Convert to Smart Object.” This ensures your edits remain non-destructive.
- Open Camera Raw Filter: Navigate to Filter > Camera Raw Filter.
- Targeted Adjustments: Gently push the Dehaze slider to the right (usually between +10 and +20). Compensate by slightly increasing the Clarity and Texture sliders to restore the crispness of the facet edges.
- Apply a Layer Mask: Click OK. Back in the Layers panel, invert the Smart Filter mask (Ctrl/Cmd + I) to hide the effect. Use a soft white brush to paint the clarity and dehaze adjustments only onto the hazy areas of the diamond, preventing highlight clipping on the already bright facets.
Method 2: The Pro Workaround – Frequency Separation for Diamonds
When dealing with severe haze, frequency separation is the industry standard for luxury jewelry retouching. This technique separates the texture of the diamond (high frequency) from the underlying color and tone (low frequency), allowing you to remove the milky wash without destroying the sharp edges of the gem.
Step-by-Step Workflow
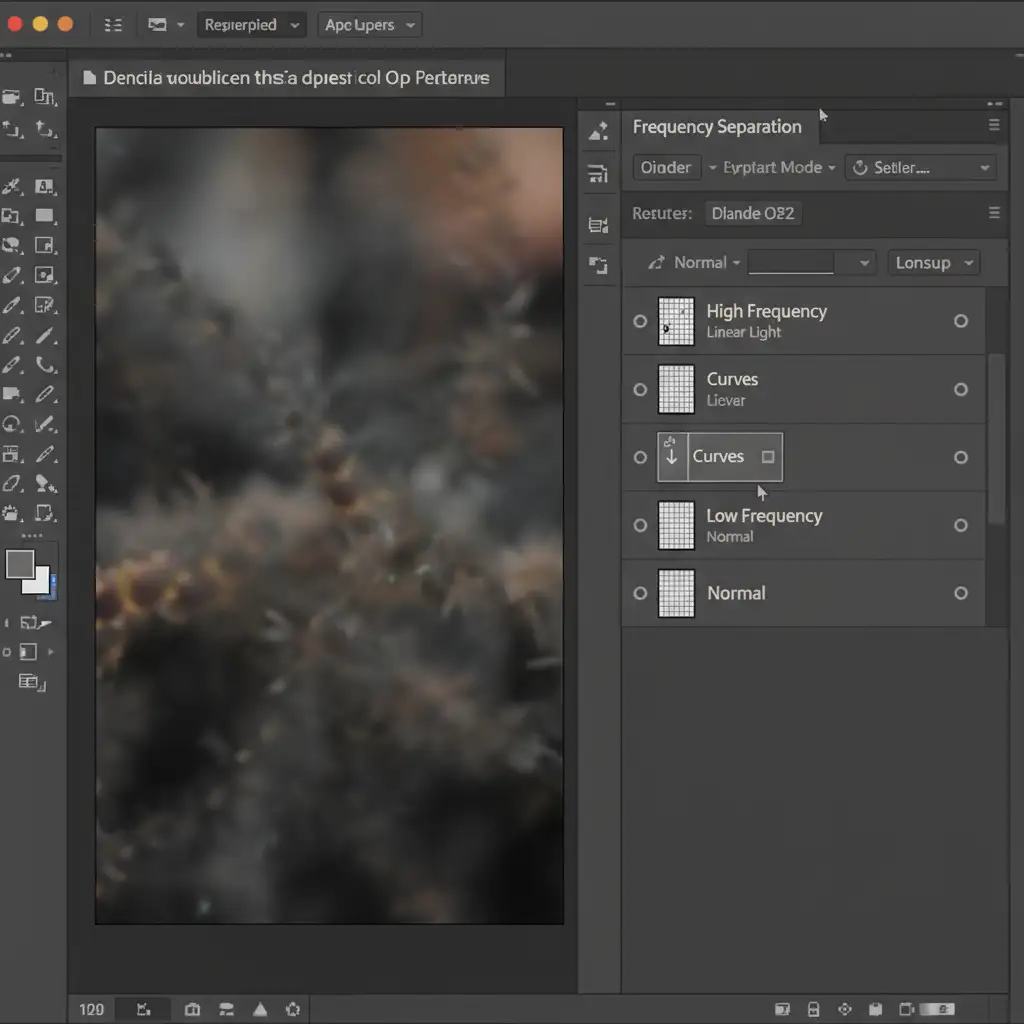
- Create the Separation: Duplicate your base layer twice. Name the bottom layer “Low Frequency” (Tone) and the top layer “High Frequency” (Texture).
- Blur the Low Frequency: Apply a Gaussian Blur to the Low Frequency layer just until the sharp facets disappear (usually 3-5 pixels for macro shots).
- Apply Image to High Frequency: Select the High Frequency layer. Go to Image > Apply Image. Choose the Low Frequency layer as the source, set Blending to Subtract, Scale to 2, and Offset to 128. Change this layer’s blend mode to Linear Light.
- Neutralize the Haze: Create a Curves adjustment layer and clip it (Alt/Option + Click) exclusively to the Low Frequency layer. Gently pull down the midtones on the curve. Because you are only affecting the tone, the milky haze vanishes while the sharp, high-frequency facet edges remain perfectly intact.
Method 3: The Technical Deep-Dive – Lab Color Space Contrast
For the ultimate control over micro-contrast, advanced retouchers convert the image to the Lab color space. Lab separates image lightness (L) from color channels (a and b), allowing you to aggressively push contrast without artificially oversaturating the diamond’s natural colors.
Step-by-Step Workflow
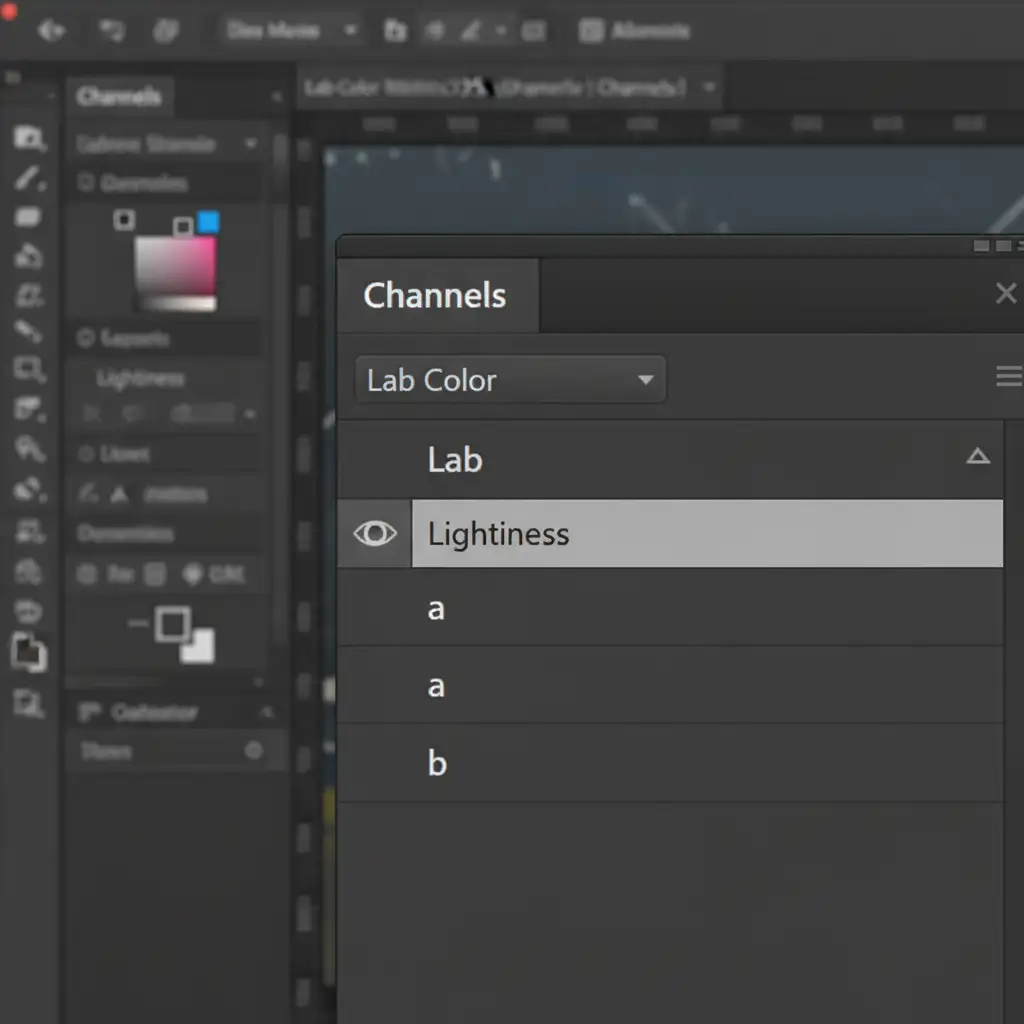
- Convert Color Space: Go to Image > Mode > Lab Color. (Flatten the image if prompted, or work on a merged duplicate).
- Isolate the Lightness: Open the Channels panel and click exclusively on the “Lightness” channel.
- Apply Unsharp Mask: Go to Filter > Sharpen > Unsharp Mask. Use a high Radius (e.g., 30-50 pixels) and a low Amount (e.g., 15-30%). This specific combination boosts local micro-contrast, effectively cutting through the haze and restoring depth to the diamond.
- Return to RGB: Once satisfied, go to Image > Mode > RGB Color to return to your standard working space.
The Final Polish: Restoring the Diamond Fire
By utilizing Smart Objects, frequency separation, and Lab color adjustments, you can completely transform a washed-out, hazy macro shot into a brilliant, production-ready image. The facets will remain razor-sharp, the shadows will be rich without being crushed, and the natural fire of the diamond will take center stage.
Stop Struggling with High-Volume Jewelry Edits
Mastering hazy diamond retouching in Photoshop 2024 requires time, patience, and a deep understanding of technical tools like frequency separation and the Lab color space. If you are a jewelry brand, e-commerce manager, or commercial photographer, spending hours tweaking the Dehaze slider on hundreds of images simply isn’t scalable.
Let Image Work India and Cloud Retouch handle the heavy lifting.
Our team of expert retouchers specializes in luxury jewelry photography. We know exactly how to strip away haze, restore diamond fire, and deliver flawless, production-ready imagery that drives sales. Whether you need a single hero image perfected or high-volume e-commerce edits, we provide unparalleled quality and turnaround times.
Contact Image Work India today to get a custom quote and elevate your jewelry imagery to the highest standard.


