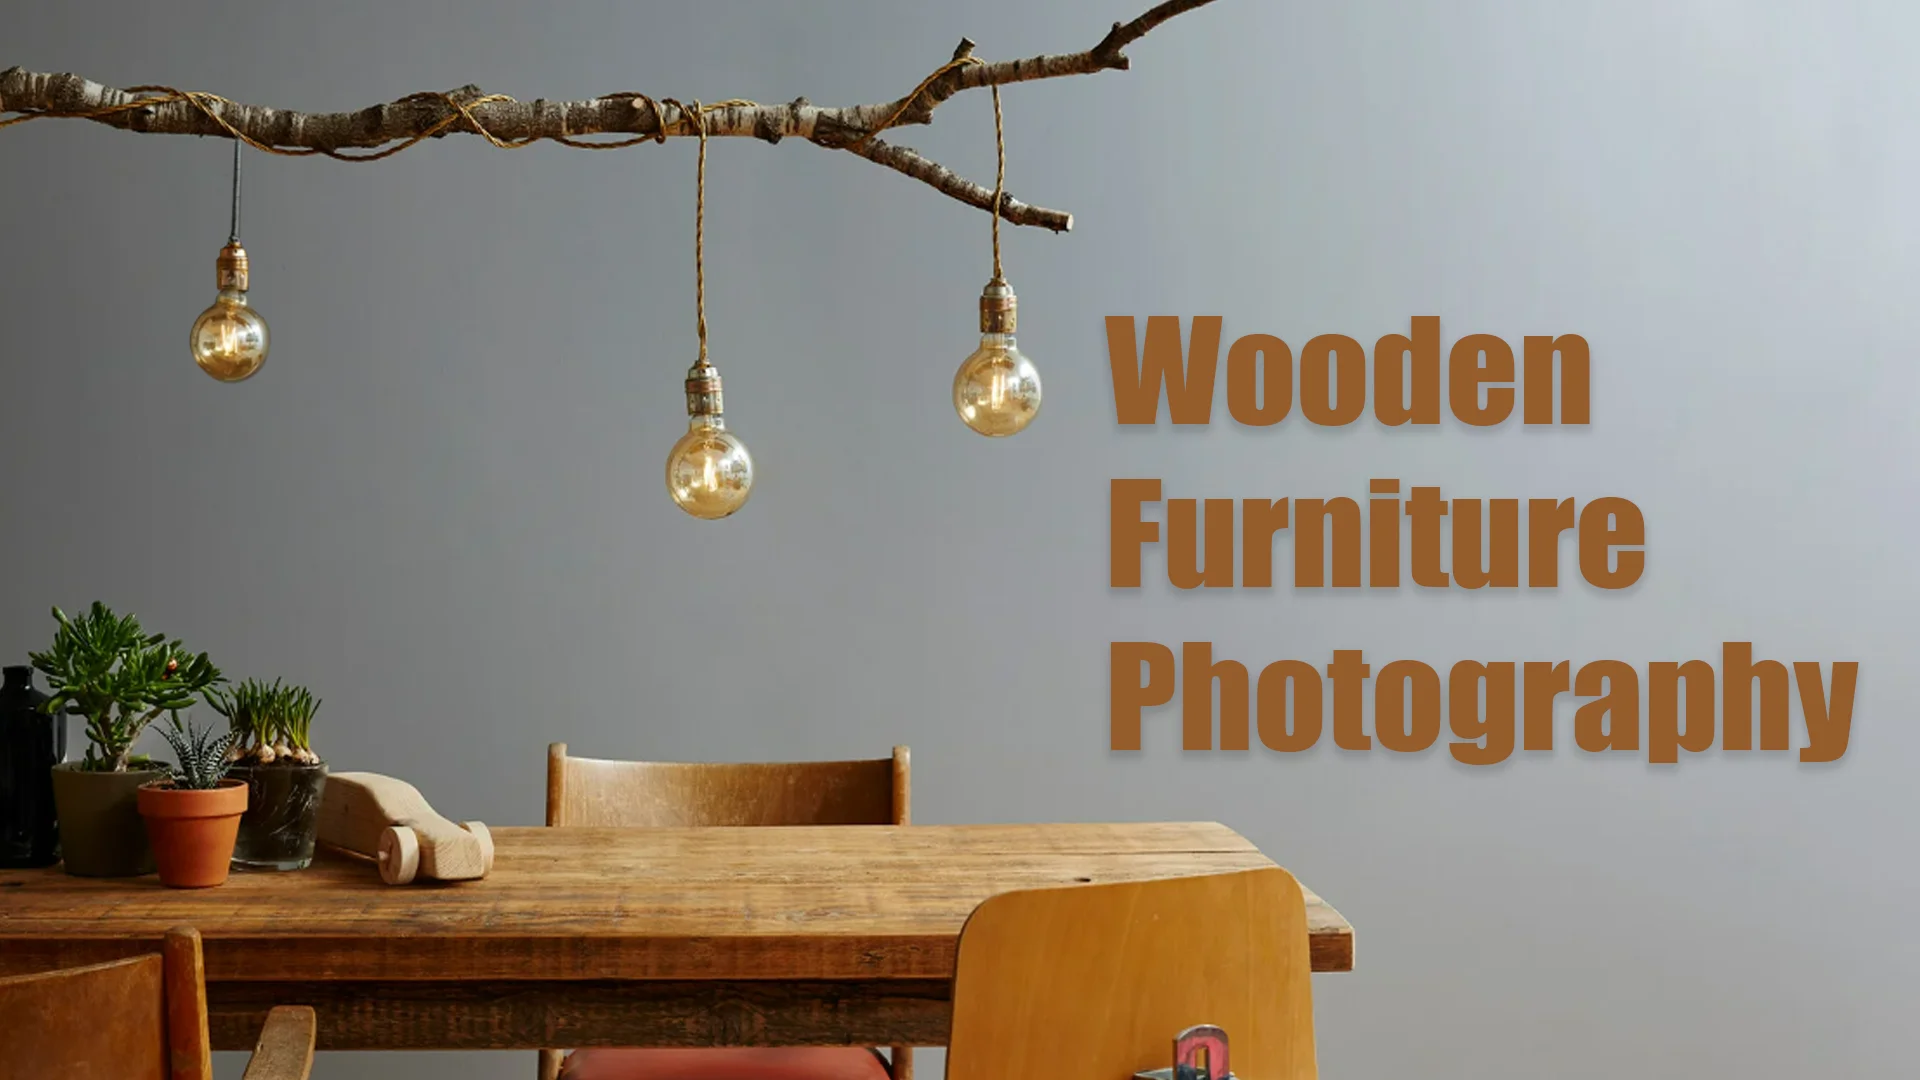
Antique furniture holds a unique charm that modern pieces often cannot replicate. Each vintage chair, table, or dresser tells a story of craftsmanship and history. Capturing this charm through antique furniture photography is an art that requires skill, attention to detail, and an understanding of lighting, angles, and textures. Whether you are a professional photographer, an antique dealer, or a furniture enthusiast, mastering antique furniture photography can enhance the visual appeal of these timeless pieces and help them stand out in a competitive market.
Understanding the Essence of Antique Furniture Photography
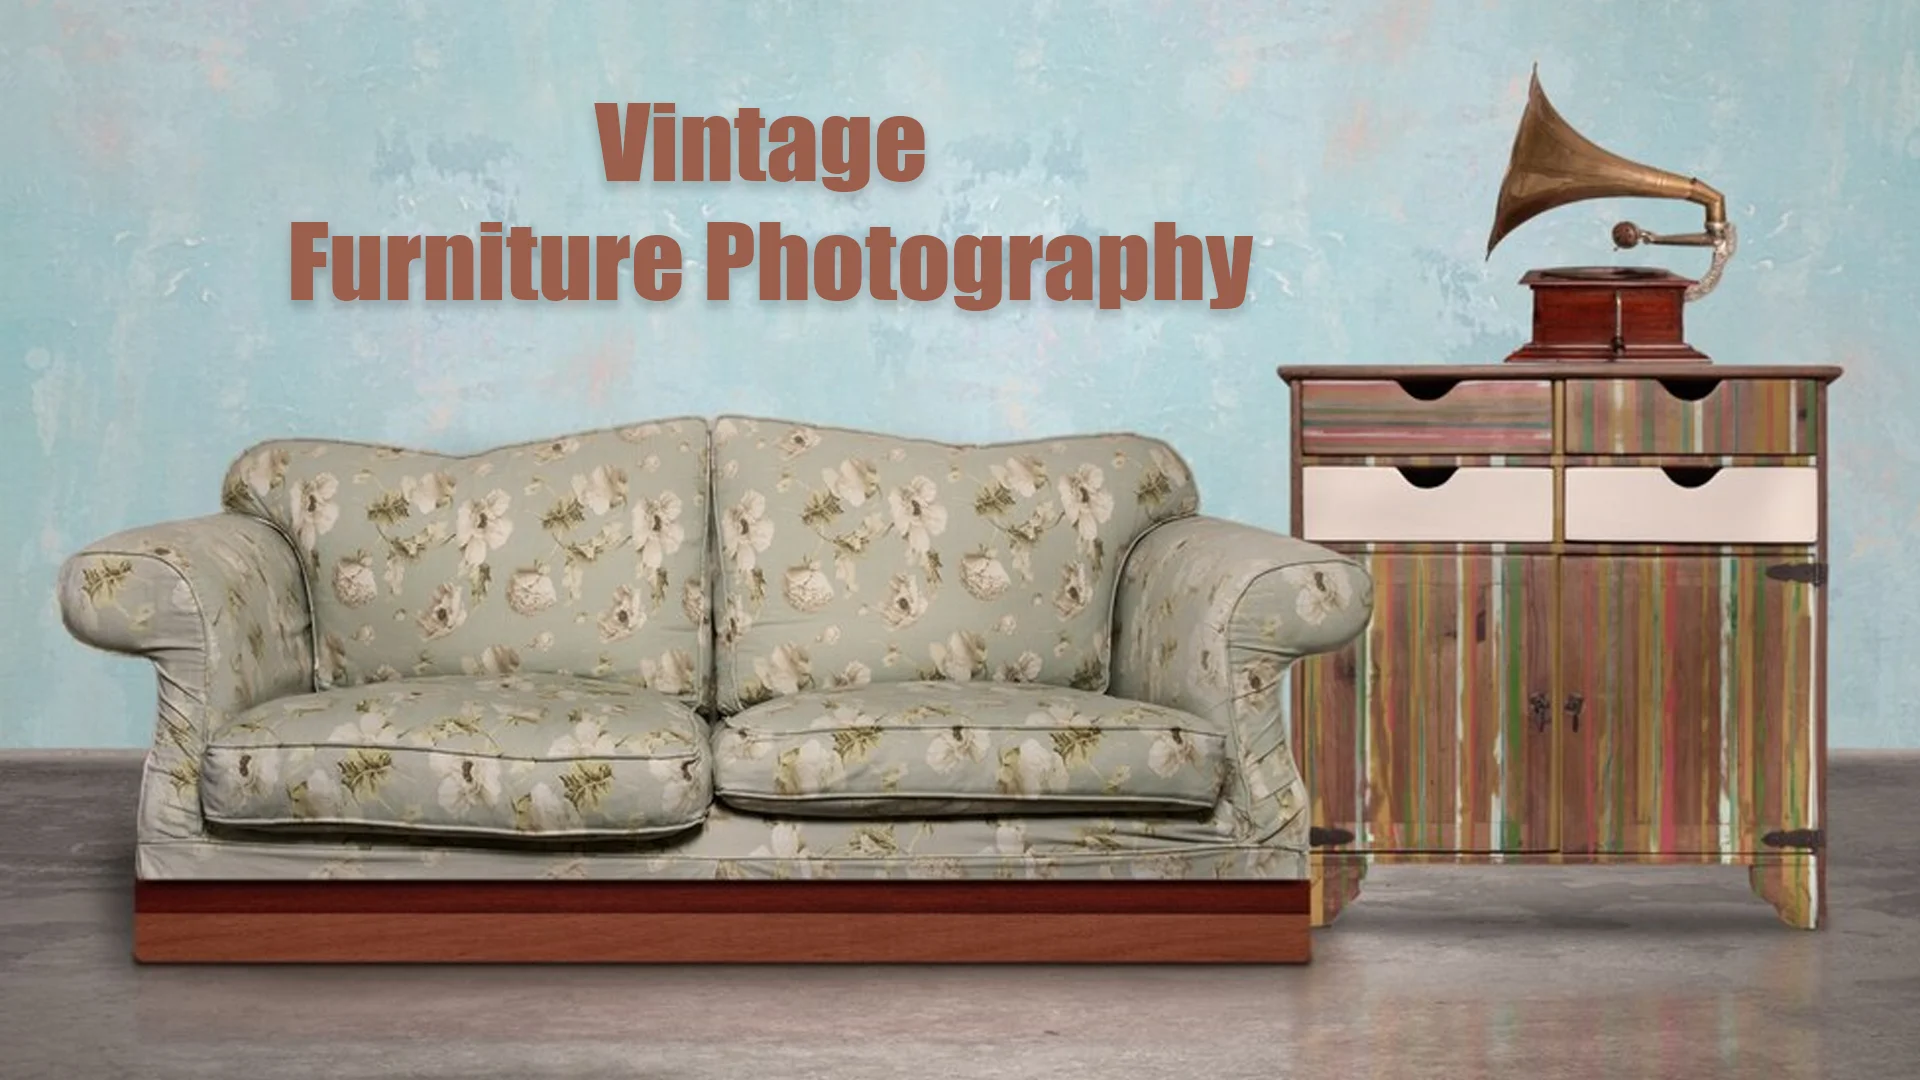
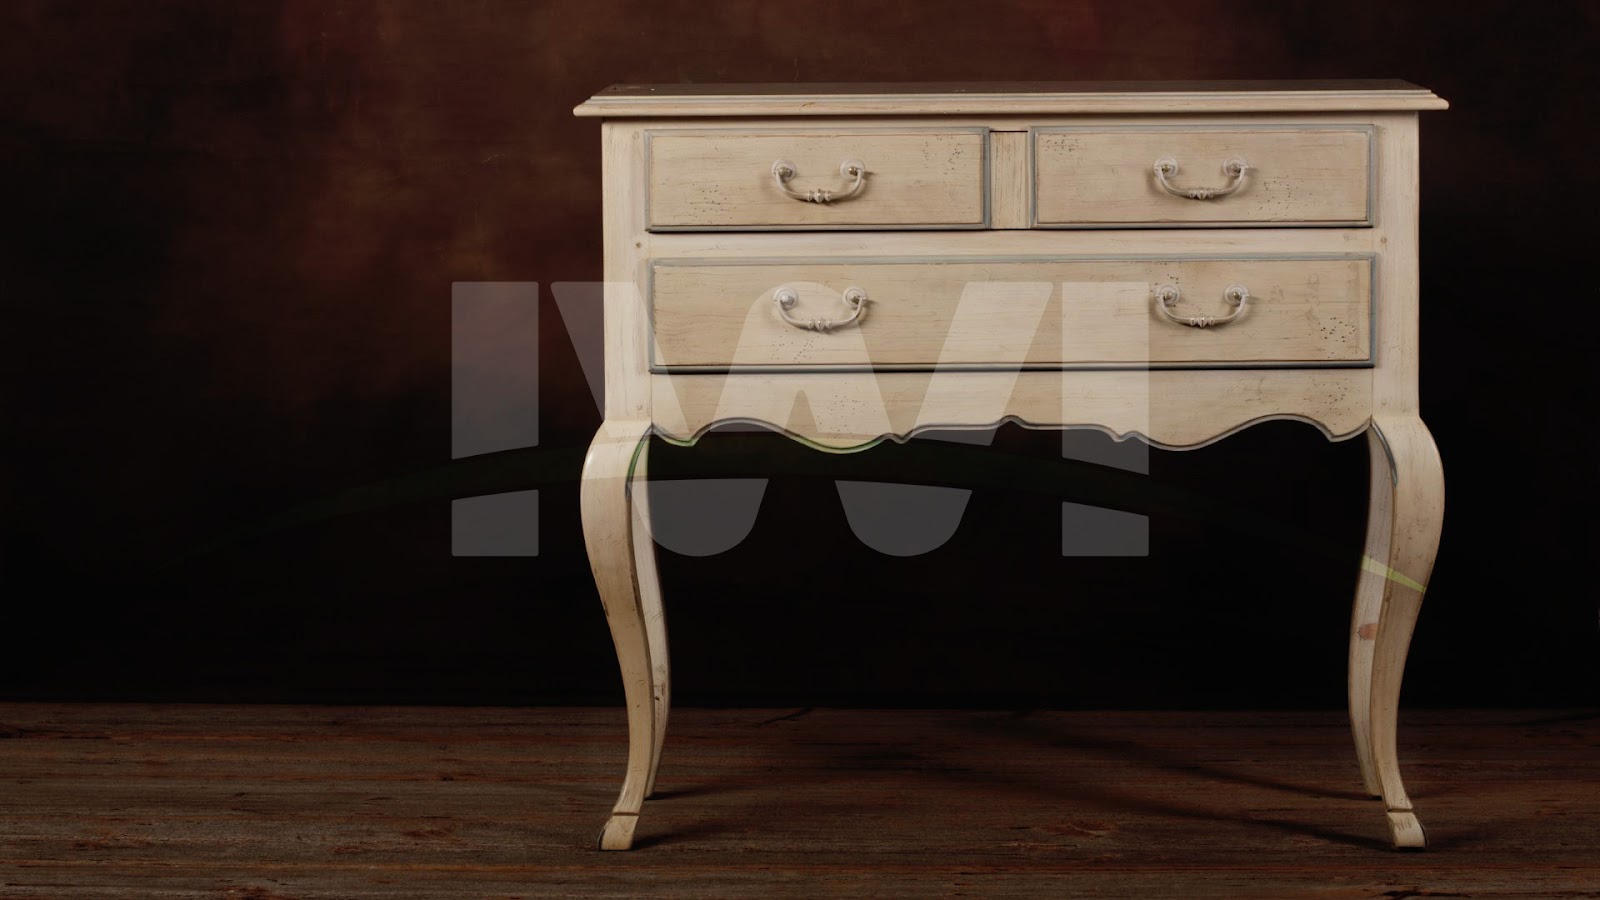
Antique furniture photography is more than just taking pictures of old furniture; it is about preserving the character, details, and history of each piece. The goal is to highlight the craftsmanship, materials, and textures that make antique furniture unique. Unlike modern furniture, which often has a sleek and uniform appearance, antique furniture features intricate carvings, weathered finishes, and unique imperfections that add to its charm.
To achieve the best results, you need to focus on capturing the depth and richness of the wood, the intricate details of the carvings, and the play of light on the furniture’s surface. Every scratch, patina, or decorative element tells a story, and antique furniture photography should bring these details to life.
Choosing the Right Lighting for Antique Furniture Photography
Lighting plays a crucial role in antique furniture photography. Natural light is often the best option, as it brings out the true colors and textures of the wood. Positioning the furniture near a large window with diffused sunlight can create soft shadows and highlight the details without harsh reflections. If natural light is not available, artificial lighting can be used, but it should be adjusted to avoid unwanted glare and reflections.
Softbox lights and LED panels are great options for controlled lighting. Using reflectors can help balance the shadows and evenly distribute light across the furniture. The goal is to create a warm and inviting atmosphere that enhances the vintage appeal of the piece.
Selecting the Best Angles for Capturing Vintage Charm
Choosing the right angles in antique furniture photography is essential to showcase the beauty and uniqueness of each piece. Instead of capturing straight-on shots, experiment with different perspectives to highlight the details and structure.
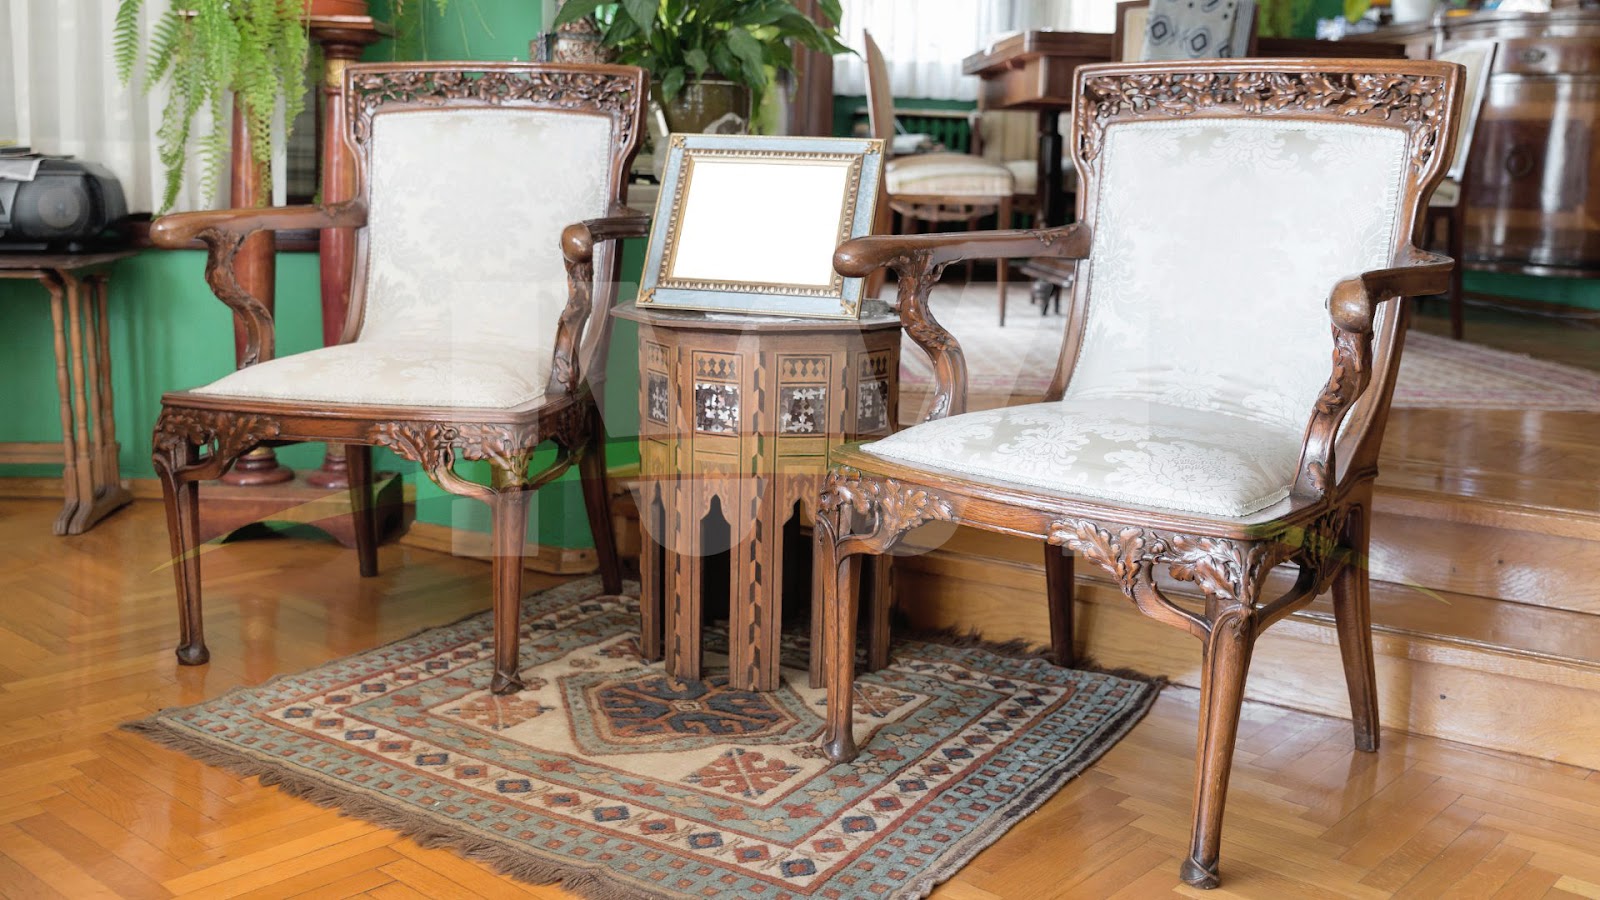
Close-up shots of intricate carvings, inlays, or distressed finishes can emphasize the craftsmanship. Wide-angle shots can help display the furniture in its entirety, giving viewers a sense of scale and proportion. It is also important to capture side angles to showcase the depth and structure of the piece.
Setting the Perfect Background for Antique Furniture Photography
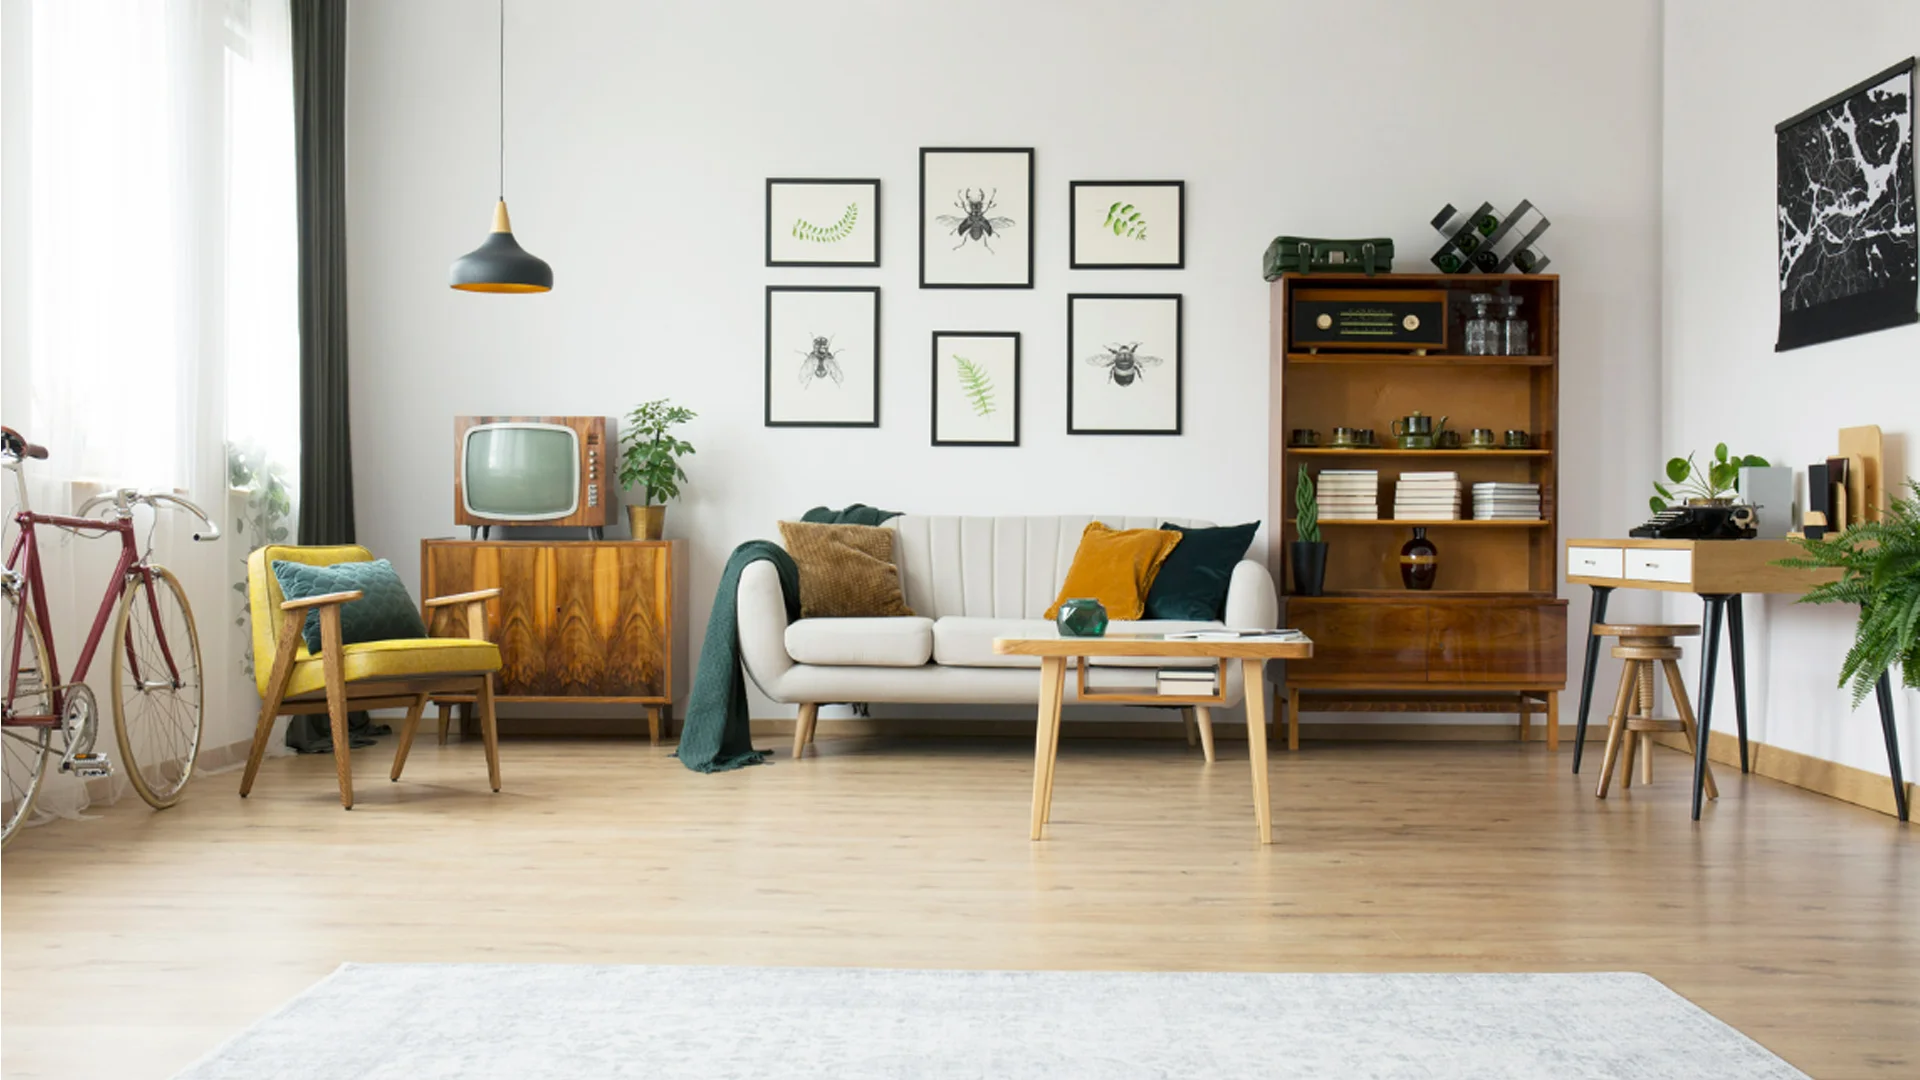
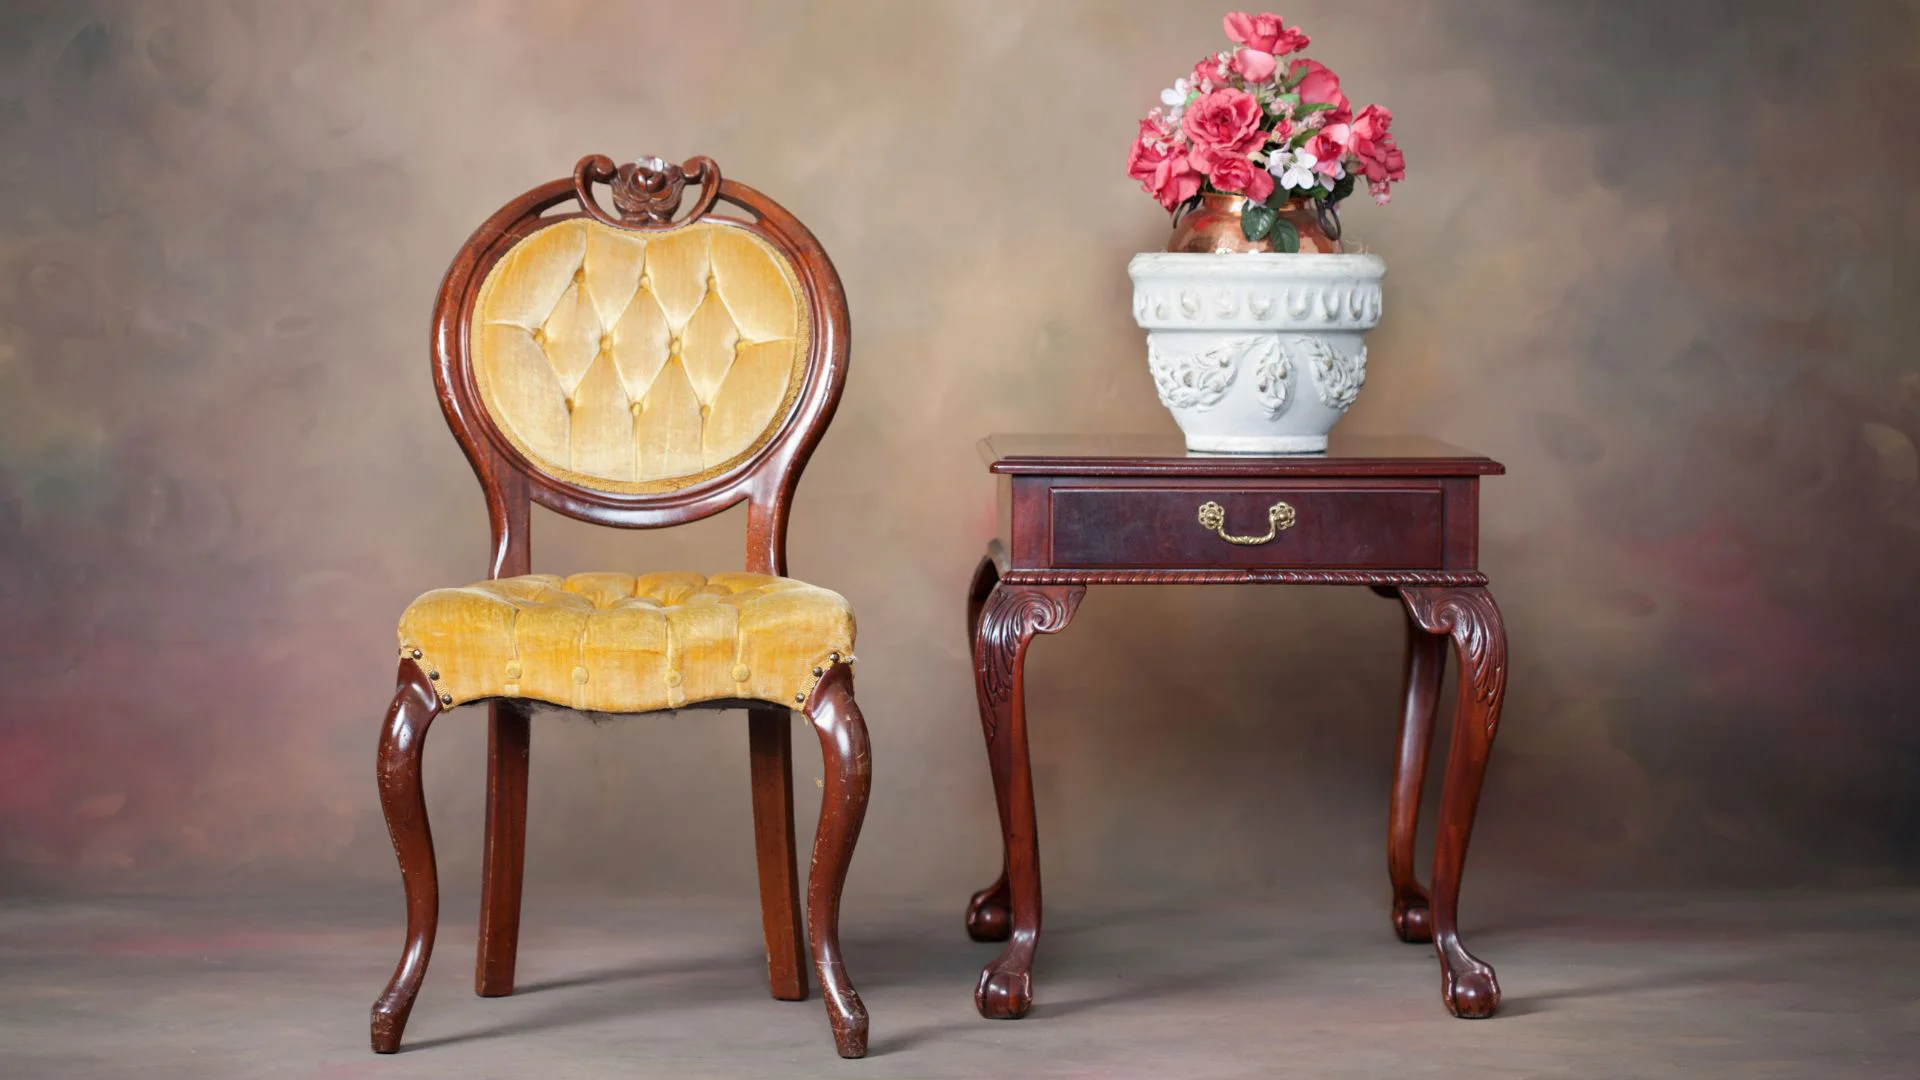
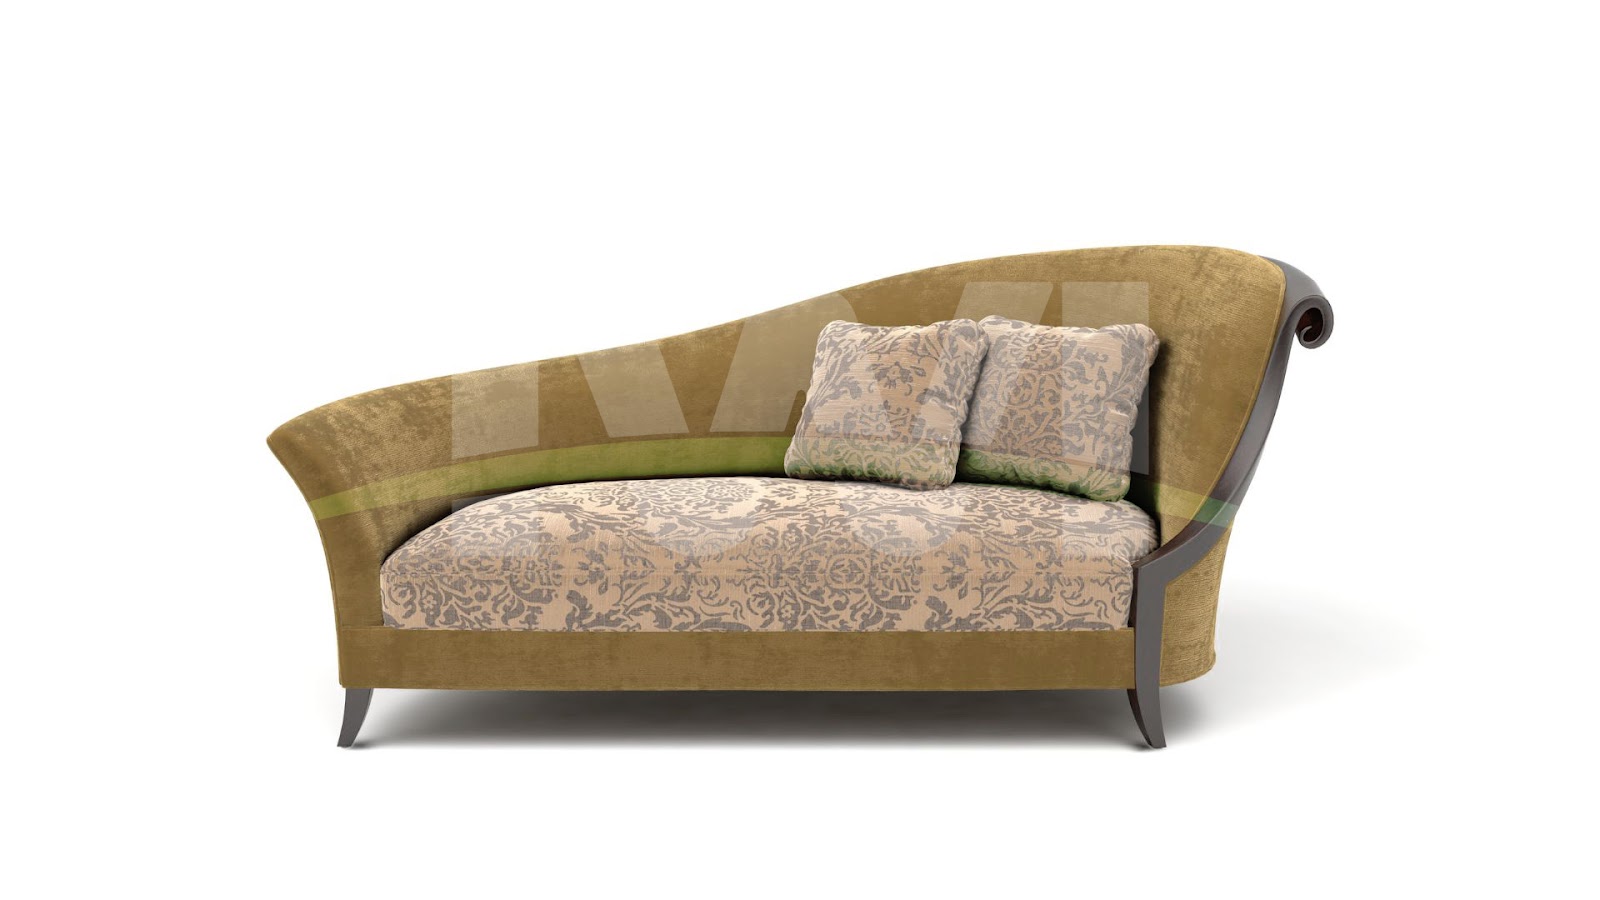
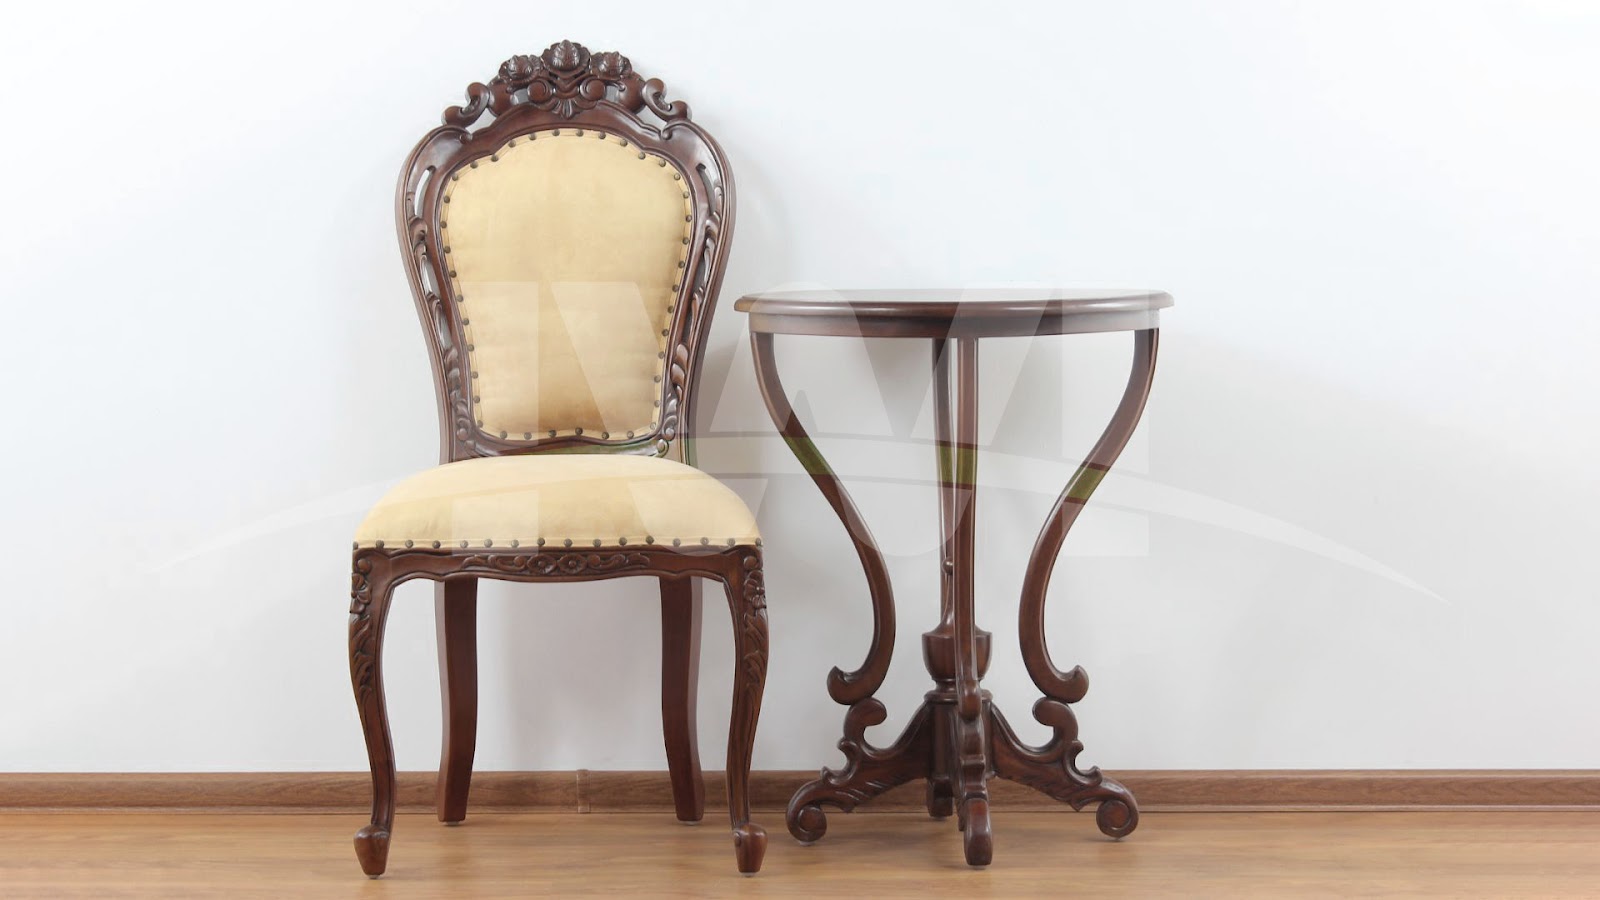
The background in antique furniture photography should complement the piece without distracting from it. A neutral background, such as a plain white or gray wall, allows the furniture to be the focal point. Wooden floors or vintage-inspired settings can enhance the antique look.
Avoid cluttered backgrounds that may take attention away from the furniture. Using backdrops with textures like exposed brick, rustic wood, or classic wallpaper can create an aesthetic that aligns with the vintage feel of the furniture.
Enhancing Details Through Composition and Styling
Composition is key in antique furniture photography. The rule of thirds can be applied to create balanced and visually appealing images. Positioning the furniture slightly off-center can create a more dynamic composition.
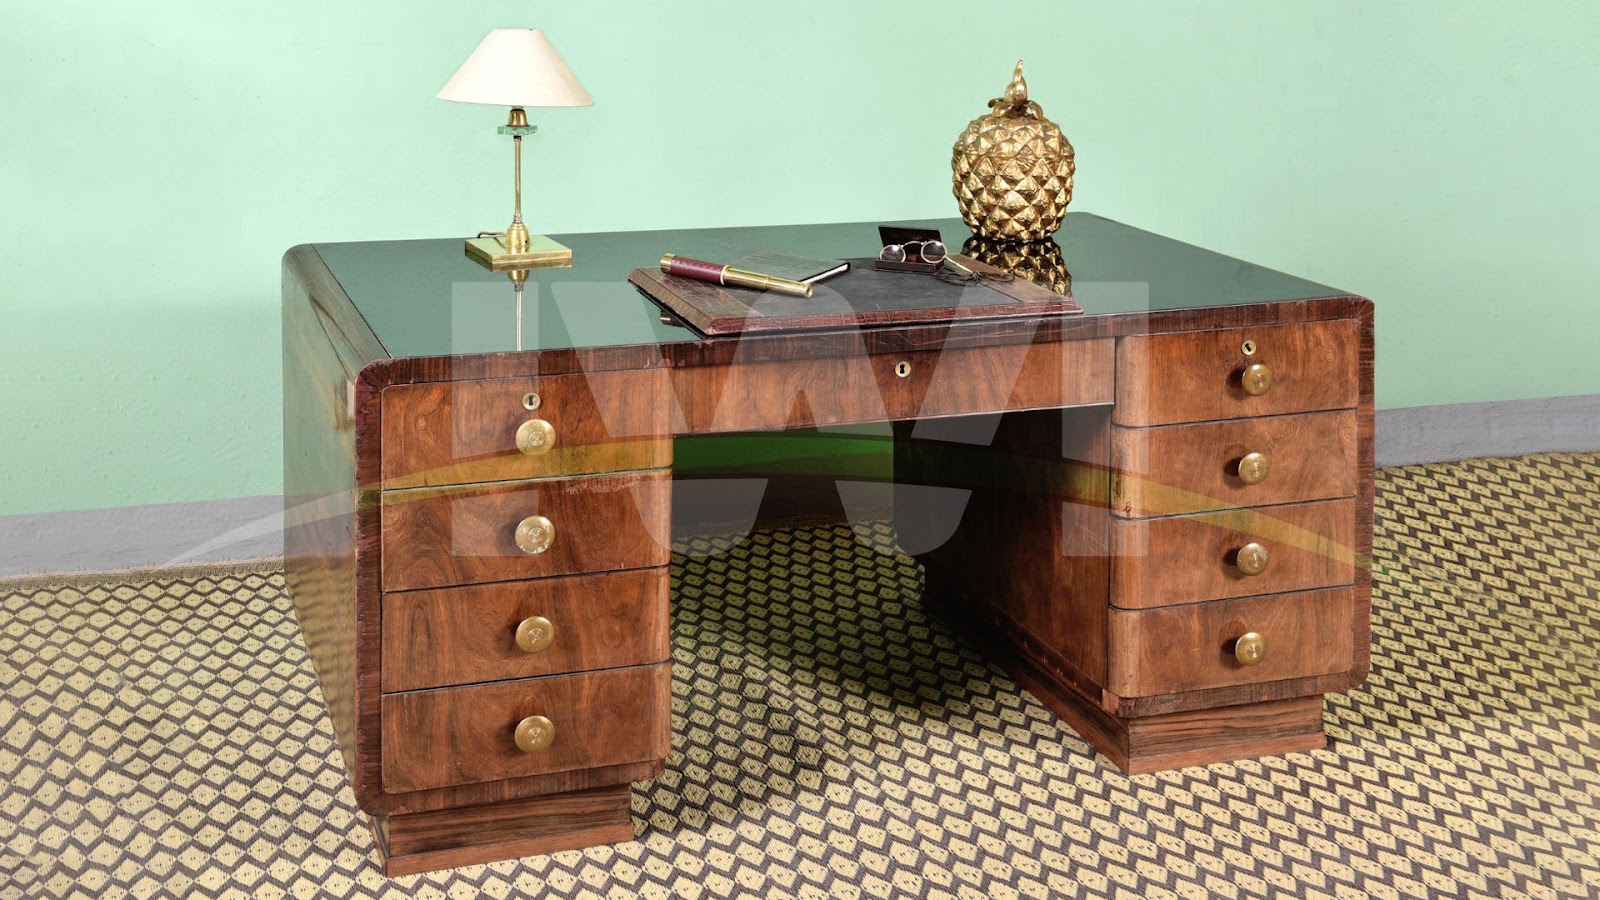
Adding period-appropriate props, such as antique books, vintage lamps, or old rugs, can enhance the story behind the furniture. However, it is important to ensure that the props do not overshadow the main subject. The goal is to enhance the overall mood and authenticity of the photograph.
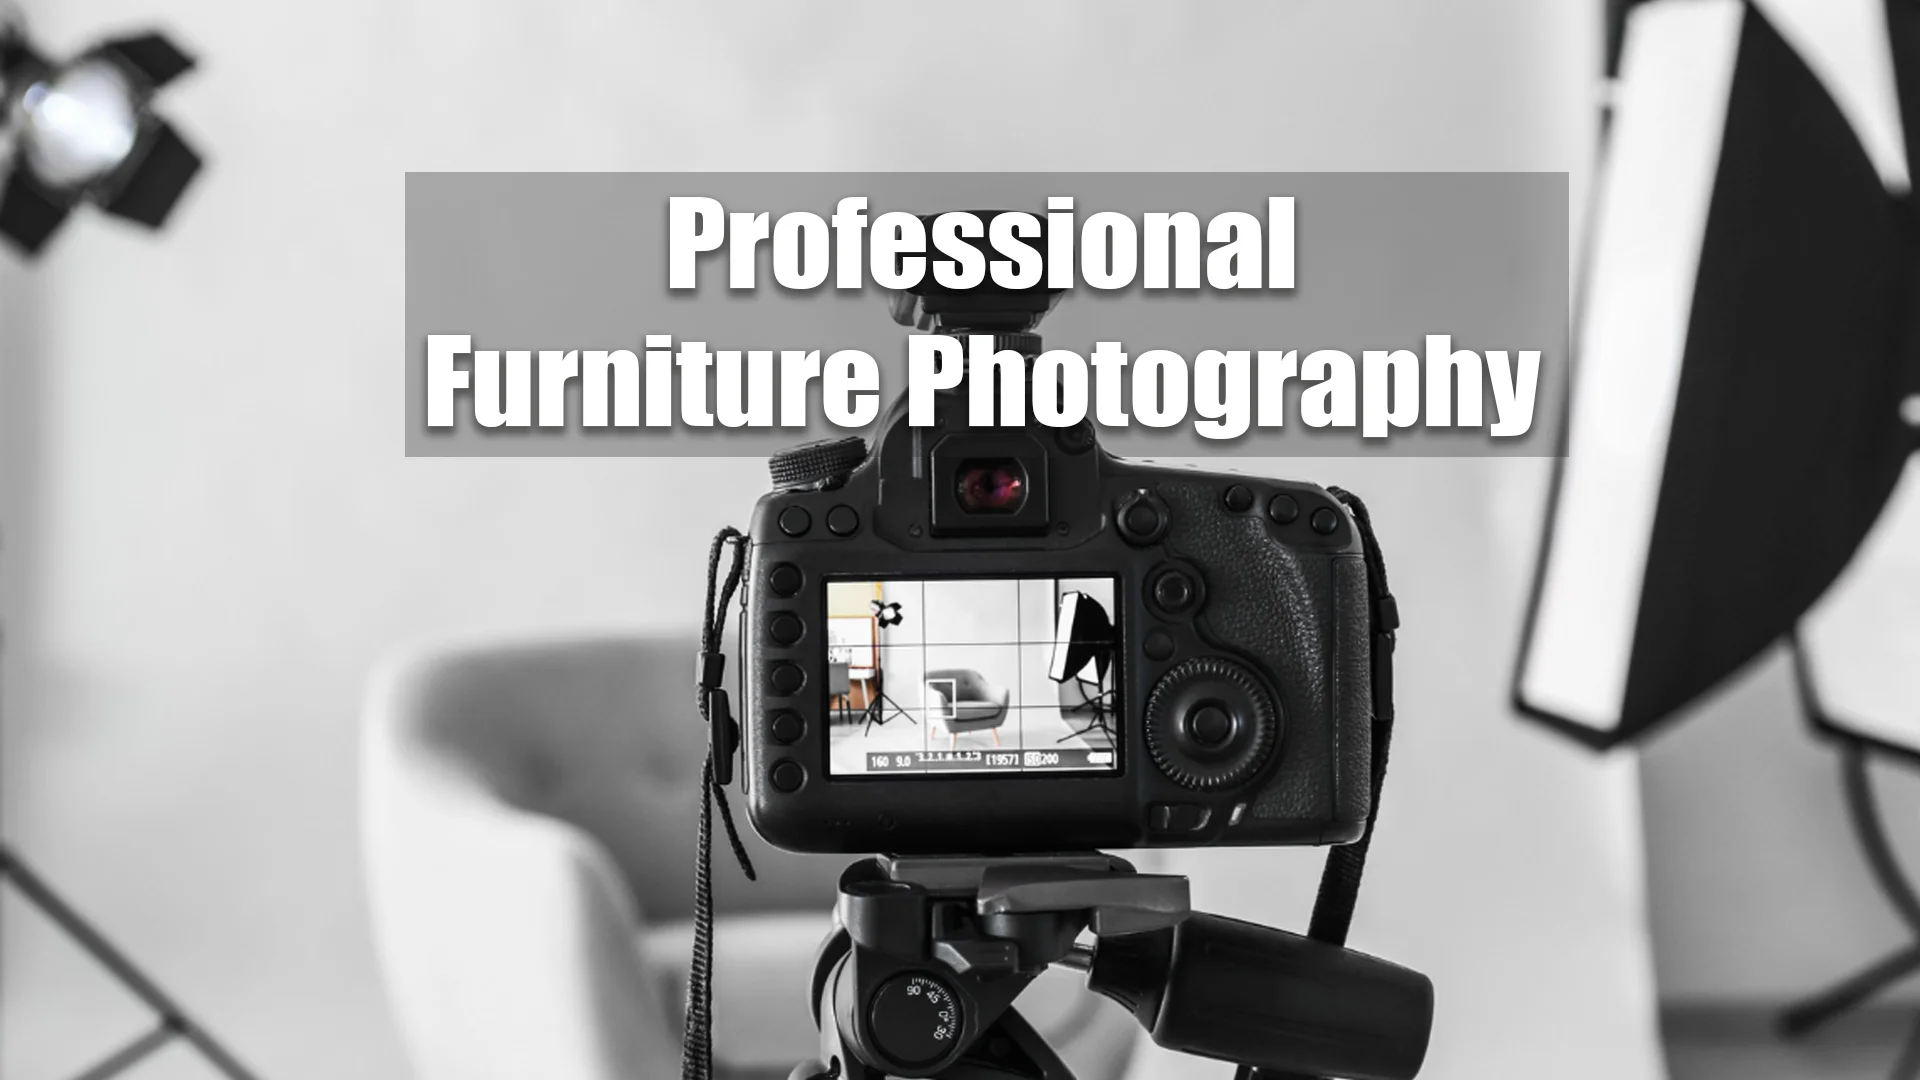
Camera Settings and Equipment for Antique Furniture Photography
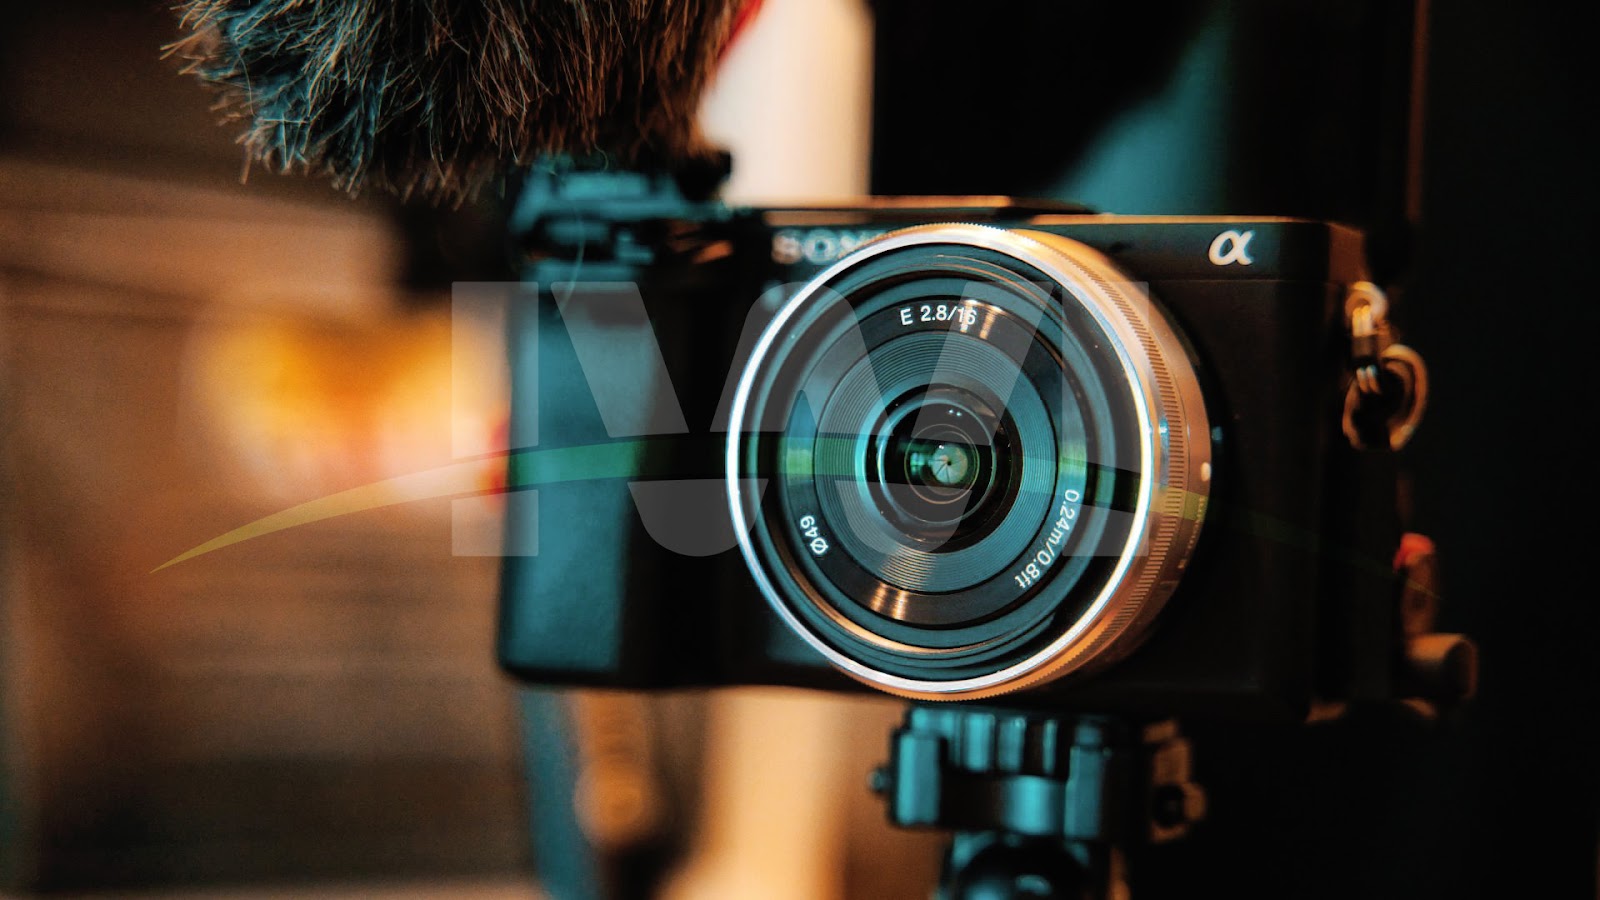
Using the right camera settings and equipment is essential to achieve high-quality antique furniture photography. A DSLR or mirrorless camera with a high-resolution sensor is recommended for capturing fine details.
A tripod is crucial for stability, especially when shooting in low light conditions. It helps prevent motion blur and allows for precise framing. Using a wide aperture (such as f/2.8 or f/4) can create a beautiful depth of field, making the furniture stand out from the background.
A macro lens can be beneficial for capturing close-up details, while a standard zoom lens (24-70mm) is great for overall shots. Adjusting the white balance ensures that the colors of the furniture appear natural and true to life.
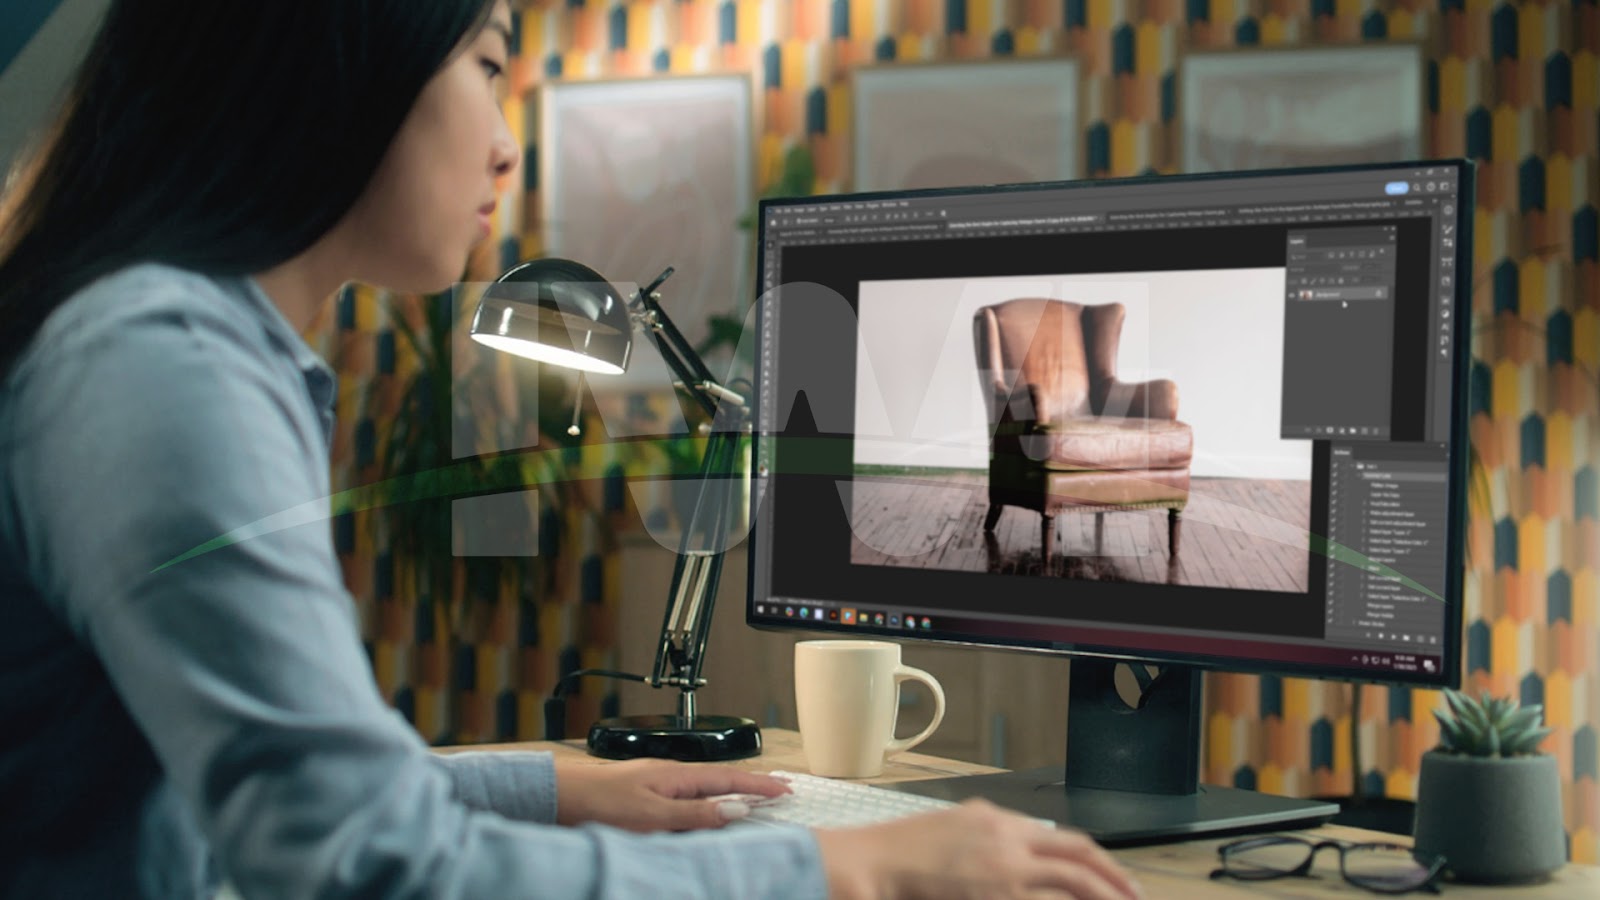
Editing and Post-Processing to Enhance Images
Post-processing is an essential step in antique furniture photography. Editing software such as Adobe Lightroom or Photoshop can help refine the images, correct colors, and enhance details.
Adjusting contrast and brightness can bring out the depth of the wood grain and intricate carvings. Removing minor distractions or background imperfections can help keep the focus on the furniture. However, it is important to maintain authenticity and avoid excessive editing that alters the true character of the piece.
Why Antique Furniture Photography Matters for Businesses
For antique dealers, online sellers, and collectors, high-quality antique furniture photography is crucial for attracting buyers. Well-photographed furniture creates a sense of trust and professionalism, making it easier to sell pieces at a premium price.
In e-commerce, where buyers rely solely on images, clear and detailed photographs can significantly impact purchasing decisions. Accurate representations of colors, textures, and dimensions help customers make informed choices and reduce the chances of returns or dissatisfaction.
Conclusion
Antique furniture photography is more than just a way to document old furniture; it’s an art form that can capture the charm and history of these timeless pieces. Whether you’re a seller trying to showcase a beautiful vintage piece or a photographer looking to master this unique style, understanding the techniques and equipment needed for antique furniture photography will help you achieve stunning results. By focusing on the details, using the right lighting, and preserving the authenticity of each piece, you can successfully bring the vintage charm of antique furniture to life through your lens.
Frequently Asked Questions (FAQs)
What is the best lighting for antique furniture photography?
Natural light is the best option for antique furniture photography as it enhances textures and colors. If using artificial light, softbox lights and reflectors can help create a balanced and warm effect.
How do I prevent glare and reflections in my photos?
To avoid glare and reflections, position the furniture at an angle to the light source, use a polarizing filter, and opt for diffused lighting instead of direct flashes.
What camera settings are best for antique furniture photography?
A low ISO (100-200) minimizes noise, a mid-range aperture (f/4-f/8) ensures sharpness, and a slow shutter speed combined with a tripod helps capture clear details.
What background works best for antique furniture photography?
Neutral backgrounds such as white, gray, or rustic wooden textures help highlight the furniture without distractions. Avoid cluttered or overly colorful backdrops.
How do I edit antique furniture photos for a natural look?
Adjust brightness, contrast, and sharpness subtly to enhance details without over-processing. Maintaining the authentic texture and color of the furniture is essential.
Why is antique furniture photography important for sellers?
High-quality images create trust, attract buyers, and help antique dealers showcase their inventory effectively, leading to higher engagement and sales.