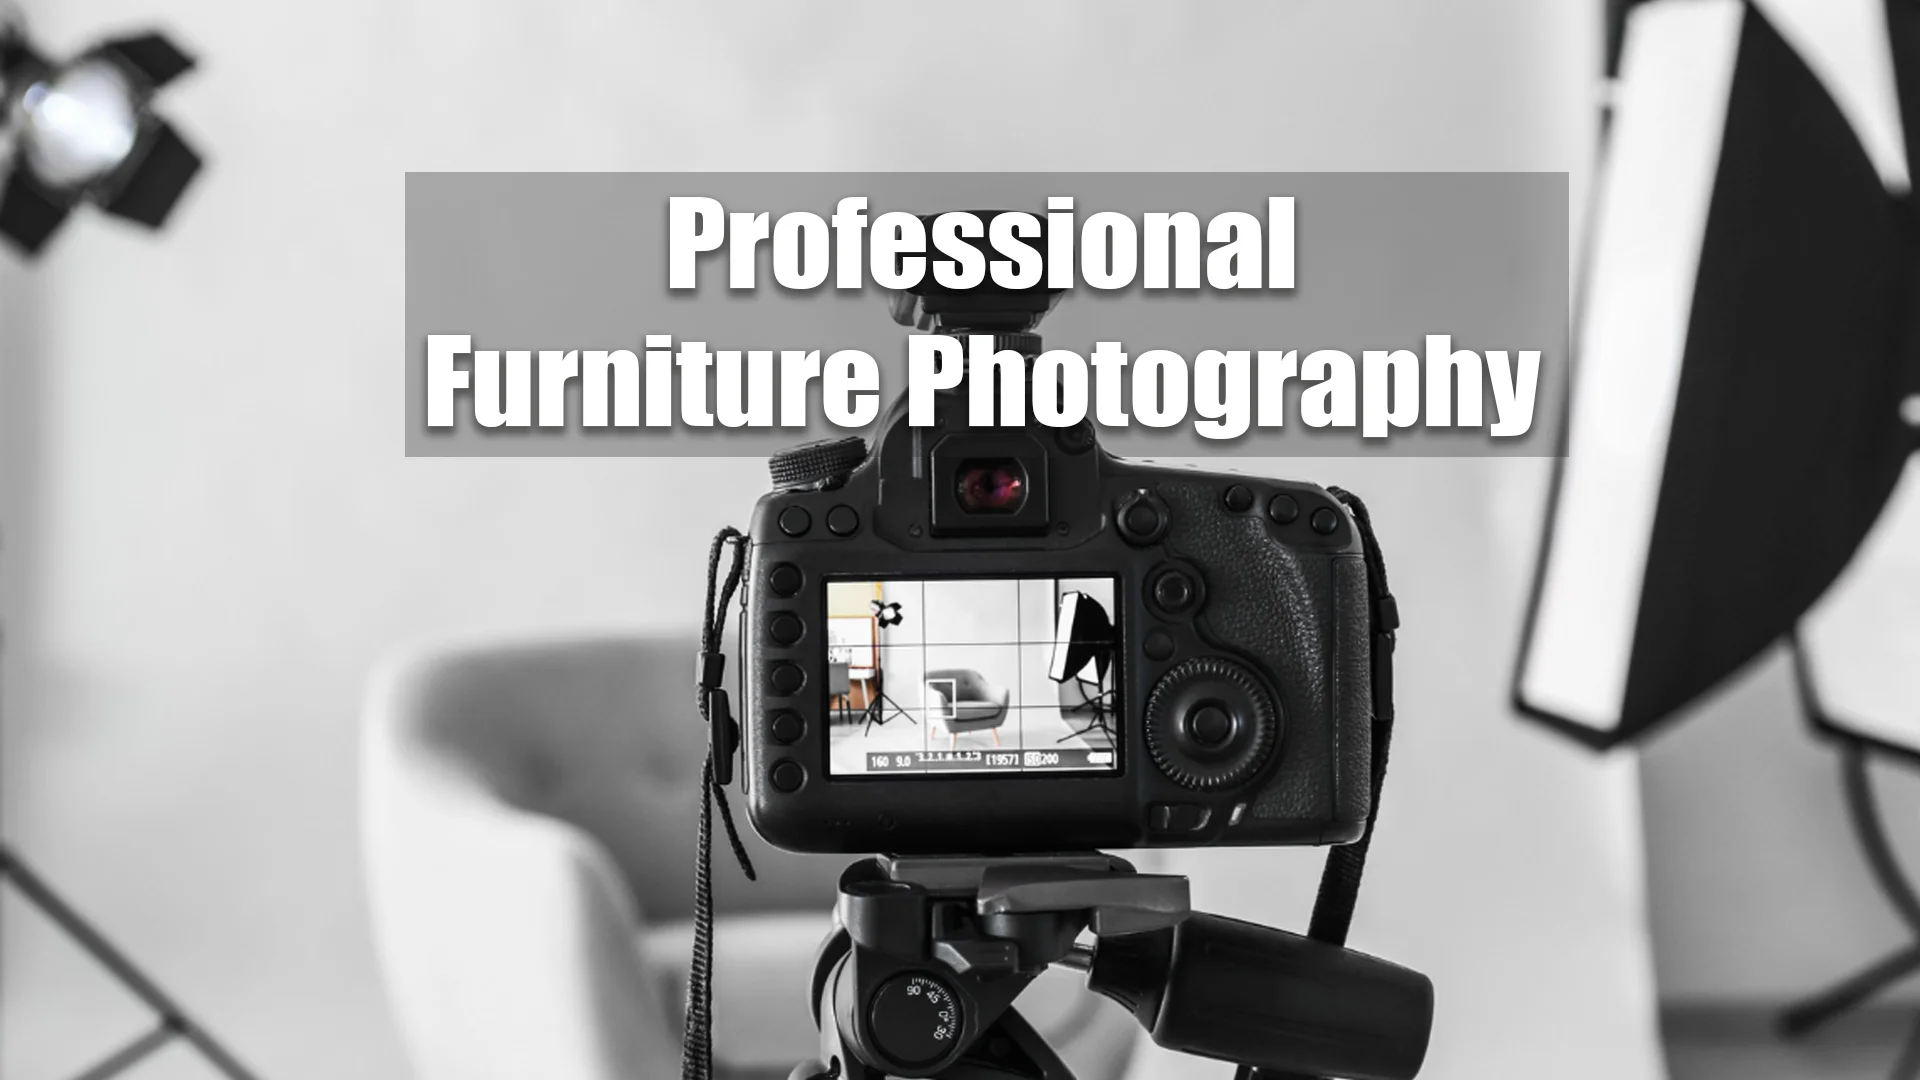
When it comes to showcasing furniture in the most flattering way, lighting is your secret weapon. The right lighting not only brings out the fine details of the furniture but also helps set the mood, enhances textures, and adds depth. If you are looking to create high-quality furniture photography that draws customers in, mastering the best lighting for furniture photography is a crucial skill. In this article, we will dive deep into everything you need to know about achieving the best lighting for furniture photography, ensuring your images stand out and captivate your audience.
Why Lighting is Essential in Furniture Photography
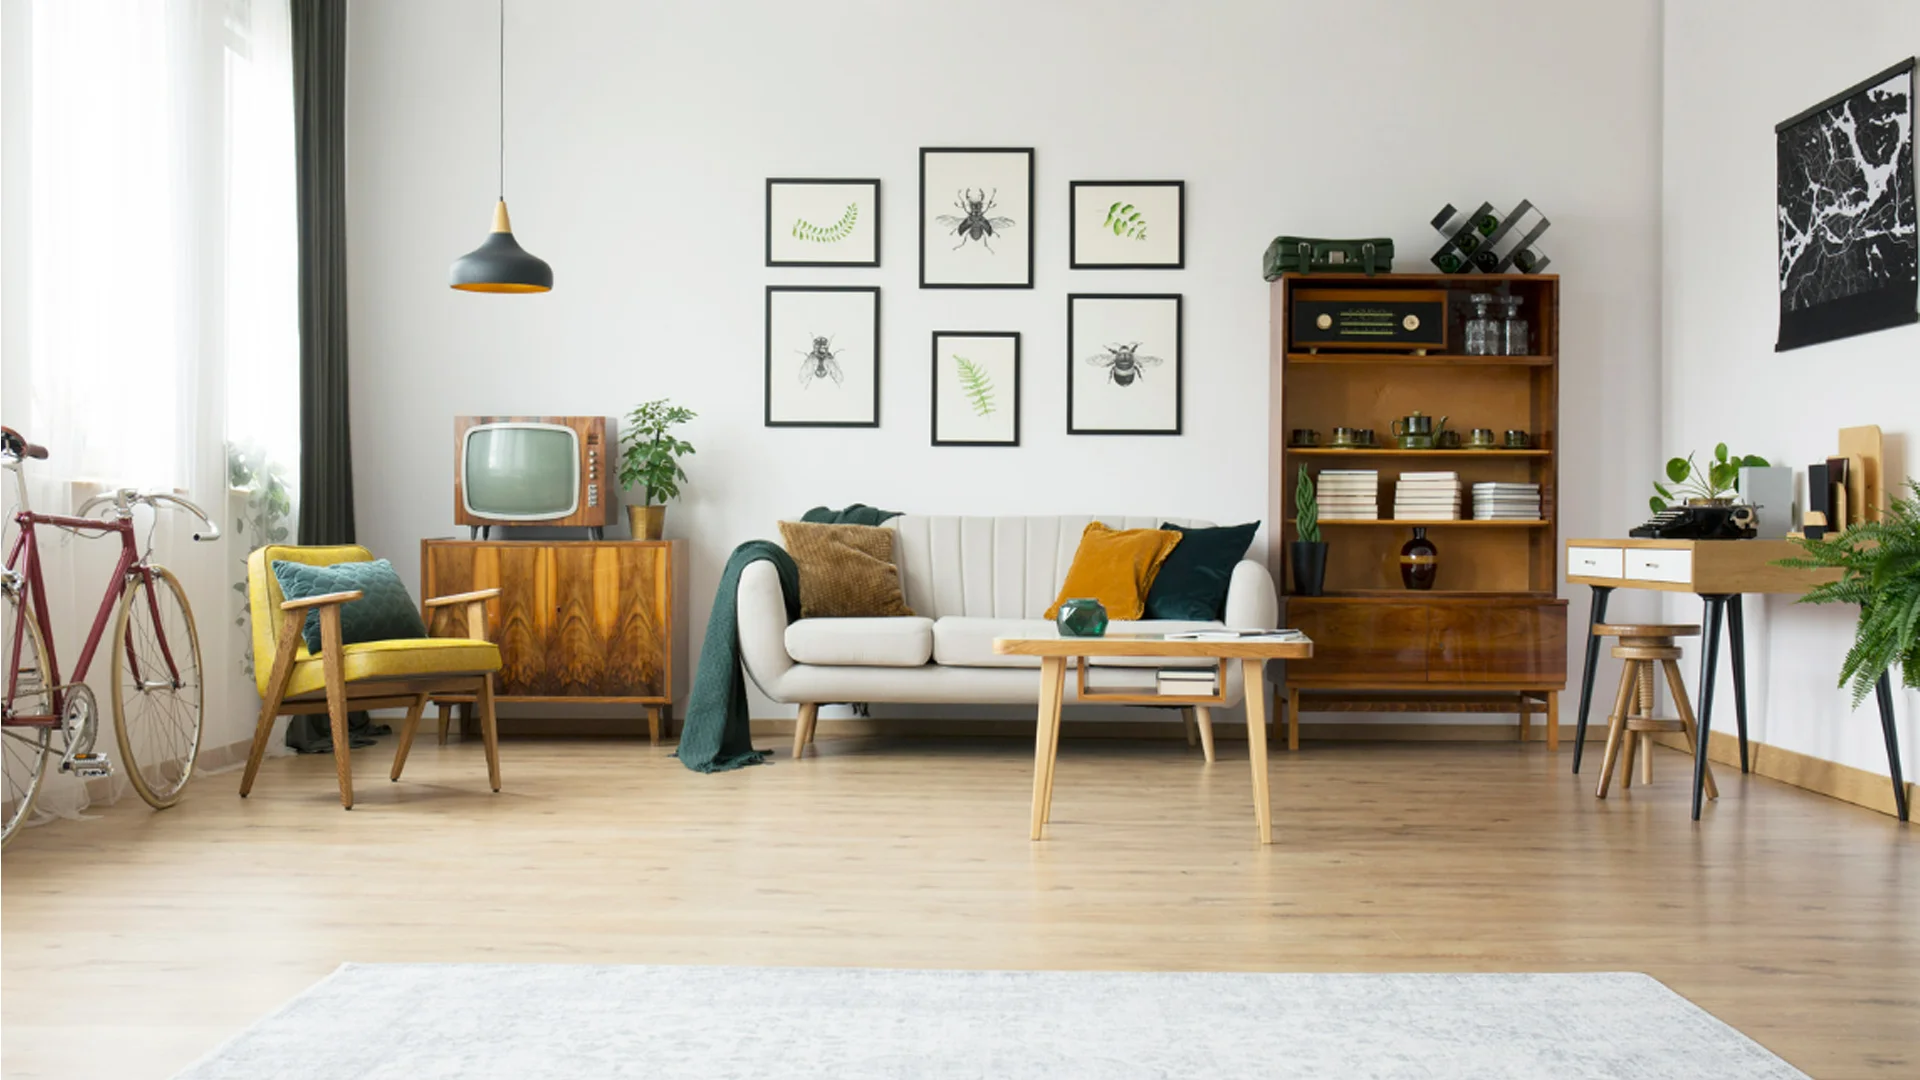
Furniture photography is not just about pointing a camera at a chair or sofa and snapping a picture. It involves capturing the essence of the furniture — its design, material, and functionality. Proper lighting plays a huge role in emphasizing these features. The best lighting for furniture photography highlights the textures, colors, and fine details that may otherwise go unnoticed.
Without adequate lighting, furniture may appear flat, uninviting, or unclear, potentially losing the viewer’s attention. Think about how you’d want a potential customer to feel when they see the photograph. Would they be able to imagine that beautiful couch in their living room? Would they notice the unique grain of the wood? Achieving this with lighting is a crucial first step.
Understanding Different Types of Lighting
When we talk about the best lighting for furniture photography, it’s important to first understand the different types of lighting available. The three most common types are ambient lighting, natural lighting, and artificial lighting.
Ambient Lighting: This is the general lighting that fills a room. It’s usually the most common type of light and is typically soft and diffuse. Ambient light helps provide a basic level of visibility in the space. However, to photograph furniture effectively, it’s often supplemented with additional lighting to ensure the furniture looks its best.
Natural Lighting: Natural light from windows is an excellent choice for many photographers because of its softness and warmth. When utilized correctly, natural light can be incredibly flattering to the furniture’s appearance. It highlights the grain of the wood, the texture of fabrics, and the overall form of the piece. However, natural light can be unpredictable, depending on the weather and time of day, which is why many photographers prefer to use it in conjunction with artificial lighting.
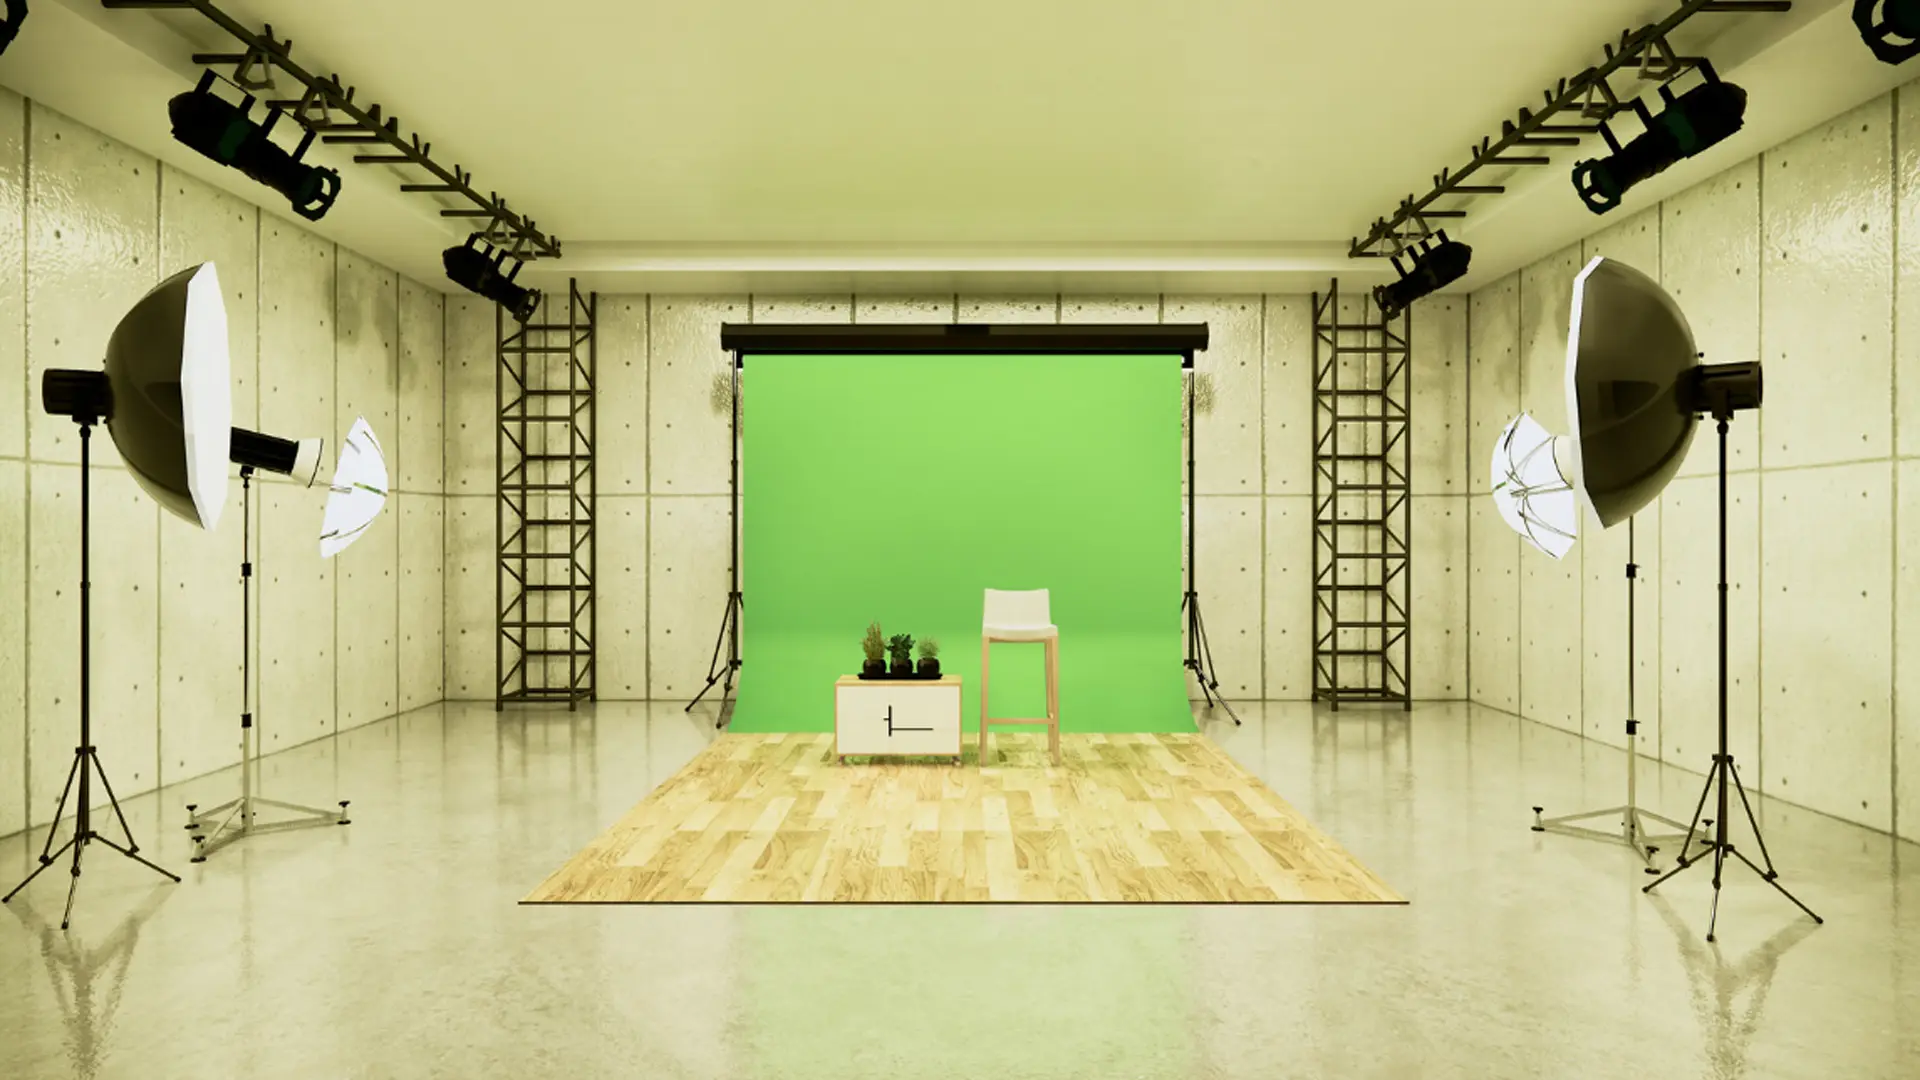
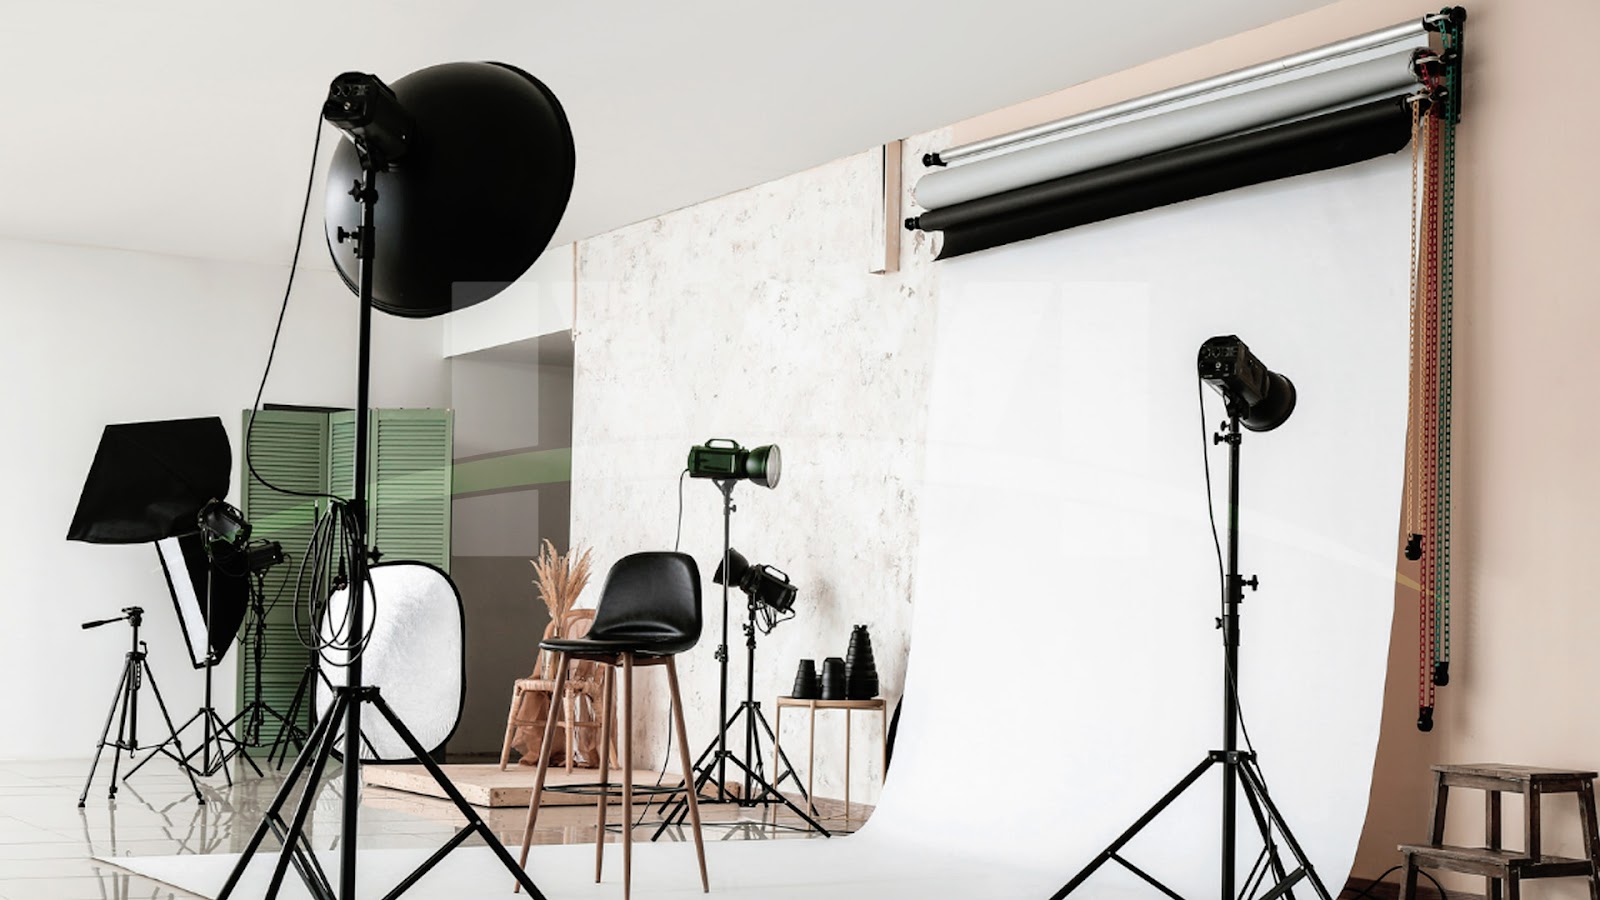
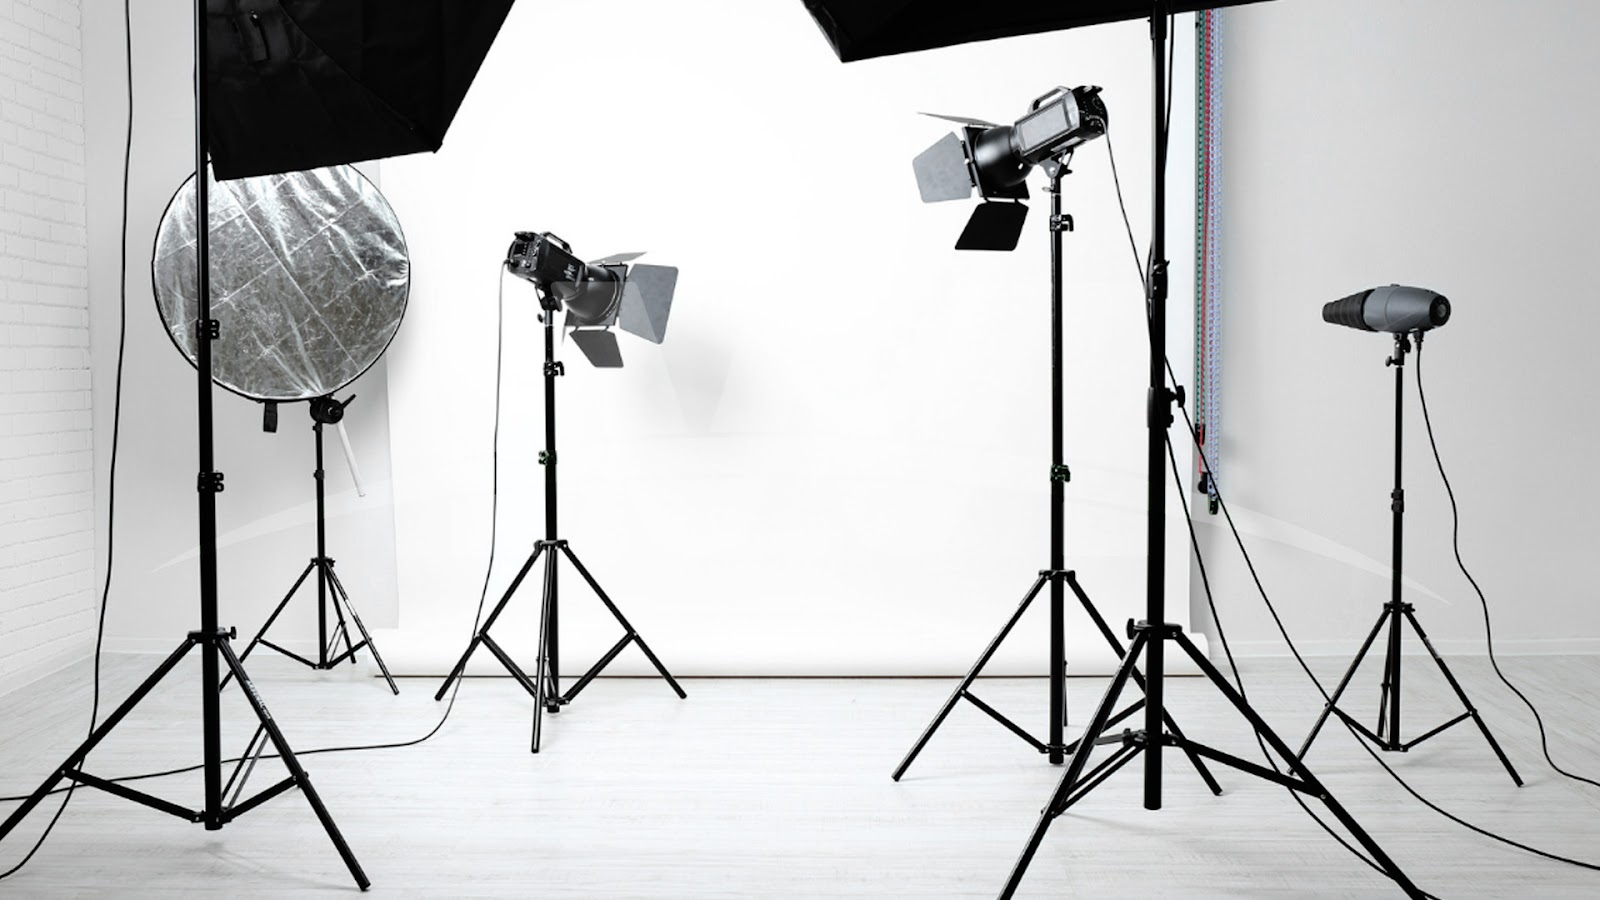
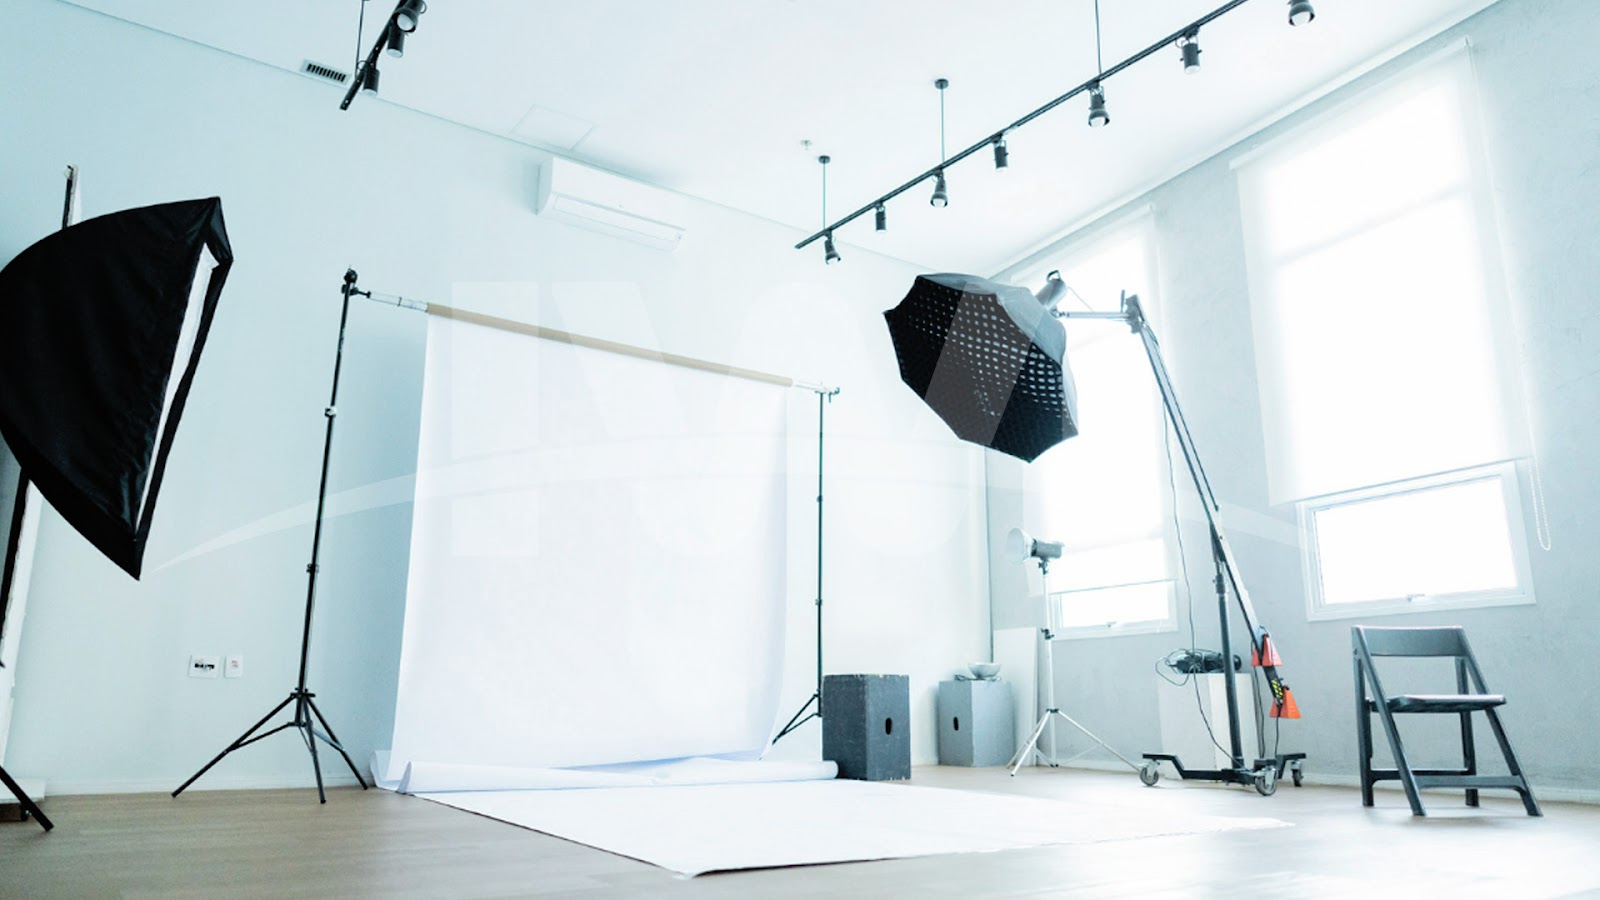
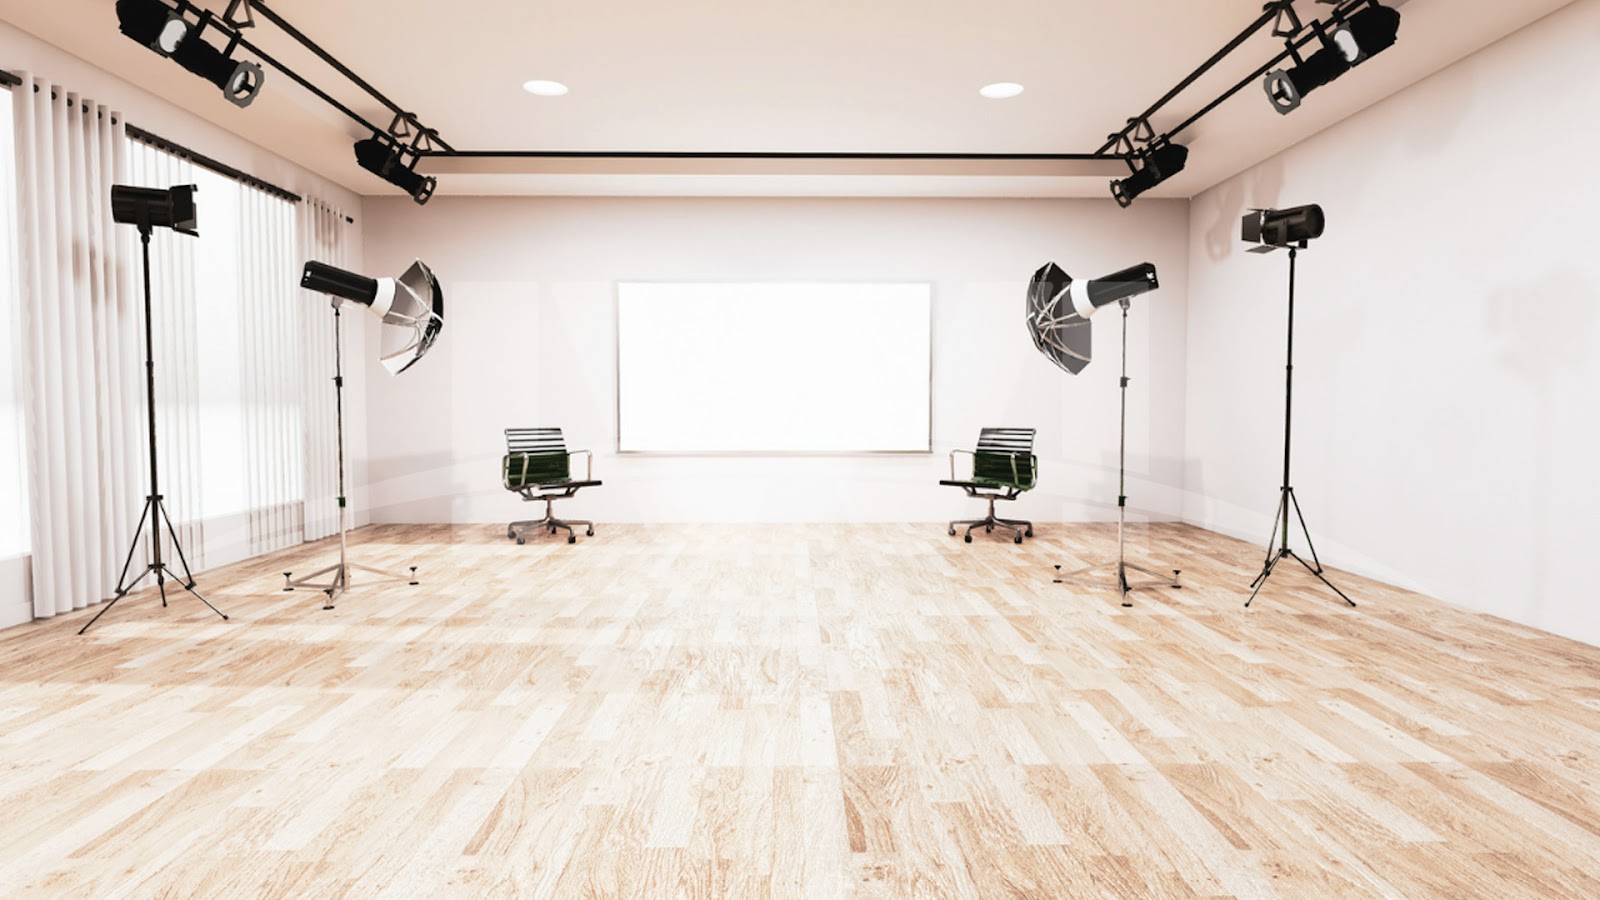
Artificial Lighting: Often used in a studio setting, artificial lighting is the most controlled lighting option. With the best lighting for furniture photography, you can manipulate it to achieve the desired effect. Types of artificial lights include LED lights, softboxes, and strobe lights, all of which offer different levels of intensity and temperature to help showcase the furniture in the best light.
The Importance of Light Direction
The direction from which light is coming is just as important as its quality. Using the best lighting for furniture photography involves placing your light sources in strategic positions to achieve the most flattering results.
Front Lighting: Front lighting eliminates harsh shadows and is ideal for giving a clear view of the furniture. It’s particularly useful when you want to show the true colors and shape of the piece, but it may sometimes cause the image to look a little flat.
Side Lighting: Side lighting adds depth and texture to the furniture by creating shadows on one side. This can bring out the details in the material, such as the upholstery’s stitching or the grains of wood. Side lighting works well when you want to showcase the furniture’s curves or fine details.
Backlighting: Backlighting is when light comes from behind the object. While it can create a beautiful silhouette effect, it is usually not ideal for furniture photography unless you’re specifically aiming for dramatic imagery. However, when used carefully, backlighting can emphasize the outlines and shape of the furniture.
The best lighting for furniture photography often involves a combination of light directions to create balance and showcase the piece in its best form.
Soft Lighting vs. Hard Lighting
Choosing between soft and hard lighting is another key element when trying to find the best lighting for furniture photography. Both styles have their own merits and can create very different effects.
Soft Lighting: Soft lighting is diffused and gentle, creating minimal shadows and a more even, natural look. It’s the ideal lighting choice for furniture photography, as it helps showcase fine details without making the furniture look too harsh or artificial. Softboxes or diffusers can help you achieve this effect.
Hard Lighting: Hard lighting is more direct and produces harsh, well-defined shadows. While it can be effective for certain artistic or high-contrast looks, it’s typically not the best choice for furniture photography, where you want to highlight the elegance and fine craftsmanship of the furniture.
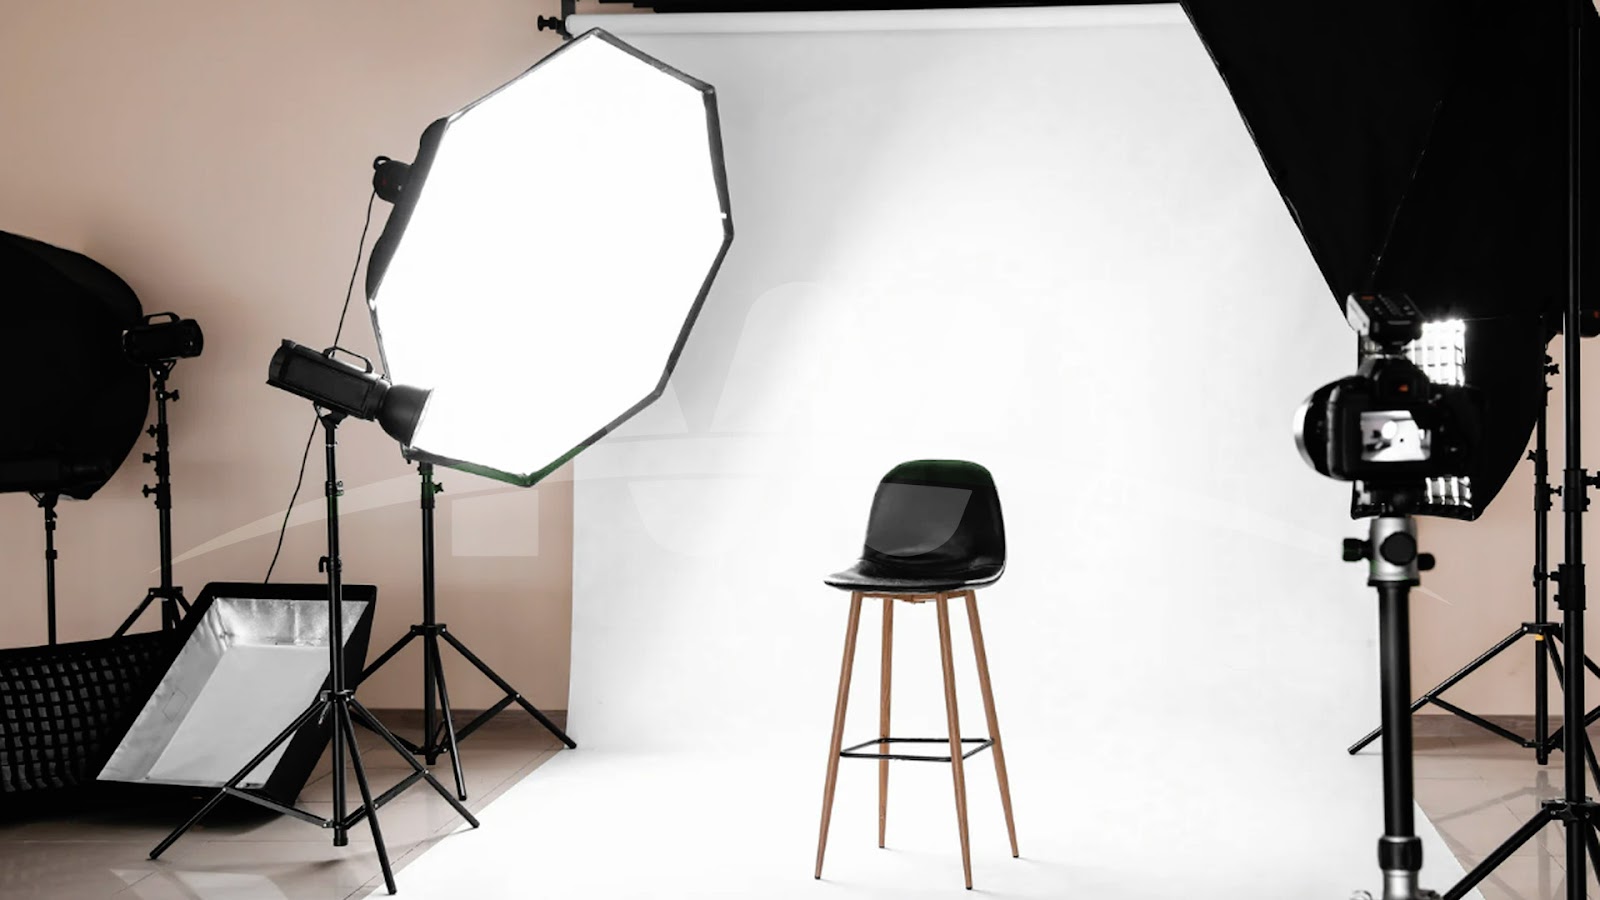
Using Light Modifiers for the Best Lighting for Furniture Photography
One of the most effective ways to enhance your lighting setup is by using light modifiers. These tools help to control the light, ensuring it creates the perfect mood and highlights the best features of your furniture.
Softboxes: A softbox is one of the most popular light modifiers for furniture photography. It diffuses the light, creating soft, even illumination that eliminates harsh shadows. Softboxes are particularly effective when photographing large pieces of furniture, such as couches or dining tables.
Reflectors: Reflectors bounce light back onto the subject, helping fill in shadows and creating a more balanced image. They are particularly useful for bringing light to the dark areas of your furniture without adding additional light sources.
Diffusers: Diffusers scatter light to make it softer, which reduces the intensity of shadows. This can help prevent any reflections or overly bright spots on shiny surfaces, such as leather upholstery or glass.
By using these modifiers, you can control how light interacts with the furniture, achieving the best lighting for furniture photography.
Creating the Ideal Lighting Setup
The best lighting for furniture photography isn’t just about one single light source—it’s about creating a setup that complements your space and the furniture you’re shooting. The key is balancing multiple light sources to create an even, natural-looking result.
Consider using a combination of overhead lights and side or front lighting. Using two light sources at slightly different angles can help you avoid any harsh shadows while keeping the furniture looking dynamic. Additionally, experiment with different color temperatures to see what suits your furniture best. Some furniture pieces may benefit from a cooler light, while others look better with warmer tones.
Tips for Lighting Different Types of Furniture
Different types of furniture require different lighting techniques. The best lighting for furniture photography will vary depending on the material and design of the piece.
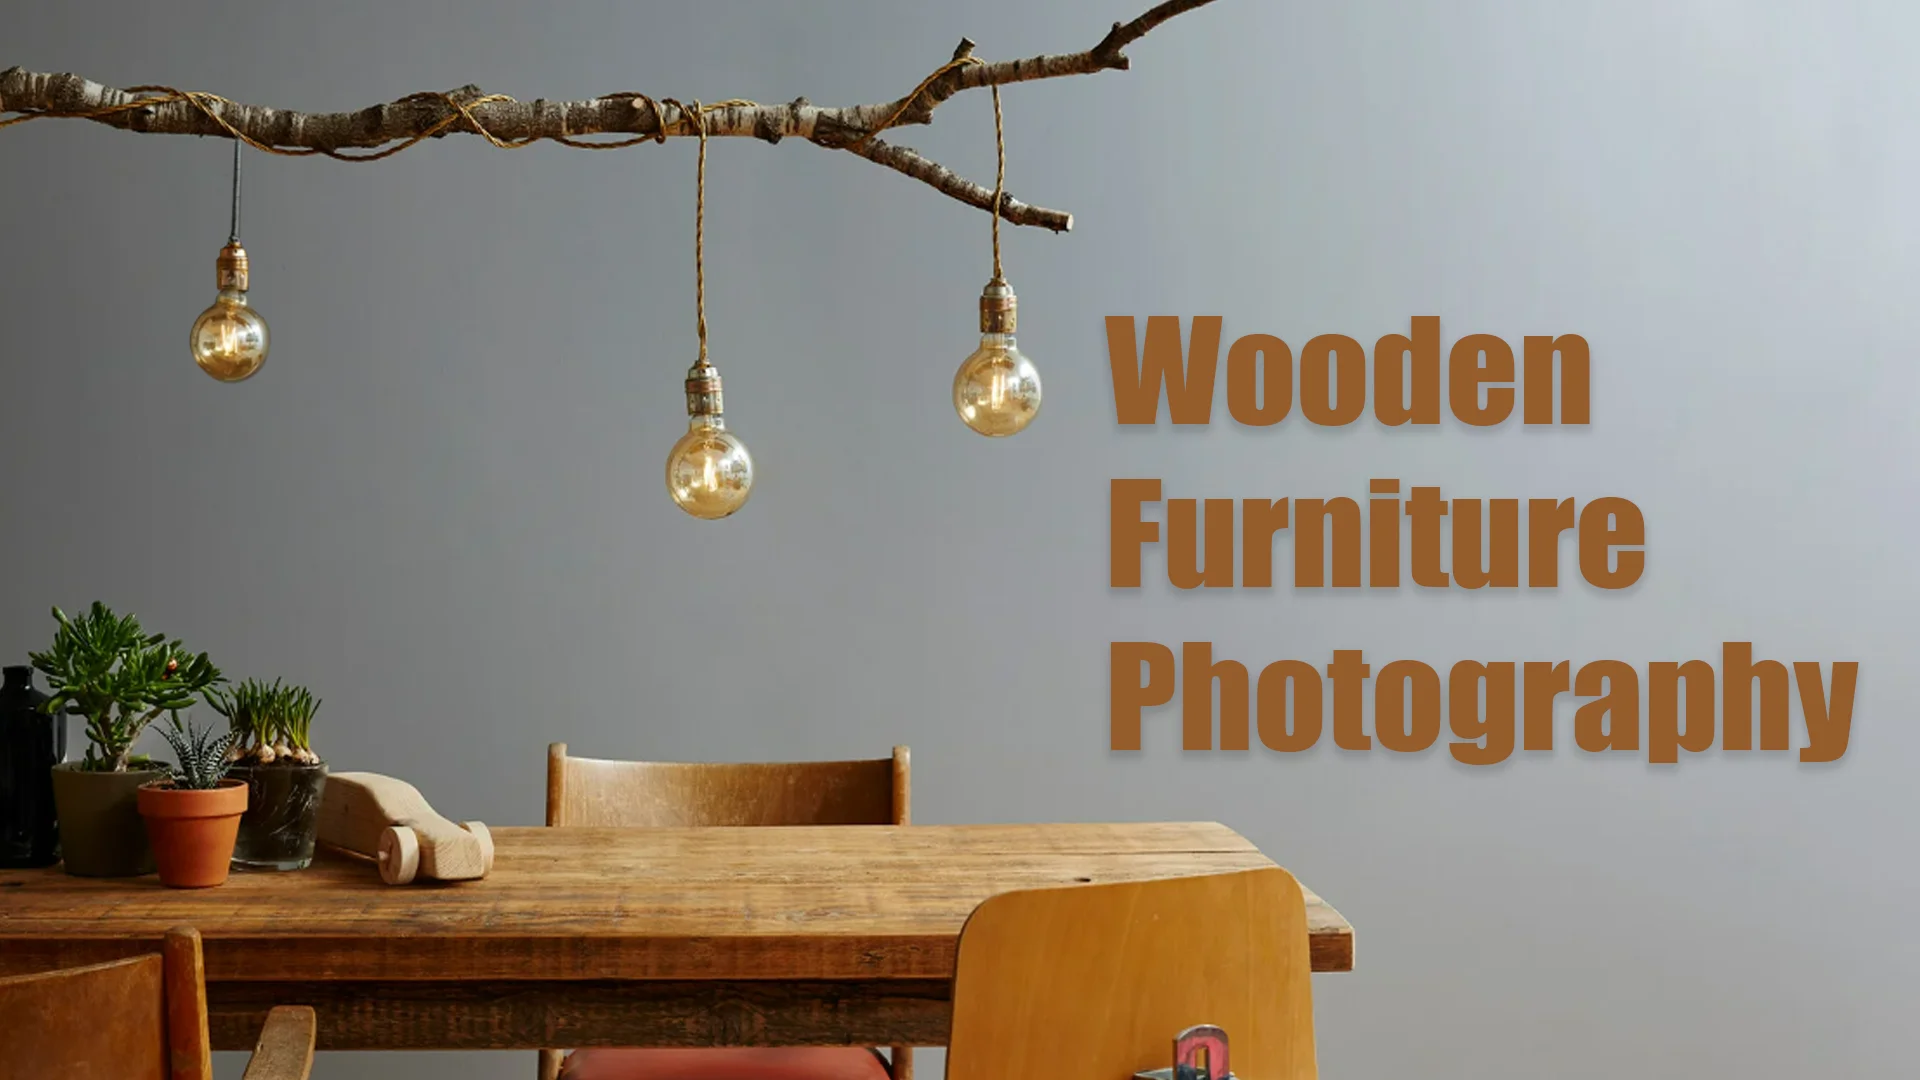
Wooden Furniture: For wooden furniture, it’s essential to bring out the texture and grain of the wood. Soft side lighting or top-down lighting can accentuate the natural patterns in the wood while preventing glare. A softbox with a diffuser can help create a flattering, even look without washing out the details.
Upholstered Furniture: When photographing upholstered furniture, lighting should be gentle to highlight the fabric’s texture without creating harsh reflections. Soft, diffuse lighting works best, and using a large light source such as a softbox can create a more even effect.
Metal Furniture: Metal furniture can be tricky because reflective surfaces can cause unwanted glares. To avoid this, it’s best to use indirect lighting or light modifiers to diffuse the light and reduce the chance of reflections.
Glass Furniture: Glass furniture requires careful lighting to avoid reflections while still showing off its transparency and sleek design. Backlighting can help create the right effect, and using polarizing filters on your camera can reduce unwanted reflections.
Conclusion
The best lighting for furniture photography is all about control, creativity, and understanding the unique qualities of the furniture you’re capturing. Whether you’re using natural light, softboxes, or reflectors, the key is to experiment and adjust until you achieve a setup that highlights the beauty and design of the furniture. With the right approach to lighting, you can transform any piece of furniture into a showstopper, creating photographs that not only attract customers but also enhance the overall aesthetic appeal of your products.
Frequently Asked Questions (FAQs)
What is the best time of day for furniture photography using natural light?
The best time for natural light photography is during the early morning or late afternoon when the sunlight is softer and more diffuse. Avoid the harsh midday sun, as it can cause unflattering shadows and highlights.
How do I avoid reflections when photographing furniture?
To minimize reflections, use diffused light sources and avoid direct light on reflective surfaces. Additionally, shooting at certain angles or using polarizing filters on your camera can help reduce glare.
Can I use flash for furniture photography?
Yes, you can use flash for furniture photography, but it’s best used with diffusers or softboxes to soften the light. Flash can create harsh shadows, so it’s crucial to control its intensity and direction.
How can I photograph furniture in a small space?
In small spaces, consider using soft, diffuse lighting and light reflectors to bounce the light back onto the furniture. Try to keep the lighting setup simple to avoid overcrowding the space.
Do I need to edit my photos after shooting furniture?
Editing is often necessary to fine-tune exposure, remove unwanted shadows, and adjust colors. However, with the best lighting for furniture photography, your base images should be close to perfect, requiring only minor adjustments in post-processing.
How many lights do I need for furniture photography?
The number of lights needed depends on the complexity of your setup and the type of furniture you’re photographing. For most simple setups, two lights—one for the key light and another for fill—are sufficient.
How to Take Amazing Furniture Photos: Pro Photography Tips | Image Work India
[…] lighting is one of the most essential furniture photography tips to ensure the best possible shots. The type […]
Furniture Visualization and Photography: A Complete Guide | Image Work India
[…] the right combination of lighting, composition, and rendering techniques, furniture images can evoke emotions and highlight the best […]
Photography Furniture Rental: Elevate Your Studio & Set Design | Image Work India
[…] the perfect setting for a photography shoot requires more than just good lighting and a high-quality camera. The right furniture can completely transform a scene, adding character, […]
Best Props for Studio Furniture Photography - Image Work India
[…] key areas of the furniture. Soft, warm lighting helps set a cozy atmosphere, while cool-toned lighting enhances modern and industrial furniture styles. Adjusting the direction and intensity of the light […]
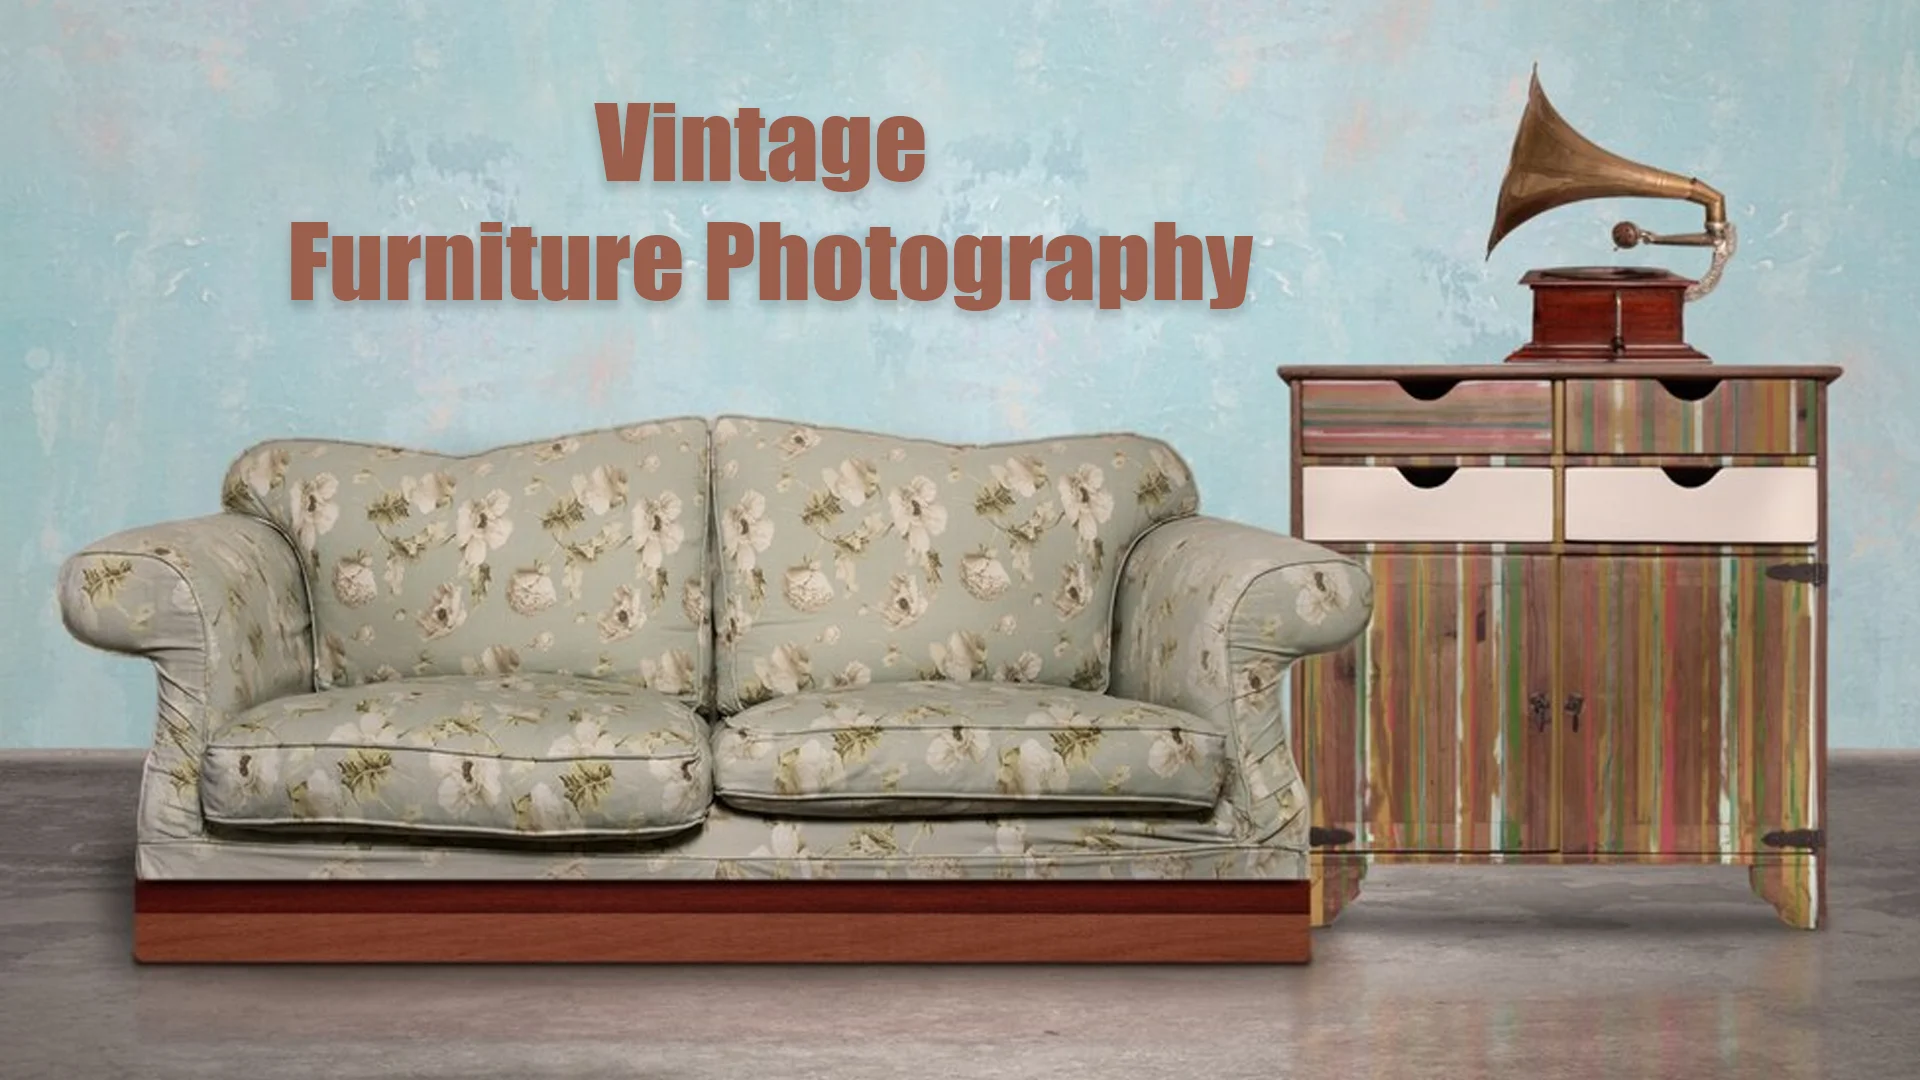
How to Photograph Vintage Furniture: Tips for Stunning Shots | Image Work India
[…] the piece’s most flattering angles and details, making it essential to experiment with various lighting […]