When you see a perfect product photo online, have you ever wondered how it looks so clean, bright, and professional? The secret lies in editing. For anyone who wants to sell products online, learning the best way to edit product photos for beginners is a must. Whether you want to create eye-catching photos for Amazon, Etsy, or your online store, editing plays a huge role in attracting customers. In this beginner-friendly guide, you will learn everything you need to know about the best way to edit product photos for beginners using easy methods, simple tools, and helpful techniques.
Why Is Editing Product Photos Important?
Before we get into the actual steps, it is important to understand why editing is so necessary. When customers shop online, they cannot touch or feel the product. The only thing they rely on is the product image. This makes editing essential because it helps you present your product in the best light possible. Bright, clear, and professional product photos build trust. If your product image looks dull, dark, or messy, customers might skip your product.
For beginners, the best way to edit product photos for beginners is to follow a simple process. You do not need expensive software or expert skills to get started. All you need is a basic understanding of editing tools and a clear idea of how you want your product to look.

Understanding the Basics of Product Photo Editing
The best way to edit product photos for beginners starts with understanding what makes a good product photo. A good product photo should have:
- Clean and bright background
- Correct colors that match the real product
- Sharp focus to show every detail
- No distracting elements
As a beginner, your goal is to edit your photo so that it looks natural and professional at the same time. Editing does not mean making your product look different than reality. It simply means making your product look its best.
Choosing the Right Editing Software
The best way to edit product photos for beginners often depends on the software you use. There are many free and paid options available. For complete beginners, easy tools like Canva or Snapseed can work. However, if you want to grow your editing skills, learning software like Adobe Photoshop or Lightroom is highly recommended. These programs give you more control and professional results.
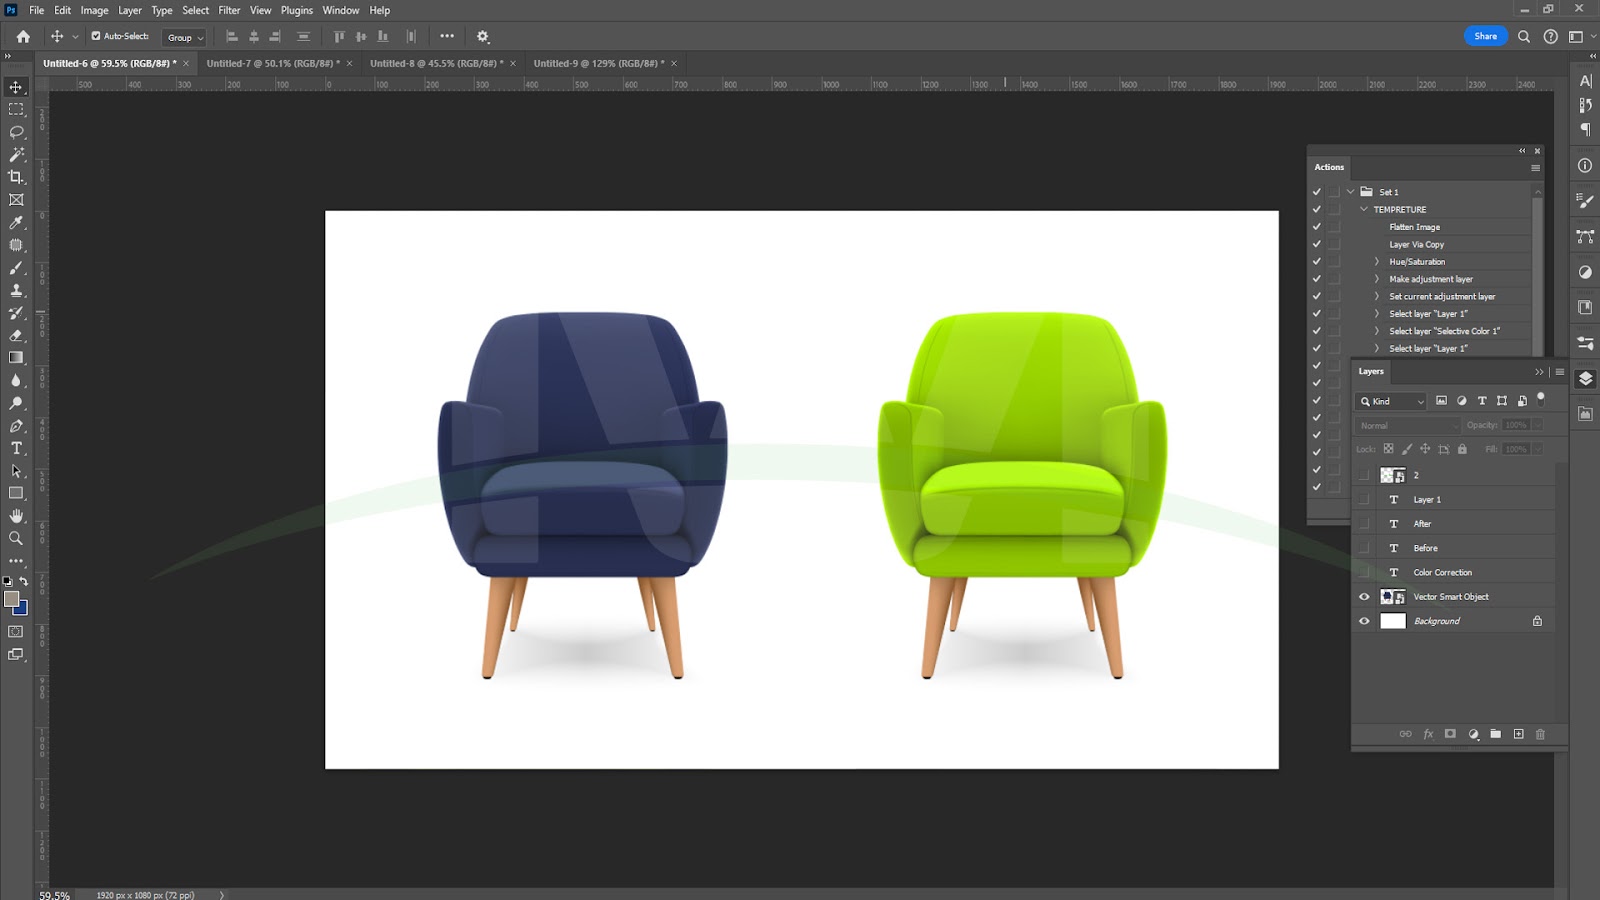
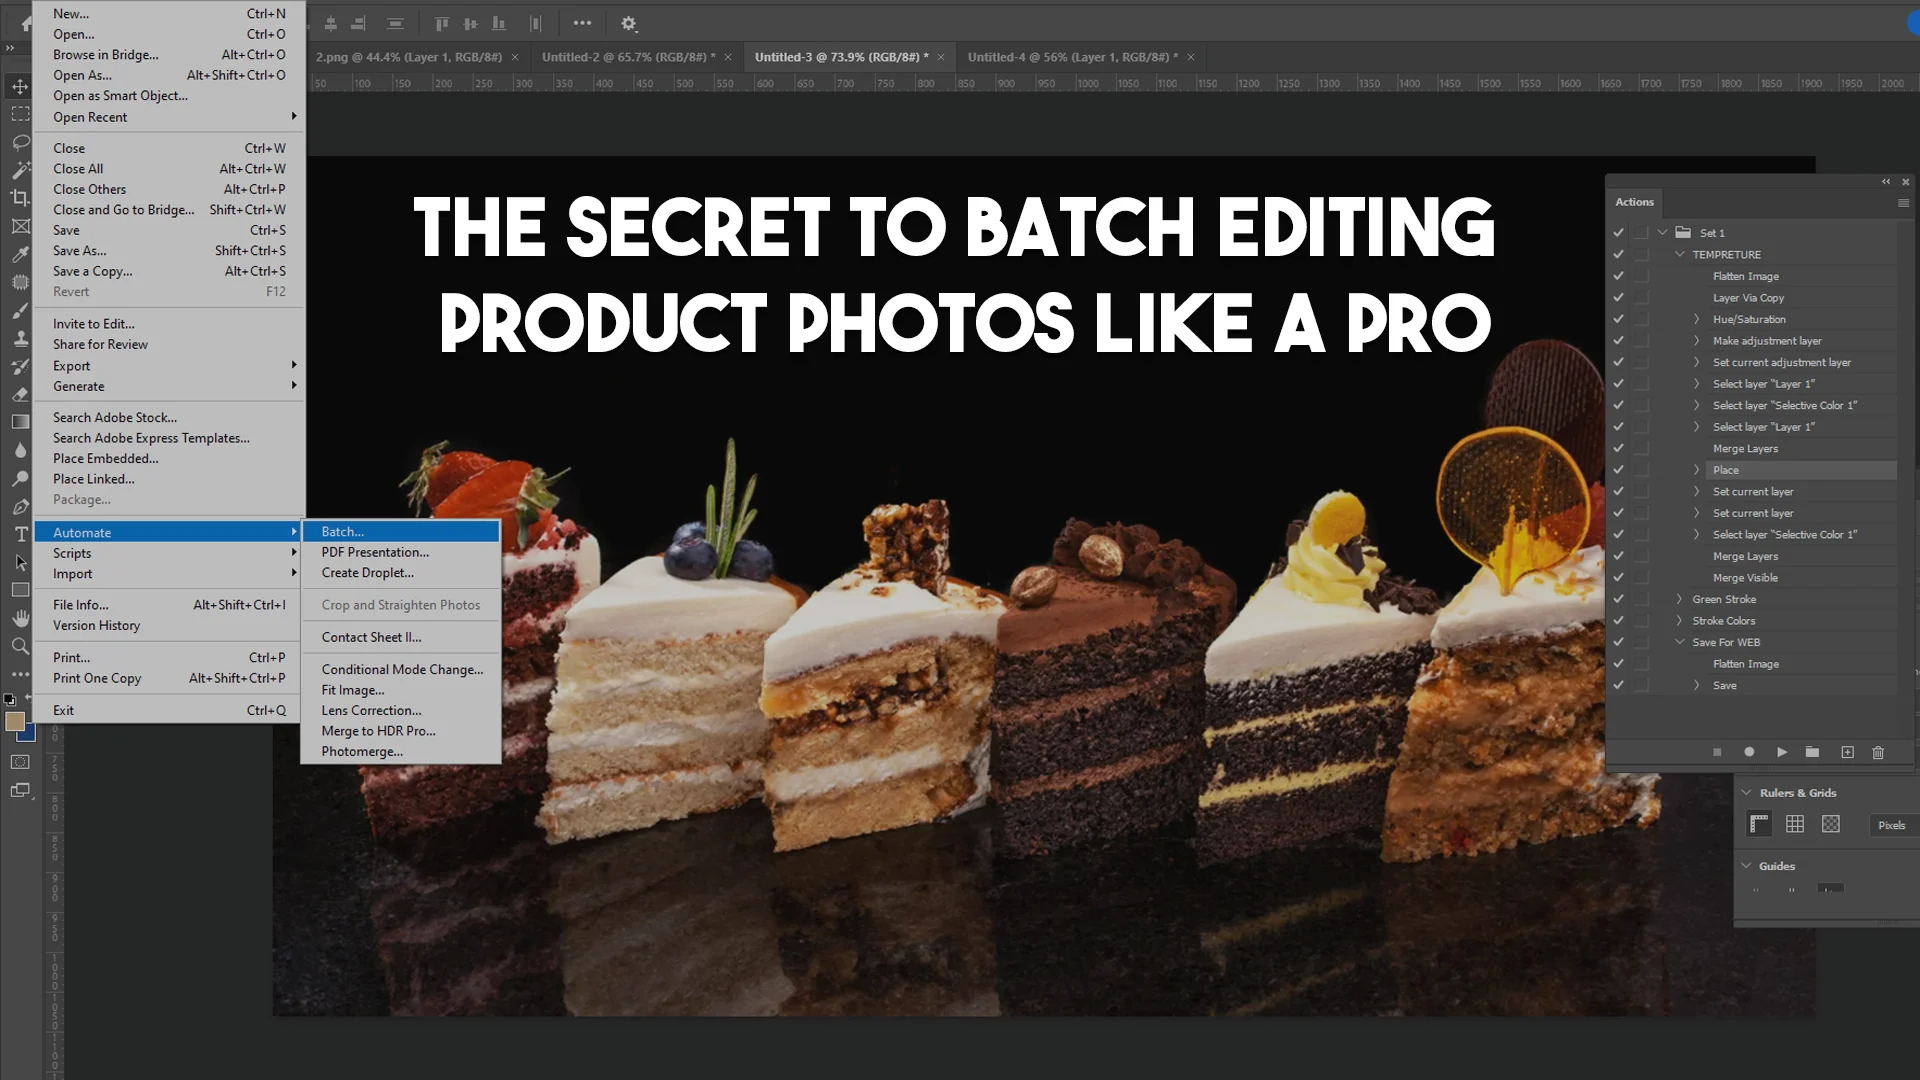
How to Edit Product Photos in Photoshop
If you need to apply advanced edits like removing unwanted reflections, fixing blemishes, or adjusting colors — Photoshop is your best friend. Here’s a beginner-friendly process to help you edit product photos with ease:
Step 1: Duplicate Your Background Layer
Before you make any changes, create a copy of your background by pressing Command + J (on Mac) or Ctrl + J (on Windows). This step acts like a safety net — if anything goes wrong, you’ll always have the untouched original to fall back on.
Step 2: Clean Up Imperfections
Use tools like the Spot Healing Brush or Patch Tool to erase any visible dust, scratches, or unwanted marks. If you need to match textures or colors, the Clone Stamp Tool is incredibly handy — it allows you to copy texture and color from one part of the image and paste it onto another area.
Step 3: Perfect the Colors
Head over to the Adjustments or Correction Panel, where you can tweak the hue, saturation, brightness, and other color elements using intuitive sliders. This step ensures your product looks natural yet eye-catching.
Step 4: Crop and Frame Like a Pro
Make sure your product is the star of the show. Use Photoshop’s crop tool, along with smart guides or the grid view, to center the product and remove unnecessary space. For platforms like Amazon, remember they require your product to fill at least 85% of the frame — it’s a useful rule for making your product pop.
Step 5: Save and Export Your Final Image
Once your edits are complete, save your work by clicking File > Export and choose the file type that fits your needs. And just like that — you’re done!
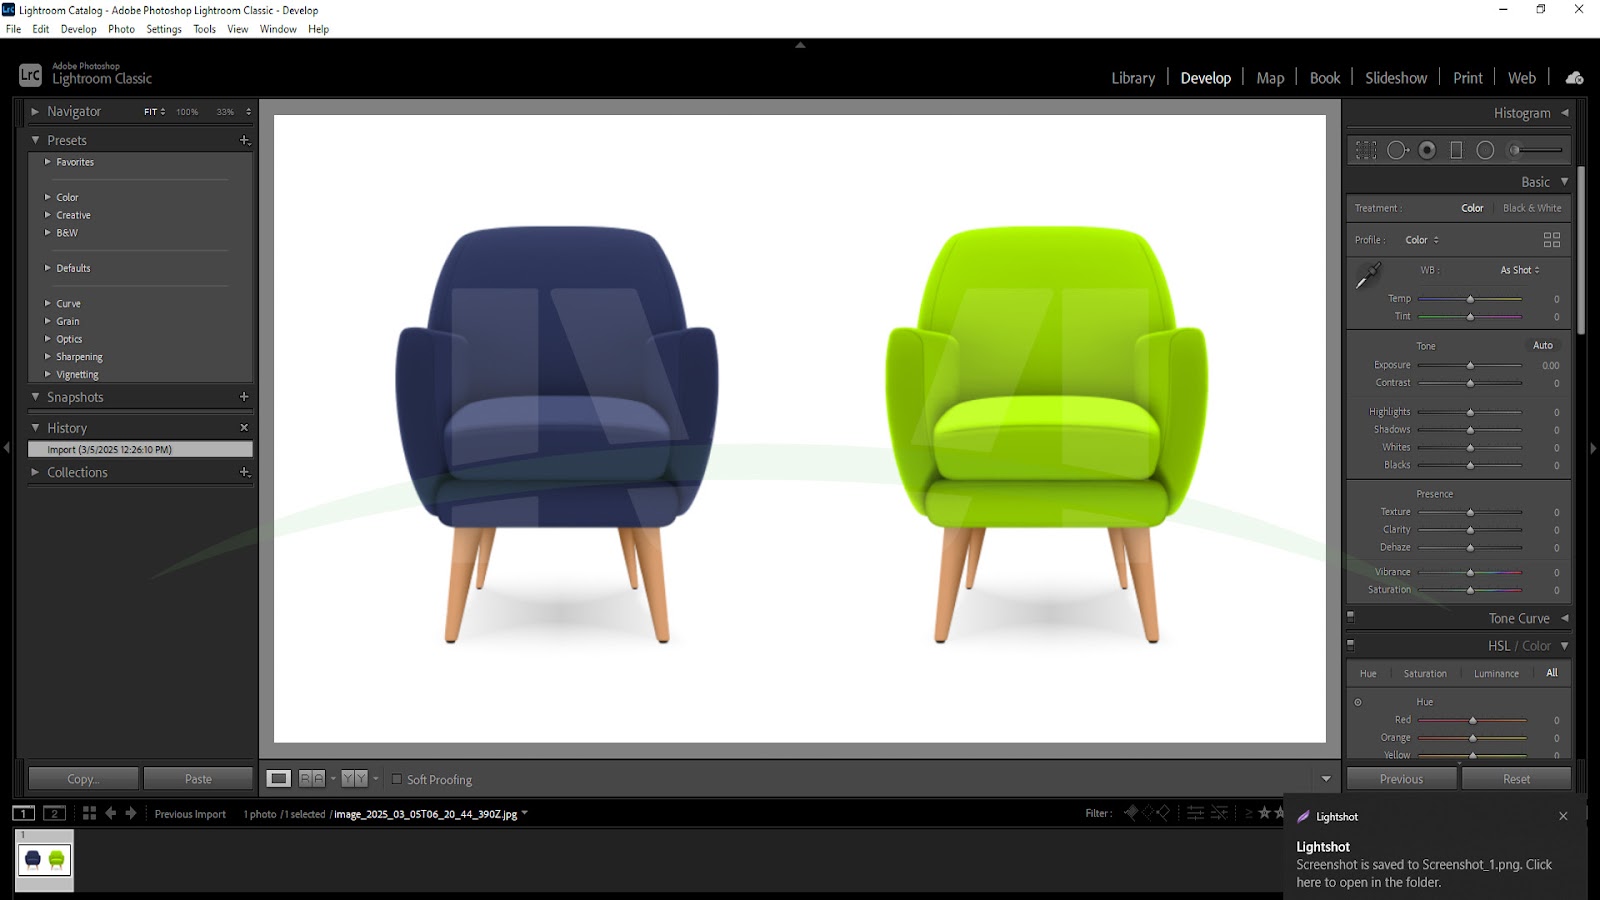
How to Edit Product Photos in Lightroom
Lightroom is just as powerful as Photoshop when it comes to polishing product images, and many photographers love its clean interface. Whether you want to enhance colors, smooth out surfaces, or clean up imperfections, here’s how to get started:
Step 1: Import Your Images
Open Lightroom, then head to the Library tab and click on Import (bottom left corner). In the Source section, select the product images you want to work on and hit Import.
Step 2: Adjust the Temperature
In the Develop module, find the Temperature slider. Moving the slider toward the blue side (lower numbers) creates a cooler tone, while sliding it toward the yellow side (higher numbers) warms up the image. This subtle tweak helps match your product’s true colors.
Step 3: Boost Overall Presence
In the Presence section, experiment with Clarity, Texture, and Saturation to give your product more definition and vibrant colors. Lightroom offers endless possibilities — if you’re keen to learn more, check out this fantastic [YouTube tutorial] for a step-by-step guide.
Step 4: Save Your Masterpiece
Once you’re satisfied with the final look, save your work by going to File > Export, where you can customize the file size, format, and quality.
Best Way to Edit Product Photos for Amazon
If you want to sell your product on Amazon, your photos must meet Amazon’s guidelines. The best way to edit product photos for beginners for Amazon starts with having a pure white background. This means the background color should be exactly #FFFFFF.
After capturing the photo, open it in Photoshop or Lightroom. First, remove the background completely if your product was shot on a non-white surface. In Photoshop, you can use the Background Eraser Tool or Select and Mask. In Lightroom, you can export to Photoshop for background removal.
Once the background is clean, adjust the brightness and contrast to make sure your product pops. Amazon prefers bright images with clear visibility of product details. Avoid over-editing — the product should look realistic. If your product has labels, make sure they are sharp and easy to read.
This clear and simple process is the best way to edit product photos for beginners who want to sell on Amazon. Following these rules will ensure your images get approved by Amazon and attract customers.
Editing Product Photos for Other Platforms
Every platform has slightly different requirements. Etsy, for example, allows lifestyle photos where the product is shown in use. Shopify gives you more freedom to be creative with backgrounds and props. However, the best way to edit product photos for beginners stays almost the same. Focus on clean images, correct colors, and sharp details.
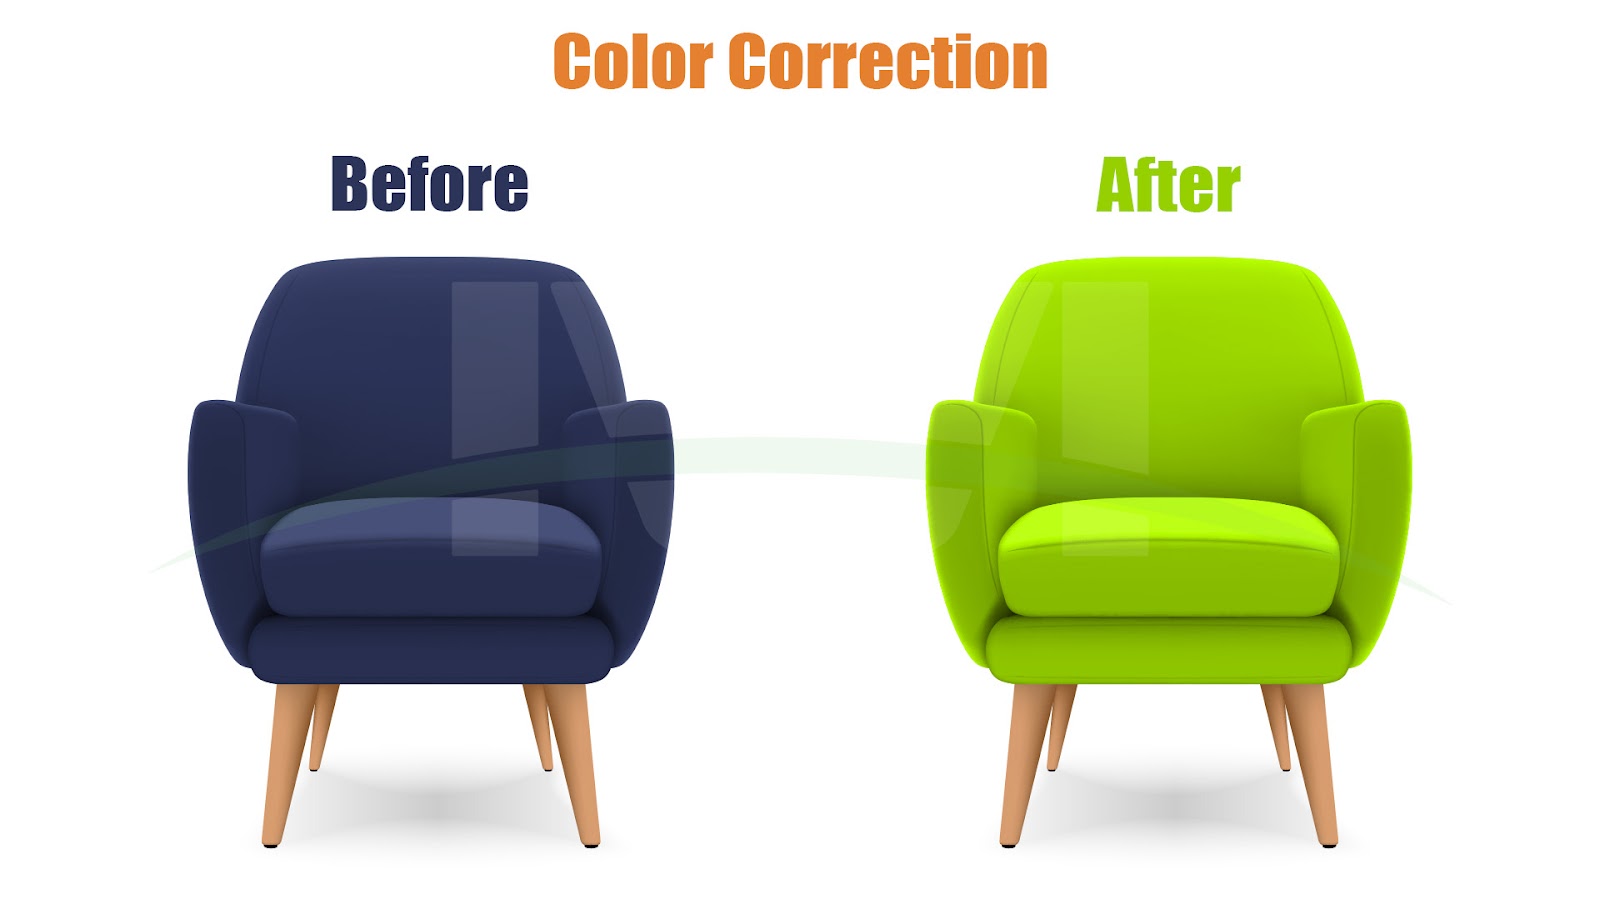
Color Correction – A Must for Beginners
One of the most important editing steps is color correction. The best way to edit product photos for beginners always includes adjusting colors to match the real product. Customers expect the product they receive to look exactly like the photo. If the colors are too bright or too dull, customers may return the product.
In Photoshop and Lightroom, color correction is easy. Use the white balance tool to set the correct color temperature. Then, adjust vibrance and saturation carefully. Always compare the edited photo with the real product under natural light to make sure the colors match perfectly.

Background Removal – Essential for Product Photos
Many product photos, especially for Amazon, need a pure white background. The best way to edit product photos for beginners includes learning how to remove backgrounds cleanly. In Photoshop, tools like the Background Eraser, Magic Wand, or Select and Mask make background removal easy. Lightroom is not the best for background removal, but you can use a plugin or external editor if needed.
A clean white background not only looks professional but also helps customers focus entirely on the product. This is why background editing is considered the best way to edit product photos for beginners when selling online.

Adding Shadows and Reflections
Once you remove the background, the photo can look flat. To make the product look more natural, you can add a soft shadow or reflection. This extra step is often part of the best way to edit product photos for beginners because it adds depth and realism to your product shots. In Photoshop, you can create shadows manually using the brush tool and softening edges with the blur tool.
Exporting in the Right Format and Size
After editing, the final step is exporting your photo. The best way to edit product photos for beginners includes saving photos in the right format, such as JPEG for most platforms. For Amazon, make sure your image is at least 1000 pixels on the longest side for zoom functionality.
Conclusion
Learning the best way to edit product photos for beginners may feel overwhelming at first, but with practice, it becomes easier. Focus on simple steps: cleaning the background, correcting colors, and adjusting brightness. Use beginner-friendly tools like Lightroom or Photoshop, and follow platform guidelines if you are selling online. With time, your product photos will look professional, helping you attract more customers and grow your business.
Frequently Asked Questions (FAQs)
What is the best way to edit product photos for beginners?
The best way to edit product photos for beginners is to focus on background removal, color correction, brightness adjustment, and sharpening, using simple tools like Photoshop or Lightroom.
Can I edit product photos for free?
Yes, free tools like Canva, GIMP, or Snapseed can help beginners edit product photos. However, for professional results, Photoshop and Lightroom are recommended.
Do I need to remove the background from product photos?
If you are selling on Amazon or other marketplaces, a white background is required. This makes background removal essential.
How do I make my product colors look accurate in photos?
Always adjust the white balance and compare your edited photo with the real product under natural light.
Is Lightroom easier than Photoshop for beginners?
Yes, Lightroom is easier for beginners because its editing process is more guided and beginner-friendly.
Should I apply filters to product photos?
No, product photos should look natural and realistic. Filters are not recommended for product images.