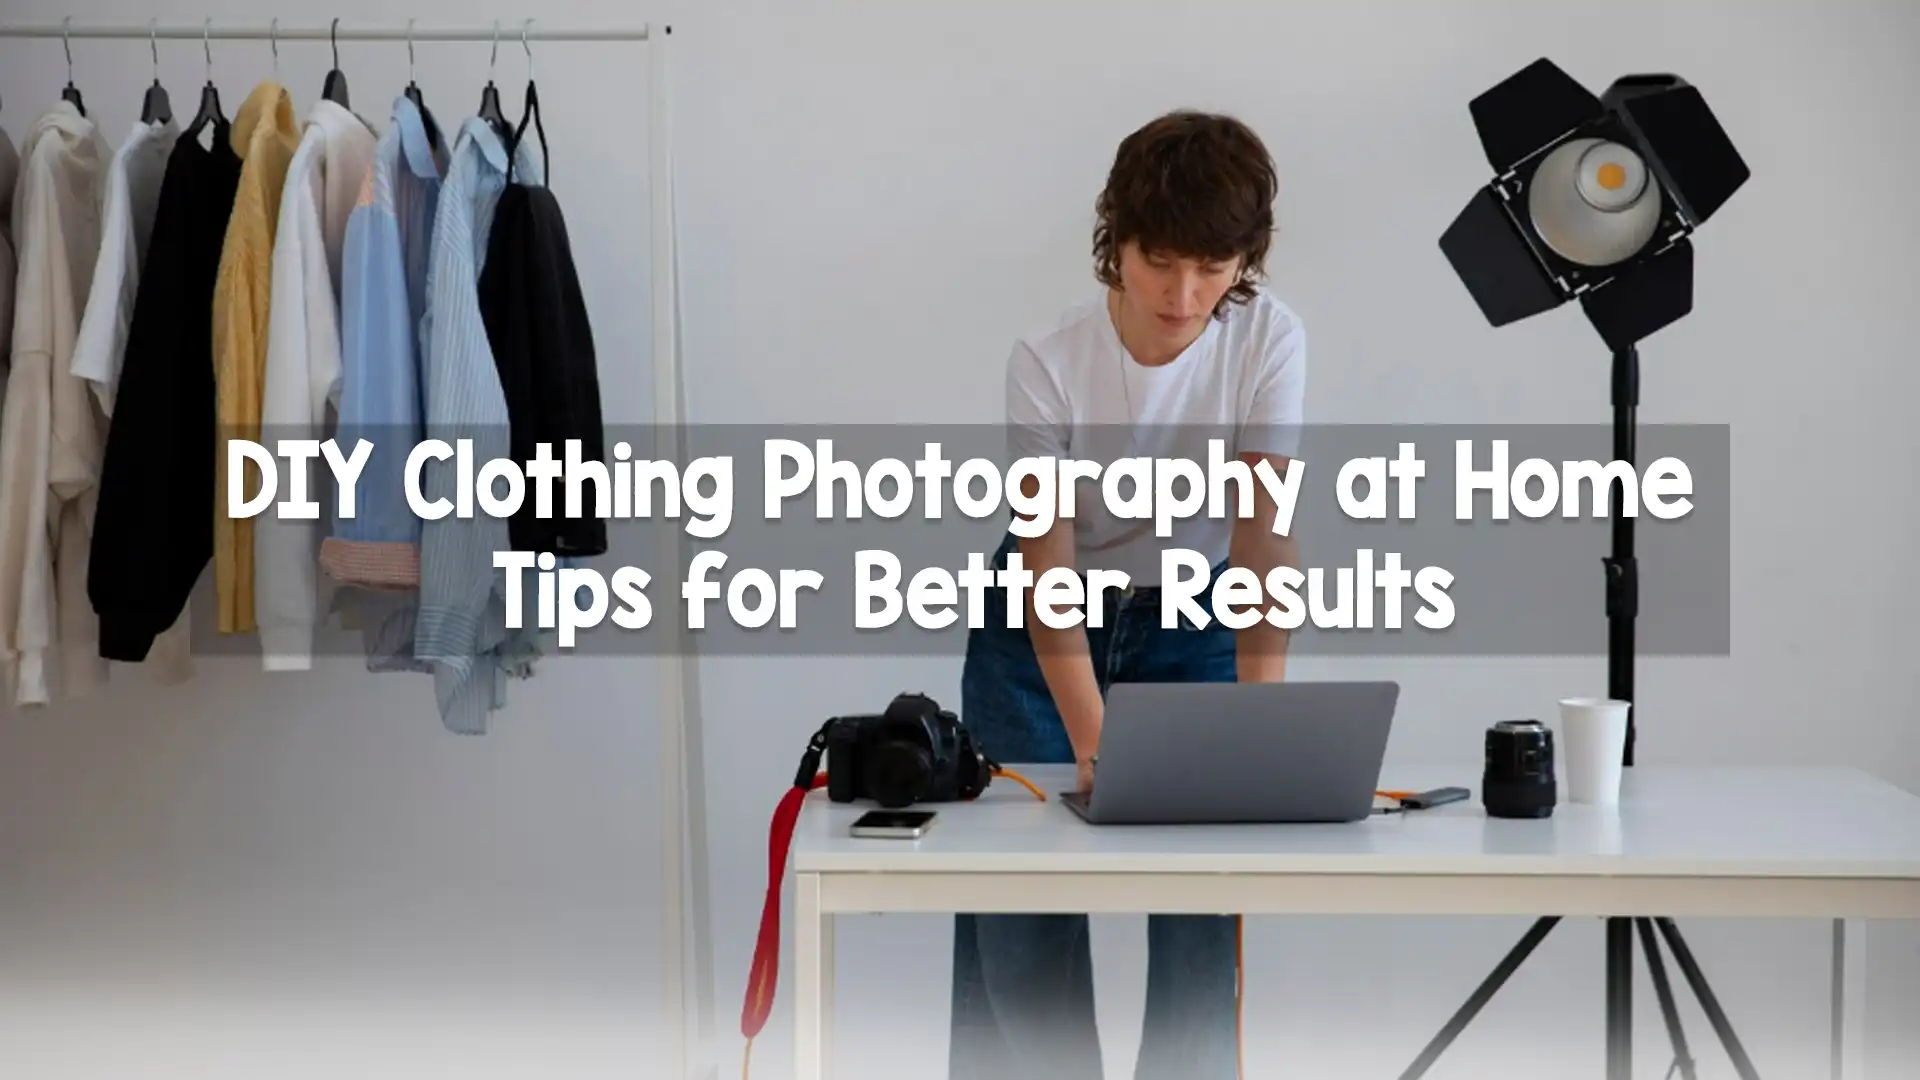
In today’s digital world, the way your clothes look in photos can make a huge difference. Whether you’re running a small online boutique, selling on Etsy, or showcasing your designs on social media, great photos are a must. The good news is that you don’t need a professional studio to get beautiful pictures. With the right techniques and a little creativity, clothing photography at home can be simple, fun, and effective. This article will guide you through every step to help you take better clothing photos from the comfort of your home.
Why Good Clothing Photos Matter
High-quality photos help you sell more. When people shop online, they can’t touch or try on the clothes. So, the photos do all the talking. Good lighting, clear details, and neat presentations can build trust and increase sales. If your clothes look dull, wrinkled, or badly lit, customers may scroll right past your listings. That’s why clothing photography at home should never be taken lightly. It’s an important part of your business.

Getting Started with Basic Equipment
You don’t need expensive gear to do clothing photography at home. A simple smartphone with a good camera can do wonders. If you have a DSLR or mirrorless camera, that’s even better. The most important thing is using what you have well.
A tripod can be very helpful. It keeps your camera steady, reduces blur, and allows you to shoot hands-free. If you don’t have a tripod, you can balance your phone or camera on a stable surface using books or boxes.
Good lighting is more important than a fancy camera. Natural light from a window is perfect for clothing photography at home. Avoid harsh sunlight and try to shoot in soft, even light. If you don’t have enough natural light, you can use affordable LED lights or even household lamps with white bulbs.
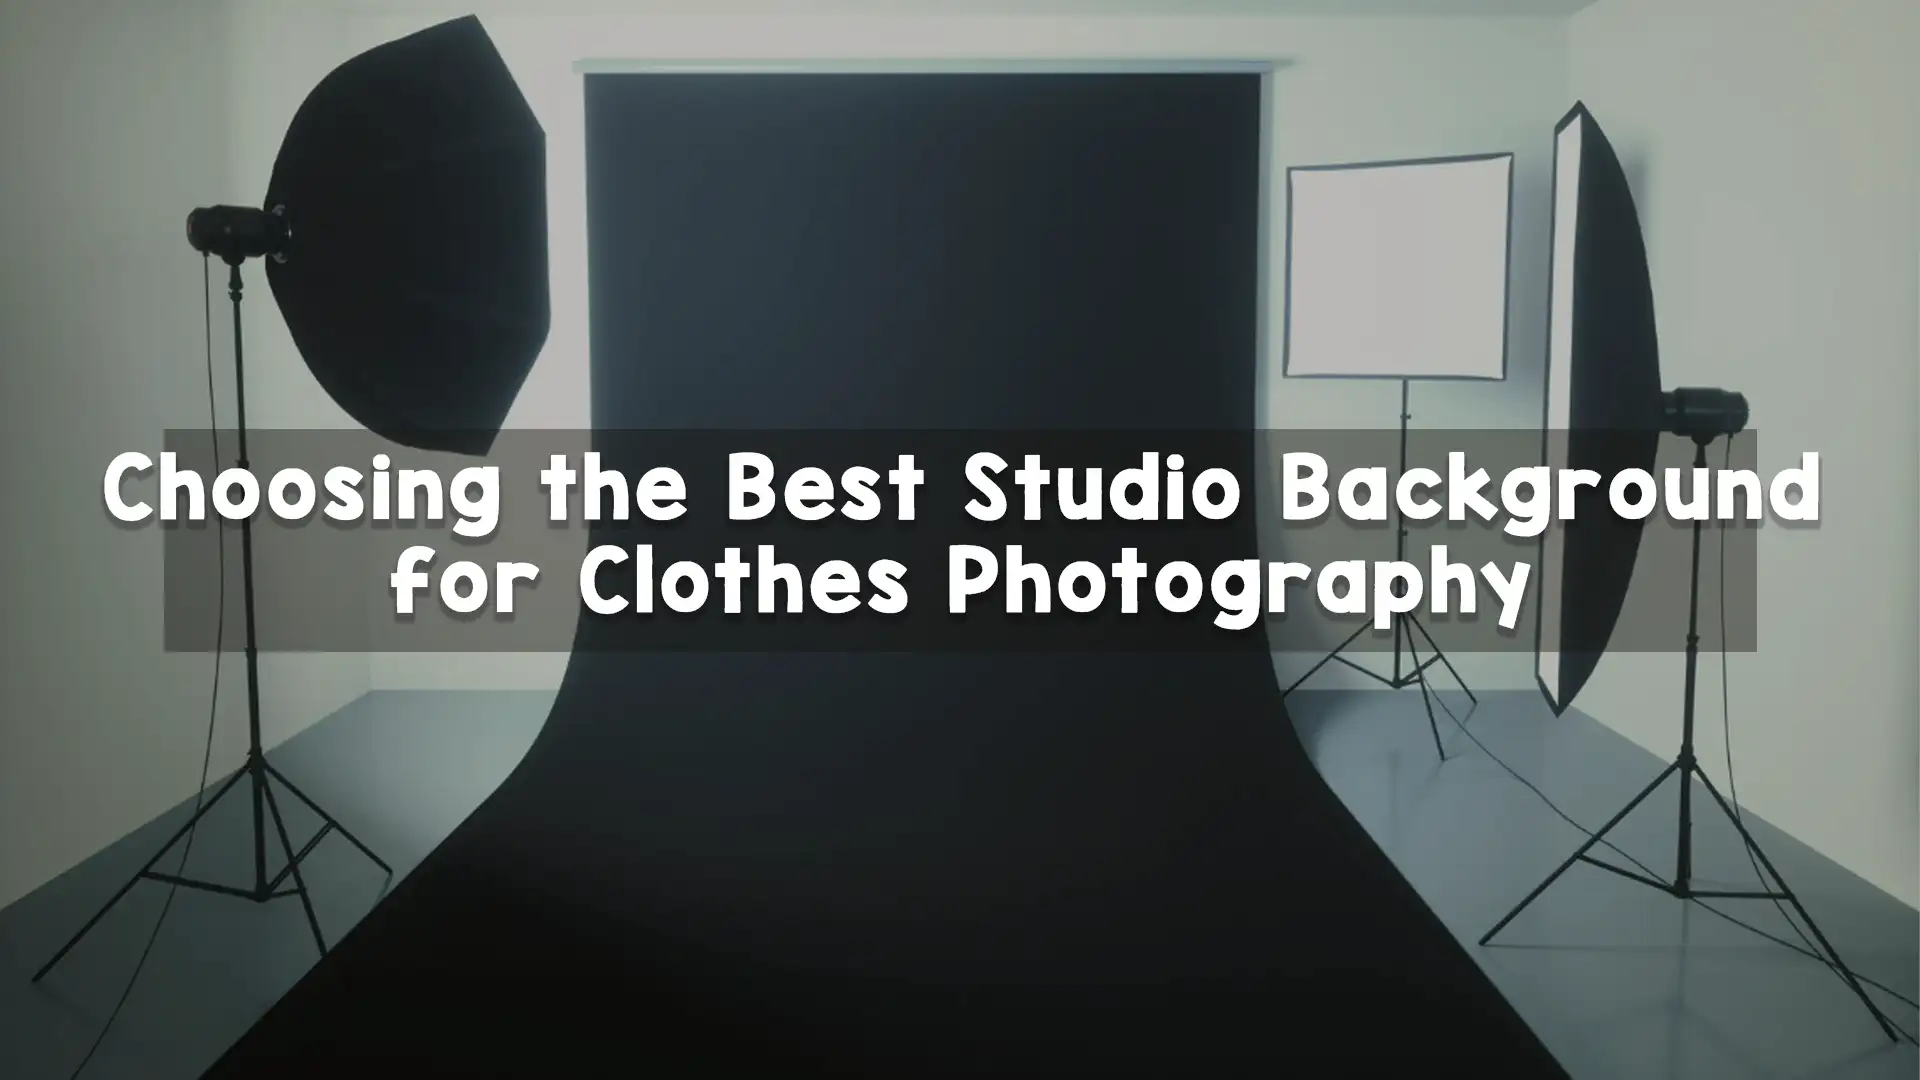
Choosing the Right Space
Find a spot in your home with good natural light. A large window is ideal. You want a space that is clutter-free and clean. The focus should be on the clothes, not the background.
A plain wall or a large piece of white fabric can work as a clean background. Avoid colorful or patterned walls because they can distract from the clothing. For flat lays, you can use a white sheet, a wooden floor, or a poster board to place your clothes on.
It’s helpful to take a few test shots in different rooms and at different times of the day to see which gives the best lighting. The time just after sunrise or before sunset—called the “golden hour”—can provide beautiful soft light for clothing photography at home.

Styling and Preparing Your Clothes
Before you take any photos, make sure the clothes are clean, ironed, and wrinkle-free. This step might seem small, but it makes a huge difference in the final image. Use a lint roller to remove dust or pet hair, and double-check for stains or creases.
If you’re photographing multiple outfits, plan ahead. Lay everything out, group similar styles together, and have your props ready. Planning saves time and helps you stay organized.
Add simple props if you want to give the image more life, but don’t overdo it. A small plant, a pair of shoes, or a bag can help tell a story. The focus should always remain on the clothing item.

Choosing a Model, Mannequin, or Flat Lay
There are several ways to show your clothes in photos. Each has its pros and cons, and all can be done easily at home.
Using a model gives a realistic view of how the clothing fits and moves. It also helps customers imagine themselves wearing the outfit. If you can’t hire a model, consider asking a friend or family member to help. Just make sure the person wears neutral makeup and simple accessories so that the clothes remain the center of attention.
Mannequins are a great investment for clothing photography at home. They give structure to the clothes and create a 3D look. If a full mannequin is not available, a dress form or torso-style mannequin will work just fine.
Flat lays are another popular option. This method involves laying the clothes on a flat surface and photographing from above. Flat lays work especially well for t-shirts, baby clothes, or folded outfits. Make sure everything is aligned neatly and that the clothes are shaped nicely. Use foam boards or rolled towels underneath sleeves or collars to give a more natural shape.

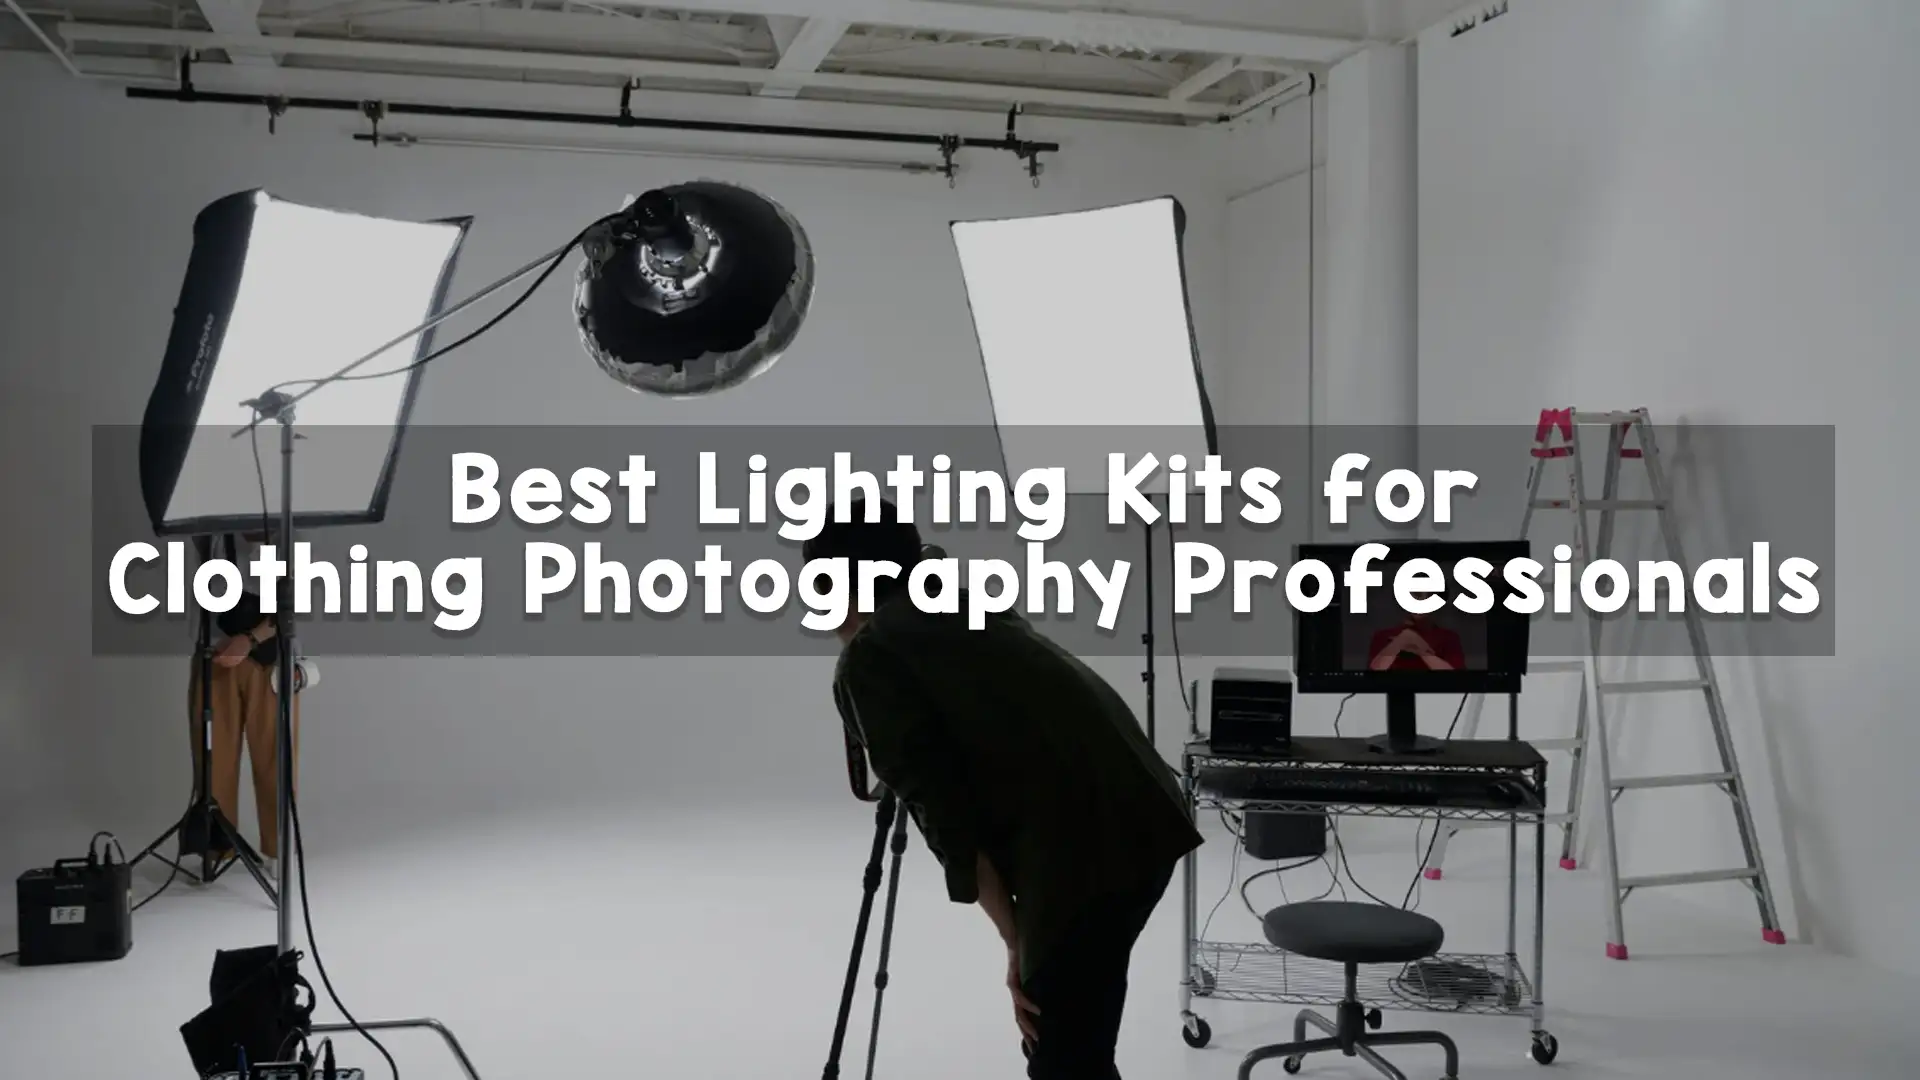
Setting Up the Lighting
Lighting can make or break your photo. Natural light is the best and easiest to work with for clothing photography at home. Set up near a large window and shoot during the brightest part of the day. Avoid using direct sunlight because it can create hard shadows.
If the window light is too strong, use a white curtain or sheer cloth to soften it. This creates a more even and flattering light. Always place your camera between the clothes and the window, or shoot from the side for more depth.
If you need artificial lighting, use softbox lights or LED panels. Place one light at a 45-degree angle to your subject and, if needed, add a second light or reflector on the other side to fill in the shadows. You can also make a DIY reflector using white foam board or aluminum foil.

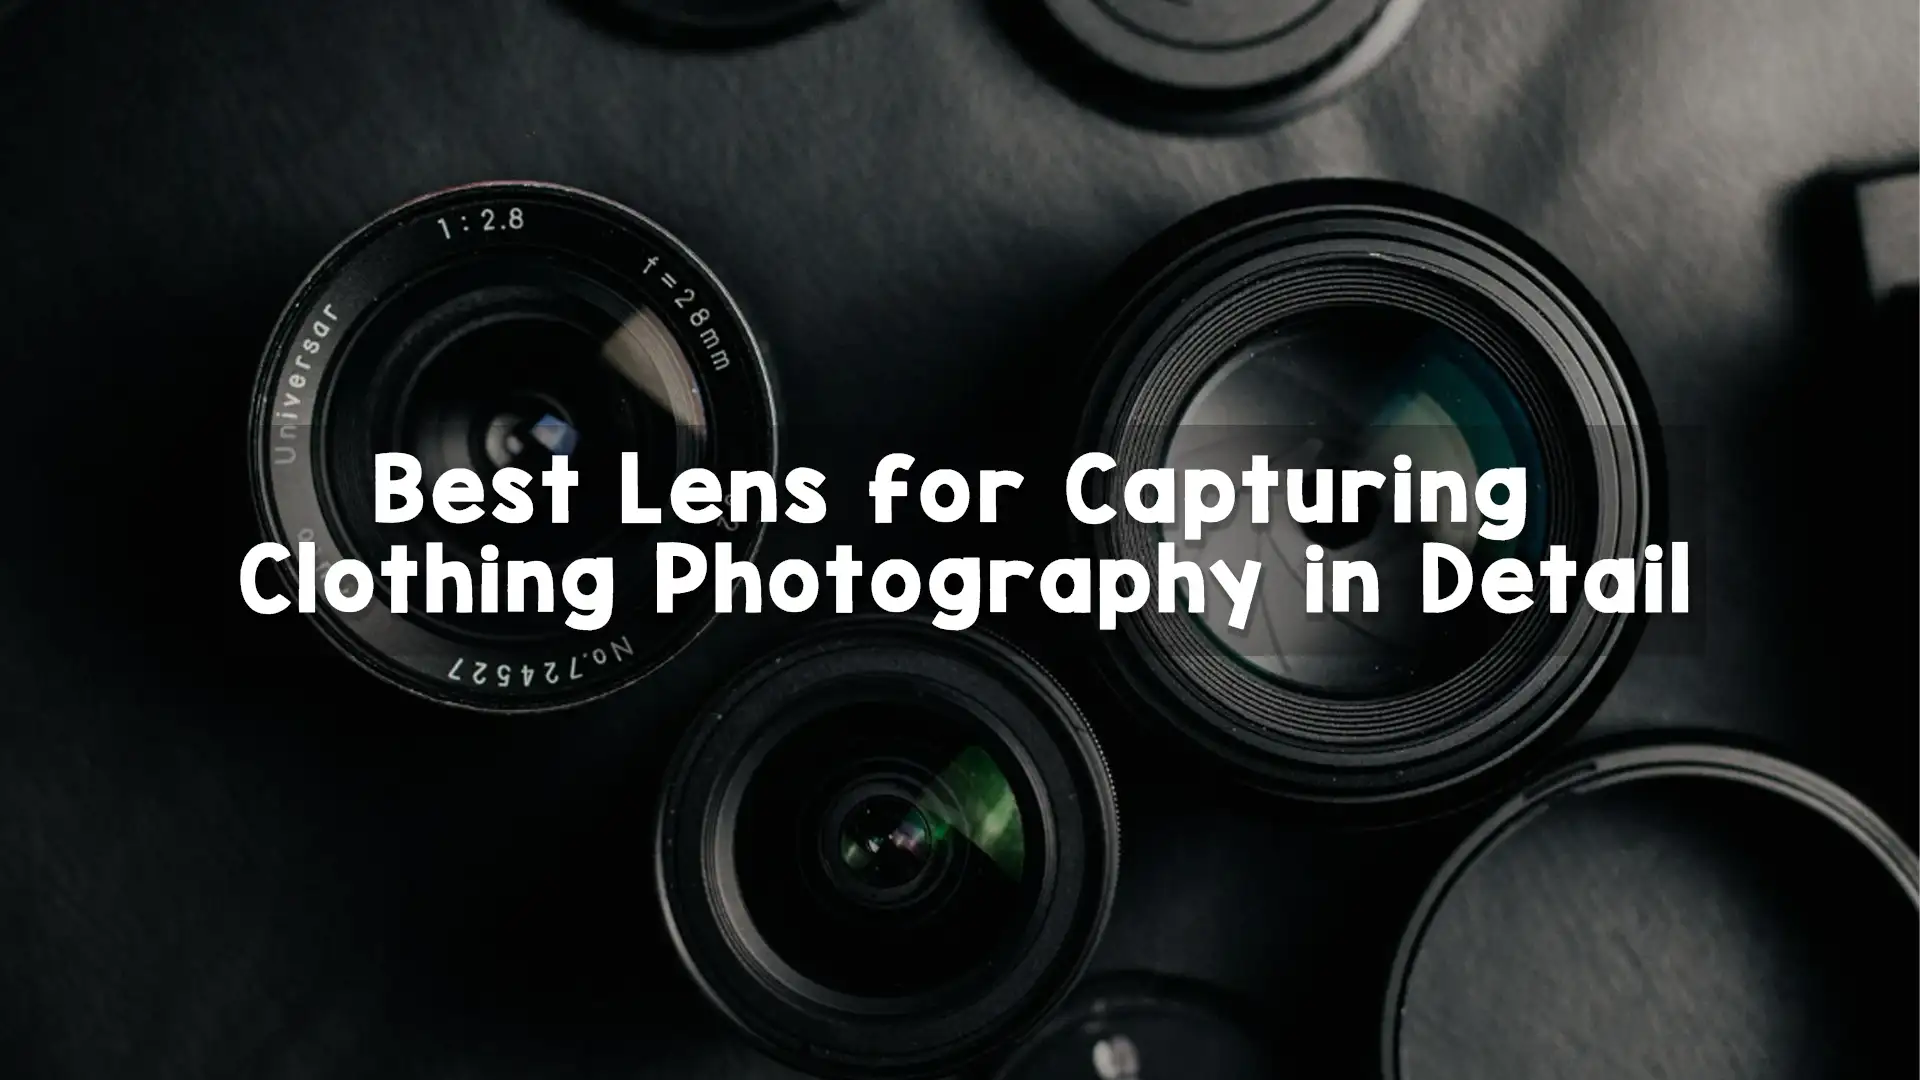
Mastering Your Camera or Phone
If you’re using a phone for clothing photography at home, make sure your lens is clean. Use the main camera—not the front-facing one—for the best quality. Turn off the flash and tap on the screen to set focus and brightness.
Many phones have a “pro” or “manual” mode that lets you control settings like ISO, shutter speed, and white balance. These settings can help you fine-tune your photos.
With a DSLR or mirrorless camera, use a low ISO (like 100 or 200) to reduce grain. Set the aperture around f/4 to f/8 to keep the clothing sharp. Adjust the shutter speed depending on your lighting conditions, but keep it fast enough to avoid blur if you’re shooting without a tripod.
Always shoot in landscape (horizontal) mode unless you need vertical images for social media. Keep your angles consistent and take multiple shots from different perspectives.

Editing Your Photos for a Polished Look
Editing your photos is a must in clothing photography at home. It helps you fix small issues and make your photos look more professional. You don’t have to be a Photoshop expert. There are many easy-to-use editing apps like Snapseed, Lightroom Mobile, or Canva.
Start by adjusting the brightness, contrast, and white balance. Make sure the colors of the clothes look true to life. Avoid using heavy filters or effects that change the look of the product.
Crop the photo to remove distractions and keep the focus on the clothing. Straighten the image if needed. You can also remove dust, lint, or background wrinkles using basic retouching tools.
If you’re not confident in editing, you can use a professional post-production service like Image Work India to enhance your photos. A clean and polished image builds customer trust and shows your product in the best possible way.

Showing Details and Different Angles
Customers want to see every part of a clothing item before they buy it. Always take multiple photos from different angles. Show the front, back, and side views. If the clothing has special features like buttons, embroidery, or patterns, take close-up shots.
Use your camera’s zoom or crop feature to highlight the texture of the fabric. For example, if you’re selling a wool sweater or a satin dress, a detailed shot can help the customer feel the texture through the screen.
Including scale is also helpful. You can place a common object like a coin or hand next to the item to show size. These extra shots improve your clothing photography at home and help customers make better buying decisions.

Creating a Consistent Look
A consistent style makes your brand look professional. Use the same background, lighting, and photo size for all your images. This makes your shop or website look clean and organized.
If you’re using a model, make sure they pose in a similar way for each outfit. If you’re doing flat lays, place the clothes in the same layout each time. These small things help build a strong visual identity for your brand.
You can even create a photo style guide for yourself. It can include your preferred background color, camera settings, and editing steps. This saves time and keeps your clothing photography at home uniform and professional.
Optimizing Images for Online Use
Once your photos are edited and ready, it’s important to prepare them for online use. Large image files can slow down your website or online shop. Resize your images to the recommended size for your platform, and save them in web-friendly formats like JPEG or PNG.
Use clear file names and alt text to improve SEO. For example, instead of “IMG1234.jpg,” name your file “blue-cotton-shirt-front-view.jpg.” This helps your product show up in search results and boosts your visibility.
Always preview your images on different screens, including mobile phones, to make sure they look good everywhere.

Let Image Work India Help You Shine
If you want to take your photos to the next level, Image Work India is here to help. We are a trusted image post-production company that specializes in editing clothing and product images. Whether you need background removal, color correction, wrinkle retouching, or full image enhancement, our expert team can make your photos stand out.
By outsourcing your editing to Image Work India, you save time and get consistent, high-quality results that reflect the true beauty of your products. Let us help you turn your DIY photos into professional images that boost your brand and grow your business.
For more information, visit our website and explore our wide range of services for clothing photography at home and beyond.
Final Thoughts on DIY Clothing Photography at Home
Taking great clothing photos at home doesn’t have to be hard. With natural light, a clean space, some preparation, and the right mindset, you can achieve professional-looking results. Practice is key. The more you shoot, the better you’ll get.
Remember to focus on good lighting, clean backgrounds, neat presentation, and clear details. Don’t be afraid to experiment and try new things. Over time, your clothing photography at home will improve, and so will your sales.