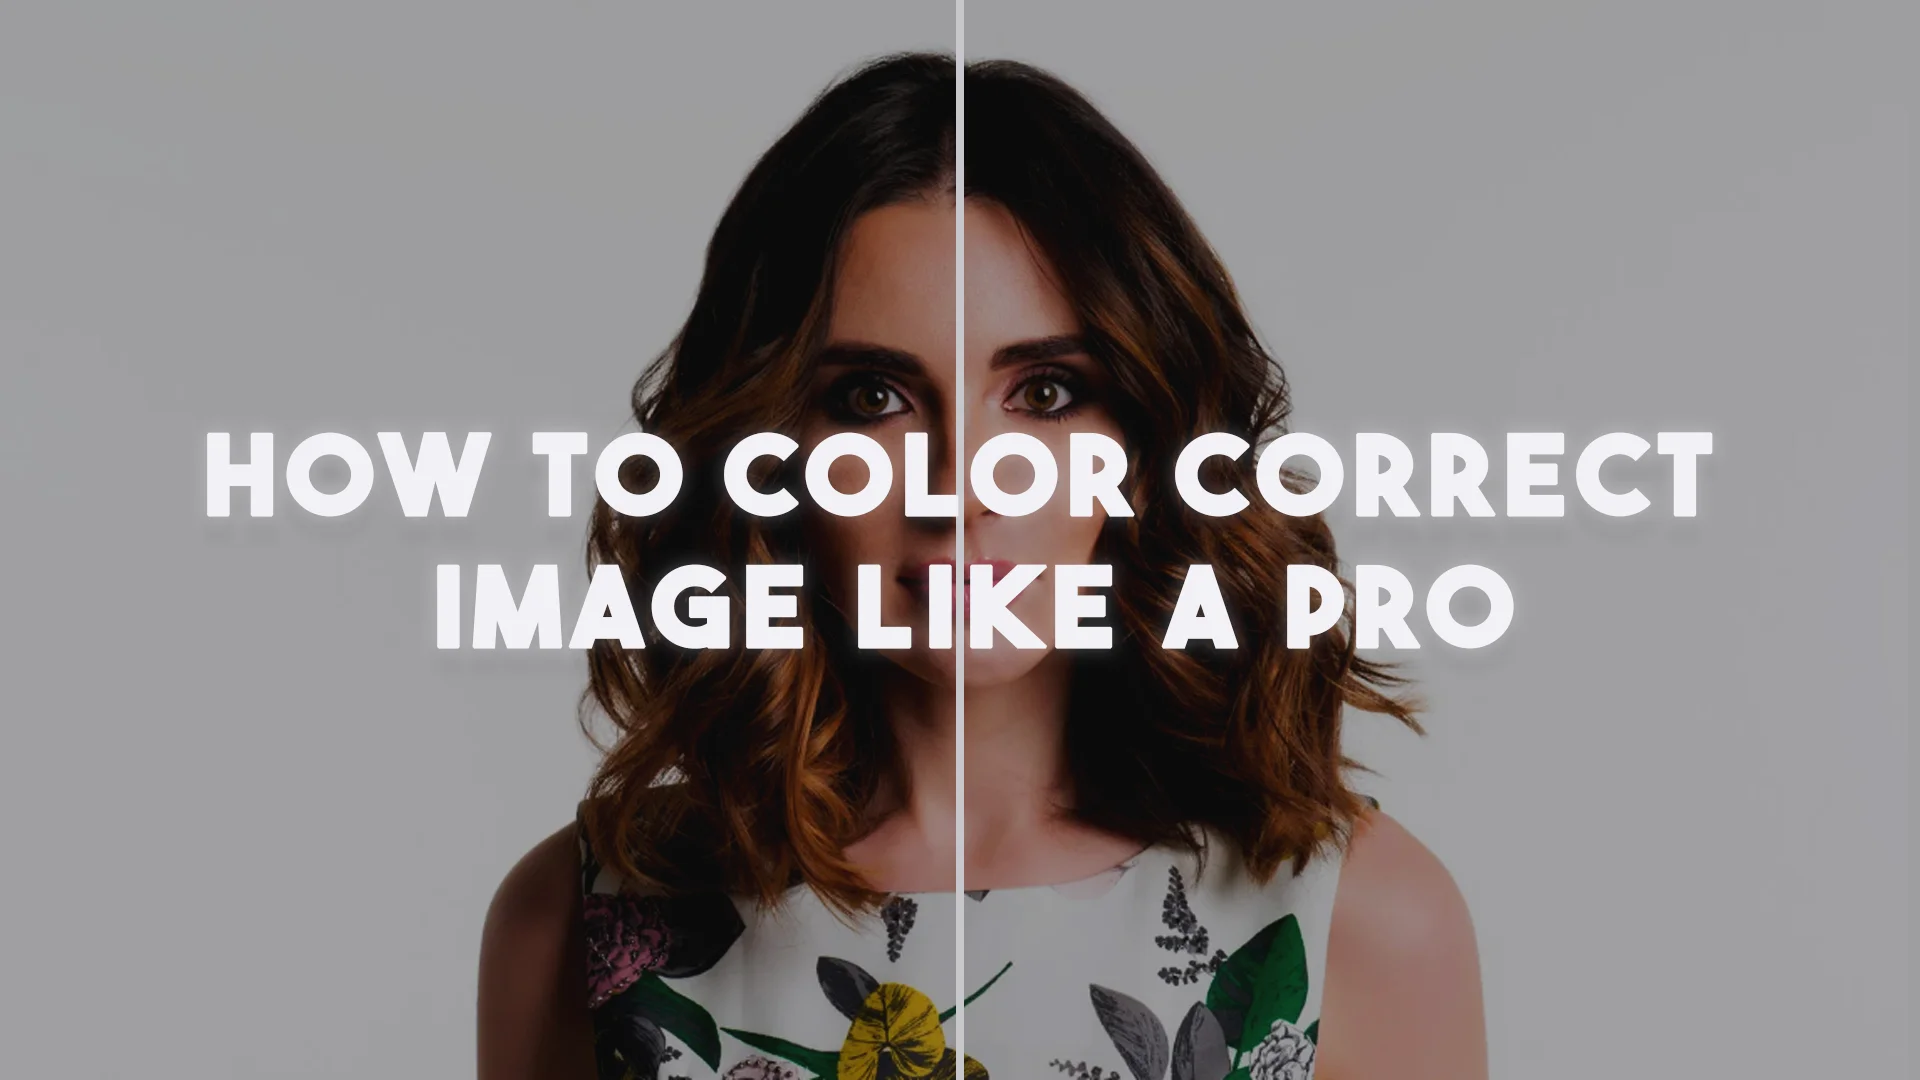
Color correction is an essential skill for anyone working with images, whether you’re a photographer, graphic designer, or content creator. The process involves adjusting the colors in an image to make it appear more natural, balanced, and visually appealing. By learning how to color correct an image like a pro, you can take your images to the next level, whether you’re enhancing a portrait, a product shot, or any other type of visual content.
In this comprehensive guide, we’ll walk you through the entire process of color correcting images, from understanding the basics of color theory to mastering advanced editing techniques. By the end of this tutorial, you will know how to color correct image files like a professional, ensuring that your images always look their best.
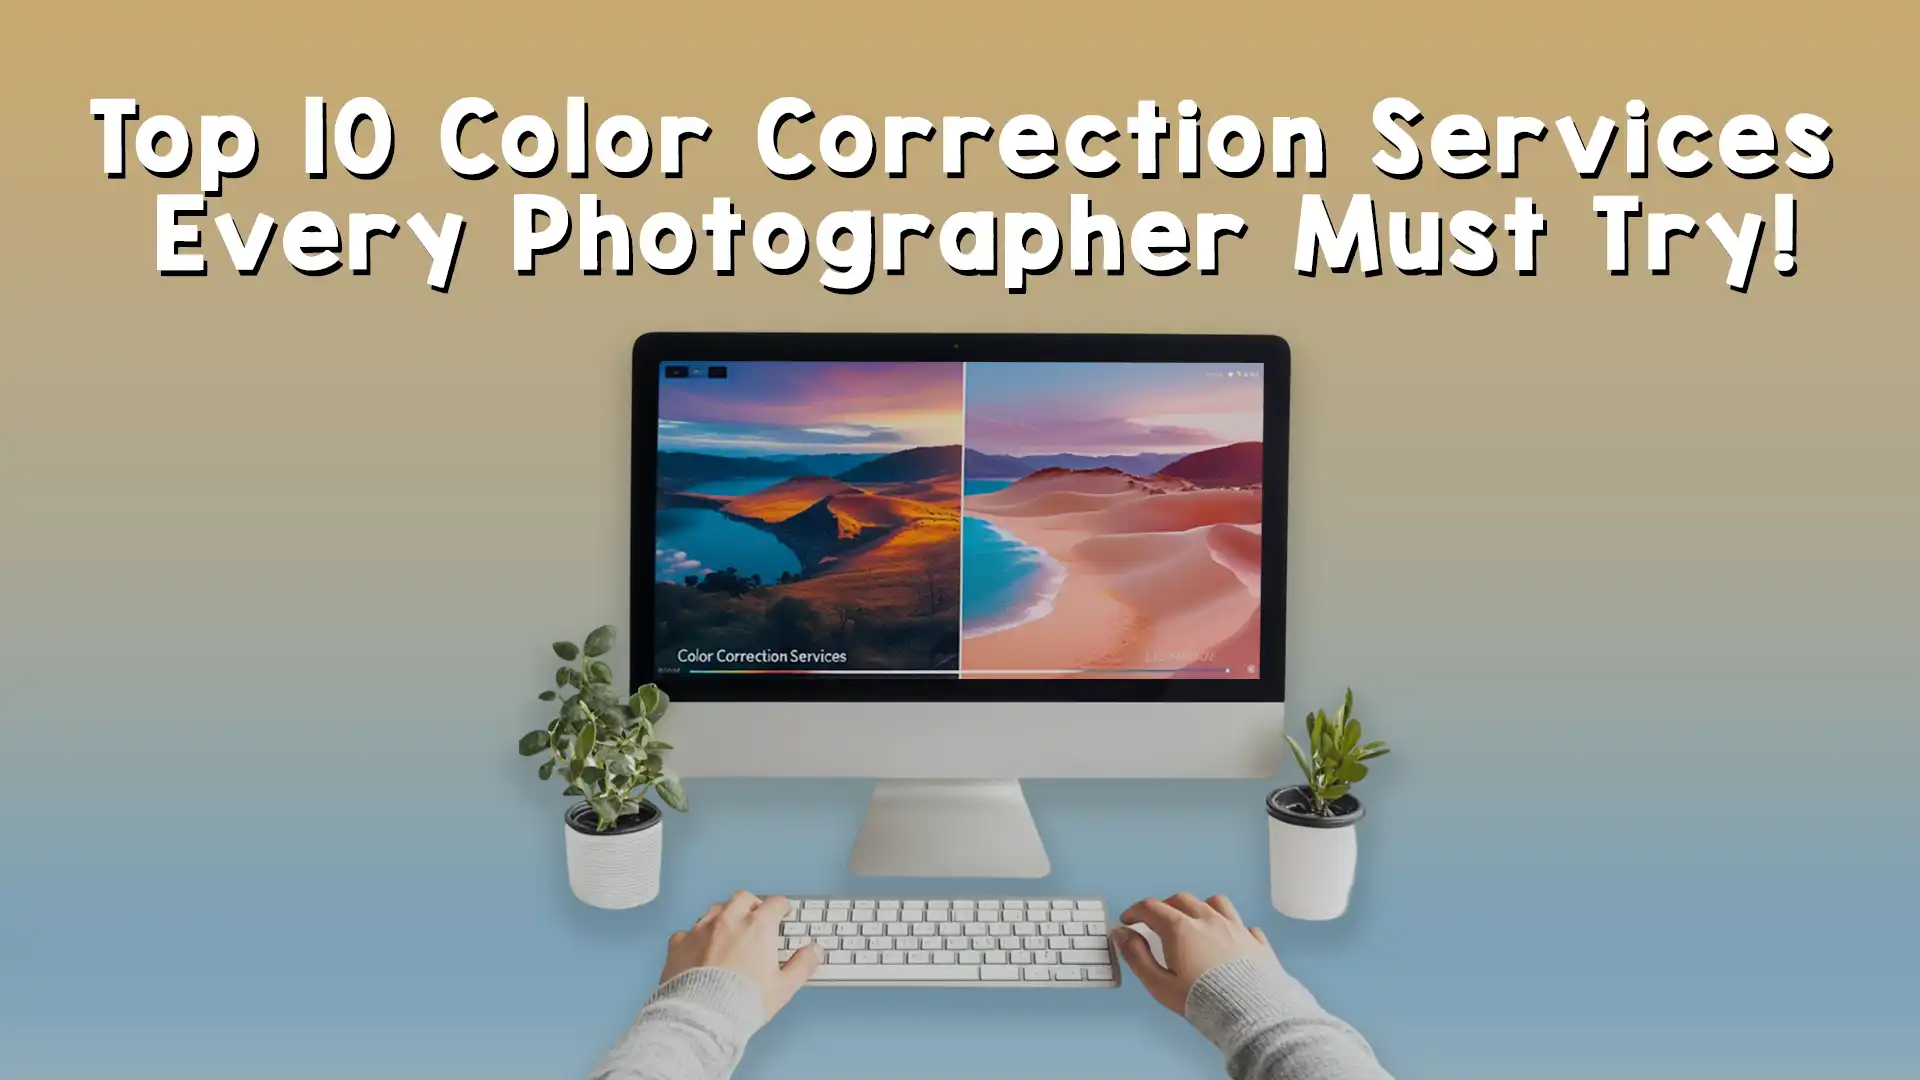
What Is Color Correction?
Color correction is the process of adjusting the colors in an image to ensure that they are true to life, consistent, and properly balanced. When an image is color corrected, the colors in the image are adjusted to remove any unwanted color casts, correct exposure issues, and ensure that the colors appear natural and vibrant.
Whether you’re working with images captured under poor lighting conditions, using cameras with less-than-perfect color accuracy, or simply looking to enhance the overall aesthetic of an image, learning how to color correct an image is essential. In this tutorial, we’ll explore how to achieve a professional level of color correction for all types of images.
Why Is Color Correcting Important?
One of the main reasons for color correction is to ensure that images look as natural and accurate as possible. For example, when shooting product photography, color accuracy is crucial, as the colors of the products should match what they look like in real life. Similarly, when editing portraits, you need to correct the skin tones and lighting to make the subject look their best.
Another reason to color correct an image is to fix any lighting issues or color imbalances. Poor lighting or incorrect camera settings can result in images that appear too warm or too cool, with colors that don’t match the scene’s true tone. By learning how to color correct image files, you can correct these issues and make your photos look more professional.

Understanding Color Theory
Before diving into the steps of color correcting an image, it’s important to have a basic understanding of color theory. Color theory is the study of how colors interact with each other and how they can be combined to create harmonious or visually pleasing compositions.
At its core, color theory revolves around the primary colors (red, blue, and yellow) and how these colors mix to create secondary colors (orange, green, and purple). In image editing, understanding color theory helps you make better decisions when adjusting the colors in your images. Whether you’re using photo editing software like Adobe Photoshop or Lightroom, color theory can guide you in correcting and enhancing the colors of your images.

Common Color Problems in Images
Before you can effectively color correct an image, it’s essential to understand the common color problems that might appear in photos. Some of the most common issues include:
- Color Casts: A color cast occurs when an image has an overall tint of one color, such as blue, yellow, or green. This can happen due to incorrect white balance settings or poor lighting conditions.
- Exposure Issues: Exposure refers to the brightness of an image. Overexposed images appear too bright, while underexposed images are too dark. Both of these issues can affect the color accuracy and overall quality of the image.
- Skin Tone Problems: In portrait photography, skin tones can sometimes look unnatural or unflattering due to poor lighting, incorrect white balance, or inaccurate color settings.
- Saturation Problems: Colors that are too saturated may appear unnatural, while colors that are too desaturated can make an image look dull and lifeless.
- Contrast Issues: Proper contrast is essential for bringing out the details in an image. If the contrast is too low, the image may look flat, while high contrast can cause the colors to look harsh and unrealistic.
Tools You Need to Color Correct Image Files
To color correct an image, you’ll need the right tools. Most professional image editors use software like Adobe Photoshop, Lightroom, or other advanced photo editing programs. These tools offer a wide range of features and adjustments that allow you to fix color issues and enhance your images.
In addition to color correction software, you may also need a few other tools, such as a color calibration tool to ensure your monitor is displaying accurate colors and a color checker for more precise color correction in professional photography settings.
How to Color Correct Image Files: Step-by-Step Guide
Now that you understand the basics, let’s dive into the step-by-step process of color correcting images like a pro.

Step 1: Adjust the White Balance
The first step in color correction is to adjust the white balance. White balance refers to the process of removing color casts in your image so that whites appear neutral and other colors look natural. If your image has a blue or yellow tint, adjusting the white balance can help eliminate this issue.
In Adobe Lightroom or Photoshop, you can adjust the white balance using the Temperature and Tint sliders. The Temperature slider adjusts the warmth or coolness of the image, while the Tint slider helps to correct any green or magenta color casts.
To adjust the white balance, start by selecting a neutral area in the image, such as a white or gray object, and adjust the sliders until the colors look balanced and natural. This will help eliminate any unwanted color casts and ensure that the overall image has accurate color representation.

Step 2: Correct Exposure and Contrast
After adjusting the white balance, the next step is to correct the exposure and contrast. Exposure adjustments will help make sure your image is neither too bright nor too dark. If the image is overexposed, you can lower the exposure slider to darken the image. If it’s underexposed, increase the exposure to brighten the image.
Contrast adjustments are also essential to enhance the depth and detail of your image. Increase the contrast to make the highlights brighter and the shadows darker. Be careful not to overdo it, as too much contrast can make the image look harsh and unrealistic.

Step 3: Fix Skin Tones (For Portraits)
If you’re working with portraits, one of the most important aspects of color correction is fixing the skin tones. Skin tones should appear natural and flattering, without looking too orange or too red. To correct skin tones, adjust the red, green, and blue channels in your editing software.
In Photoshop, you can use the Hue/Saturation layer to adjust the overall color balance of the skin tones. Lower the saturation of the reds to remove any excess warmth, and adjust the hues until the skin tones appear natural. You may also want to use the selective color tool to target specific areas of the image that need more precise adjustments.

Step 4: Adjust Saturation and Vibrance
Once you’ve corrected the exposure, contrast, and white balance, the next step is to adjust the saturation and vibrance. Saturation refers to the intensity of the colors in the image, while vibrance affects the more muted colors, making them pop without over-saturating the entire image.
In Lightroom, you can use the Saturation and Vibrance sliders to adjust these settings. Be careful not to over-saturate the image, as this can make the colors appear unnatural. Aim for a balanced look where the colors appear rich and vibrant but still true to life.

Step 5: Fine-Tune the Colors with HSL Adjustments
HSL (Hue, Saturation, and Luminance) adjustments allow you to fine-tune individual colors in your image. For example, if the reds in the image appear too bright, you can lower the saturation of the red channel. Similarly, you can adjust the luminance of specific colors to brighten or darken certain areas.
By making subtle HSL adjustments, you can achieve a more polished and professional look for your image. This step is particularly useful for correcting color imbalances or enhancing certain areas of the image, such as product colors or sky tones.

Step 6: Use Curves for Precision Adjustments
Curves are one of the most powerful tools for color correction. The Curves tool allows you to adjust the brightness and color balance of the image in precise detail. You can adjust the overall brightness or target specific color channels, such as red, green, or blue, to make fine-tuned corrections.
In Photoshop, use the Curves adjustment layer to tweak the curves for the overall image. You can also adjust individual RGB channels to correct color imbalances and ensure that the image has a natural and balanced appearance.
Conclusion: Mastering the Art of Color Correction
Color correcting an image is a skill that takes time and practice to master. However, with the right tools and knowledge, you can learn how to color correct an image like a pro and take your images to the next level.
If you’re looking for professional image editing services, look no further than Image Work India. We specialize in a range of services, including color correction, image enhancement, and more. Our team of skilled editors can help bring your images to life, ensuring they look their best every time.
Whether you’re a photographer, eCommerce business owner, or content creator, our services can help you achieve the perfect color balance in your images. Contact us today to learn more about our image editing services!