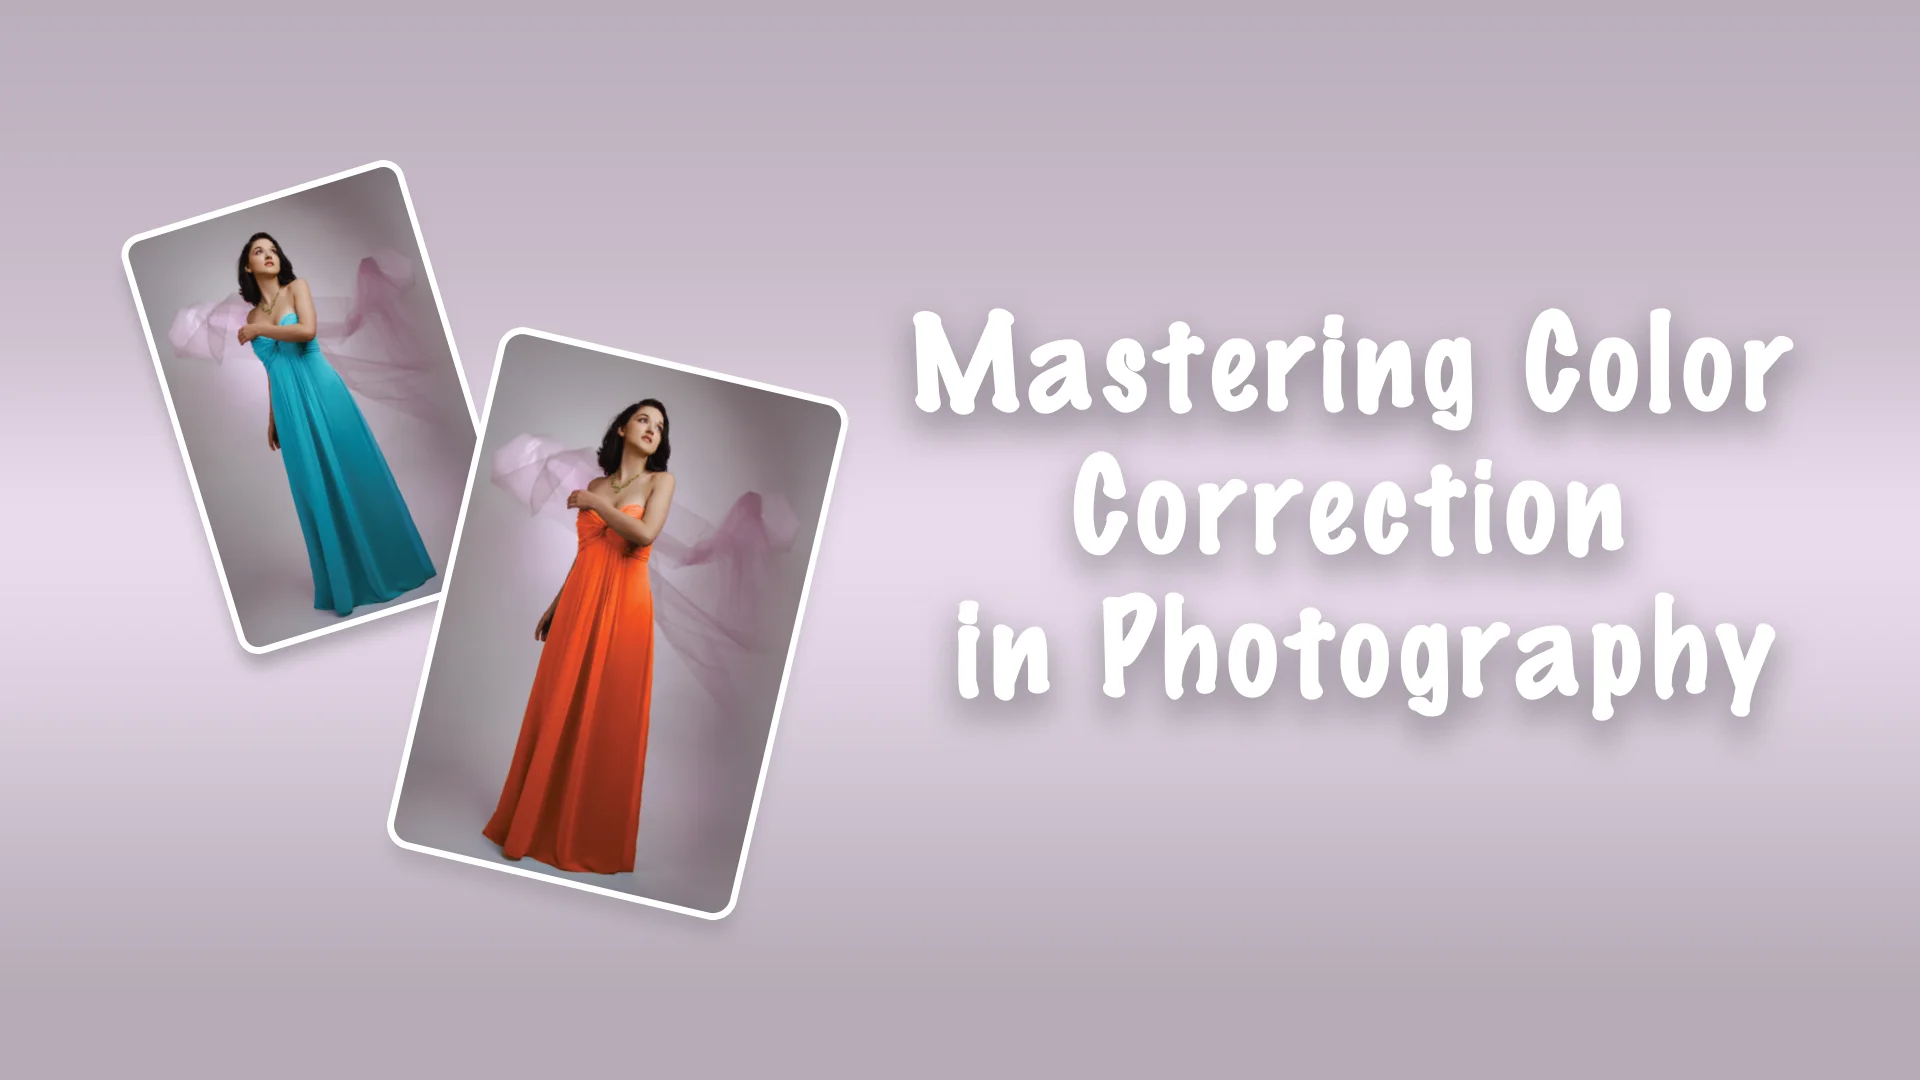
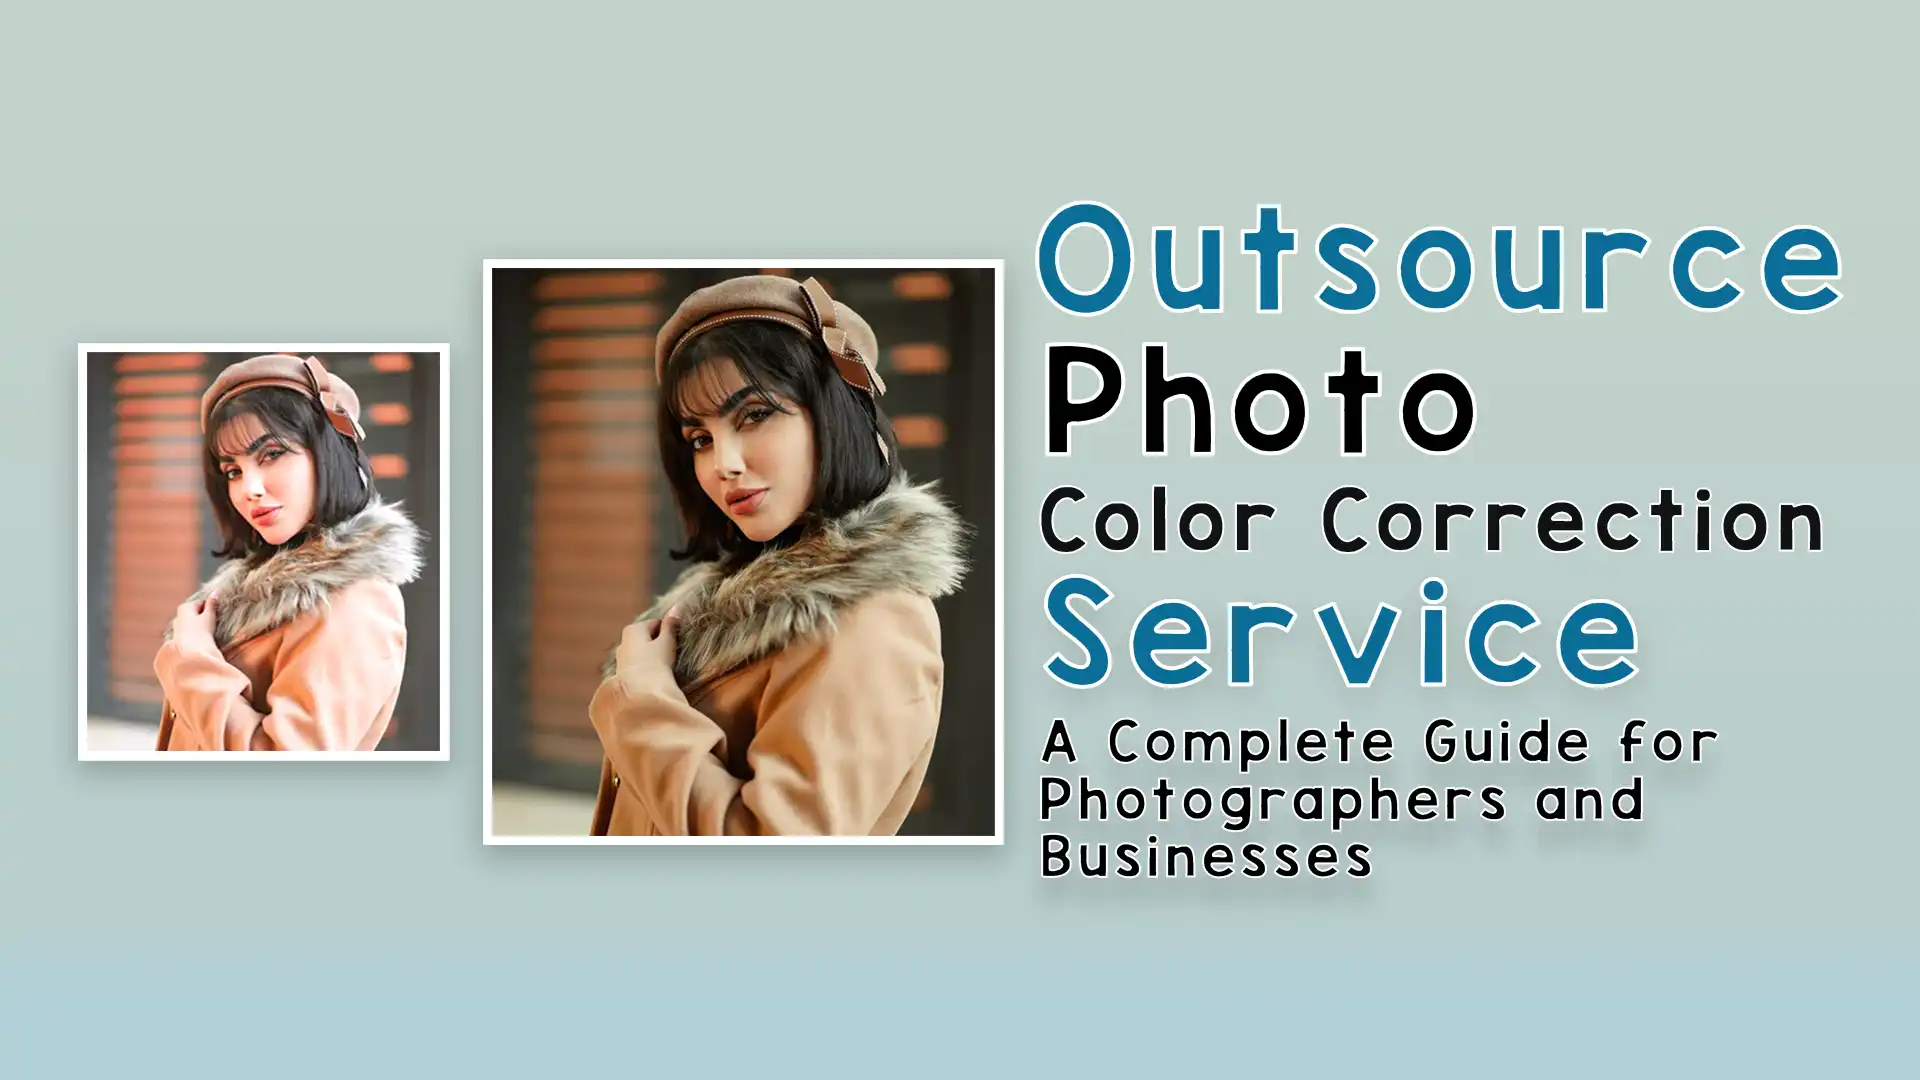
Color correction in photography is an essential skill for photographers and image editors alike. It is the process of adjusting the colors in an image to make them appear as naturally as possible, or to create a specific aesthetic effect. Whether you are a professional photographer or a beginner, mastering color correction in photography can greatly improve the quality of your images. In this article, we will explore various techniques and tools used in color correction, and provide a step-by-step guide to help you enhance your photos effectively.
What Is Color Correction in Photography?
Color correction in photography refers to the process of adjusting the colors in an image to compensate for issues such as incorrect lighting, improper white balance, or color imbalances that may occur during the shooting process. The goal of color correction is to ensure that the colors in your image appear true to life and are visually pleasing to the viewer.
Color correction is particularly important when dealing with RAW files, which often require adjustments to bring out the best possible colors. In addition to improving the accuracy of color reproduction, color correction can also be used creatively to evoke a certain mood or atmosphere in an image.
Why Is Color Correction Important?
The importance of color correction in photography cannot be overstated. Proper color correction ensures that the final image looks natural and reflects the true colors of the scene being photographed. Inaccurate colors can make a photo look unprofessional, and they can detract from the overall visual appeal.
By mastering color correction, photographers can ensure that their images are consistent, accurate, and appealing. This is especially crucial for professionals working in fields such as product photography, portrait photography, and fashion photography, where color accuracy is paramount.
Additionally, color correction can help to fix common issues that arise during the shooting process, such as underexposure, overexposure, or incorrect white balance. By making the right adjustments, photographers can rescue images that might otherwise be unusable.
Common Challenges in Color Correction
Before diving into the techniques and tools used for color correction, it’s important to understand some of the common challenges that photographers face when adjusting colors in their images.
White Balance Issues
One of the most common issues encountered during the photo shoot is incorrect white balance. White balance refers to the process of adjusting the color temperature of an image to ensure that whites appear truly white, without any color casts. A photograph taken under fluorescent lighting, for example, may have a cool blue or green tint, which can be corrected with the right white balance adjustments.
Exposure Problems
Exposure problems can also affect the colors in a photograph. Overexposed images may appear washed out, while underexposed images may lack detail and look too dark. Both of these issues can affect the overall color balance, making color correction in photography necessary to bring the image back to life.
Color Casts
Color casts occur when an image is influenced by a specific light source or environmental factors. For example, images taken during golden hour may have a warm, yellowish tone, while photos taken in a shaded area may have a cooler blue tone. Color casts can be corrected through the use of color correction tools in photo editing software, allowing you to neutralize unwanted hues.
Techniques for Color Correction in Photography
Now that we’ve covered some of the common challenges in color correction, let’s take a closer look at the techniques that can be used to fix these issues and improve the colors in your photographs.
1. Adjusting White Balance
The first step in color correction in photography is to correct the white balance. This ensures that the colors in your photo appear natural and not overly warm or cool. In most photo editing software, you can adjust the white balance using a slider that lets you control the temperature (cool to warm) and tint (green to magenta).
If you are working with a RAW file, white balance adjustments are particularly effective, as they allow you to make significant changes without losing image quality. In some cases, you may need to use a color temperature chart or a gray card during your photo shoot to ensure accurate white balance from the start.
2. Correcting Exposure
Exposure issues, such as underexposure or overexposure, can lead to incorrect colors and loss of detail in an image. To correct exposure, use the exposure slider in your editing software. If the image is too dark (underexposed), you can increase the exposure to brighten the image. Conversely, if the image is too bright (overexposed), you can reduce the exposure to restore balance.
Additionally, you can use tools like curves or histograms to fine-tune the exposure in specific areas of the image. By adjusting the shadows, midtones, and highlights, you can recover details that may have been lost due to incorrect exposure.
3. Adjusting Saturation and Vibrance
Saturation and vibrance adjustments are powerful tools for enhancing the colors in your images. Saturation controls the intensity of all colors in an image, while vibrance selectively boosts the less saturated colors, leaving already vibrant colors intact.
To correct colors that appear too dull or muted, you can increase the saturation or vibrance slightly. However, be careful not to overdo it, as too much saturation can lead to unnatural colors and loss of detail.
4. Using Curves and Levels
Curves and levels are advanced tools used for fine-tuning the overall tone and color balance of an image. The curves tool allows you to adjust the brightness and contrast of specific color channels (red, green, and blue), which is useful for correcting color imbalances and achieving the desired color effect.
Similarly, the levels tool lets you adjust the shadows, midtones, and highlights of an image, providing greater control over the overall exposure and color balance. Both of these tools can be used in combination to achieve precise color correction in photography.
5. Removing Color Casts
To remove color casts caused by different light sources, use the color balance tool in your editing software. This tool allows you to adjust the balance of red, green, and blue tones in your image, neutralizing unwanted color casts. For example, if your image has a greenish tint from fluorescent lighting, you can adjust the red and blue channels to restore a more neutral appearance.
In some cases, it may be necessary to use a selective color correction technique, which involves targeting specific areas of the image that are affected by the color cast. This can be done using masking or layer adjustments in Photoshop or similar programs.
6. Fine-Tuning with HSL Adjustments
HSL (Hue, Saturation, and Luminance) adjustments allow you to control the color properties of individual hues in your image. By adjusting the hue, you can change the color of specific objects in your photo, such as the sky, skin tones, or foliage. Saturation adjustments allow you to increase or decrease the intensity of specific colors, while luminance controls the brightness of those colors.
HSL adjustments are especially useful when you want to enhance or correct specific colors in an image without affecting the overall color balance.
Tools for Color Correction in Photography
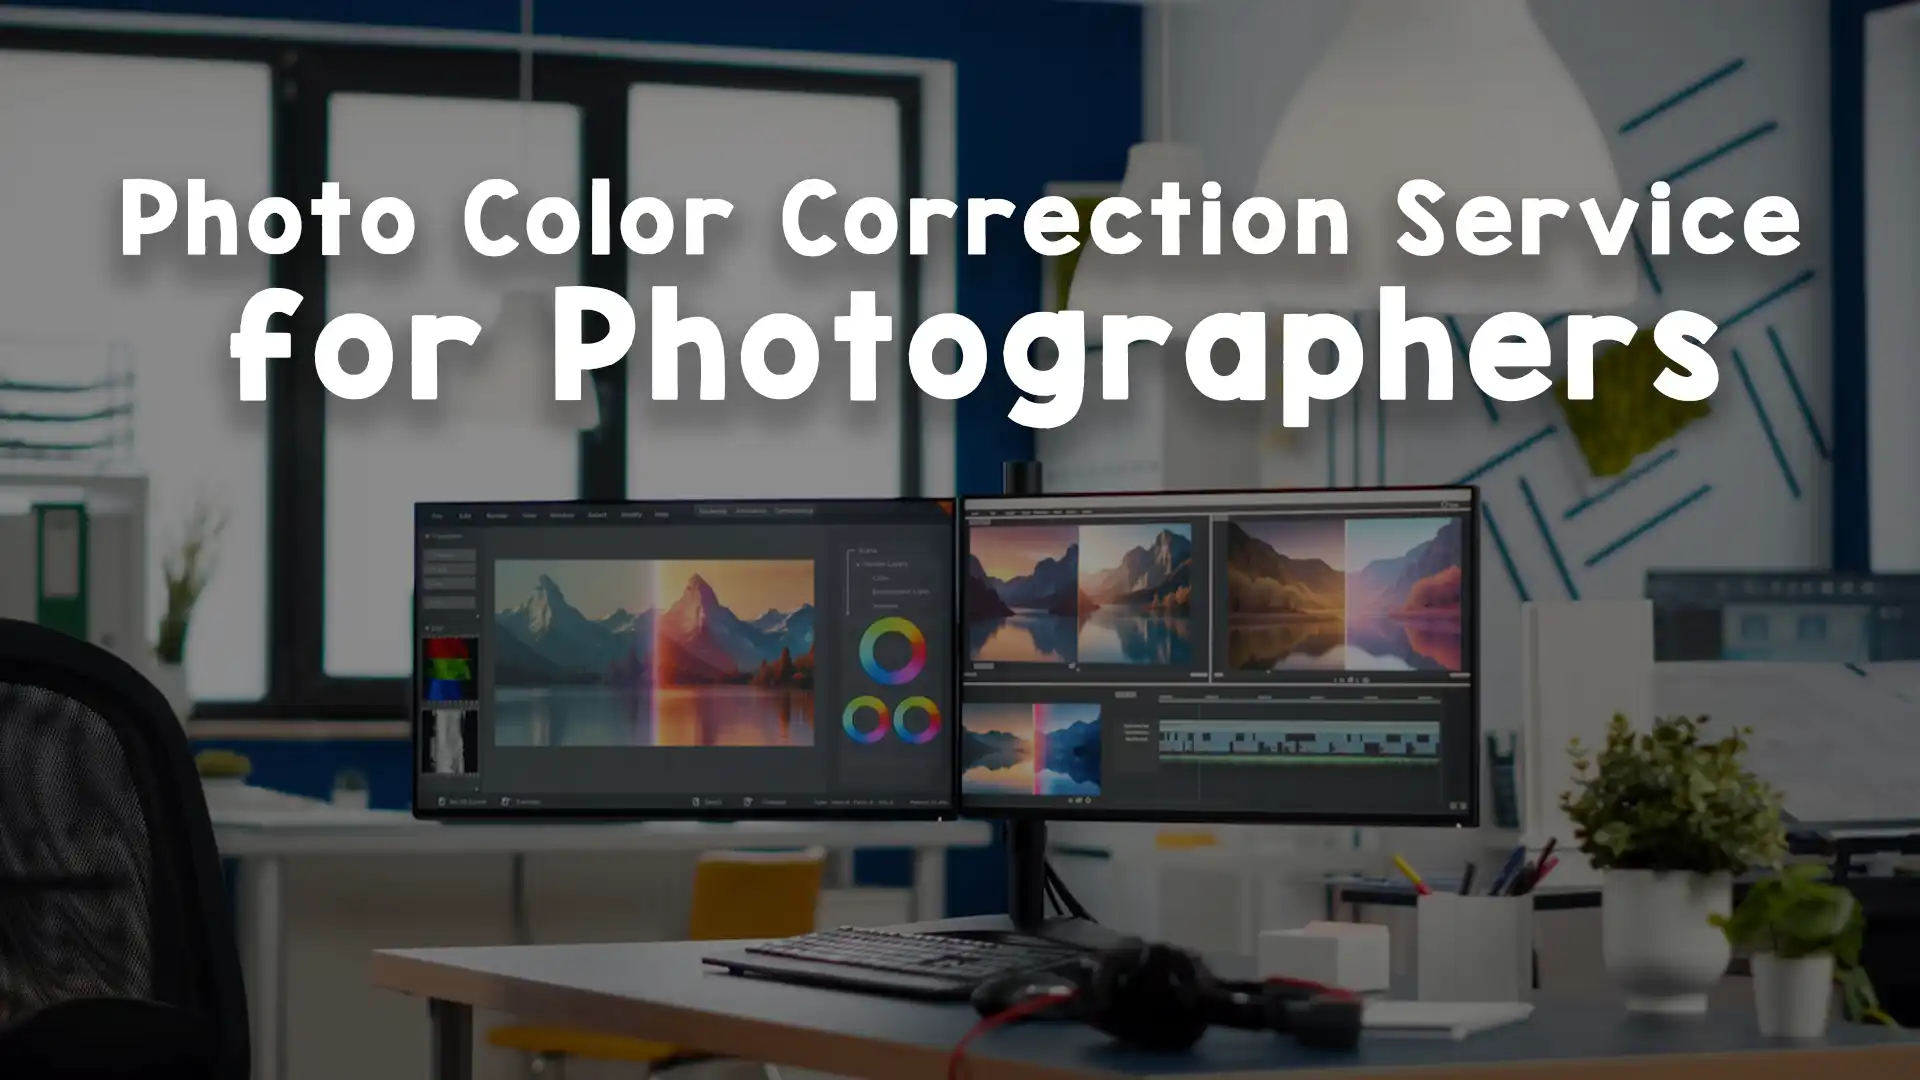
Several tools and software programs are available for color correction in photography. Some of the most popular options include:
Adobe Lightroom
Adobe Lightroom is a powerful tool for color correction in photography, offering a range of adjustment sliders that allow you to fine-tune your images. The Develop module in Lightroom provides tools for adjusting exposure, white balance, saturation, vibrance, and more. Lightroom also includes advanced tools such as the HSL panel and the tone curve, making it a great choice for professional photographers.
Adobe Photoshop
Adobe Photoshop is another industry-standard tool for color correction in photography. While Photoshop is more complex than Lightroom, it offers advanced features like layer masks, color balance adjustments, and selective color correction tools. Photoshop’s Curves and Levels tools are essential for fine-tuning color and exposure.
Capture One
Capture One is a professional-grade photo editing software that is known for its excellent color grading tools. It offers advanced features for color correction, including custom profiles for different cameras and detailed color adjustments using the Color Editor tool. Capture One is favored by many commercial photographers for its color accuracy and versatility.
Affinity Photo
Affinity Photo is an affordable alternative to Photoshop, with many of the same features for color correction. It offers powerful adjustment layers, curves, and color balance tools, making it suitable for photographers who need to perform detailed color correction without the high cost of Photoshop.
GIMP (GNU Image Manipulation Program)
GIMP is a free, open-source photo editing software that includes a range of color correction tools. While it may not be as feature-rich as Lightroom or Photoshop, GIMP is a great option for beginner photographers who need basic color correction capabilities.
Conclusion
Color correction in photography is a crucial skill for creating high-quality images that accurately reflect the colors of the scene. By understanding the various techniques and tools available, photographers can easily fix common color issues such as white balance problems, exposure errors, and color casts.
Mastering color correction will not only improve the overall quality of your photos but also allow you to express your creative vision more effectively. With practice and the right tools, you can take your photography to the next level and ensure that your images always look their best.
If you need professional help with your image editing, Image Work India offers expert services in color correction and other image enhancement techniques. Visit our website today to learn more about how we can help you achieve the perfect image!
