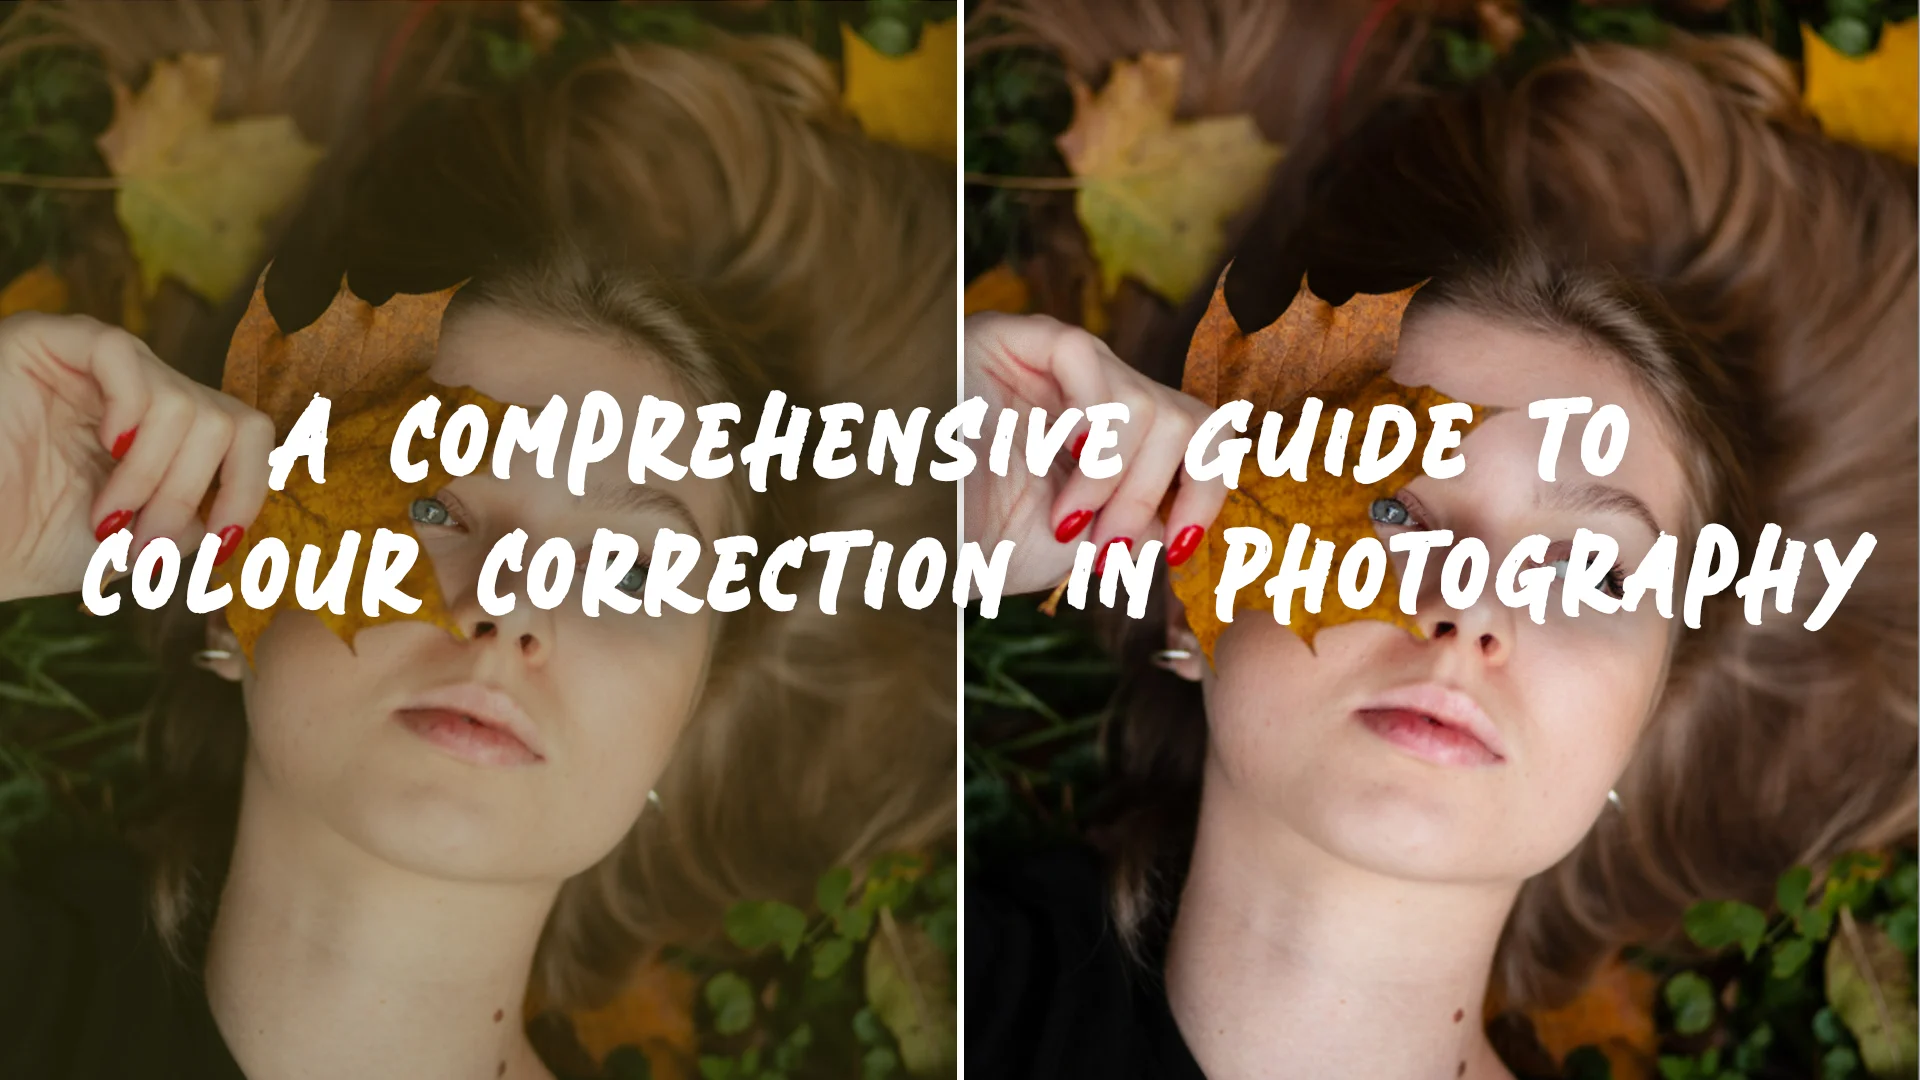
Photography is all about capturing moments, emotions, and stories through light and color. But sometimes, the colors in your photos don’t quite match what you saw with your eyes—or the mood you want to convey. That’s where colour correction in photography comes into play. Colour correction in photography is the process of adjusting and balancing the colors in an image to make them look natural, accurate, or artistically enhanced. Whether you’re a beginner snapping family portraits or a professional shooting a wedding, understanding colour correction in photography can transform your images from ordinary to extraordinary. In this guide, we’ll explore everything you need to know about colour correction in photography, from why it matters to how to do it effectively.
At Image Work India, we’ve helped countless photographers and clients perfect their images through expert editing. Colour correction in photography is one of our specialties, and we’re excited to share this comprehensive guide to help you master it too. Whether you’re editing your own shots or looking for professional support, this article will give you the tools and knowledge to make your photos shine.
What Is Colour Correction in Photography?
At its core, colour correction in photography is about fixing or refining the colors in an image to achieve a desired result. When you take a photo, factors like lighting, camera settings, or even the environment can throw off the colors. A sunset might look too blue, a portrait might have an unnatural orange tint, or a forest scene might feel overly green. Colour correction in photography steps in to adjust these hues, ensuring the image reflects reality—or your creative vision.
Unlike colour grading, which focuses on stylizing an image for a specific mood (think cinematic teal-and-orange tones), colour correction in photography is more about accuracy and balance. It’s the foundation of photo editing, setting the stage for further enhancements. For example, if a bride’s white dress looks yellowish under indoor lights, colour correction in photography can restore its true white shade. Tools like Adobe Lightroom, Photoshop, or Capture One make this process accessible, allowing you to tweak everything from white balance to individual color channels.
Why Colour Correction in Photography Is Essential
You might wonder why colour correction in photography is so important when modern cameras are so advanced. The truth is, even the best equipment can’t always capture colors perfectly. Lighting conditions—like harsh sunlight, fluorescent bulbs, or cloudy skies—can cast unwanted tints on your photos. Without colour correction in photography, these flaws can distract from the beauty of the moment. A family photo with a green hue from overhead lights or a landscape with a dull sky won’t do justice to the scene you worked so hard to capture.
Beyond technical accuracy, colour correction in photography also ensures consistency. If you’re shooting an event like a wedding, you want all the images to look cohesive, even if they were taken in different lighting setups. Correcting colors ties the collection together, making it feel polished and professional. Plus, it’s a stepping stone to creative editing—without proper colour correction in photography, any stylized effects you add later might look off. At Image Work India, we’ve seen how a little colour correction can breathe life into photos, making them pop with vibrancy or softness depending on the goal.
The Emotional Impact of Colour Correction in Photography
Colors influence how we feel, and that’s a big reason why colour correction in photography matters. A photo with overly cool tones might feel distant or sterile, while one with unbalanced warm tones could seem artificial. By mastering colour correction in photography, you can align the colors with the emotions of the scene. A golden-hour portrait, for instance, should radiate warmth and intimacy—correcting any blue casts can make that happen. Similarly, a snowy landscape should feel crisp and cool, which might mean dialing back any unwanted yellows.
This emotional connection is especially crucial for genres like portrait or wedding photography, where the goal is to evoke joy, love, or nostalgia. Colour correction in photography ensures the viewer’s focus stays on the subject, not on distracting color flaws. Imagine a child’s birthday party photo where the cake’s icing looks gray instead of pink—fixing that with colour correction in photography brings back the fun and excitement of the moment. It’s a subtle art, but one that makes a world of difference.
Tools You’ll Need for Colour Correction in Photography
To get started with colour correction in photography, you’ll need the right software. Adobe Lightroom is a go-to for many because it’s intuitive and packed with correction tools. Its white balance slider, color temperature controls, and HSL (Hue, Saturation, Luminance) panel let you adjust colors with precision. Photoshop offers even more control, allowing you to work with layers, curves, and selective color adjustments for intricate fixes. If you’re after a professional-grade option, Capture One is known for its superior color handling, especially for RAW files.
For beginners, mobile apps like Snapseed or VSCO can handle basic colour correction in photography too. These tools often include auto-adjust features that analyze the image and suggest corrections—great for quick edits on the go. Whichever software you choose, the key is to experiment and learn what each tool does. At Image Work India, we use a mix of these programs to deliver flawless results for our clients. Check out our image editing services to see how we can take your photos to the next level with expert colour correction in photography.
How to Perform Basic Colour Correction in Photography
Ready to try colour correction in photography yourself? Start with the basics: white balance. This setting determines the overall warmth or coolness of your image. Most editing software has a dropper tool—click it on a neutral area (like a white wall or gray pavement) in your photo, and it’ll automatically adjust the temperature to remove color casts. If the photo still looks off, tweak the temperature and tint sliders manually—move toward yellow for warmth or blue for coolness, and adjust tint to counter green or magenta shifts.
Next, focus on exposure and contrast. These aren’t strictly color adjustments, but they set the stage for accurate colour correction in photography. Brighten underexposed shots or tone down overexposed ones, then boost contrast to make colors pop. From there, dive into the HSL panel to fine-tune specific colors. If the sky looks too dull, increase the blue saturation. If skin tones feel too red, dial back the red hue. Practice is key—don’t be afraid to play around until the image feels right.
Common Colour Issues and How to Fix Them
Colour correction in photography often involves tackling recurring problems. One frequent issue is a yellow or orange cast from artificial lighting, like tungsten bulbs. To fix this, cool down the white balance by shifting toward blue and reduce the orange saturation in the HSL panel. Another common problem is a green tint from fluorescent lights—counter it with a magenta tint adjustment and desaturate the greens slightly.
Overcast days can make photos look flat and gray. Here, colour correction in photography might mean boosting contrast and selectively enhancing key colors—like the green of grass or the red of a subject’s outfit—to add life. Underexposure can mute colors too; lift the shadows and midtones to bring them back without washing out the image. Each fix depends on the photo, but understanding these patterns will speed up your workflow and improve your results.
Advanced Techniques for Colour Correction in Photography
Once you’re comfortable with the basics, advanced techniques can elevate your colour correction in photography to a professional level. One powerful method is using the curves tool, available in software like Photoshop or Lightroom. Curves let you adjust the tonal range and color balance with precision. For example, you can lift the midtones to brighten a dull image or deepen the shadows for contrast. By tweaking individual color channels—red, green, and blue—you can correct stubborn casts, like removing a purple hue from shadows while keeping highlights warm. This level of control makes colour correction in photography both an art and a science.
Another advanced approach is selective colour correction. Instead of applying changes to the entire image, you target specific areas. Imagine a portrait where the subject’s skin looks too yellow, but the background is perfect. Using masks or adjustment brushes, you can cool down the skin tones without affecting the rest of the photo. This technique is invaluable for complex scenes, ensuring every element looks its best. Colour correction in photography becomes even more impactful when you combine selective edits with global adjustments, creating a balanced yet dynamic result.
For those seeking perfection, split toning can add a subtle polish. This involves adding different color tints to the highlights and shadows—like a warm yellow to the bright areas and a cool blue to the dark ones. It’s a technique often used in colour correction in photography to enhance mood without overwhelming the image. These advanced methods take time to master, but they’ll give your photos a refined, professional edge that stands out.
Practical Examples of Colour Correction in Photography
To see colour correction in photography in action, let’s explore a few real-world scenarios. Picture a beach sunset photo where the sky looks too blue and the sand appears grayish. The raw image feels cold and lifeless, missing the warmth of the moment. Through colour correction in photography, you could adjust the white balance to add golden tones, boost the orange and yellow saturation in the sky, and lift the shadows on the sand. Suddenly, the photo captures the romantic glow of the sunset as it should.
Now consider an indoor event shot under fluorescent lights. The unedited photo might have a sickly green tint, making guests look unwell. Colour correction in photography can fix this by shifting the tint toward magenta to neutralize the green, then fine-tuning the skin tones to restore a natural glow. The result is a vibrant, inviting image that reflects the event’s energy. This kind of correction is a lifesaver for photographers working in tricky lighting conditions.
Finally, think of a forest portrait where the greenery overwhelms the subject. The raw image might have an intense green cast that flattens the scene. With colour correction in photography, you could desaturate the greens slightly, adjust the white balance to bring out the subject’s skin tones, and increase contrast to add depth. The focus shifts back to the person, with the background enhancing rather than dominating. These examples show how colour correction in photography adapts to any situation, turning flaws into strengths.
Common Mistakes to Avoid in Colour Correction in Photography
Even seasoned photographers can stumble when it comes to colour correction in photography. One frequent error is overcorrecting. It’s easy to get carried away—pushing the saturation too high or swinging the white balance too far in one direction. A portrait might end up with neon skin tones, or a landscape could look more like a cartoon than nature. The key is restraint; colour correction in photography should enhance, not overpower. Step back and compare your edit to the original to ensure it still feels authentic.
Another mistake is neglecting skin tones, especially in portraits. Correcting a photo’s overall color cast might make the background look great but leave the subject’s face unnatural. For instance, cooling a warm indoor shot could turn skin pale or bluish. Always prioritize how people look when doing colour correction in photography—check the reds and yellows in the HSL panel to keep complexions flattering. At Image Work India, we’ve perfected this balance, ensuring our edits make subjects shine.
Ignoring the histogram is another pitfall. This graph in your editing software shows the distribution of tones and colors. If you’re clipping highlights (losing detail in bright areas) or crushing shadows (losing detail in dark areas), your colour correction in photography might be too aggressive. Use the histogram as a guide to keep your edits within a healthy range. Avoiding these mistakes takes practice, but it’s worth it for polished, professional results.
Tips for Consistency in Colour Correction in Photography
Consistency is a hallmark of a great photo collection, and colour correction in photography plays a big role in achieving it. Whether you’re editing a wedding album or a travel series, you want the images to feel like they belong together. Start by picking a few key photos—like a portrait, a wide shot, and a detail—and correct them first. Note the settings you use, such as white balance or saturation levels, and apply similar adjustments to the rest. This creates a unified style across the set.
Batch editing can streamline this process. In Lightroom, you can sync corrections across multiple images, then tweak individual shots as needed—like adjusting for a sudden change in lighting. Consistency in colour correction in photography doesn’t mean every photo looks identical; it means they share a cohesive vibe. For example, a warm, golden theme might tie together a summer shoot, while cooler tones could unify a winter session. Test your edits on a few images side by side to ensure they flow naturally.
Why Outsource Colour Correction in Photography?
Colour correction in photography requires time, patience, and skill—qualities not everyone has in abundance. For busy photographers or clients who want flawless results without the hassle, outsourcing is a smart solution. Professional editors bring expertise and efficiency, handling everything from basic fixes to complex corrections. At Image Work India, we’ve turned colour correction in photography into an art form, delivering images that capture the moment perfectly every time.
Outsourcing also lets you focus on what you love—shooting photos or enjoying the memories—while experts refine the details. Whether it’s removing a color cast or ensuring skin tones glow, professional services like ours save you the trial and error. Visit our image editing services page to see how we can help. With fast turnarounds and personalized edits, outsourcing colour correction in photography is a game-changer for quality and convenience.
Perfect Your Photos with Image Work India
Colour correction in photography is the key to unlocking the full potential of your images. It’s about more than fixing mistakes—it’s about bringing your vision to life, ensuring every photo tells the story you intended. From mastering white balance to tackling advanced techniques, this guide has covered the essentials and beyond, giving you the tools to create stunning, consistent results. But if you’re ready to take your photography to the next level without the effort, Image Work India is here for you.
As leaders in image editing services, we specialize in colour correction in photography, retouching, and more. Our team at Image Work India works closely with photographers and clients to deliver breathtaking images tailored to your needs—whether it’s a vibrant wedding album or a subtle portrait session. Why struggle with edits when you can trust us to make your photos flawless? Head to Image Work India today, request a quote, and let us transform your shots into masterpieces. Your perfect photos are just a click away!


Wedding Photo Color Correction Services: Everything You Need to Know - Image Work India
[…] are usually provided by expert photo editors or post-production companies who specialize in wedding photography. They use advanced software such as Adobe Lightroom and Photoshop to fine-tune colors, tones, and […]