When it comes to showcasing furniture in its best light, a well-set-up furniture photography studio can make all the difference. In the highly competitive world of online furniture sales and interior design, capturing stunning images is essential. Whether you’re a professional photographer or a business owner looking to enhance your marketing, this guide will walk you through everything you need to know to create a top-notch furniture photography studio.
Why You Need a Dedicated Furniture Photography Studio
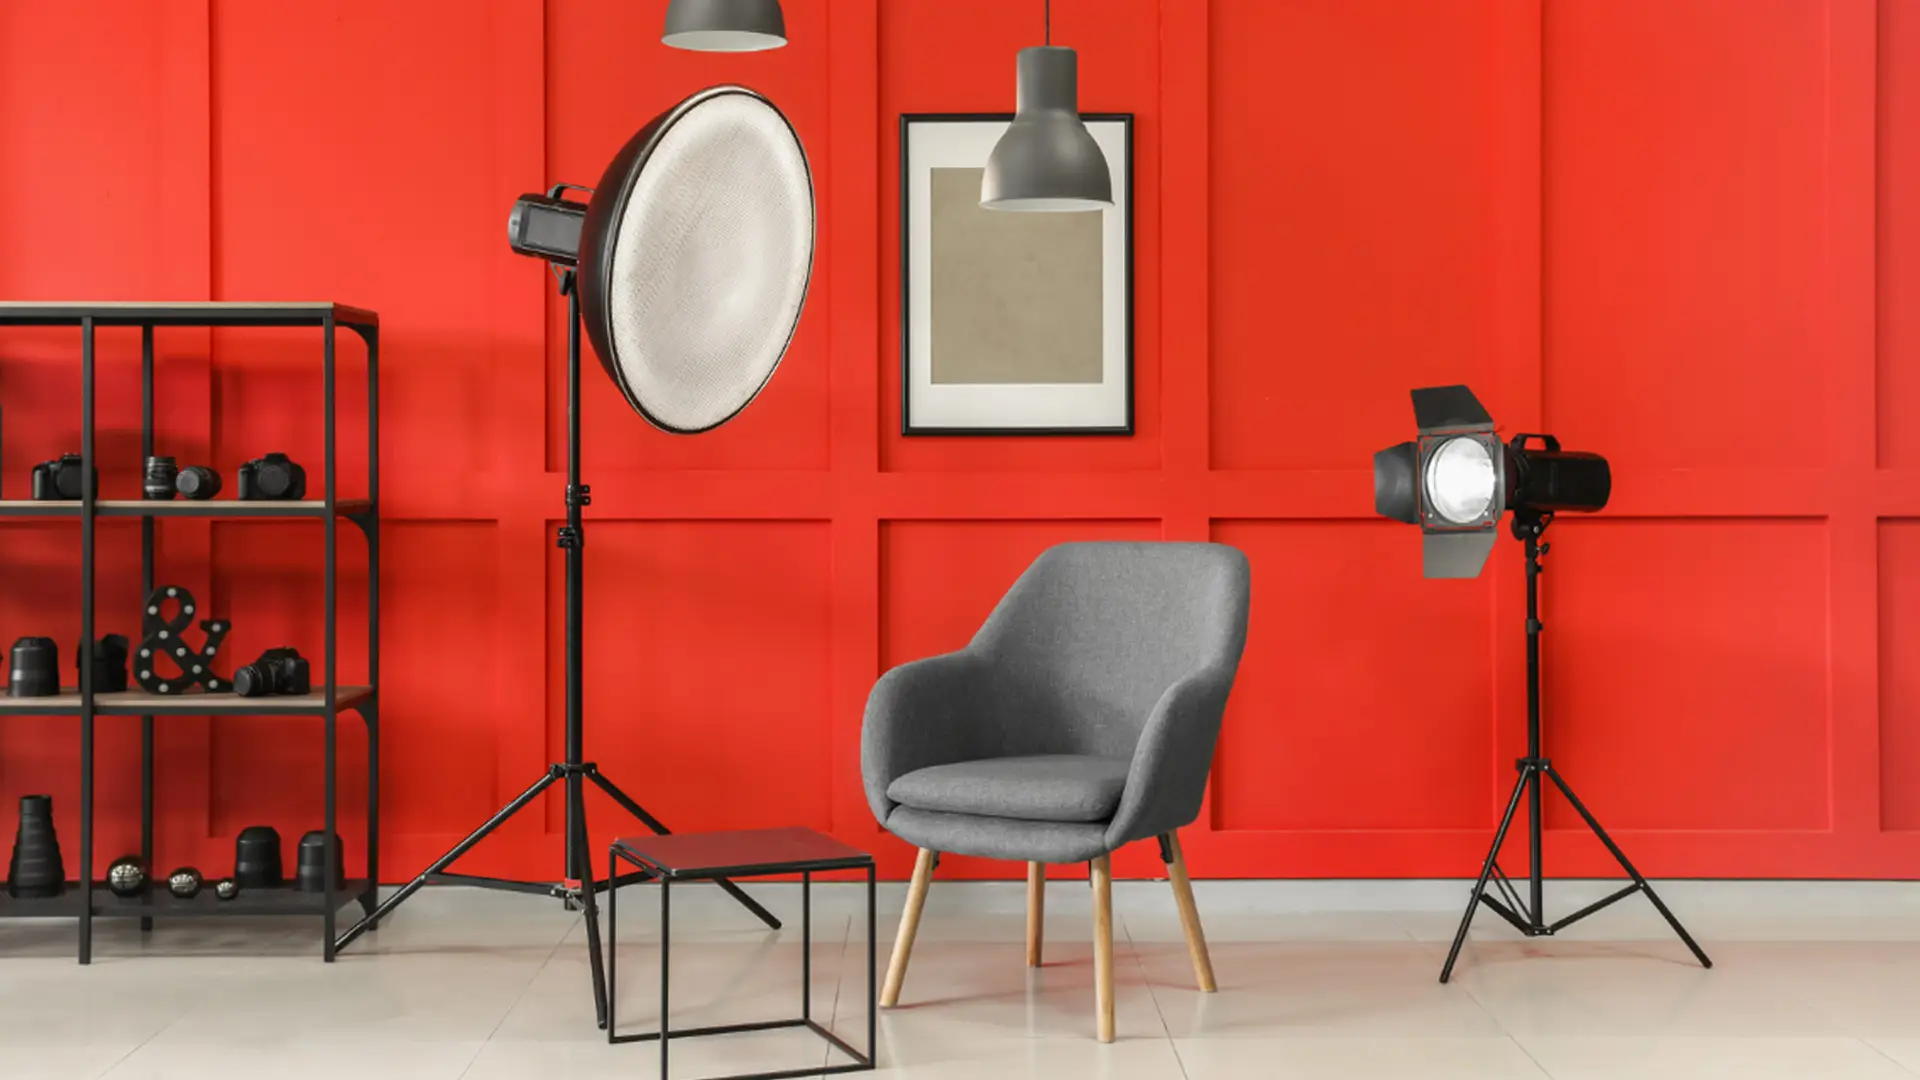
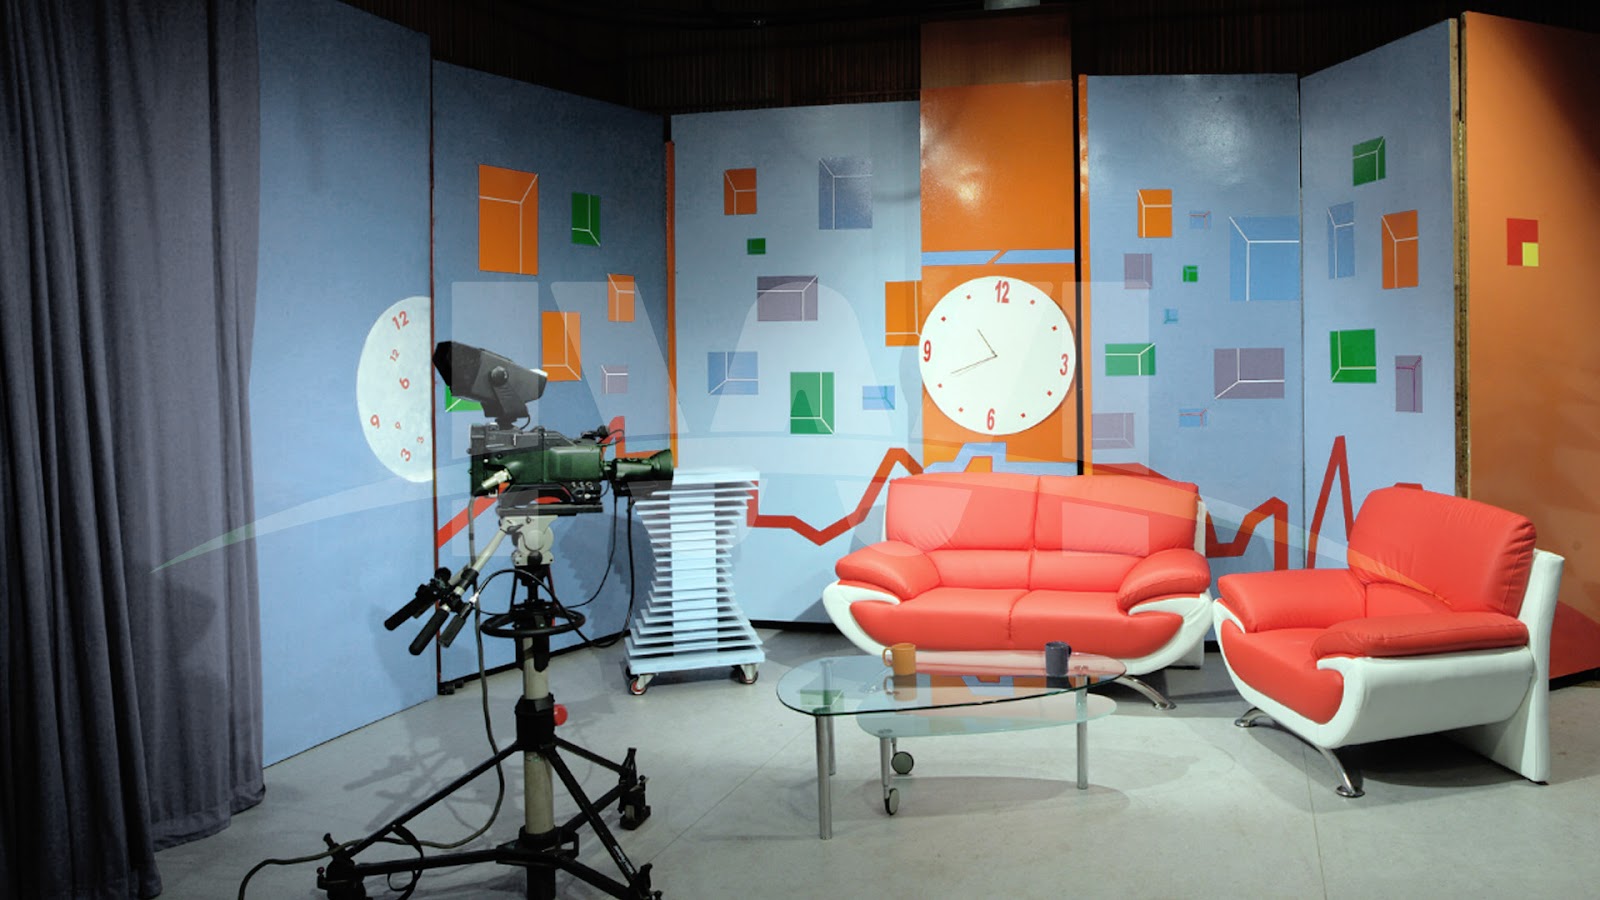
In today’s digital age, most customers make their purchasing decisions online. High-quality images of furniture can help build trust and drive sales. A dedicated furniture photography studio ensures consistent, professional-looking photos that highlight the details, textures, and design of your furniture pieces. Unlike makeshift setups, a proper studio minimizes distractions and provides complete control over lighting, background, and angles, resulting in visually appealing images that stand out.
Choosing the Right Space for Your Furniture Photography Studio
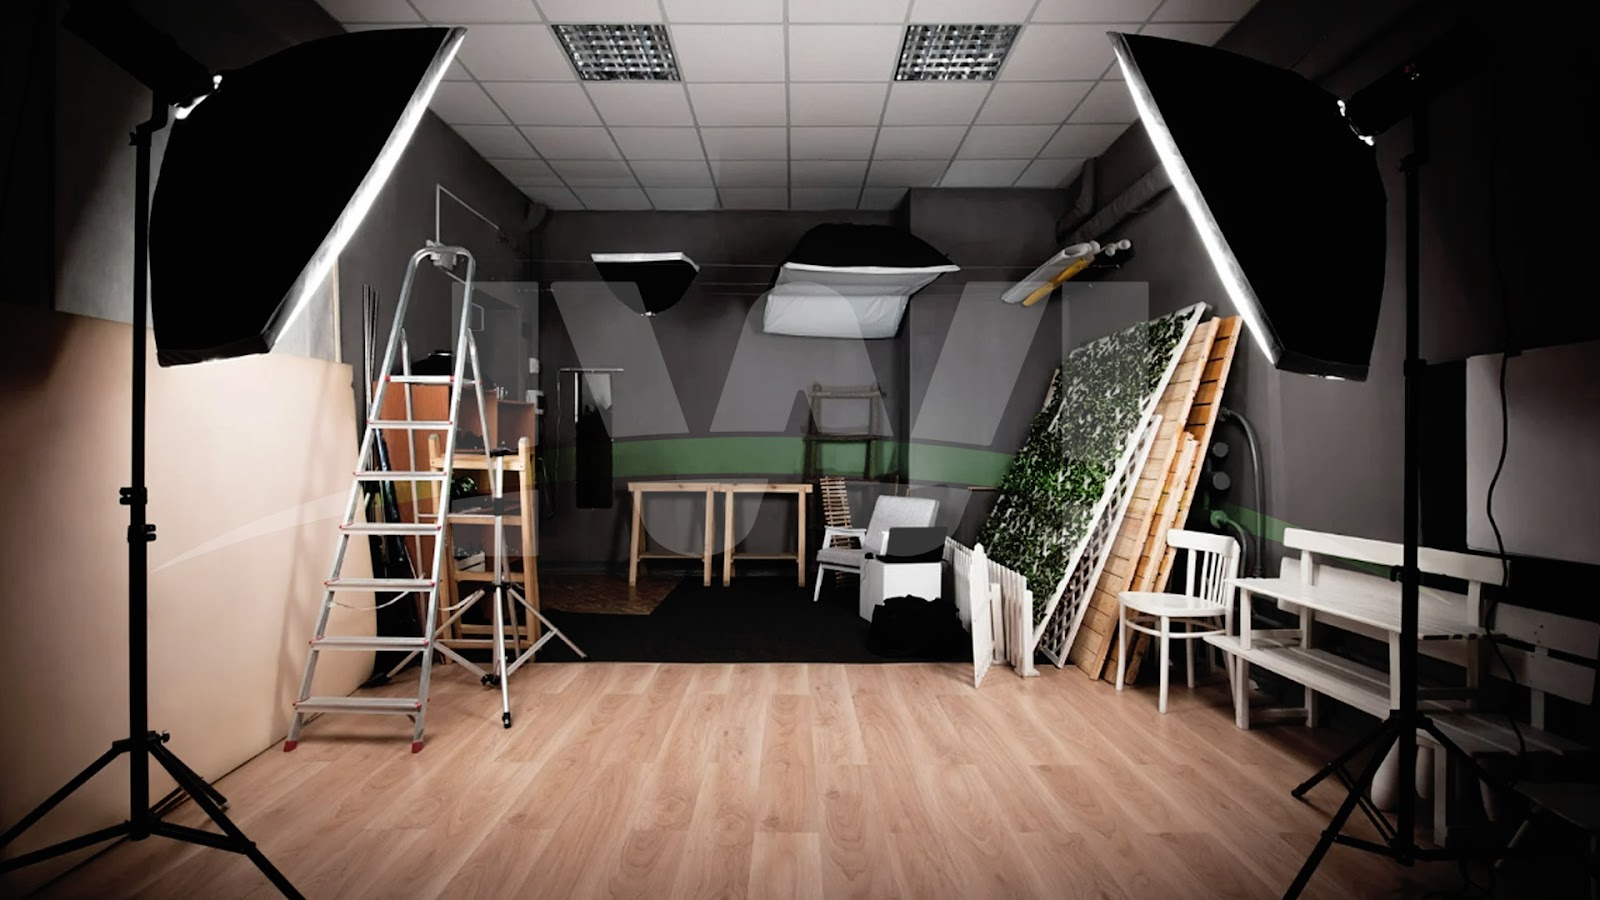
The first step in creating a furniture photography studio is selecting the right location. Ideally, the space should be spacious enough to accommodate large furniture pieces while allowing you to move around freely. High ceilings and wide-open areas are perfect, as they make it easier to arrange lighting and capture various angles. Natural light is another factor to consider. If possible, choose a space with large windows to take advantage of soft, even daylight. However, if natural light isn’t available, don’t worry—artificial lighting setups can provide excellent results.
Make sure the floor is smooth and even to prevent wobbling furniture during shoots. Walls painted in neutral colors can help avoid unwanted reflections and color casts, keeping the focus on the furniture itself. A clean and clutter-free environment is crucial for professional-looking photos.
Essential Equipment for Your Furniture Photography Studio
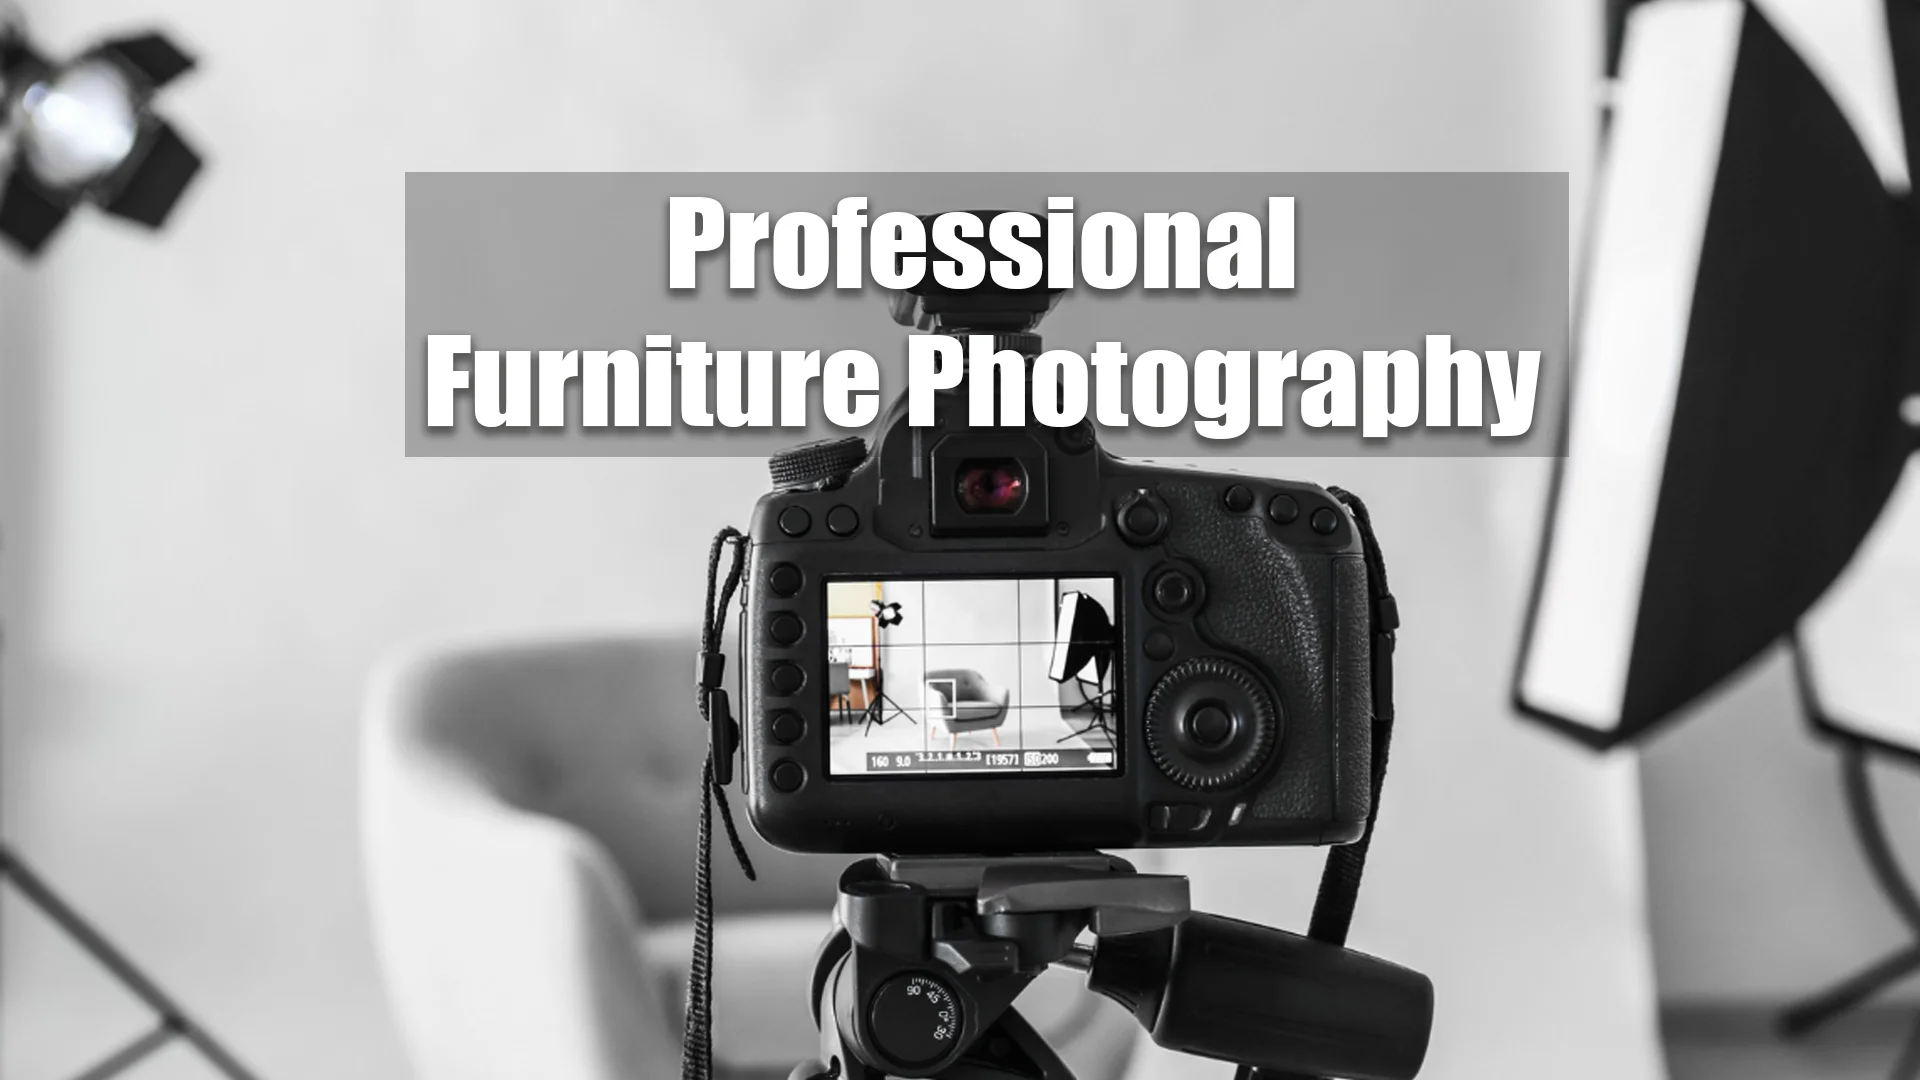
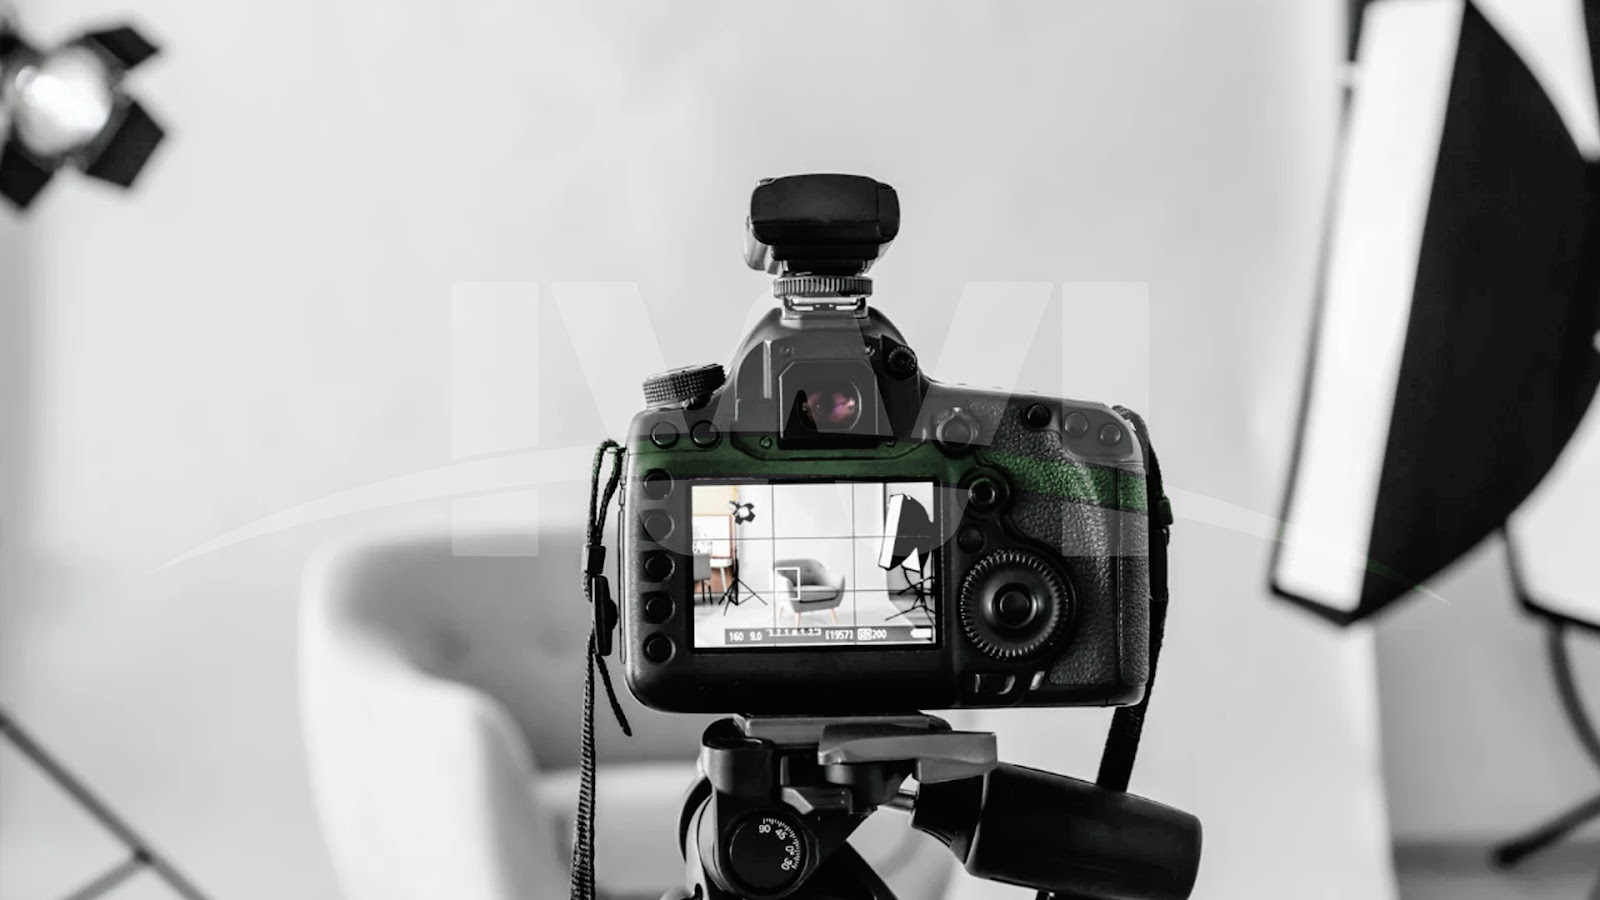
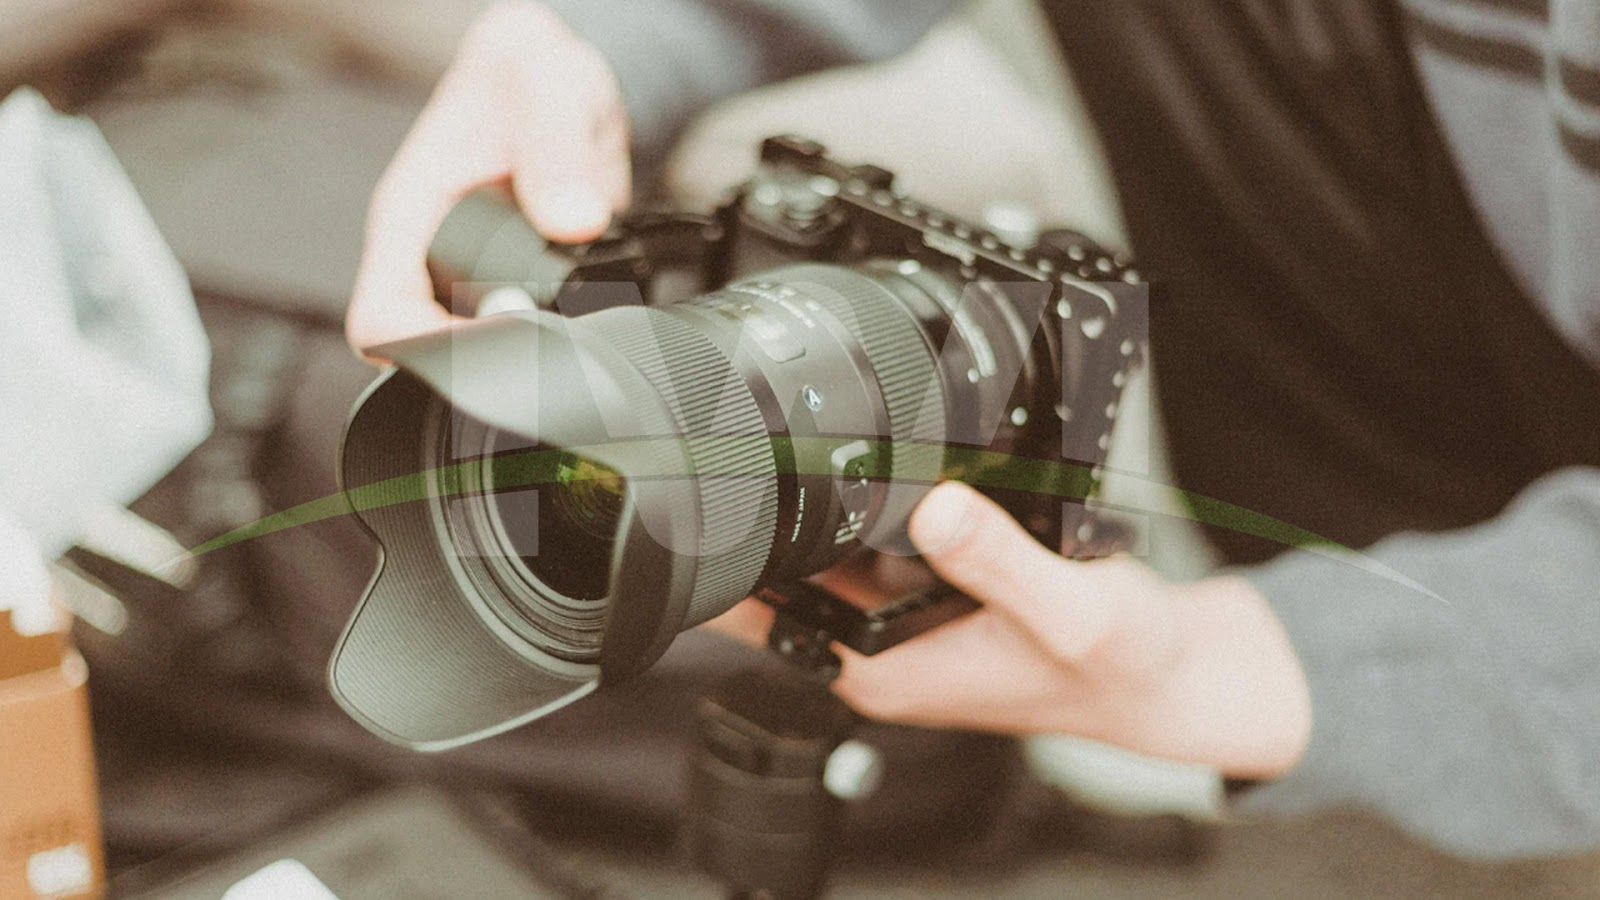
Investing in the right equipment is critical for achieving high-quality images. Start with a reliable camera that offers manual controls, allowing you to adjust settings like aperture, shutter speed, and ISO. A DSLR or mirrorless camera with a high-resolution sensor is ideal for capturing intricate details. Pair your camera with a sturdy tripod to ensure stability and sharpness during long exposures.
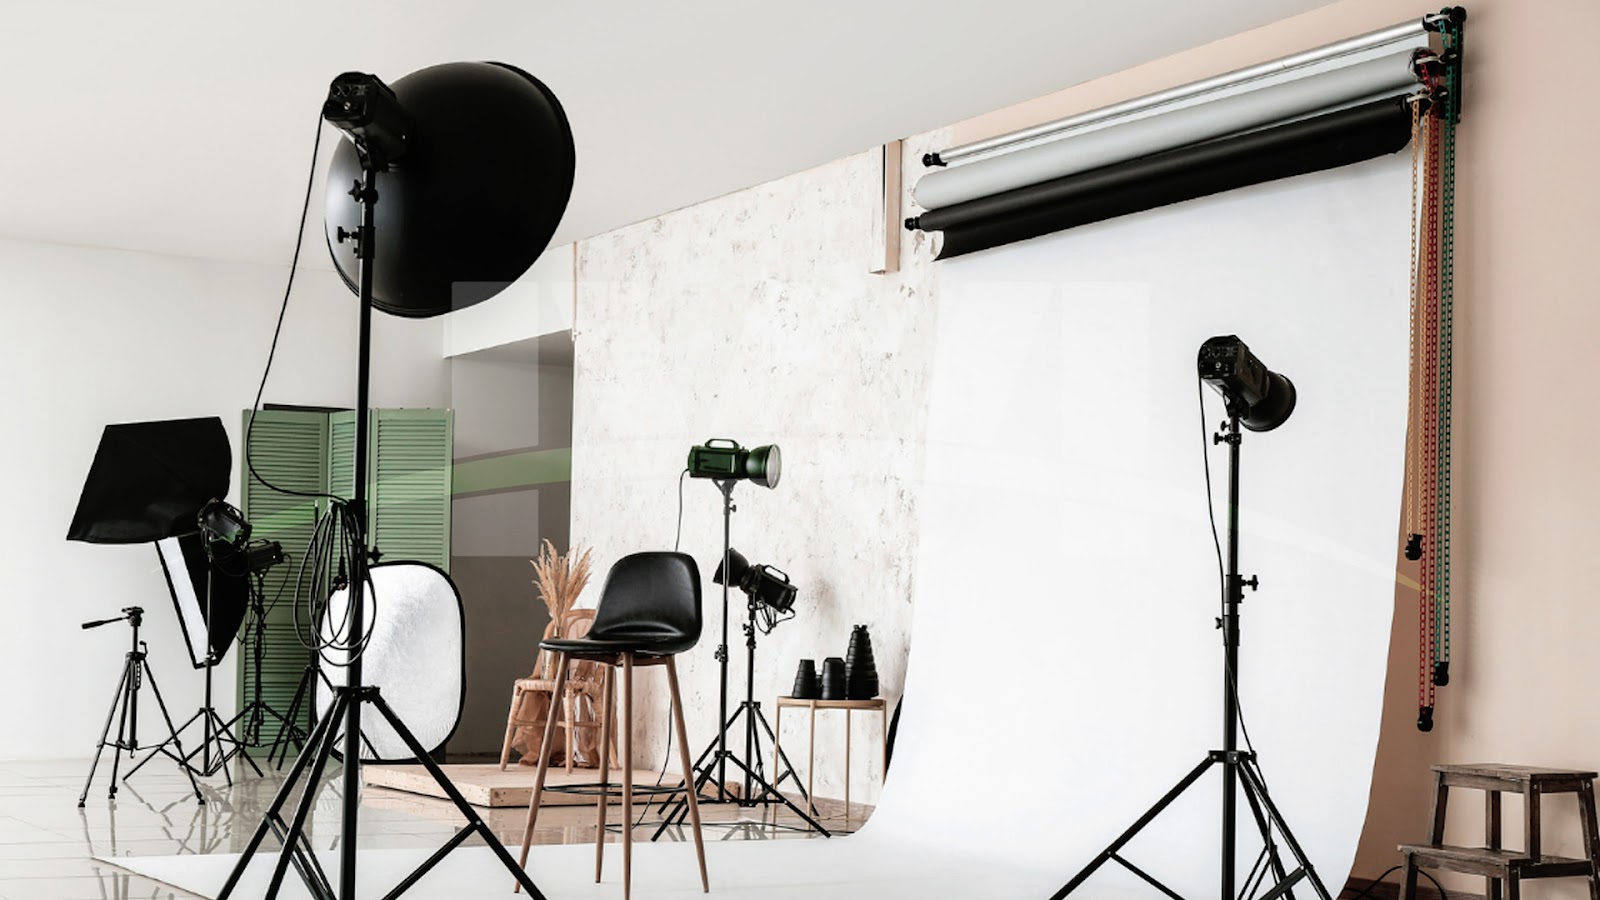
Lighting is another cornerstone of a furniture photography studio. Softbox lights and LED panels are popular choices because they provide diffused, even lighting that eliminates harsh shadows. Using multiple light sources allows you to control the brightness and direction of light, creating a balanced and professional look. Reflectors and diffusers are handy tools for managing light and reducing glare.
Don’t overlook the importance of backgrounds. Seamless paper backdrops in neutral colors like white, gray, or beige are versatile options that keep the focus on the furniture. Alternatively, textured backdrops can add depth and complement specific styles of furniture.
Setting Up the Lighting
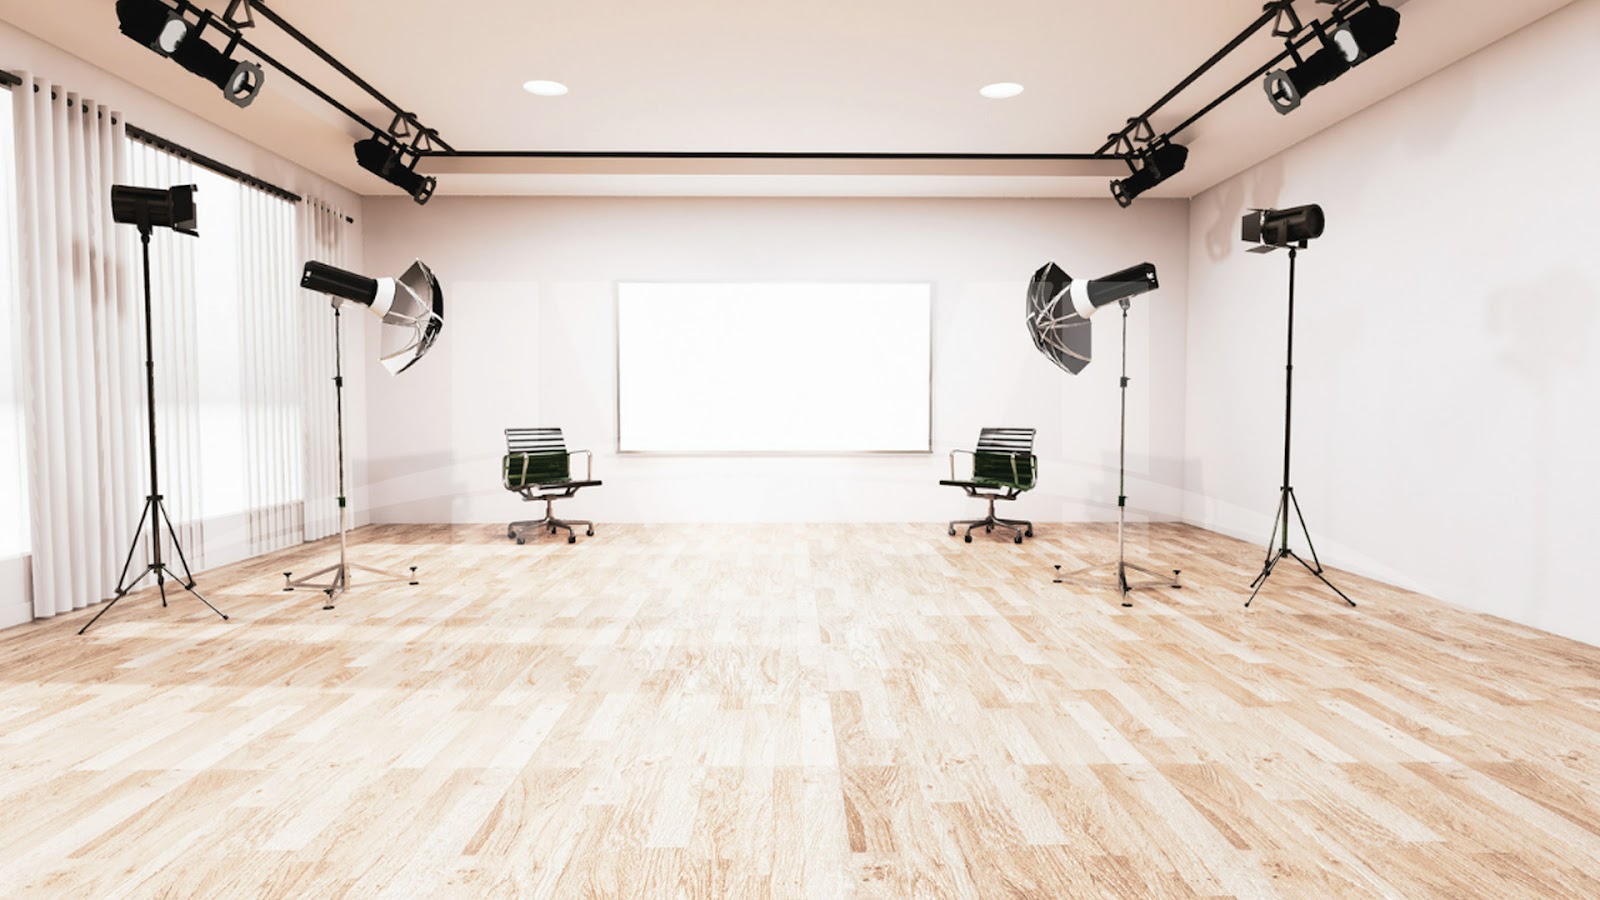
Lighting is one of the most critical aspects of furniture photography. Poor lighting can make even the most beautiful furniture look unappealing. Begin by positioning your primary light source at a 45-degree angle to the furniture. This creates soft shadows that highlight the texture and shape of the piece. Use a secondary light on the opposite side to fill in shadows and maintain a balanced look.
For glossy or reflective surfaces, be mindful of glare and reflections. Use a polarizing filter on your camera lens to minimize unwanted reflections. Experiment with the placement and intensity of your lights to achieve the desired effect. Remember, the goal is to create a setup that enhances the furniture’s features without overpowering the image.
Arranging the Furniture for Photography
The way you position and style the furniture plays a significant role in the final result. Start by cleaning the furniture thoroughly to remove any dust or smudges that could be highlighted in high-resolution images. Arrange the furniture in a way that highlights its best features. For example, if the piece has intricate carvings or unique designs, position it to make those details prominent.
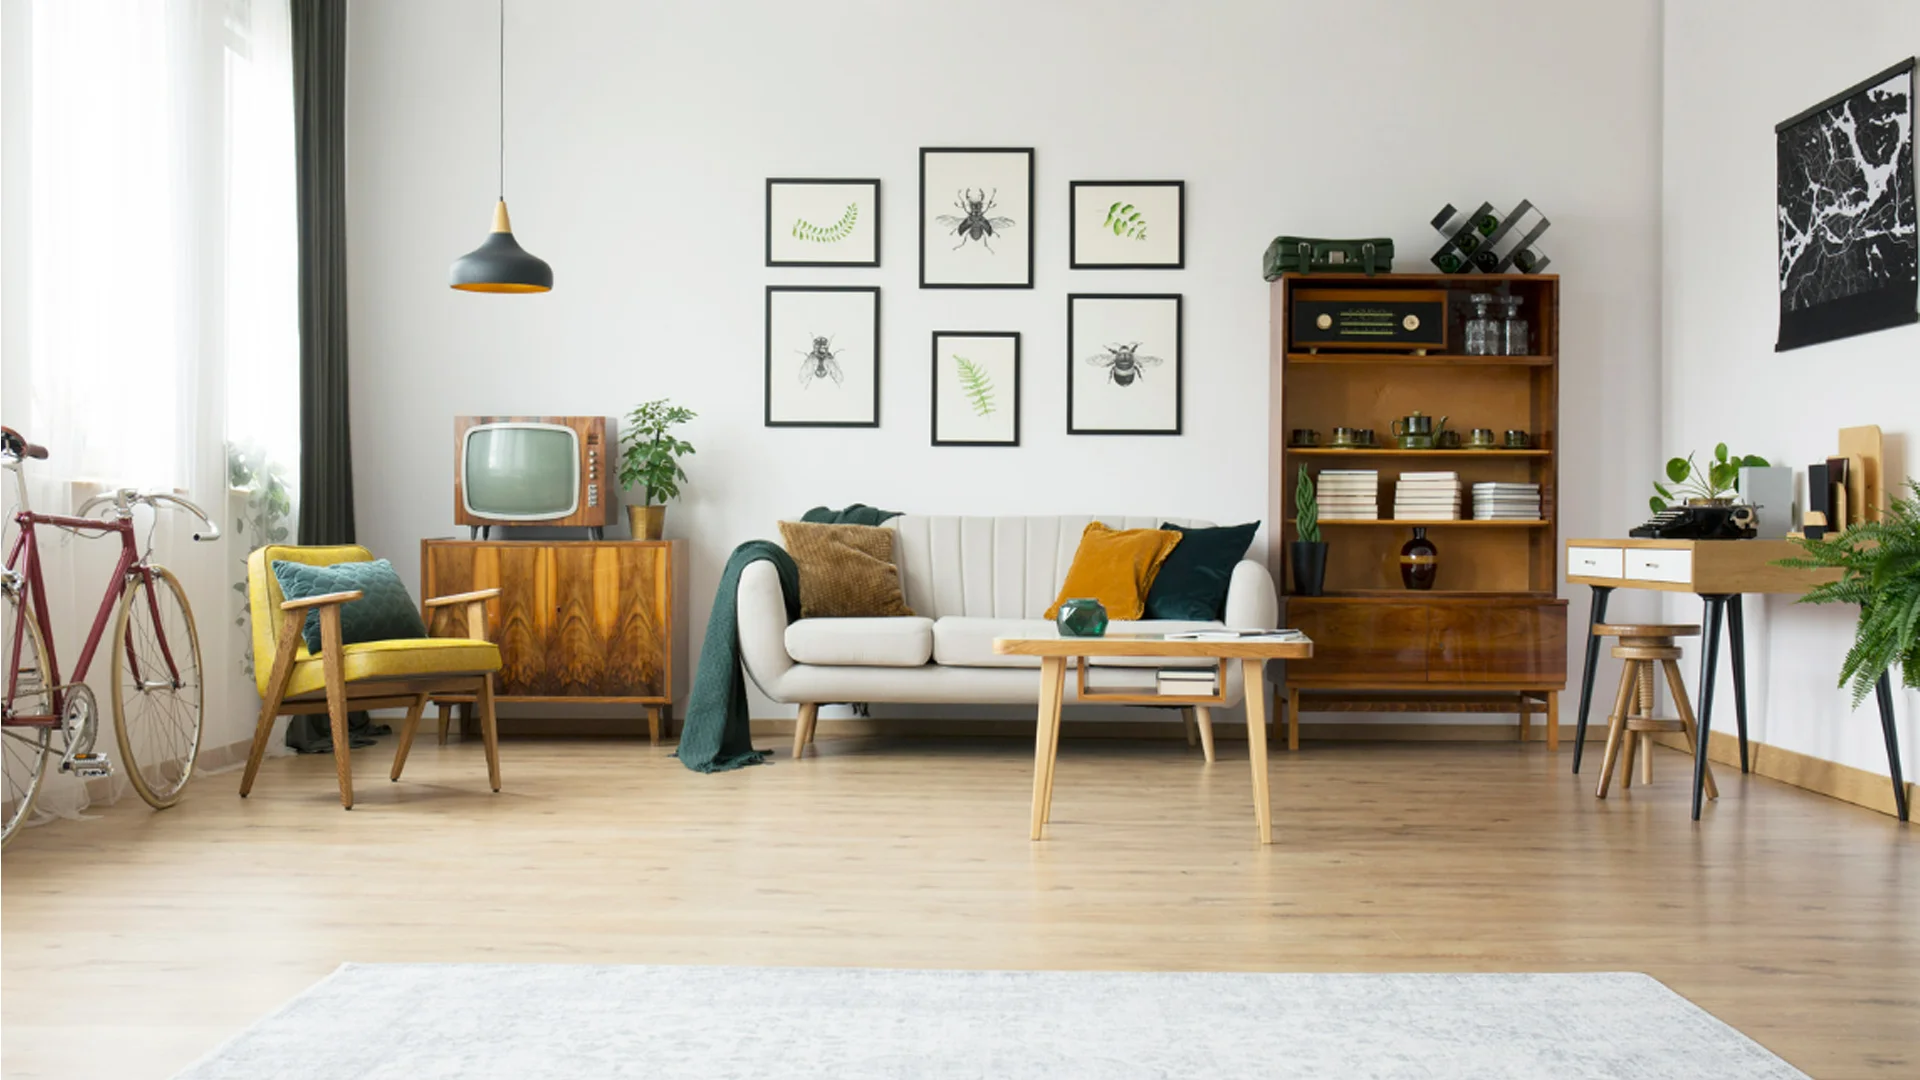
Consider the perspective of your audience. Customers often want to see how the furniture will look in a real-life setting. Add props like rugs, cushions, or decorative items to create a context that complements the furniture. However, avoid over-cluttering the scene; the furniture should remain the focal point of the image.
Camera Settings and Composition
Using the correct camera settings is essential for capturing professional-quality images in your furniture photography studio. Begin by setting your camera to manual mode. Use a low ISO setting to reduce noise and ensure crisp images. A smaller aperture (higher f-stop) is ideal for maintaining sharpness and depth of field, keeping the entire piece of furniture in focus.
When composing your shots, aim for a mix of wide-angle shots and close-ups. Wide-angle images showcase the overall design, while close-ups emphasize the details and textures. Experiment with different angles to find the most flattering perspectives. Shooting slightly above or below eye level can add an interesting dimension to your photos.
Post-Processing for Professional Results
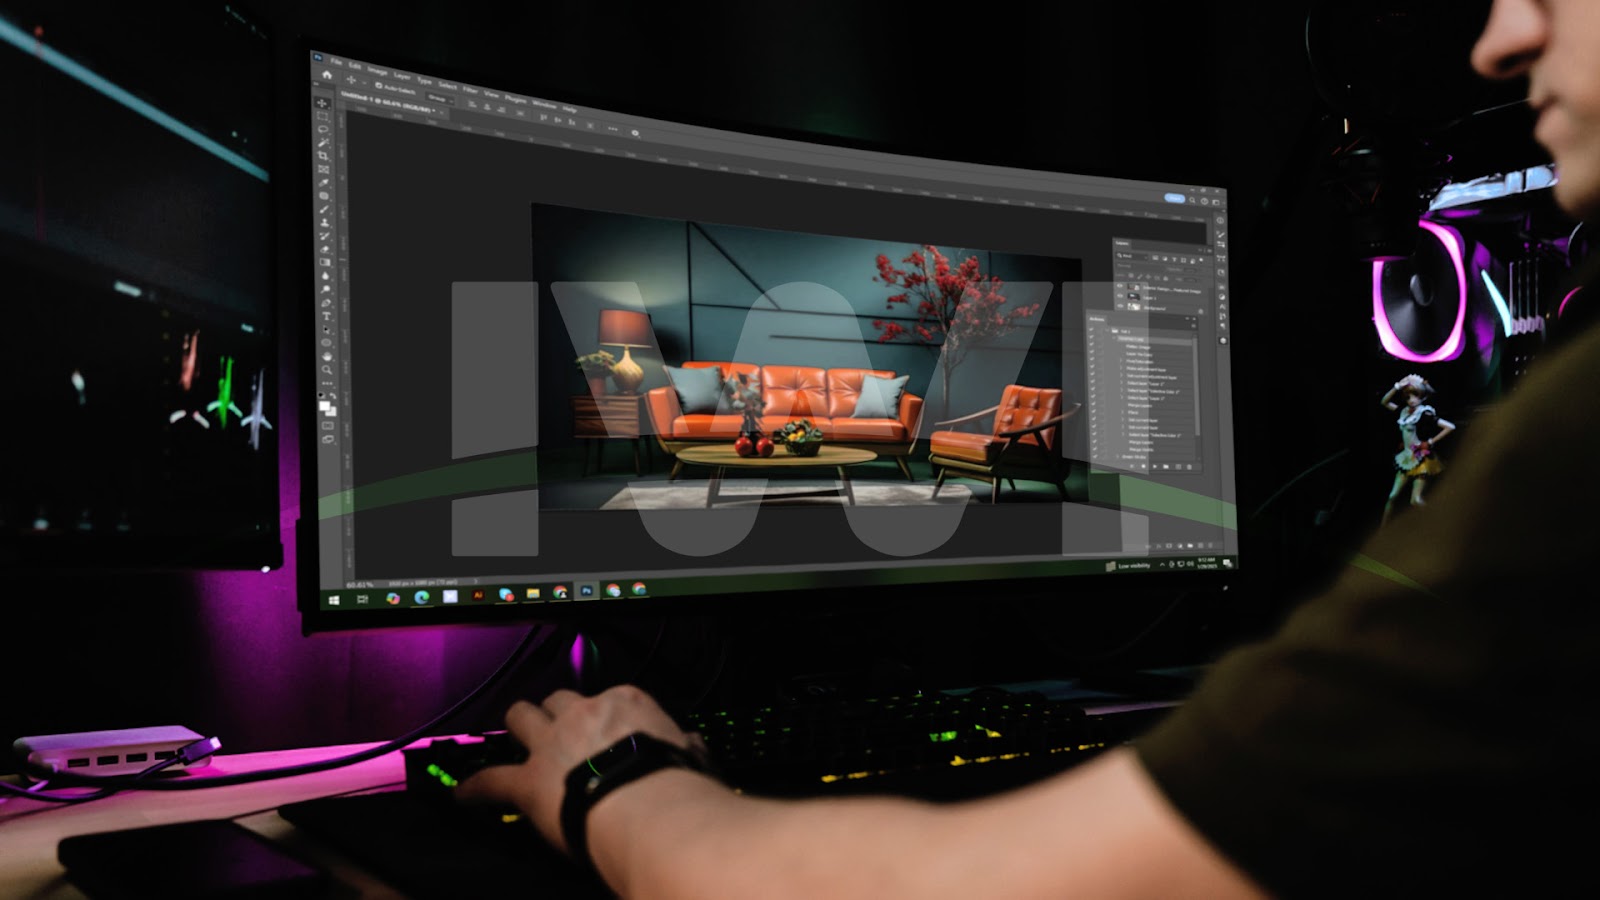
After capturing your images, post-processing is the next step in creating a polished and professional look. Software like Adobe Lightroom or Photoshop is excellent for editing furniture photography. Begin by adjusting the brightness, contrast, and color balance to ensure the image is true to life. Remove any blemishes or imperfections, such as dust or scratches, that may have been overlooked during the shoot.
Cropping and straightening are also essential for maintaining a clean and professional appearance. Ensure the furniture is centered and properly aligned within the frame. Avoid over-editing, as this can make the image look artificial. The goal is to create an image that accurately represents the furniture while enhancing its visual appeal.
Maintaining Your Furniture Photography Studio
A well-maintained studio is key to producing consistent results over time. Regularly clean your equipment and replace any worn-out components. Keep your backdrops, props, and furniture in good condition to avoid unnecessary distractions during shoots. Periodically review your setup and make adjustments to improve efficiency and quality.
Conclusion
Setting up a furniture photography studio requires careful planning and attention to detail, but the results are well worth the effort. By choosing the right space, investing in quality equipment, and mastering lighting and composition techniques, you can create stunning images that showcase your furniture in the best possible way. Whether you’re aiming to boost online sales or build a portfolio of professional work, a well-designed furniture photography studio is a valuable asset that pays off in the long run. Start today and watch your photography reach new heights.
FAQs About Setting Up a Furniture Photography Studio
What size space do I need for a furniture photography studio?
A spacious area with high ceilings and room to move around is ideal. The size will depend on the type of furniture you plan to photograph, but aim for a space that can comfortably fit large pieces and accommodate lighting equipment.
Can I use natural light in my furniture photography studio?
Yes, natural light can be an excellent source for soft, even lighting. If your studio has large windows, consider using them. However, artificial lighting is more consistent and controllable, making it a reliable choice for professional results.
What type of camera is best for furniture photography?
A DSLR or mirrorless camera with manual controls and a high-resolution sensor is ideal. These cameras provide the flexibility and detail needed for professional furniture photography.
How do I reduce reflections on glossy furniture surfaces?
Use a polarizing filter on your camera lens to minimize reflections. Adjust the angle of your lights and use diffusers to soften the light and reduce glare.
What is the best background for furniture photography?
Neutral-colored seamless paper backdrops are versatile and professional. You can also use textured backgrounds that complement the furniture’s style for a more artistic look.
How can I make my furniture photography studio more efficient?
Organize your equipment and props for easy access. Regularly clean and maintain your studio space. Experiment with your setup to find the most efficient workflow for your specific needs.