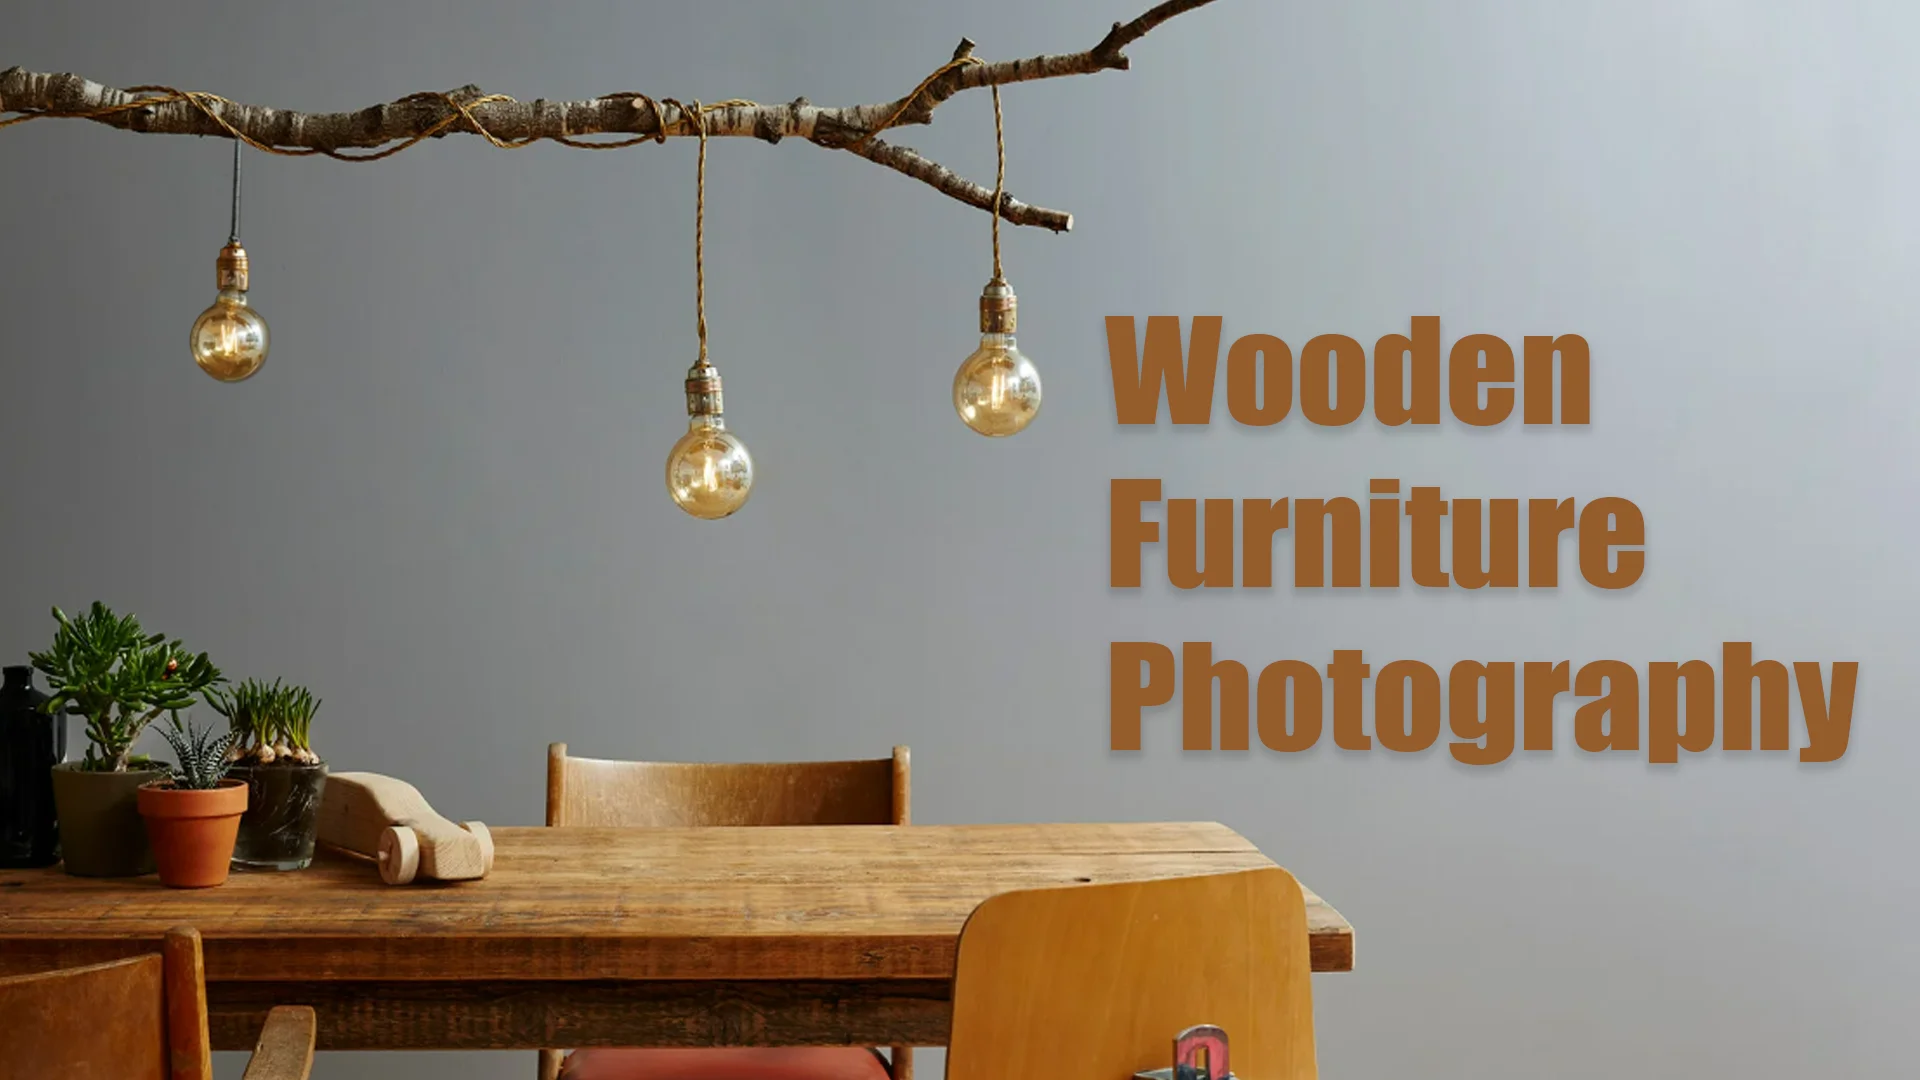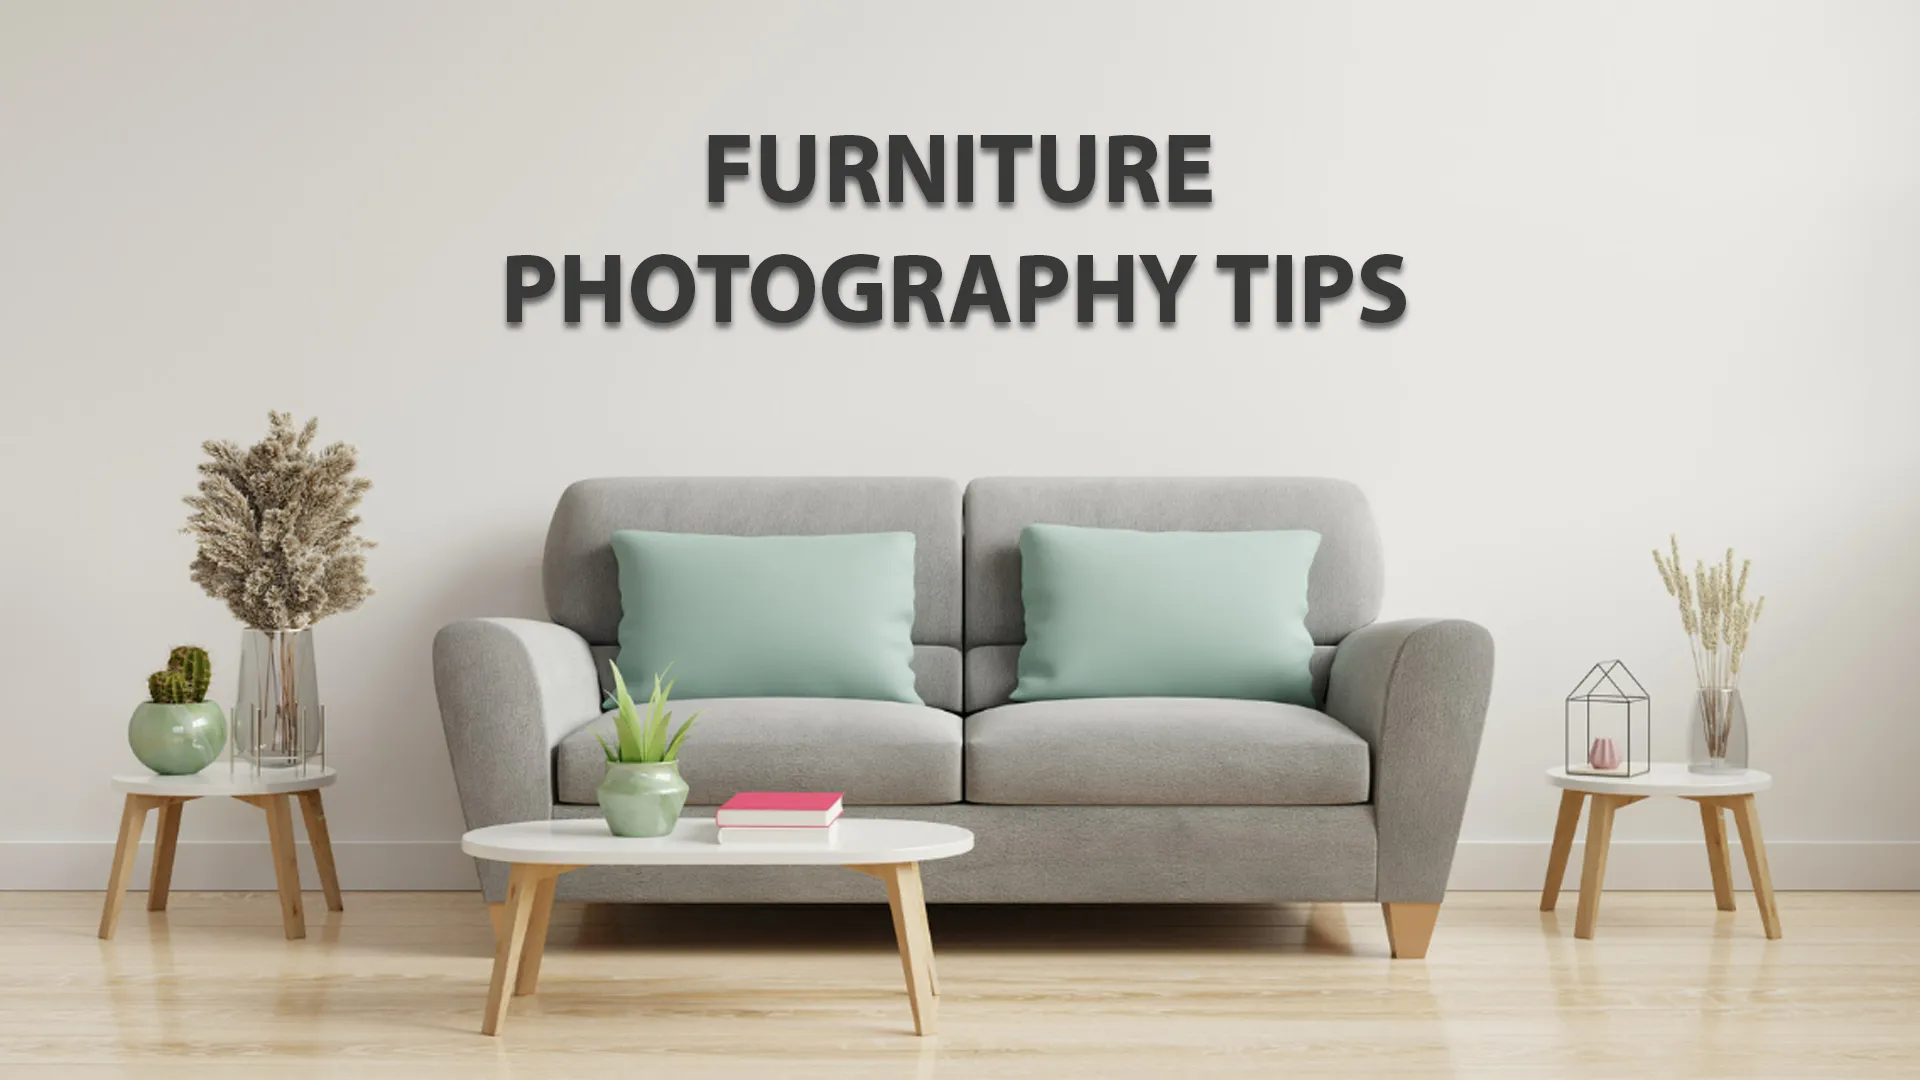
Capturing furniture in photographs may seem simple, but making it look stunning requires skill, creativity, and attention to detail. Whether you are a professional photographer, an online seller, or a furniture designer, mastering the right furniture photography tips can significantly enhance the appeal of your images. High-quality furniture photos not only showcase the design and details but also influence buyers’ decisions. In this guide, you will learn expert techniques that will take your furniture photography to the next level.
Understanding Lighting for Furniture Photography
Lighting is one of the most crucial aspects of furniture photography tips. The right lighting enhances textures, colors, and the overall appearance of furniture. Natural light is often the best option, as it creates soft shadows and highlights that bring out the furniture’s details. Positioning the furniture near a large window or in an outdoor setting can provide beautiful lighting. However, if you are shooting indoors, using soft artificial lights or diffusers can help minimize harsh shadows and ensure even illumination.
Avoid using a direct flash, as it can create unwanted reflections and harsh shadows. Instead, experiment with light angles to create depth and dimension in the image. Proper lighting not only makes furniture look more attractive but also adds a professional touch to the photos.
Lighting Is Key
Mastering lighting is one of the most essential furniture photography tips to ensure the best possible shots. The type and direction of light can significantly affect the look of furniture. Soft, diffused lighting works best for reducing harsh shadows and creating an even glow. Using natural light from large windows during the morning or late afternoon provides the best results. If natural light isn’t available, use artificial lights with soft boxes or diffusers to mimic daylight.
Positioning the lights at an angle, rather than directly in front of the furniture, helps create depth and dimension. Reflectors or white foam boards can be used to bounce light onto darker areas, reducing contrast and making details more visible. Experimenting with different lighting positions and intensities ensures that the furniture is illuminated in the most flattering way.
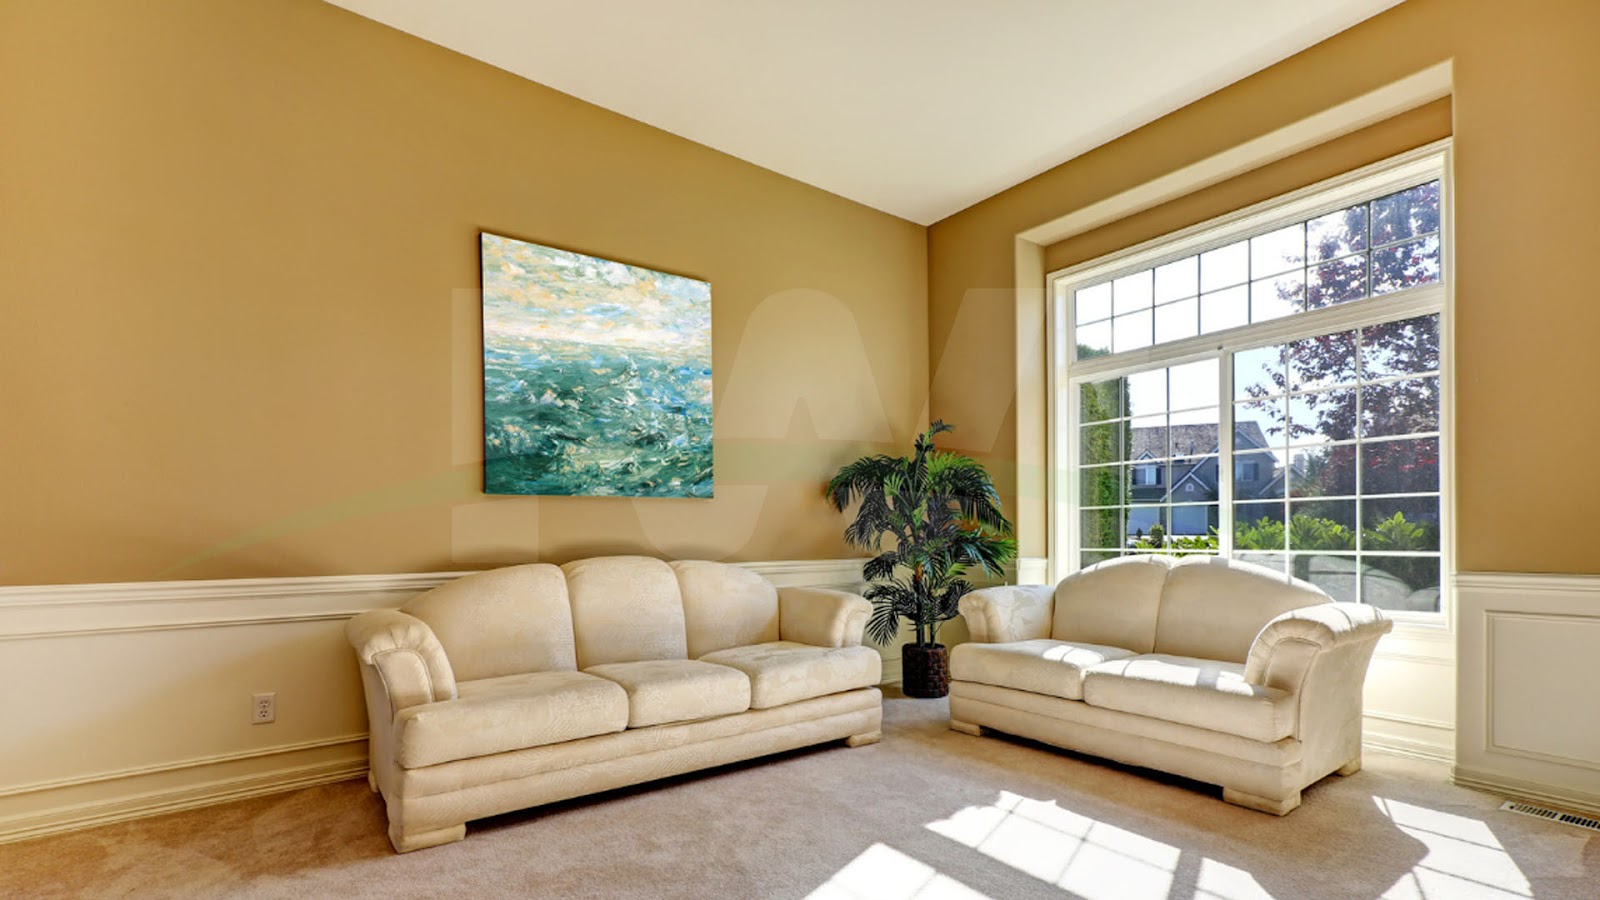
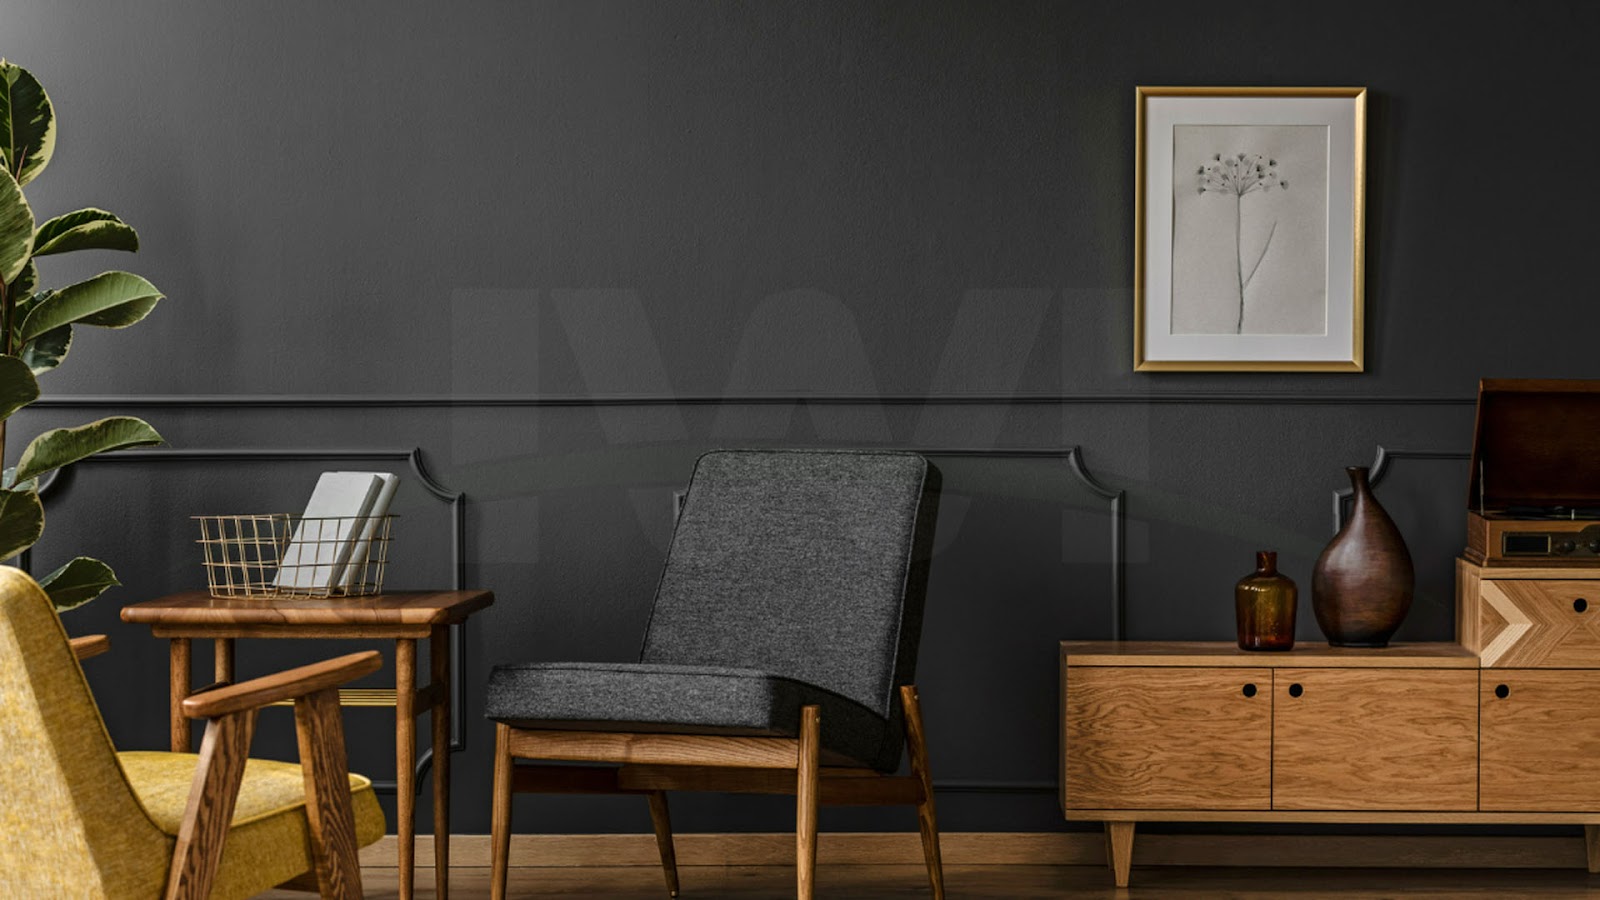
Choosing the Right Background
A cluttered background can distract from the main subject, making the furniture less appealing. One of the most essential furniture photography tips is to use a clean and neutral background. White, gray, or lightly textured backgrounds work best because they keep the focus on the furniture. If you want to create a lifestyle setting, choose a background that complements the furniture without overpowering it.
For studio-style shots, seamless paper or fabric backdrops provide a professional look. If you are photographing furniture for an online store, keeping the background consistent across all images will give a polished and cohesive appearance to your product listings.
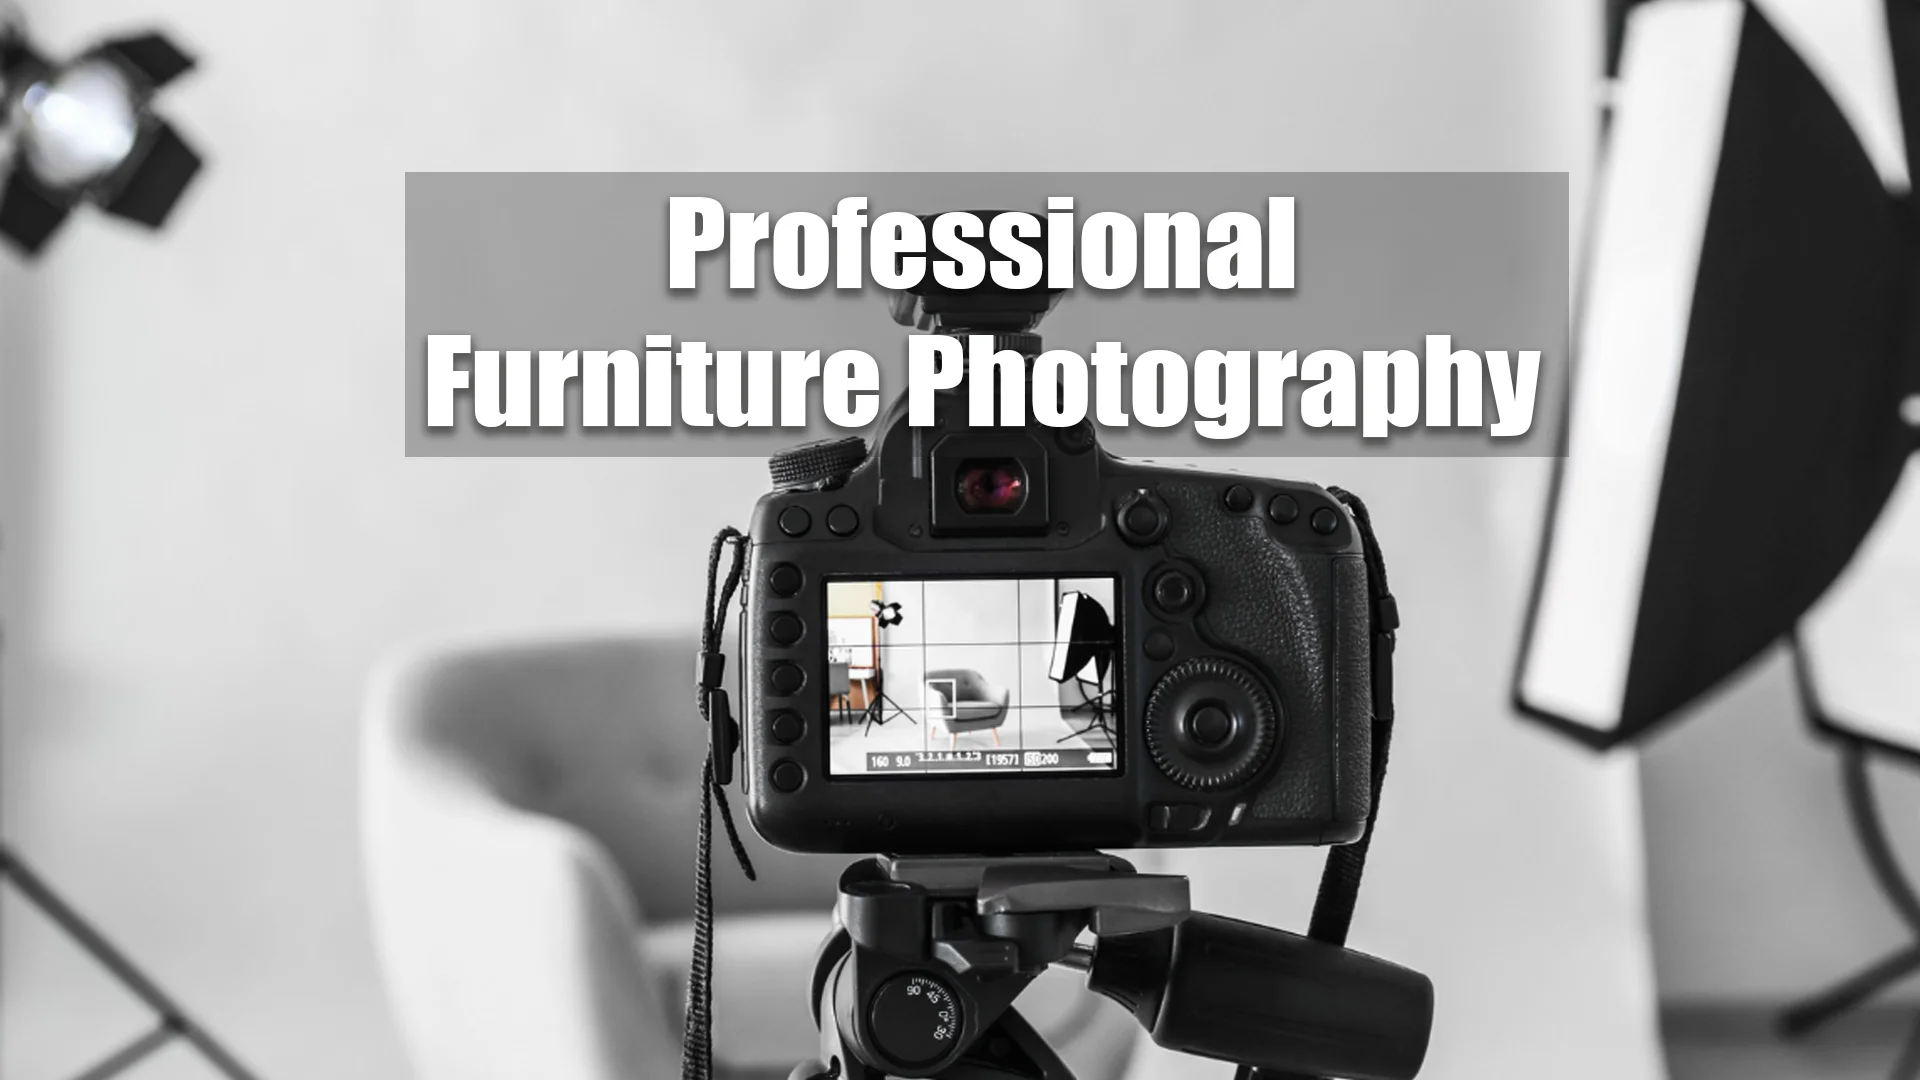
Camera Settings for Perfect Shots
Understanding camera settings is a key part of furniture photography tips. Using the right aperture, shutter speed, and ISO can make a huge difference in image quality. A lower ISO setting, typically between 100 and 200, ensures sharp images without unnecessary noise. A narrow aperture (higher f-stop number) increases depth of field, keeping the entire furniture piece in focus.
Shutter speed should be adjusted depending on lighting conditions. If you are using a tripod, a slower shutter speed can be beneficial in capturing more light without blur. A camera with a manual mode provides the most flexibility, allowing you to fine-tune these settings for the best results.
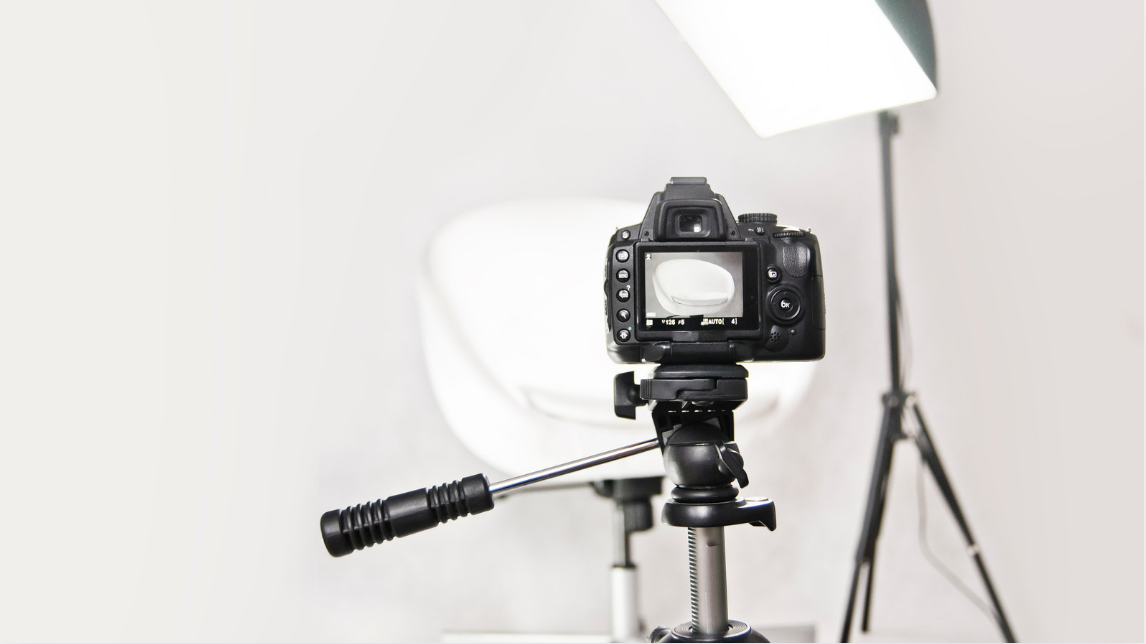
Using a Tripod for Stability
A tripod is a must-have tool for furniture photography. Holding a camera by hand can introduce slight shakes, leading to blurry images. Using a tripod ensures stability and sharpness, even when shooting in low-light conditions. It also allows you to take multiple shots from the same angle without repositioning the camera manually.
Another advantage of using a tripod is that it helps maintain consistency in height and framing. This is especially important for e-commerce photography, where uniform images create a professional and appealing catalog.
Finding the Best Angles
The angle from which you capture furniture can significantly impact how it appears in photographs. A straight-on shot showcases symmetry and structure, while a slightly angled perspective adds depth and dimension. Shooting from a low angle can make furniture pieces appear more imposing and grand, while a higher angle might be useful for displaying tabletops or intricate details.
One of the most effective furniture photography tips is to capture multiple angles to provide a complete visual representation. Customers appreciate seeing different perspectives, including front, side, and close-up shots of textures, fabrics, and finishes.
Enhancing Textures and Details
Furniture photography is not just about showing the shape of a piece; it is also about highlighting its materials and textures. Whether it’s wood grain, leather upholstery, or metal accents, close-up shots can emphasize the fine craftsmanship and quality of the furniture.
Use a macro lens or zoom in to capture these details clearly. Proper lighting and focus settings help bring out the texture, making the furniture look more realistic and tangible to potential buyers.
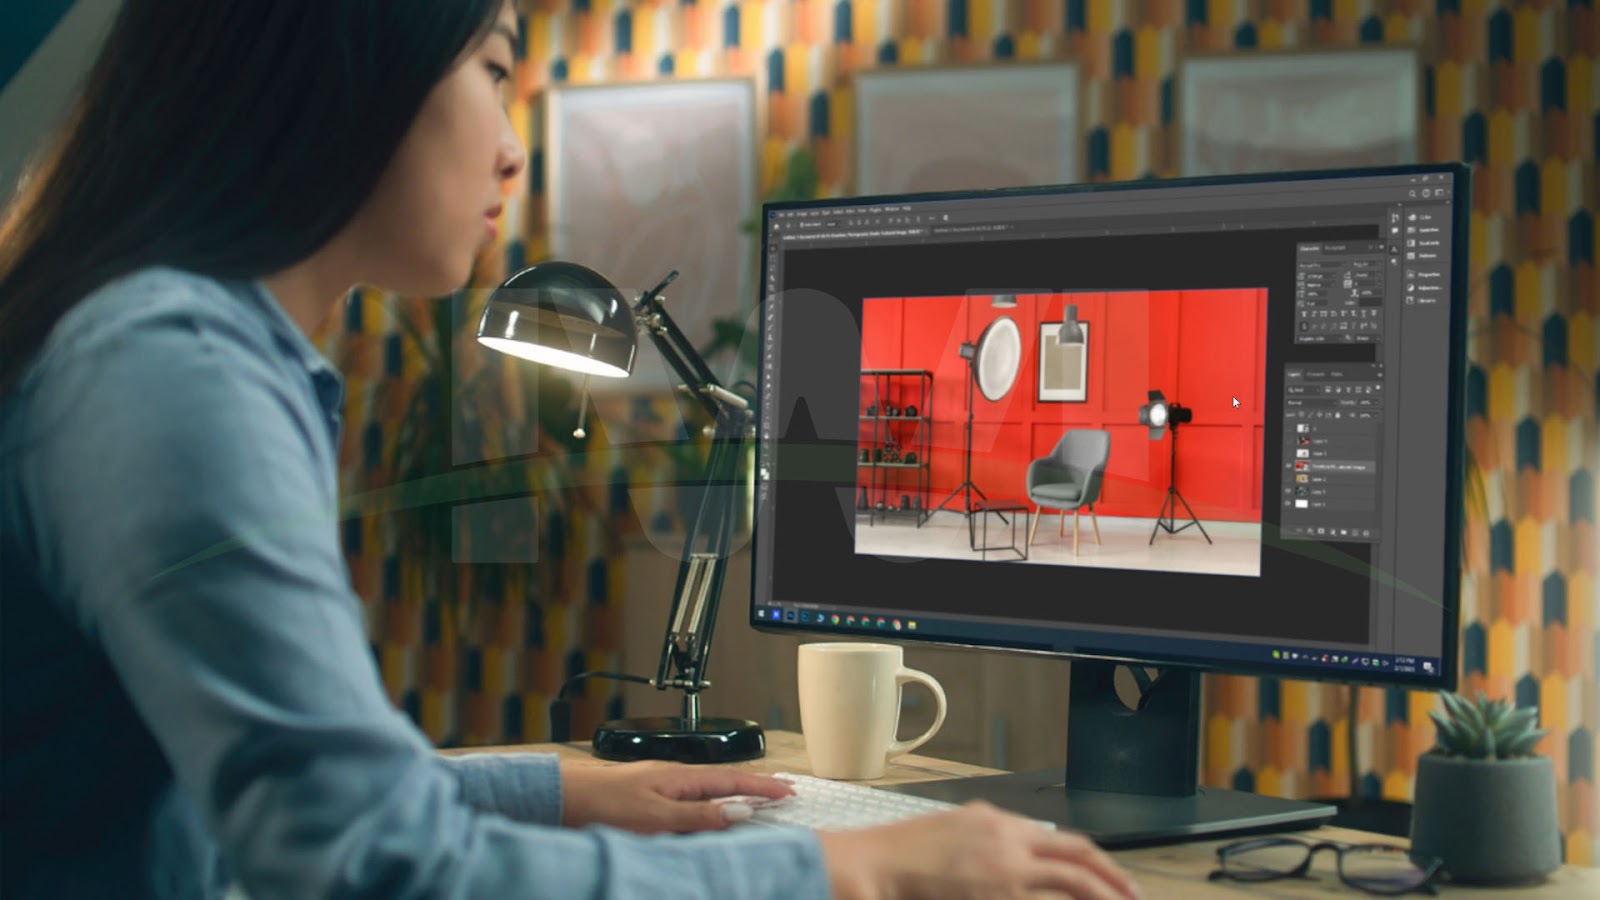
Editing for a Professional Finish
Post-processing plays an essential role in furniture photography. Even the best raw images can benefit from slight enhancements. Adjusting brightness, contrast, and color balance can make the furniture appear true to life. Removing dust, minor scratches, or imperfections using editing software ensures a polished final image.
However, over-editing should be avoided. Keeping the images as natural as possible while making subtle improvements is the best approach. Using editing tools like Adobe Lightroom or Photoshop can help refine images without making them look artificial.
Maintaining Consistency in Photography Style
For brands and online retailers, consistency is key in furniture photography tips. Having a uniform style across all images ensures that the products look cohesive and professional. This includes maintaining similar lighting conditions, angles, and background settings for each furniture piece.
If you are shooting for a catalog, website, or social media, using a consistent editing style will also help establish a recognizable visual identity. This uniformity makes the brand appear more reliable and visually appealing to potential customers.
Conclusion
Mastering furniture photography requires a combination of good lighting, thoughtful composition, and attention to detail. By following key furniture photography tips such as using natural light, setting up clean and neutral backgrounds, and choosing the right camera settings, you can capture stunning images that highlight the beauty of each piece. Styling with subtle accessories and ensuring your furniture is clean and well-prepared also plays a critical role. With some practice and attention to post-processing, anyone can take their furniture photography skills to the next level. Whether you’re a hobbyist or professional, these tips will help you create captivating images that showcase your furniture in the best light possible. Keep experimenting and refining your approach to achieve the perfect shot every time.
Frequently Asked Questions (FAQs)
What is the best lighting for furniture photography?
Natural light is the best option for furniture photography as it creates soft shadows and enhances details. However, soft artificial lights can also be used to achieve even lighting without harsh reflections.
How do I avoid glare and reflections in furniture photos?
Using diffusers or soft light sources can help reduce glare. Avoid direct flash, and adjust the camera angle to minimize unwanted reflections.
What background is best for furniture photography?
A clean, neutral background such as white, gray, or a lightly textured surface works best. This keeps the focus on the furniture without distractions.
Why is a tripod important for furniture photography?
A tripod ensures stability, eliminates camera shake, and helps maintain consistency in height and framing, resulting in sharp and professional images.
How can I highlight textures and details in furniture photography?
Using a macro lens or zooming in on key details helps capture textures clearly. Proper lighting and sharp focus enhance the visibility of intricate designs.
Should I edit my furniture photos?
Yes, editing can enhance the overall look of furniture images by adjusting brightness, contrast, and colors. However, avoid excessive retouching to maintain a natural appearance.