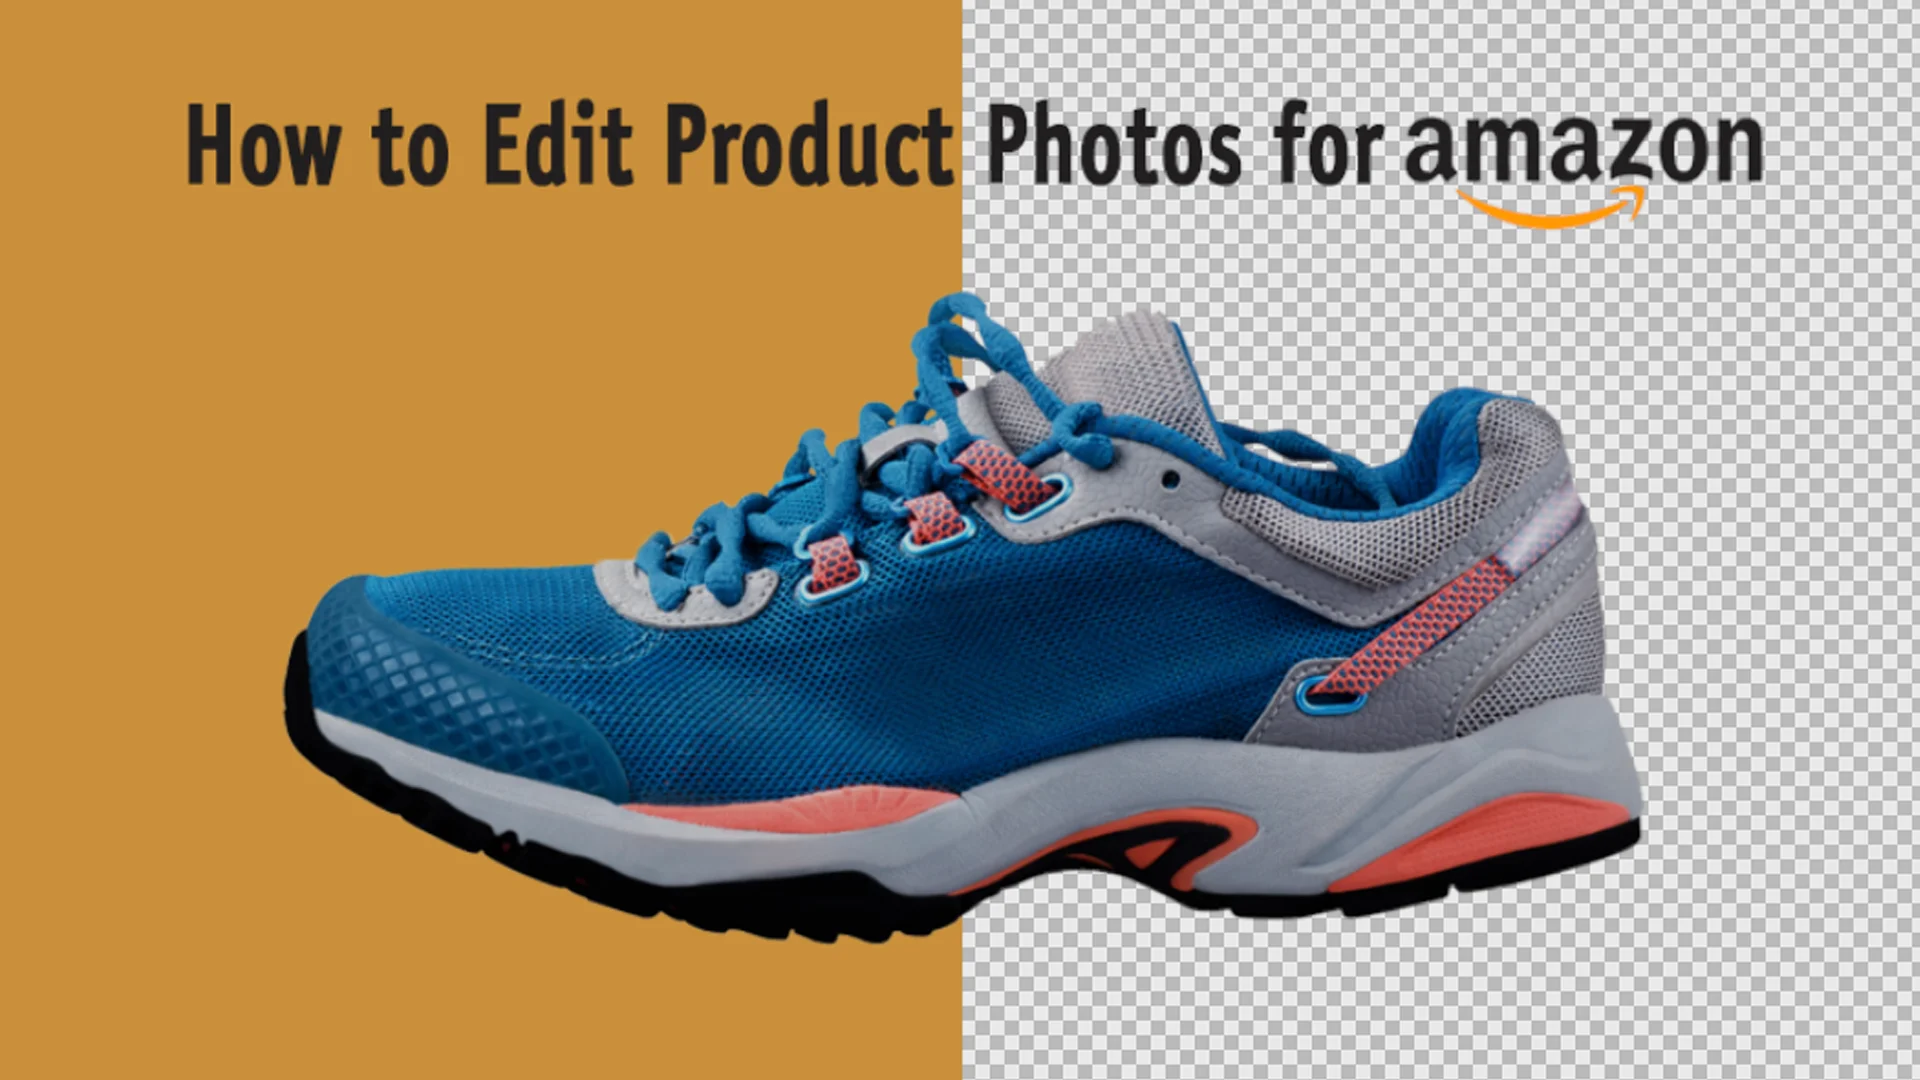
When it comes to selling on Amazon, a picture truly is worth a thousand words. Your product photos are the first thing potential buyers notice, and they play a major role in driving sales. But simply taking a good picture isn’t enough. Learning how to edit product photos for Amazon can make the difference between a customer scrolling past your listing or clicking that coveted “Add to Cart” button.
In this guide, we’ll dive deep into how to edit product photos for Amazon, covering essential tips and techniques to ensure your photos meet Amazon’s strict standards while also standing out from the competition.
Why Is Editing Product Photos Important?
In the competitive world of Amazon, your product photo is the first thing that grabs a potential customer’s attention. Think of it as your product’s handshake—it needs to make a great first impression. Poorly edited or unclear photos can lead to lost sales, as shoppers tend to skip listings that don’t appear polished or professional.
When you know how to edit product photos for Amazon, you ensure your images stand out in the crowded marketplace. Proper editing can highlight key features, improve clarity, and showcase the true quality of your product. This not only builds trust with customers but also helps to convey exactly what they can expect when the product arrives. With a polished photo, your product becomes more than just an item on a screen—it becomes something customers feel confident in purchasing. Simply put, great photos mean greater sales and a stronger reputation for your brand.

Tips and Tricks for Beginners for Editing Amazon Photos
For beginners, how to edit product photos for Amazon can seem overwhelming. However, with practice and the right techniques, you can master the process. Here are some useful tips:
- Use Natural Light Whenever Possible: If you are taking photos yourself, shoot in natural daylight to achieve the best results.
- Keep the Background Simple: For additional images beyond the main photo, you can use a clean, neutral background instead of pure white.
- Experiment with Angles: Try different angles to showcase the product’s features, dimensions, and details effectively.
- Avoid Over-Editing: Keep edits minimal and ensure that the product looks realistic. Over-editing can mislead customers and lead to negative reviews.
- Consistency is Key: Use the same editing style for all your product images to create a professional and uniform brand appearance.
Amazon Image Requirements for Product Listings
Before you start editing, you need to understand Amazon’s image requirements. If your images do not meet Amazon’s standards, your listing may not perform well or even be removed. Here are the key requirements you must follow:
- Image Format: Amazon accepts JPEG, TIFF, GIF, or PNG file formats. However, JPEG is the preferred format for faster loading.
- Image Size: The image must be at least 1000 pixels on the longest side, but Amazon recommends 1600 pixels or more for zoom functionality.
- Background: The main product image must have a pure white background (RGB 255, 255, 255).
- Product Focus: The product should occupy at least 85% of the image frame.
- No Watermarks or Logos: Amazon does not allow watermarks, logos, or additional text on the main image.
- No Borders: Borders or additional design elements are not allowed.
By following these guidelines, you ensure that your product photos comply with Amazon’s policies and increase the chances of your product ranking higher in search results.
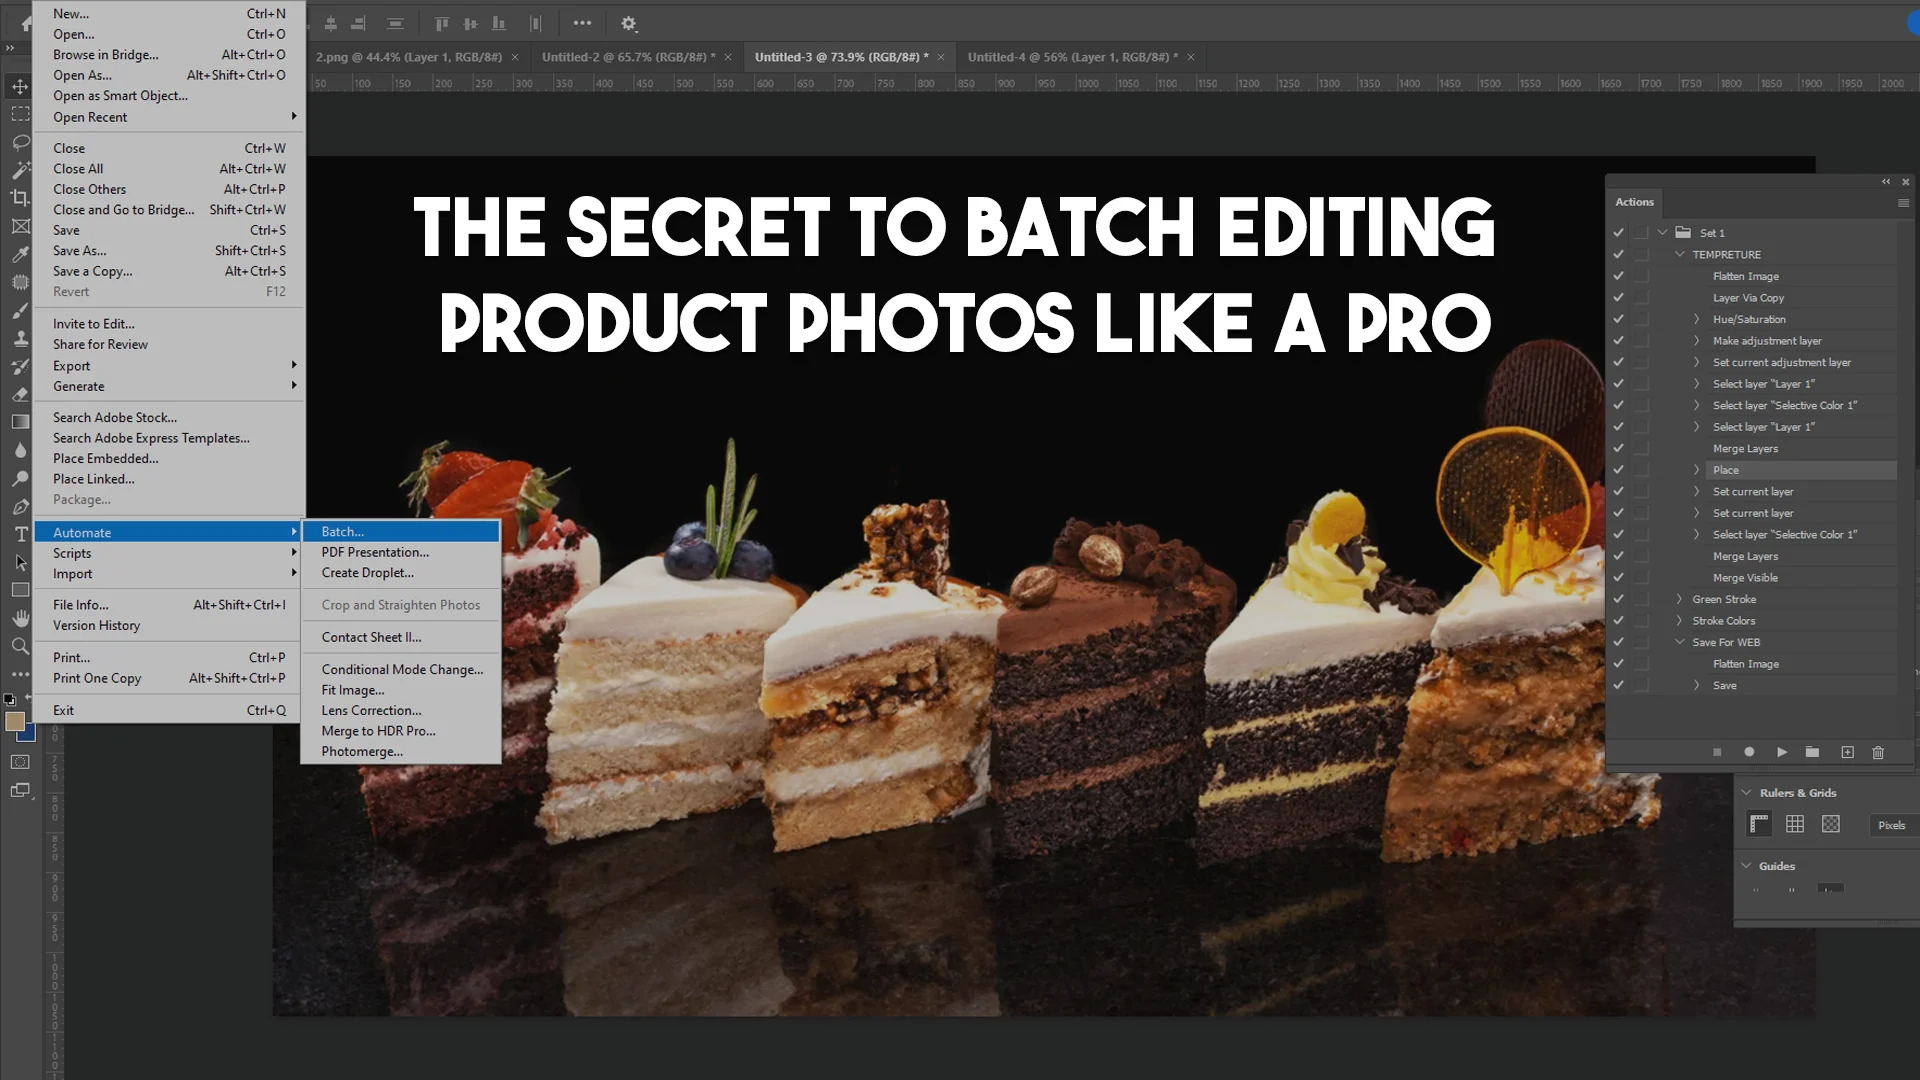
Step-by-Step Guide on Editing Product Photos for Amazon
If you want to know how to edit product photos for Amazon, follow these steps to make your images look professional and attractive to potential buyers.
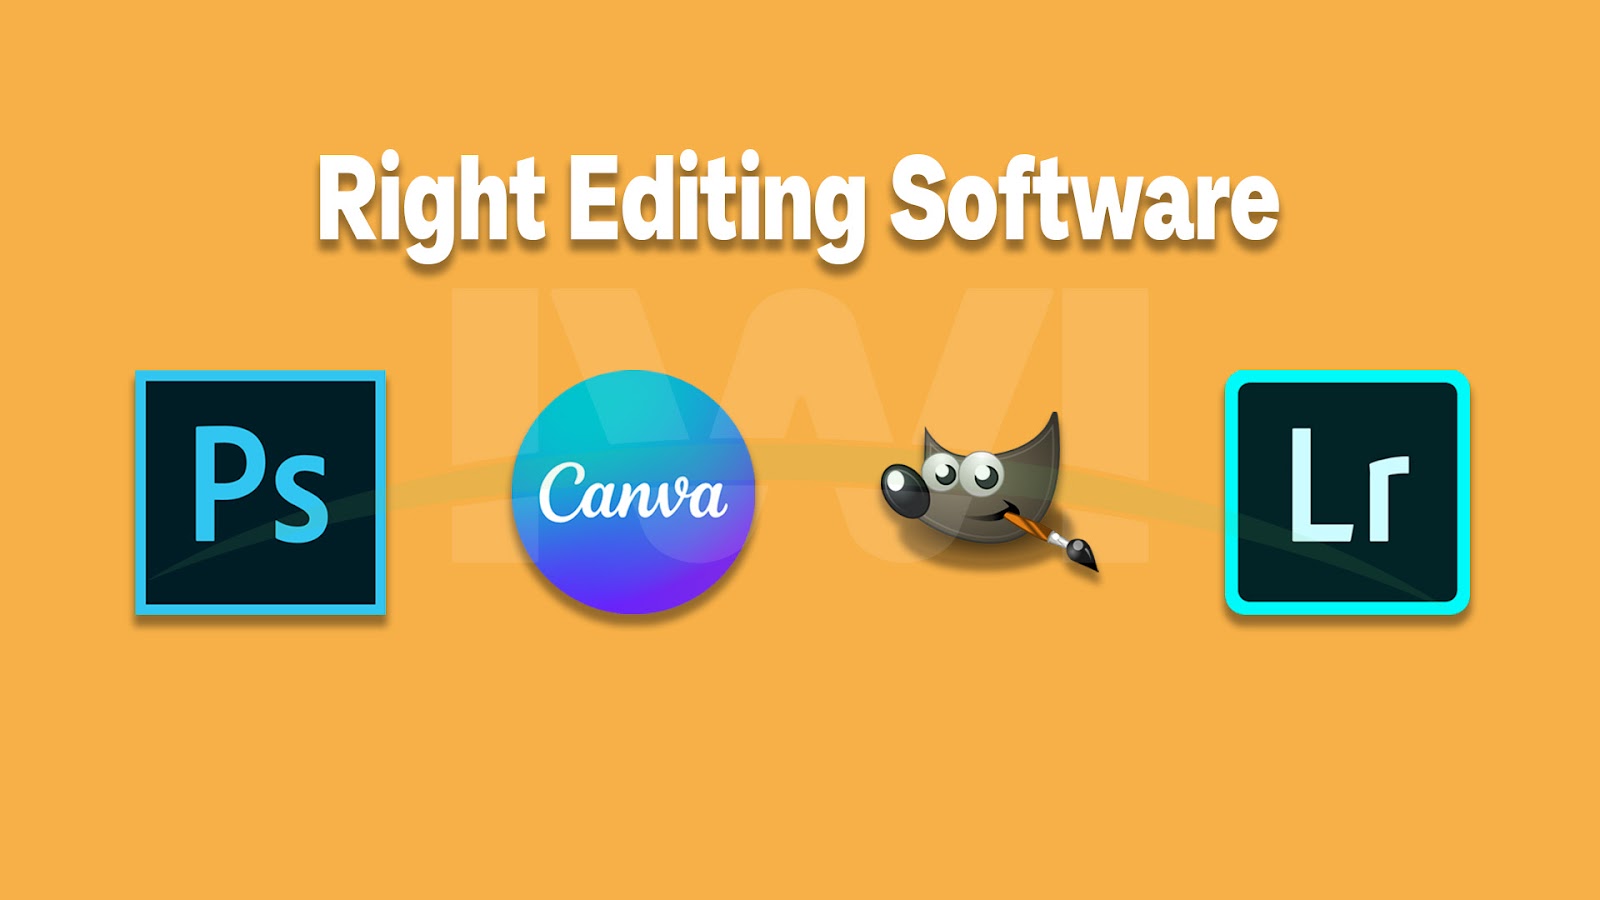
Choosing the Right Editing Software
The first step in mastering how to edit product photos for Amazon is selecting the right editing software. Popular choices include Adobe Photoshop, Lightroom, and free options like GIMP or Canva. Each software offers tools that allow you to tweak images, adjust lighting, remove backgrounds, and more.
Photoshop is often considered the gold standard due to its robust features, but tools like Canva are excellent for beginners who need a more user-friendly interface.

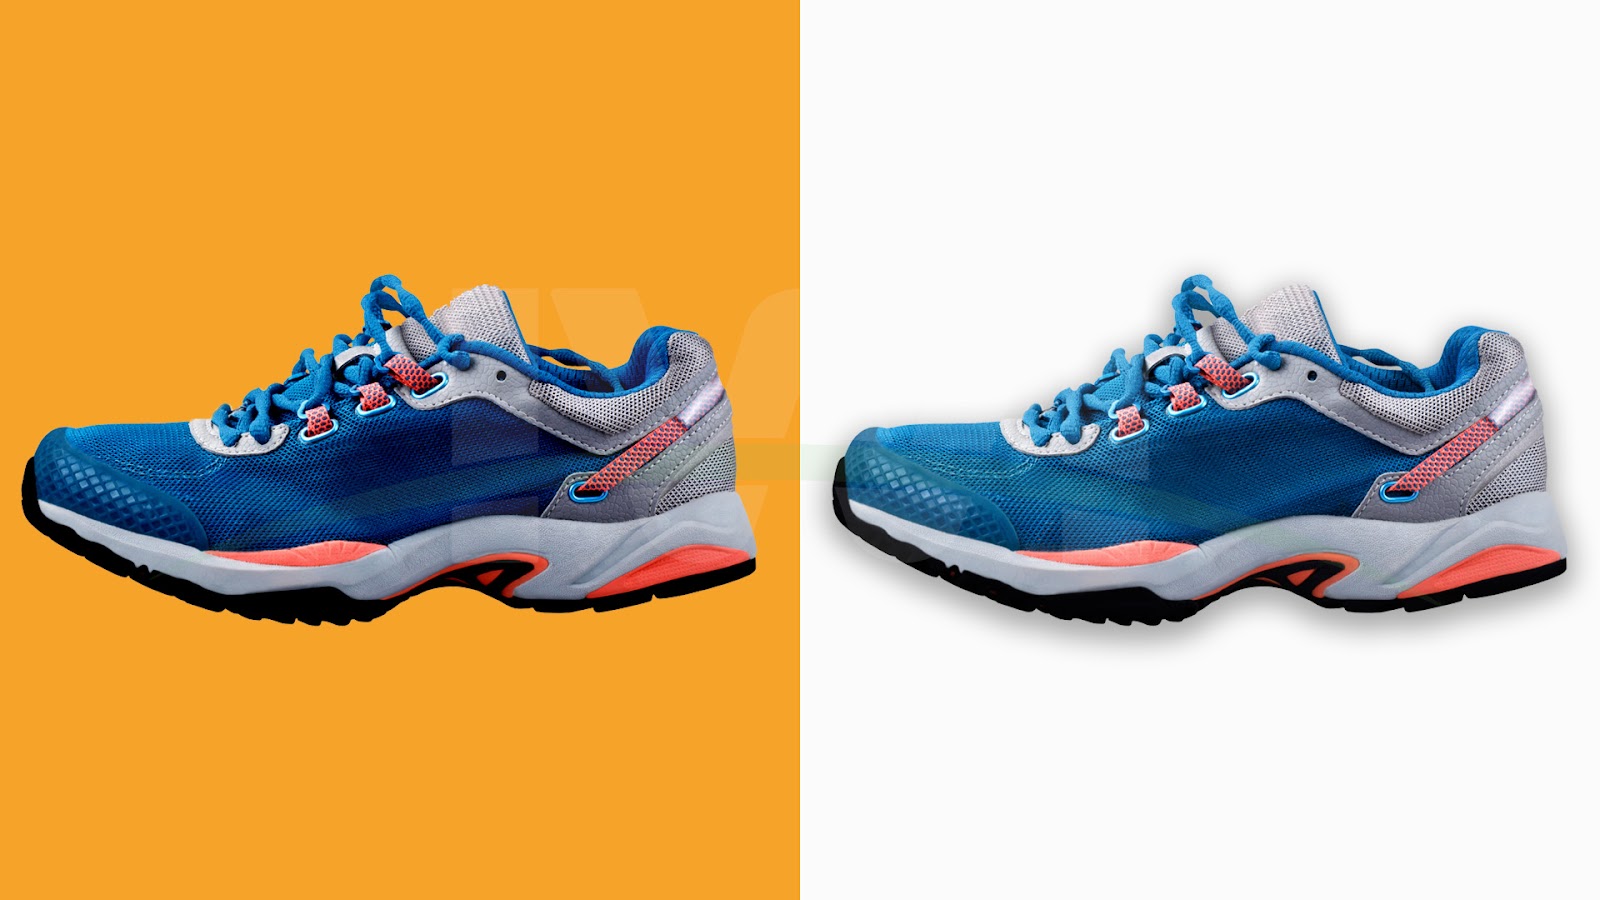
Perfecting the Background
One of the most important steps in how to edit product photos for Amazon is ensuring the background meets Amazon’s pure white requirement. Even if you photograph your product against a white backdrop, shadows and lighting inconsistencies can make it appear off-white.
Using tools like the Background Eraser in Photoshop or the Remove Background feature in Canva can help you achieve that perfect white. Pay close attention to edges to avoid any halo effects around the product.
Enhancing Lighting and Exposure
Good lighting is key, but sometimes even the best-lit photos need a little help. Adjusting brightness, contrast, and exposure can make your product pop. In how to edit product photos for Amazon, focus on natural-looking edits that highlight the product’s true colors and features.
Use the levels or curves adjustment tools in Photoshop to fine-tune lighting. Be careful not to overexpose the image, as it can wash out important details.
Color Correction and Accuracy
Color accuracy is vital when learning how to edit product photos for Amazon. If a customer orders a blue shirt and receives one that looks more purple, it can lead to returns and negative reviews.
Use color correction tools to ensure that the product’s colors match real life. This may involve adjusting the white balance or using hue and saturation sliders. Always compare your edited photo to the actual product under natural light.
Color Correction and Accuracy for amazon
product photos image 5
Removing Imperfections
Even the best products may have small imperfections that are magnified in photos. Dust, scratches, or manufacturing marks can detract from the image. Part of how to edit product photos for Amazon involves using retouching tools to clean up these imperfections.
Photoshop’s Clone Stamp or Healing Brush tools are excellent for this task. The goal is to make the product look its best without misleading the customer.
Cropping and Resizing for Amazon
Amazon requires images to be at least 1000 pixels on the longest side to enable zoom functionality, which is crucial for customer engagement. Learning how to edit product photos for Amazon includes properly cropping and resizing images.
Ensure your product fills 85% of the frame and is centered. Use the crop tool to remove unnecessary space and maintain Amazon’s aspect ratio recommendations.
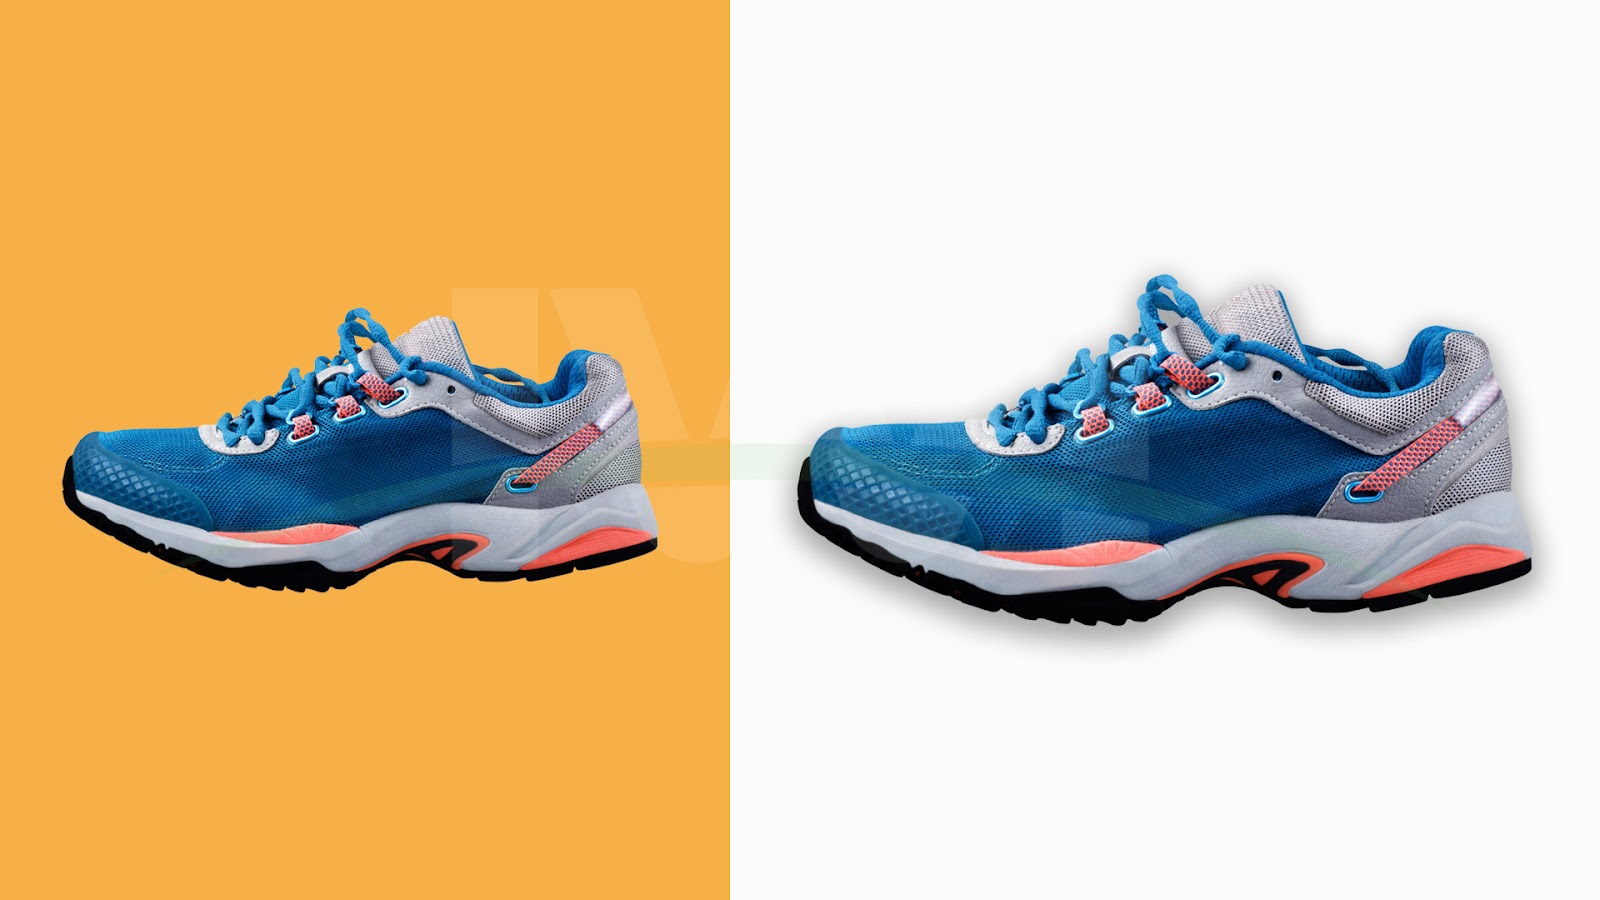
Consistency Across Images
Customers expect consistency when browsing product images. Part of mastering how to edit product photos for Amazon is ensuring all your images share the same style, lighting, and background. This creates a cohesive look and boosts your brand’s credibility.
Use templates or presets in your editing software to maintain consistency. This is especially important when showcasing different angles or product variations.
Adding Lifestyle and Infographic Images
While Amazon’s main image rules are strict, secondary images offer more flexibility. Understanding how to edit product photos for Amazon includes creating engaging lifestyle images and infographics that highlight your product’s features.
Use editing software to add text overlays, dimensions, and callouts to infographics. For lifestyle images, ensure that the product remains the focal point and that any background elements complement it.
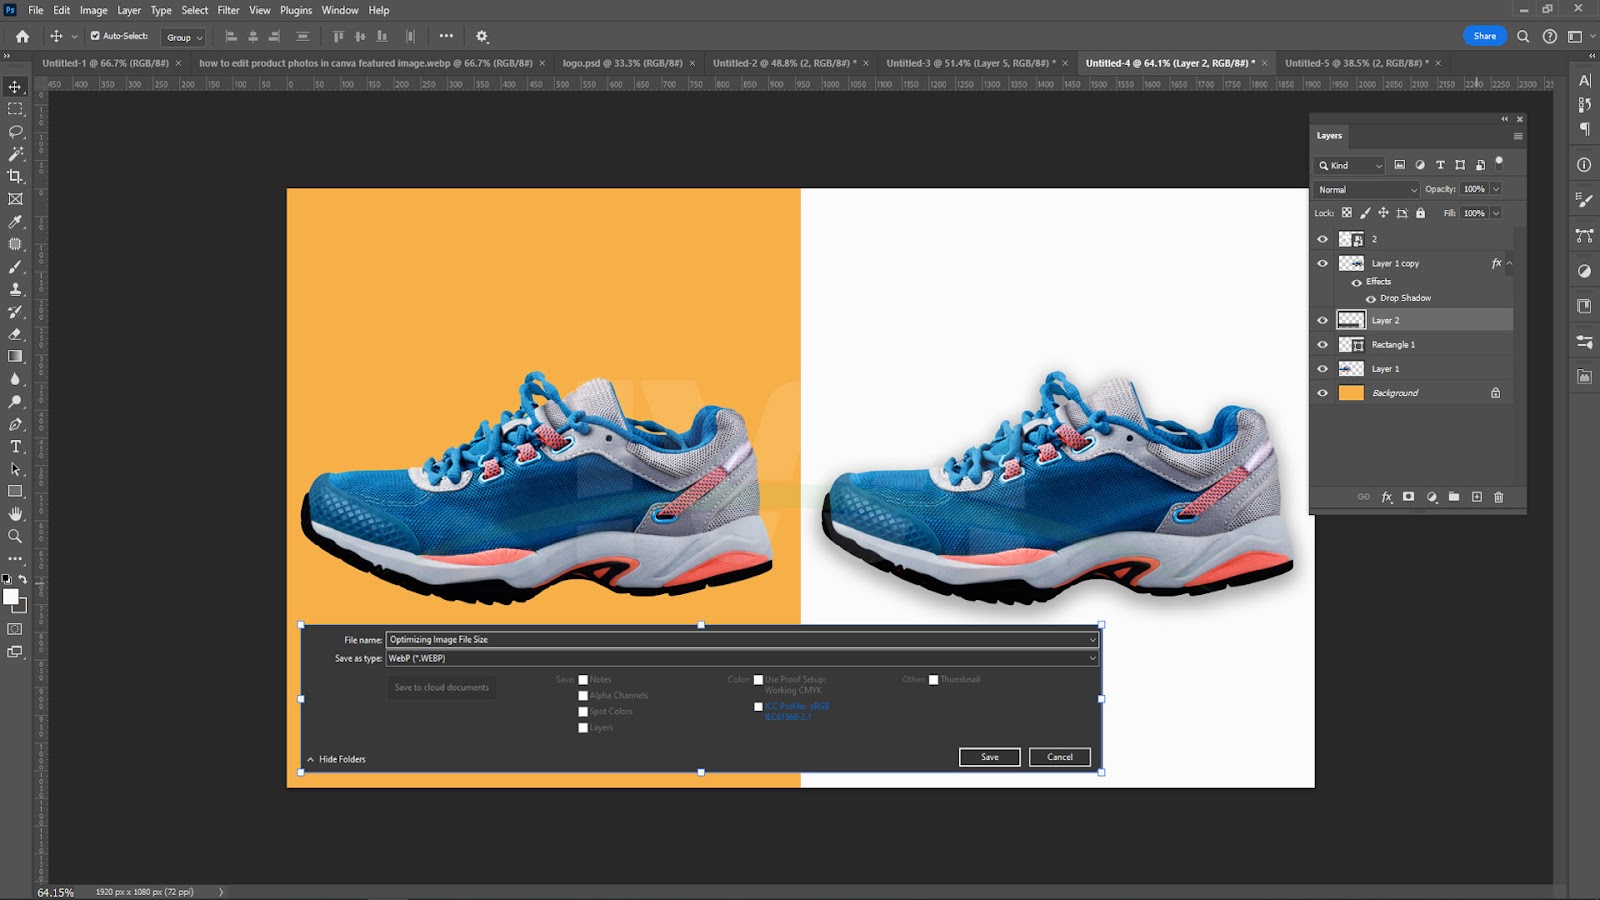
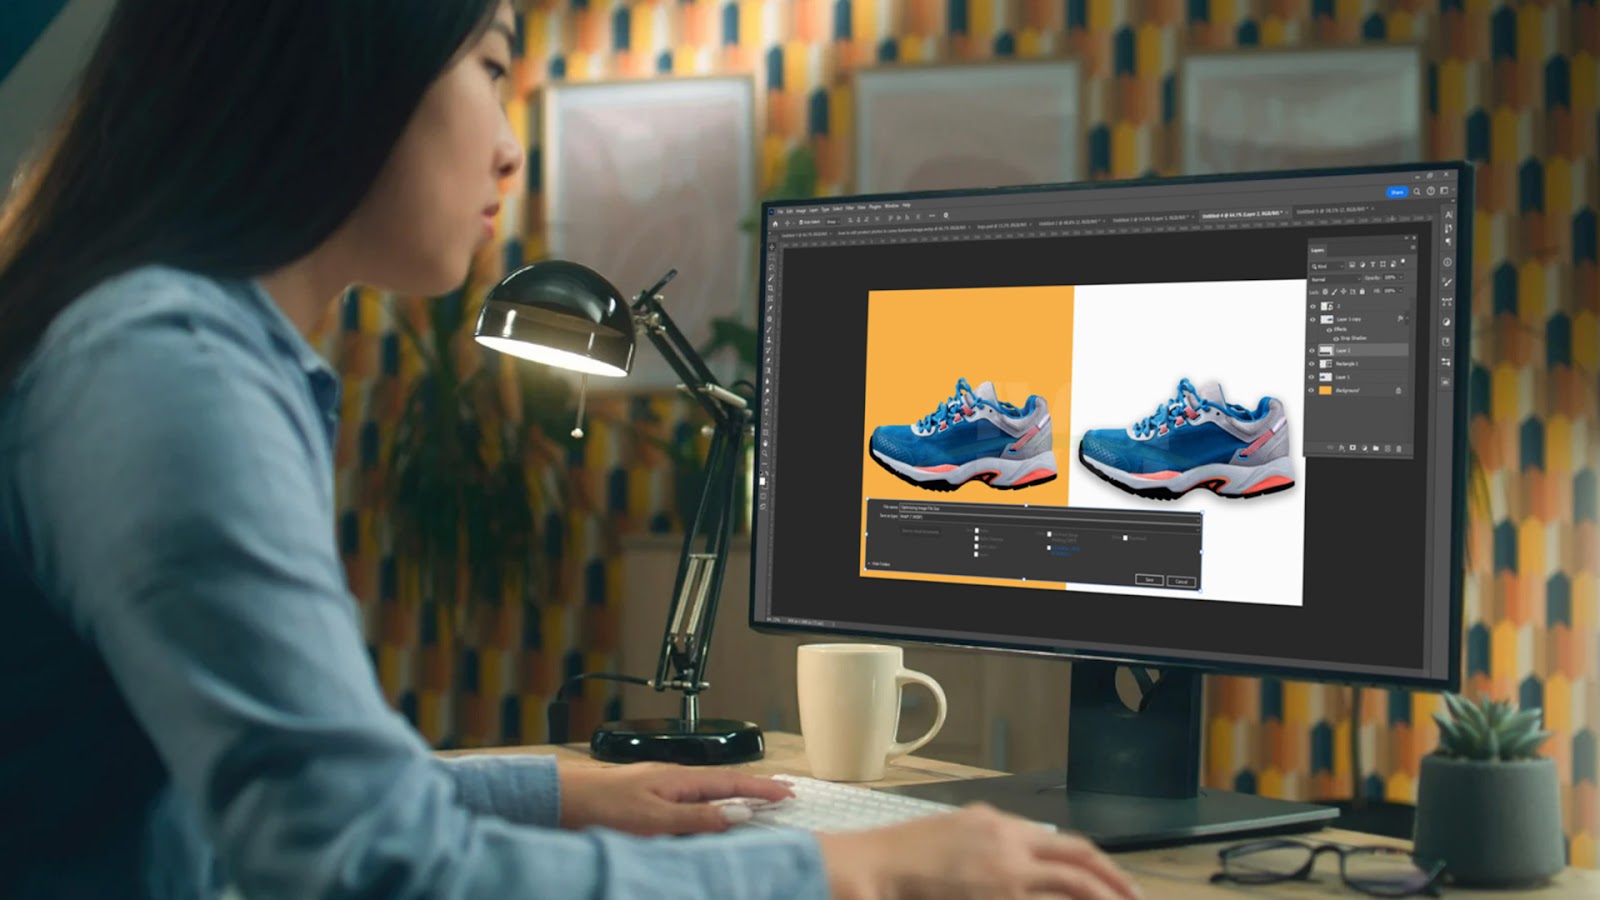
Optimizing Image File Size
Large image files can slow down loading times, leading to a poor user experience. Part of how to edit product photos for Amazon involves optimizing file size without sacrificing quality.
Use tools like TinyPNG or Photoshop’s “Save for Web” feature to compress images. Ensure the final file remains high quality and meets Amazon’s resolution standards.
Testing and Reviewing Your Edits
Before uploading your edited photos, take the time to review them on different devices and screens. How to edit product photos for Amazon isn’t complete without thorough testing.
Check for color inconsistencies, resolution issues, or artifacts that may have been introduced during editing. It’s also helpful to get feedback from colleagues or friends who can provide a fresh perspective.
Conclusion
Editing product photos for Amazon requires careful attention to detail to create high-quality images that attract buyers. By following Amazon’s guidelines, choosing the right software, adjusting lighting and colors, and refining backgrounds, you can significantly improve your product images. Mastering how to edit product photos for Amazon will not only help your listings look professional but also increase conversions and sales. Investing time in editing your product images is one of the best ways to enhance your brand’s presence and attract more customers on Amazon.
Frequently Asked Questions (FAQs)
What is the best software for editing Amazon product photos?
Adobe Photoshop is the industry standard, but free options like GIMP or Canva are also effective for learning how to edit product photos for Amazon.
How do I get a pure white background for my Amazon photos?
Use background removal tools in Photoshop or Canva to erase the background and replace it with a pure white (RGB 255,255,255) backdrop.
Why do my edited photos look different on my phone and computer?
Screen calibration varies between devices. Part of how to edit product photos for Amazon is testing your images on multiple screens to ensure color accuracy.
Can I use lifestyle images in my Amazon listing?
Yes, but only in secondary images. Understanding how to edit product photos for Amazon includes creating lifestyle shots that showcase the product in real-world settings.
How can I make my product stand out in photos?
Focus on lighting, color correction, and sharpness. Knowing how to edit product photos for Amazon ensures your product looks vibrant and detailed.
Are there tools to help optimize image file size for Amazon?
Yes, tools like Tiny PNG or Photoshop’s “Save for Web” feature can compress images while maintaining quality, an essential step in how to edit product photos for Amazon.