Macro photography has traditionally been one of the most popular disciplines on the shutter release. For appealing results, it is necessary to know and understand the basics. In the following, therefore, we take a look at the most important theoretical and practical basics.
In a nutshell, this is macro photography
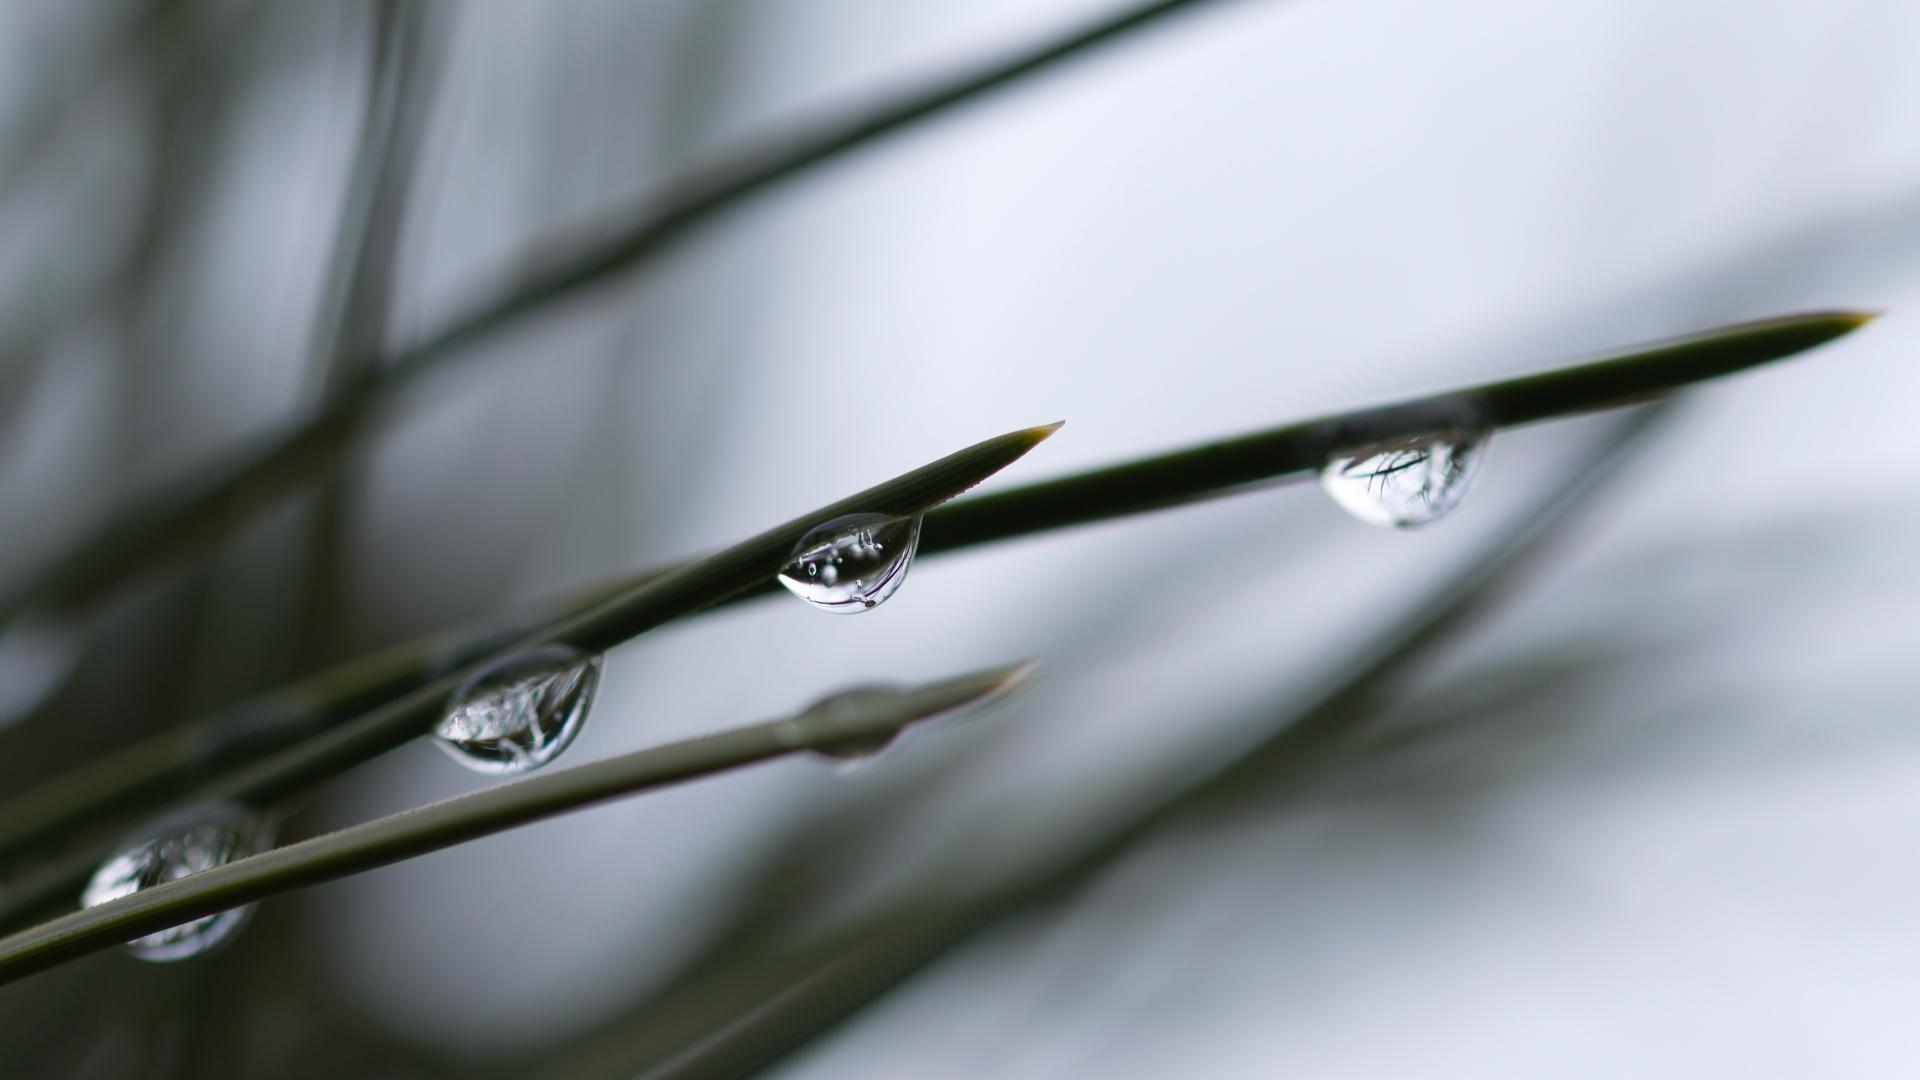
First, disambiguation. This already unmistakably indicates what macro photography is all about. The basis is the Greek word “macros,” which means “large,” “long,” or “wide.” Therefore, in the context of photography, it is clear that macro photography enables very large, detailed images of mostly very small objects.
Macro photography in numbers
The magnification factor is even defined by a DIN standard, namely DIN 19040, which specifies an imaging scale between 1:10 and 10:1. In practice, however, this range is much smaller: Many macro photographs are taken between 1:5 and 5:1, and some photographers even see the limit only at 2:1. Macro photography is, therefore, the opposite of wide-angle photography, and with the right equipment, photographers will soon be able to take their first steps—provided they have the necessary expertise. With this, impressive macro shots are no longer rocket science but can be taken just as freely and diversely as a snapshot with an instant camera.
What equipment is required?
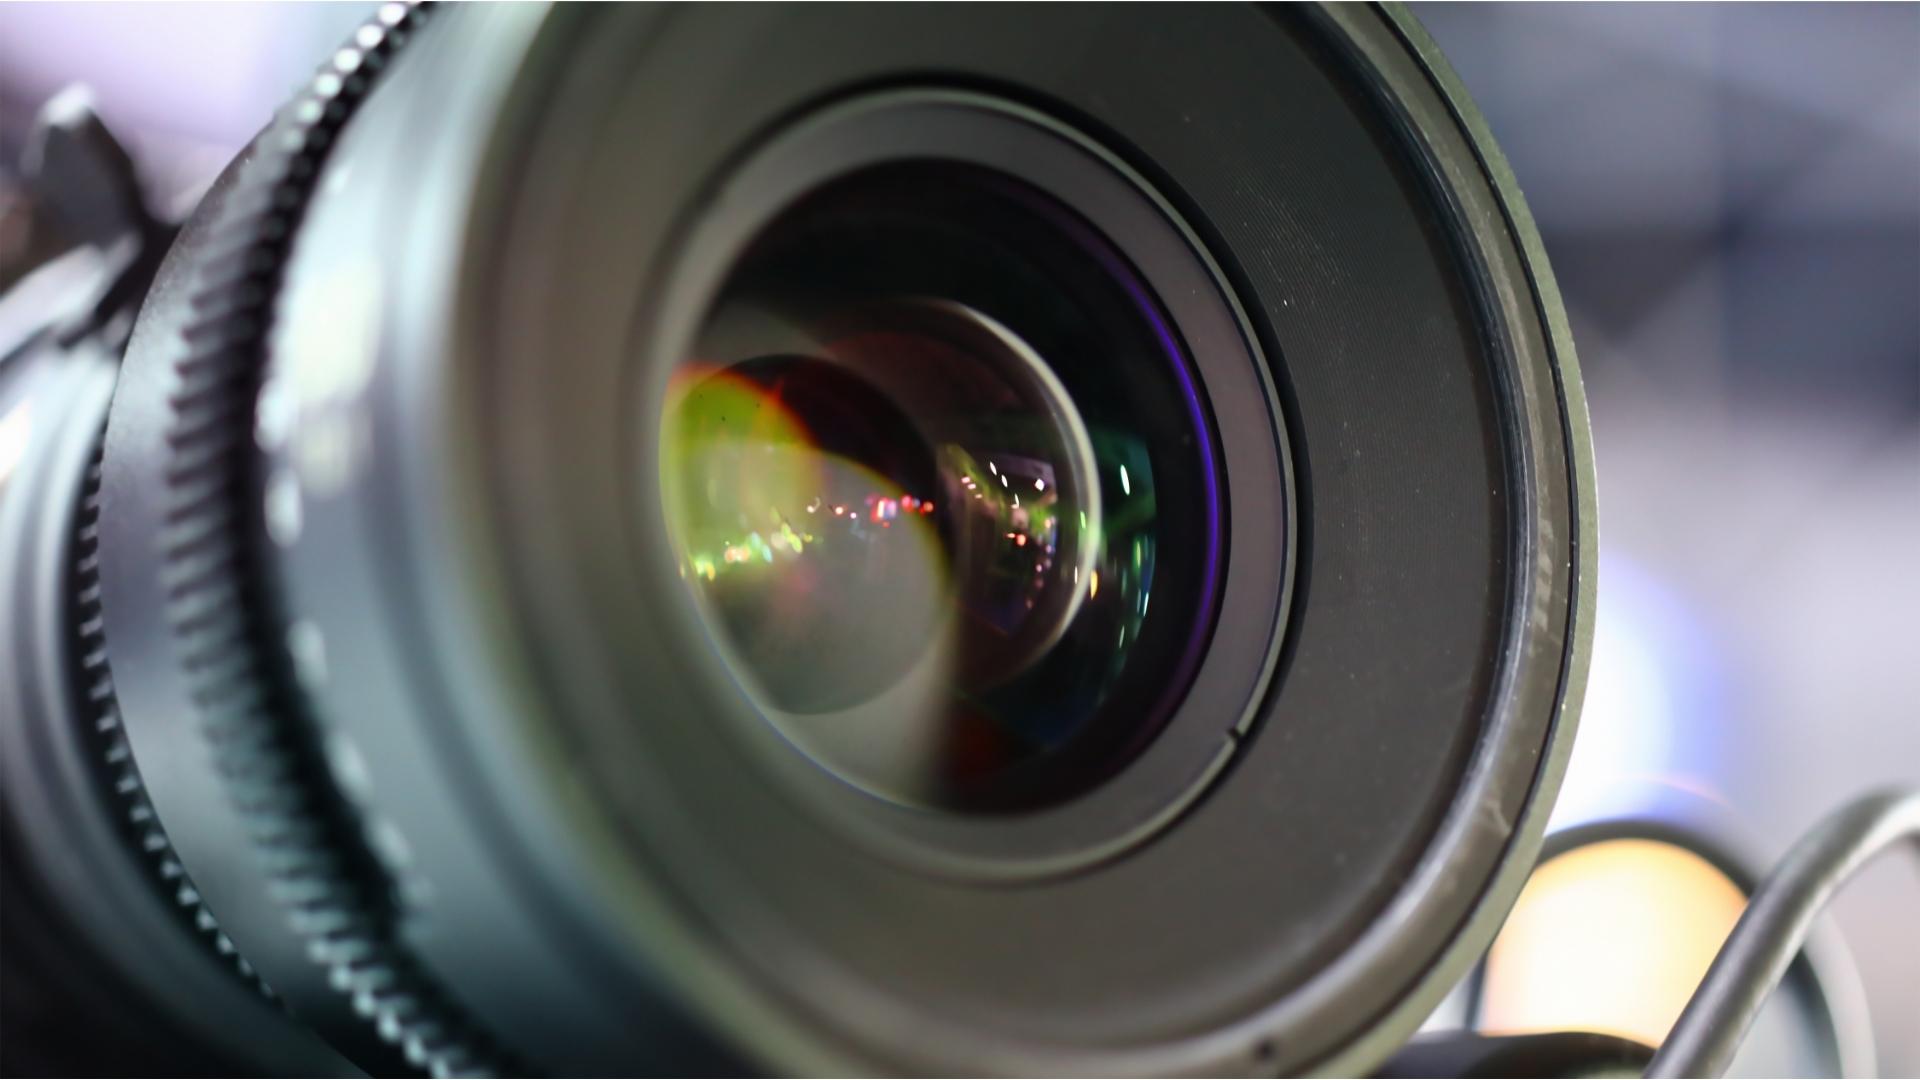
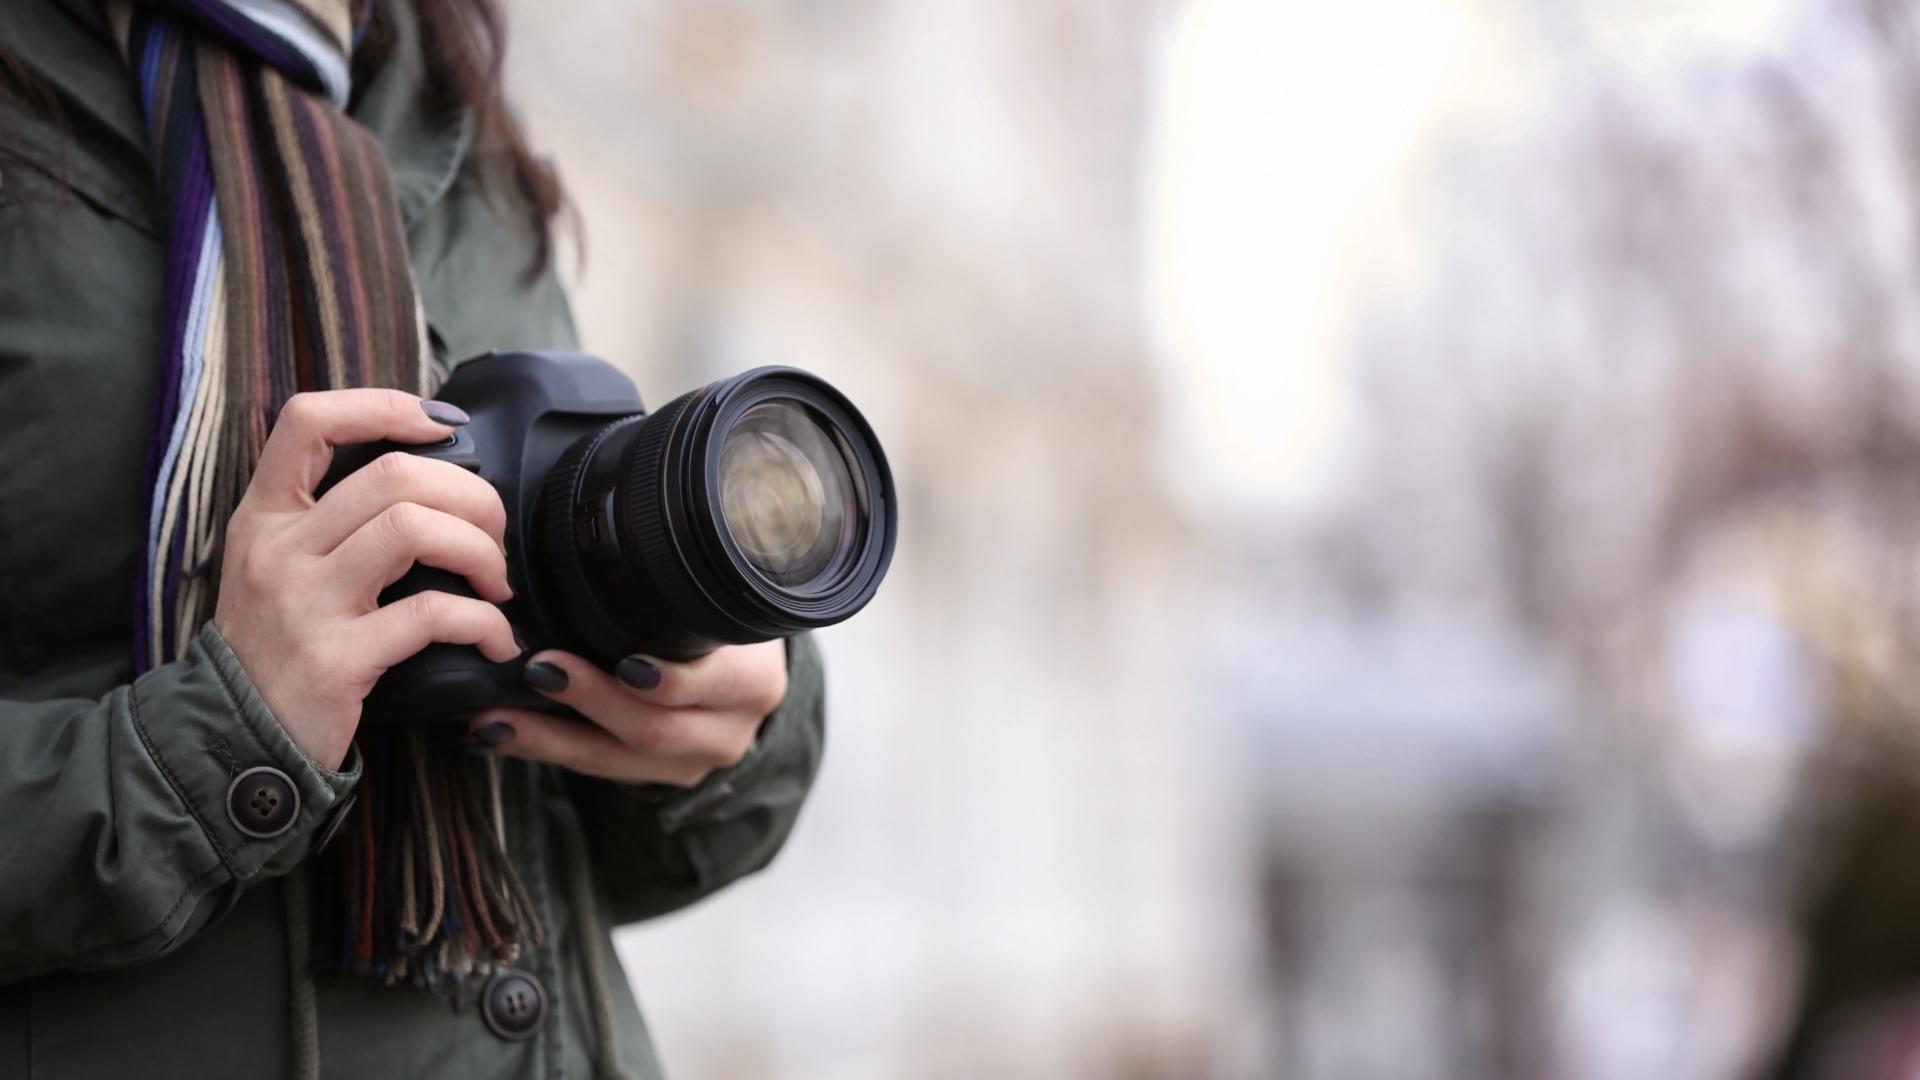
With the hardware, as in all areas of photography, the following applies: The camera is the basis. The lens decides on the type of photo. A macro lens is therefore required for macro photos. After all, high-quality DSLR cameras from Canon, Sony, Nikon, and Co. are already available comparatively cheaply. This overview shows that macro lenses are also available in very different price ranges. Regardless of the model used, a tripod is highly recommended.
There are two reasons for this:
In macro photography, the positioning of the camera on the subject must be determined very precisely.
Due to the high level of detail, even the slightest wobble is enough to blur the image when triggered.
A tripod makes the work much easier and ensures better results. Of course, it is still possible to take great macro photos hands-free, but especially at the beginning, when there are still many basics to consider, a tripod helps to concentrate on the essentials.
Which motifs are suitable for macro photography?
Macro photography is suitable for photographers of all subject areas. However, it has become known for its strong results in product photos; the high level of detail speaks for itself.
When photographing, use the rule of thirds as a basis.
After the first macro shots have fallen and slowly but surely, a feeling for this particular type of shot develops, the rule of thirds can be a valuable help:
- It divides the image into a total of nine segments: The image is thirded vertically and horizontally with guides, resulting in nine areas of equal size.
- The four guides meet at four intersections around the center.
- The motif can be placed on one of these four points, creating a pleasant surface division.
- The guides can be displayed in the viewfinder or on display with many cameras. In this case, not even your sense of proportion is needed.
But the rule of thirds is suitable for many other purposes as well. For example, the horizontal lines are useful for precisely defining the dividing line between foreground and background. In general, segmentation helps with the placement of all elements in the image; as a result, the image looks more harmonious.
Fibonacci is also not to be forgotten.
Mathematics promises further help, namely in the form of the Fibonacci numbers. The Fibonacci sequence helps (just like the golden ratio) to position the motif. And lo and behold: In fact, the human eye perceives a division of surfaces that corresponds to the Fibonacci sequence as harmonious and pleasant. Nature itself also provides proof of this: the world-famous Nautilus geometry (a logarithmic spiral) serves as an architectural formula for many living beings and natural structures; in macro photography, this knowledge can be exploited to create successful images.
Last but not least, experience and intuition as the most important ingredients
Last but not least, it should be mentioned that even the best equipment and theoretical expertise are only as good as the photographer who implements them. Because the essence of photography still lies with the photographer himself, the eye and fingers develop more and more sensitivity over time (and experience). The hardware cannot take over this process; “learning by doing” is the order of the day in macro photography.
But this statement should by no means sound daunting. On the contrary, the learning curve in macro photography is quite steep and very motivating, especially at the beginning. The progress becomes visible after the first photo sessions, and it only gradually becomes clear what breathtaking effects are possible with the DSLR features. The post-processing then provides the finishing touches and opens the door to the world of professional photography quite far.


