When it comes to creating the perfect interior photoshoot, it’s easy to feel overwhelmed by the number of things to consider: the lighting, the composition, the styling, and the technical details. But don’t worry—mastering an interior photoshoot can be done with the right tools, preparation, and tips. Whether you’re a photographer looking to enhance your portfolio or a business owner trying to capture the essence of your space, this guide will walk you through everything you need to know to perfect your interior photoshoot skills.
Understanding Interior Photoshoots
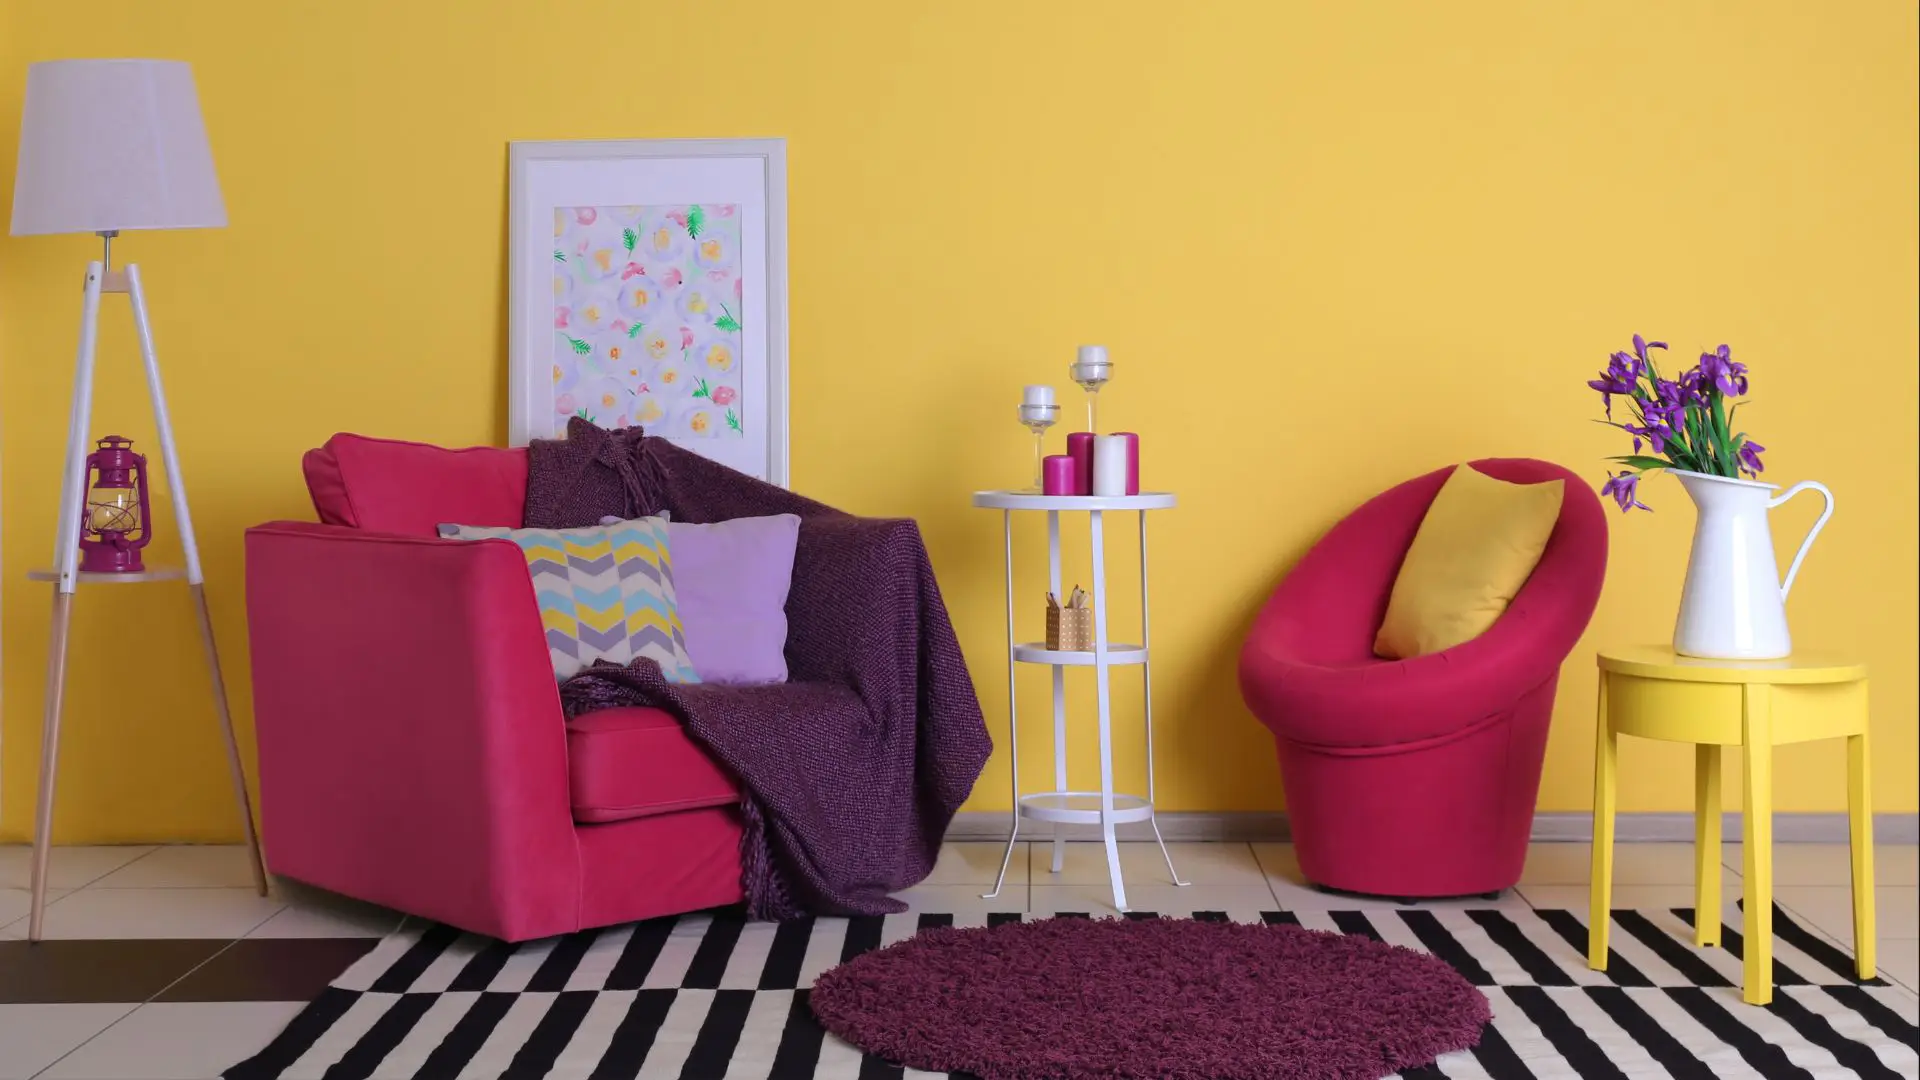
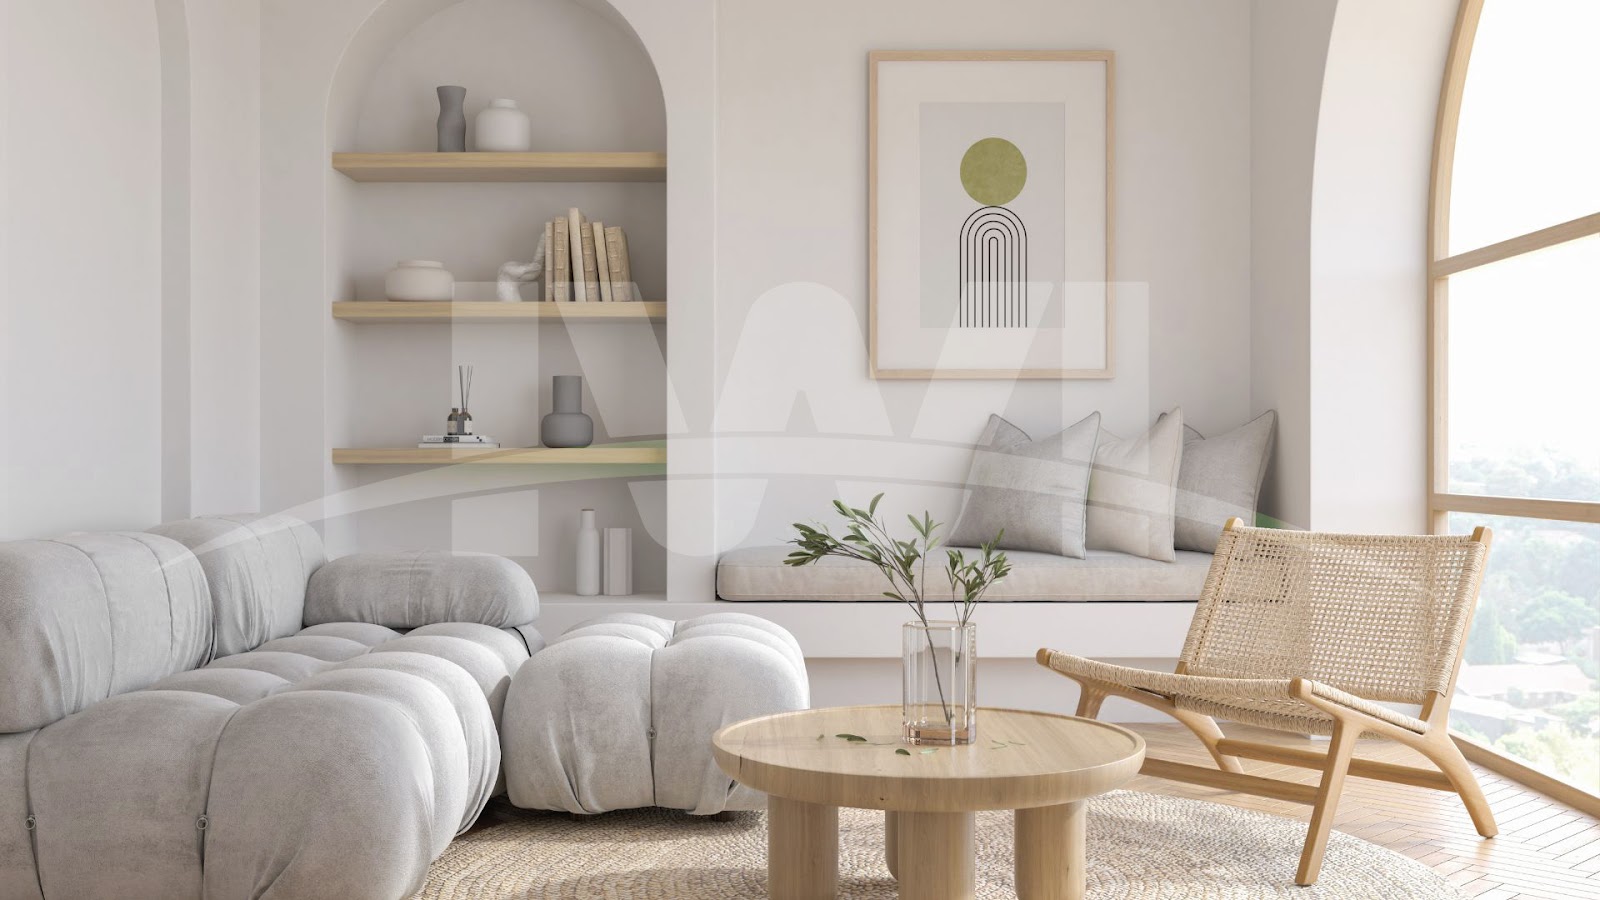
Before diving into the specifics of an interior photoshoot, it’s important to understand what this type of photoshoot entails. Photoshoot interior focuses on capturing the design, aesthetics, and overall ambiance of an indoor space. Whether you’re photographing a luxurious living room, a modern office, or a cozy bedroom, the goal is to highlight the best features of the space while ensuring the images reflect its true essence.
The secret to a great interior photoshoot is combining creativity with technical knowledge. You need to understand lighting, angles, and how to use your camera settings to make the room look as inviting and stylish as it feels in person. A successful photoshoot interior can make the difference between a bland listing and a captivating one that draws people in.
Planning Your Interior Photoshoot
The first step to a successful interior photoshoot is proper planning. It might seem like a simple task to take pictures of a room, but there’s a lot more to it than just pointing the camera and snapping away. Take some time to analyze the space and determine which areas are the most photogenic. Look for natural focal points like large windows, unique furniture pieces, or architectural features that give the space its charm.
Consider the mood you want to convey. For example, is the space meant to feel serene and calming, or is it designed to be bold and energetic? Planning ahead will help guide the entire photoshoot, from selecting props and furniture arrangements to choosing the right angles.
Choosing the Right Equipment for Your Photoshoot Interior
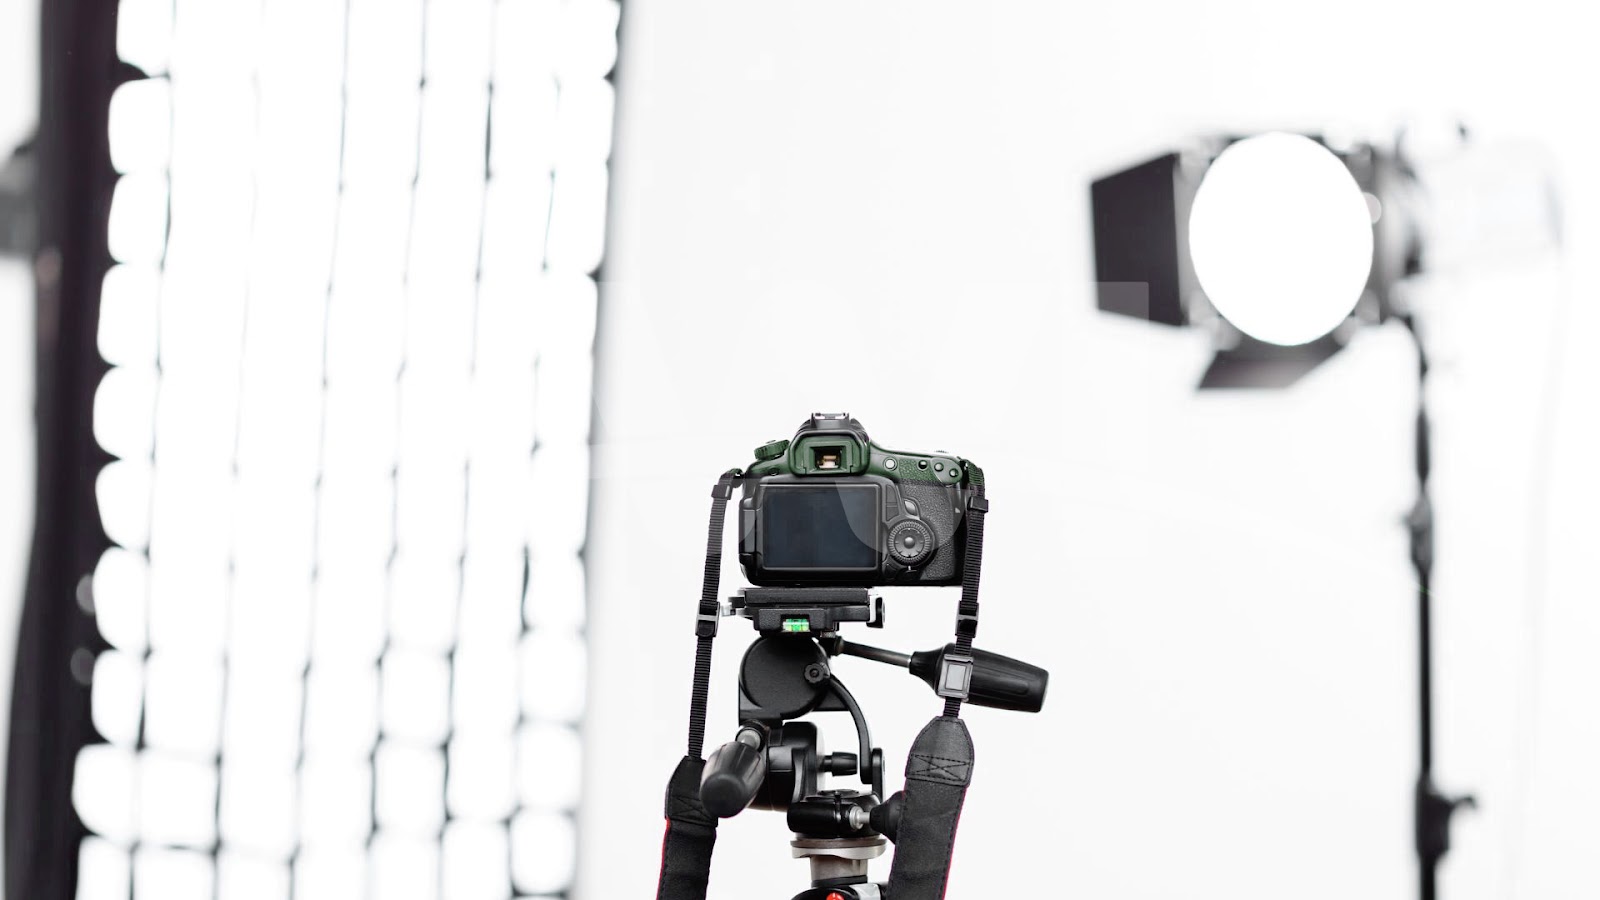
The equipment you choose for your interior photoshoot plays a critical role in capturing the best shots. While it’s possible to take interior photos with a smartphone, using a professional camera will give you the quality and flexibility you need. A DSLR or mirrorless camera is ideal for interior photography because it allows for manual control over settings like exposure, aperture, and shutter speed.
Additionally, a wide-angle lens is essential for interior photoshoots. A lens in the 16mm-35mm range can help you capture the full expanse of a room, making even the smallest spaces appear larger and more open. Tripods are also necessary for achieving sharp, steady images, especially in low-light conditions.
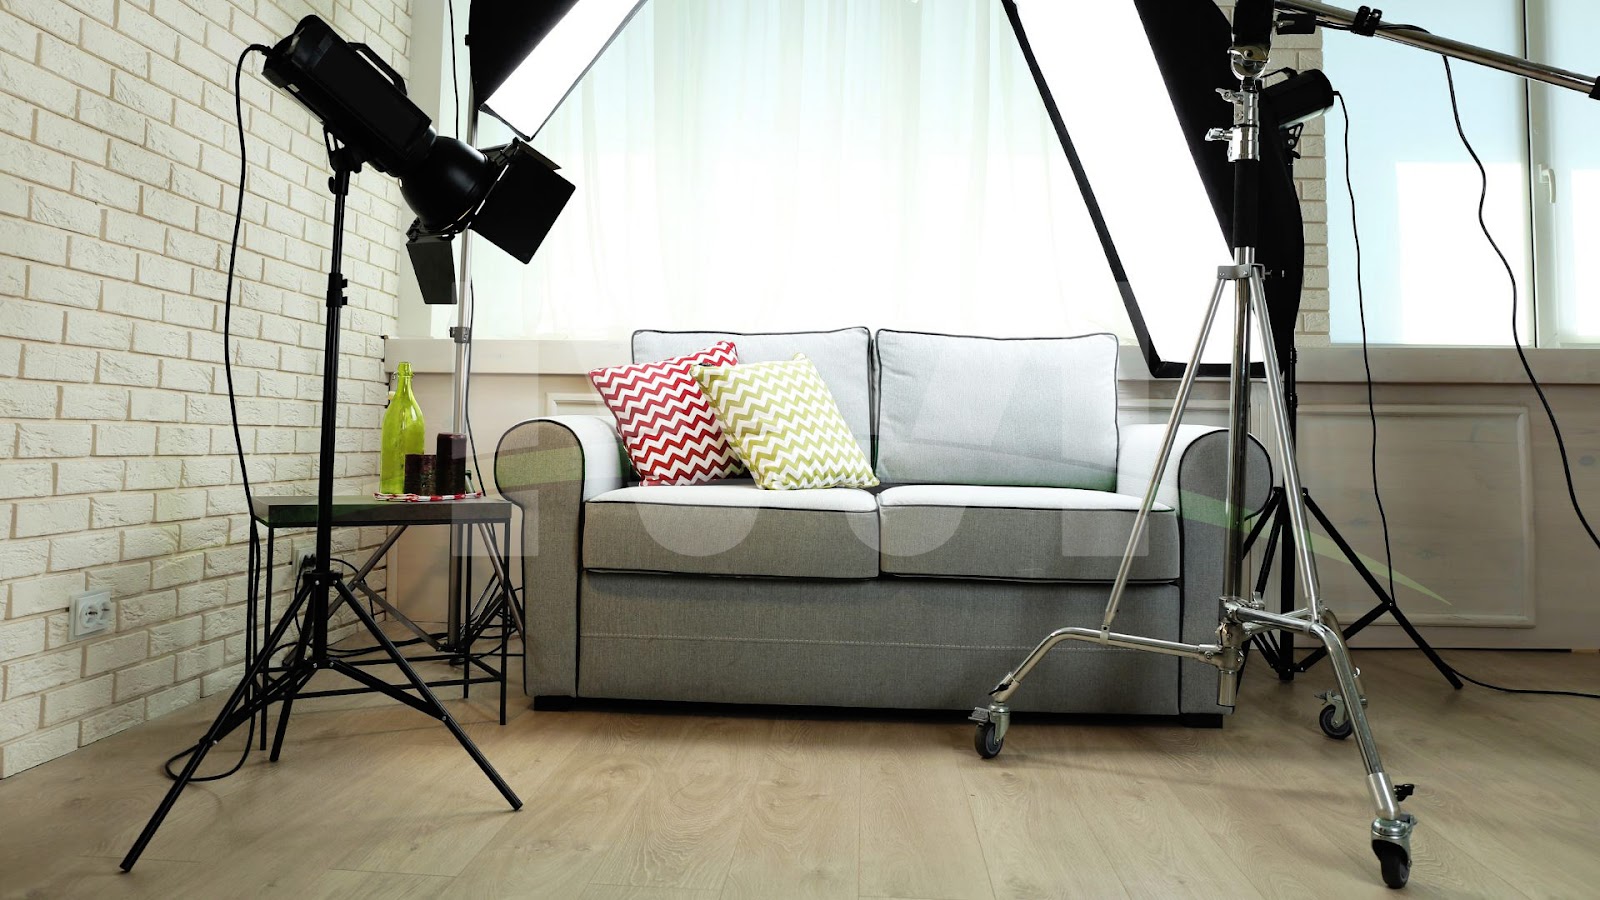
If you plan to use artificial lighting, having external flashes or continuous lighting kits will allow you to control the light and eliminate shadows. However, always remember that natural light is often the best light when it comes to interior photoshoots. It brings warmth and realism to your photos.

Lighting Techniques for Interior Photoshoots
Lighting is one of the most crucial factors in an interior photoshoot. Without the right lighting, even the most beautifully decorated room can appear flat and uninviting. The goal is to replicate natural light as much as possible, while also using artificial lights to enhance areas that might be too dark.
When working with natural light, position your shots in such a way that sunlight can flow into the room, creating a bright and airy effect. Early mornings or late afternoons are great times for capturing soft, warm light. However, if you are shooting in the middle of the day, be mindful of harsh shadows that can create unwanted contrast.
Artificial lighting can help fill in the shadows and add depth to the room. Softbox lights and LED panels are excellent choices, as they create a natural-looking glow. Be sure to avoid using direct flash on your subject, as it can make the room look too harsh and unflattering.
Composition and Angles: The Art of Framing
A key aspect of any interior photoshoot is getting the right composition. Framing your shots correctly ensures that your photos highlight the best features of the space while avoiding distractions or awkward angles. One of the most popular methods for framing is the rule of thirds, which divides the image into a 3×3 grid. This technique helps you create balance in the image by placing the most important elements of the space at intersecting points on the grid.
Another important aspect to consider when composing your interior photoshoot is perspective. Shooting from different angles can dramatically change how a room is perceived. For example, shooting from a low angle can make the ceilings appear higher, while shooting from above can offer a bird’s-eye view of the entire room. Experimenting with different perspectives will help you capture various aspects of the room that might otherwise be missed.
Lastly, be sure to avoid clutter in your shots. A tidy space looks much more appealing and professional. Remove unnecessary objects that may distract from the focal points of the room.
Styling the Interior for a Photoshoot
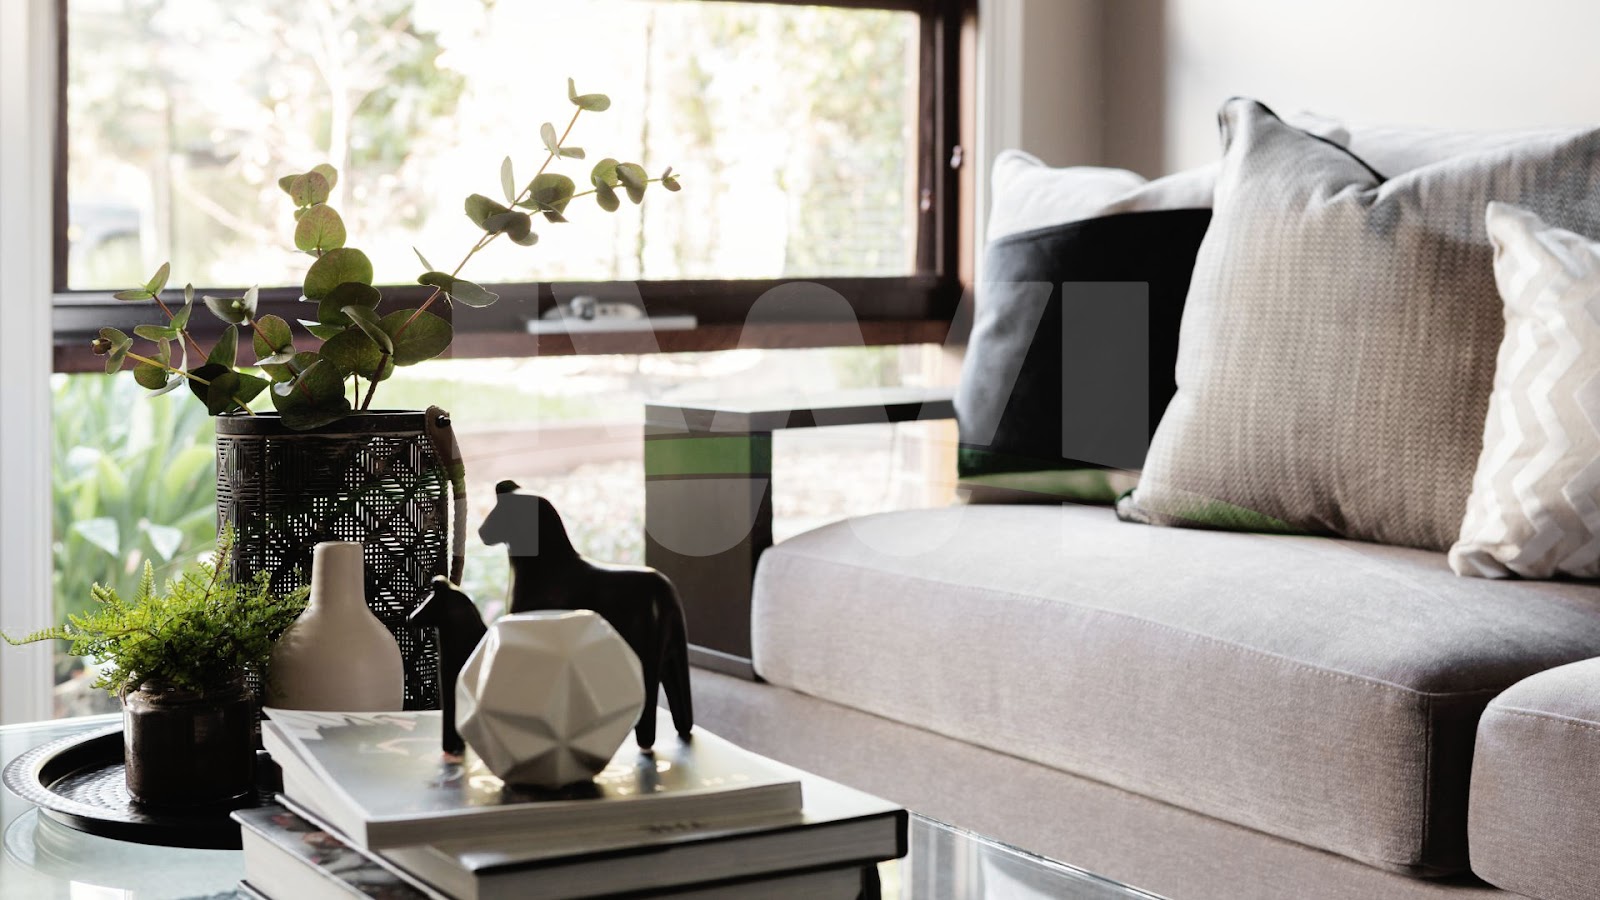
Styling is an often overlooked but essential element of an interior photoshoot. This doesn’t mean you have to redecorate the entire room, but some strategic additions and adjustments can make a big difference in how the space is portrayed. You want the space to feel lived-in but not cluttered. Add a few carefully chosen items, such as plants, throw pillows, vases, or books, to bring character to the space.
If you’re photographing a bedroom or living room, consider adding cozy elements like blankets or cushions. For office spaces, items like stylish lamps or sleek chairs can bring the room to life. The key is to enhance the space without overdoing it—each item should have a purpose in the scene.
Additionally, consider the colors and textures in the room. Soft textures like wool, velvet, or linen add warmth to the photos, while bold colors and shiny surfaces can give the space a modern, high-end feel.
Post-Processing Your Interior Photos
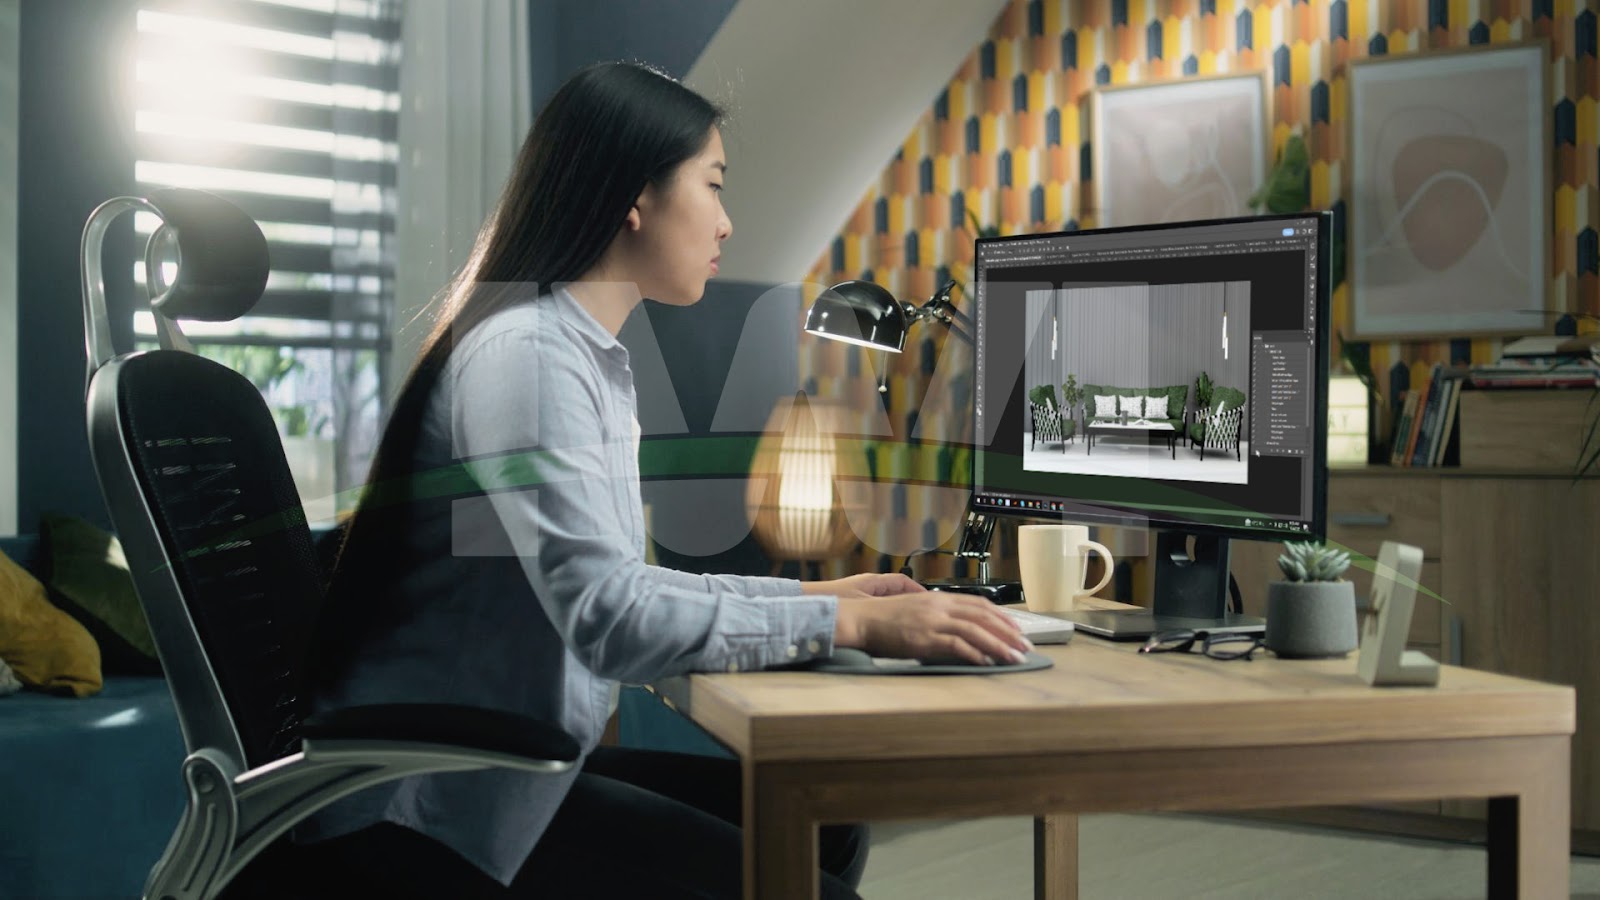
After the photoshoot interior is complete, the next step is editing your images. This is where you can enhance the photos and correct any imperfections. Post-processing can bring out the colors, improve the contrast, and ensure that the lighting looks natural and balanced.
Programs like Adobe Lightroom and Photoshop are excellent tools for editing interior photos. Start by adjusting the exposure, brightness, and contrast to make the image look more inviting. If necessary, you can also correct the white balance to ensure the colors in the room appear true to life.
One important note when editing: don’t overdo it. Keep the edits subtle so that the final images accurately represent the space. Over-saturating the colors or adding too much contrast can make the photos look artificial and detract from the room’s natural beauty.
Common Mistakes to Avoid in an Interior Photoshoot
Even with careful planning and attention to detail, mistakes can still happen during an interior photoshoot. Some common mistakes include overexposing or underexposing your images, failing to capture enough detail in the shadows, and not using the right lens for the space. It’s also easy to forget about the little things, like removing clutter or distracting objects that take away from the shot.
One of the biggest mistakes people make is ignoring the importance of lighting. As mentioned earlier, lighting is crucial in making your photos pop, so make sure you take the time to adjust your lighting setup and experiment with different sources.
Conclusion
Mastering interior photoshoots is about understanding both the artistic and technical sides of photography. By carefully planning your shots, using the right equipment, and paying attention to lighting and composition, you can capture stunning images that showcase the beauty of any indoor space. Whether you’re a professional photographer or just looking to enhance your home decor photos, these tips will help you get the most out of your next photoshoot interior. Happy shooting!
Frequently Asked Questions (FAQs)
How can I make a small room appear larger in photos?
To make a small room appear larger, use a wide-angle lens to capture more of the space. You can also shoot from a lower angle, which can make the room feel more expansive. Additionally, try to use natural light to brighten the space and make it feel open.
What’s the best time of day to take photos for an interior photoshoot?
The best time for natural light is usually early morning or late afternoon when the light is soft and warm. If you’re shooting midday, you may need to use diffusers or reflectors to soften the harsh sunlight.
Can I use my smartphone for an interior photoshoot?
While a smartphone can capture decent images, a DSLR or mirrorless camera with a wide-angle lens will give you more control over the settings, and the images will have better quality and depth.
How do I avoid reflections in mirrors during an interior photoshoot?
To avoid reflections, you can reposition the mirror so that it’s not reflecting light sources or other distracting elements. You can also use a polarizing filter on your lens to reduce reflections.
How important is editing in an interior photoshoot?
Editing is important for enhancing the overall look of your photos, but it should be done carefully. Editing allows you to correct lighting issues, enhance colors, and ensure the room looks as appealing as possible without making it look unnatural.
What are some tips for photographing furniture in an interior photoshoot?
When photographing furniture, focus on capturing its best features. Shoot from angles that highlight the design, and avoid showing too many surrounding objects that might distract from the piece itself. Keep the background simple and uncluttered.