Product photo editing is an essential skill for anyone looking to make their products stand out in a crowded marketplace. Whether you are an online seller, a professional photographer, or a small business owner, the way your product photos look can have a huge impact on sales and customer engagement. High-quality images can build trust, enhance the shopping experience, and ultimately boost conversions. In this article, we will take a deep dive into product photo editing, covering essential techniques, useful tips, and expert strategies to help you create stunning images.
Understanding the Importance of Product Photo Editing
Product photo editing is more than just making an image look good. It is about presenting products in the most appealing way while maintaining accuracy. When shopping online, customers cannot touch or feel a product, so high-quality images are the only way to convey details, textures, and colors. Poorly edited photos can make a product look unappealing, misleading, or low quality, which can lead to lost sales and negative reviews.
By mastering product photo editing, you can remove distractions, adjust lighting, correct colors, and make your product images look clean and professional. Well-edited product photos build credibility, enhance brand image, and make a business look more trustworthy.

Essential Tools for Product Photo Editing
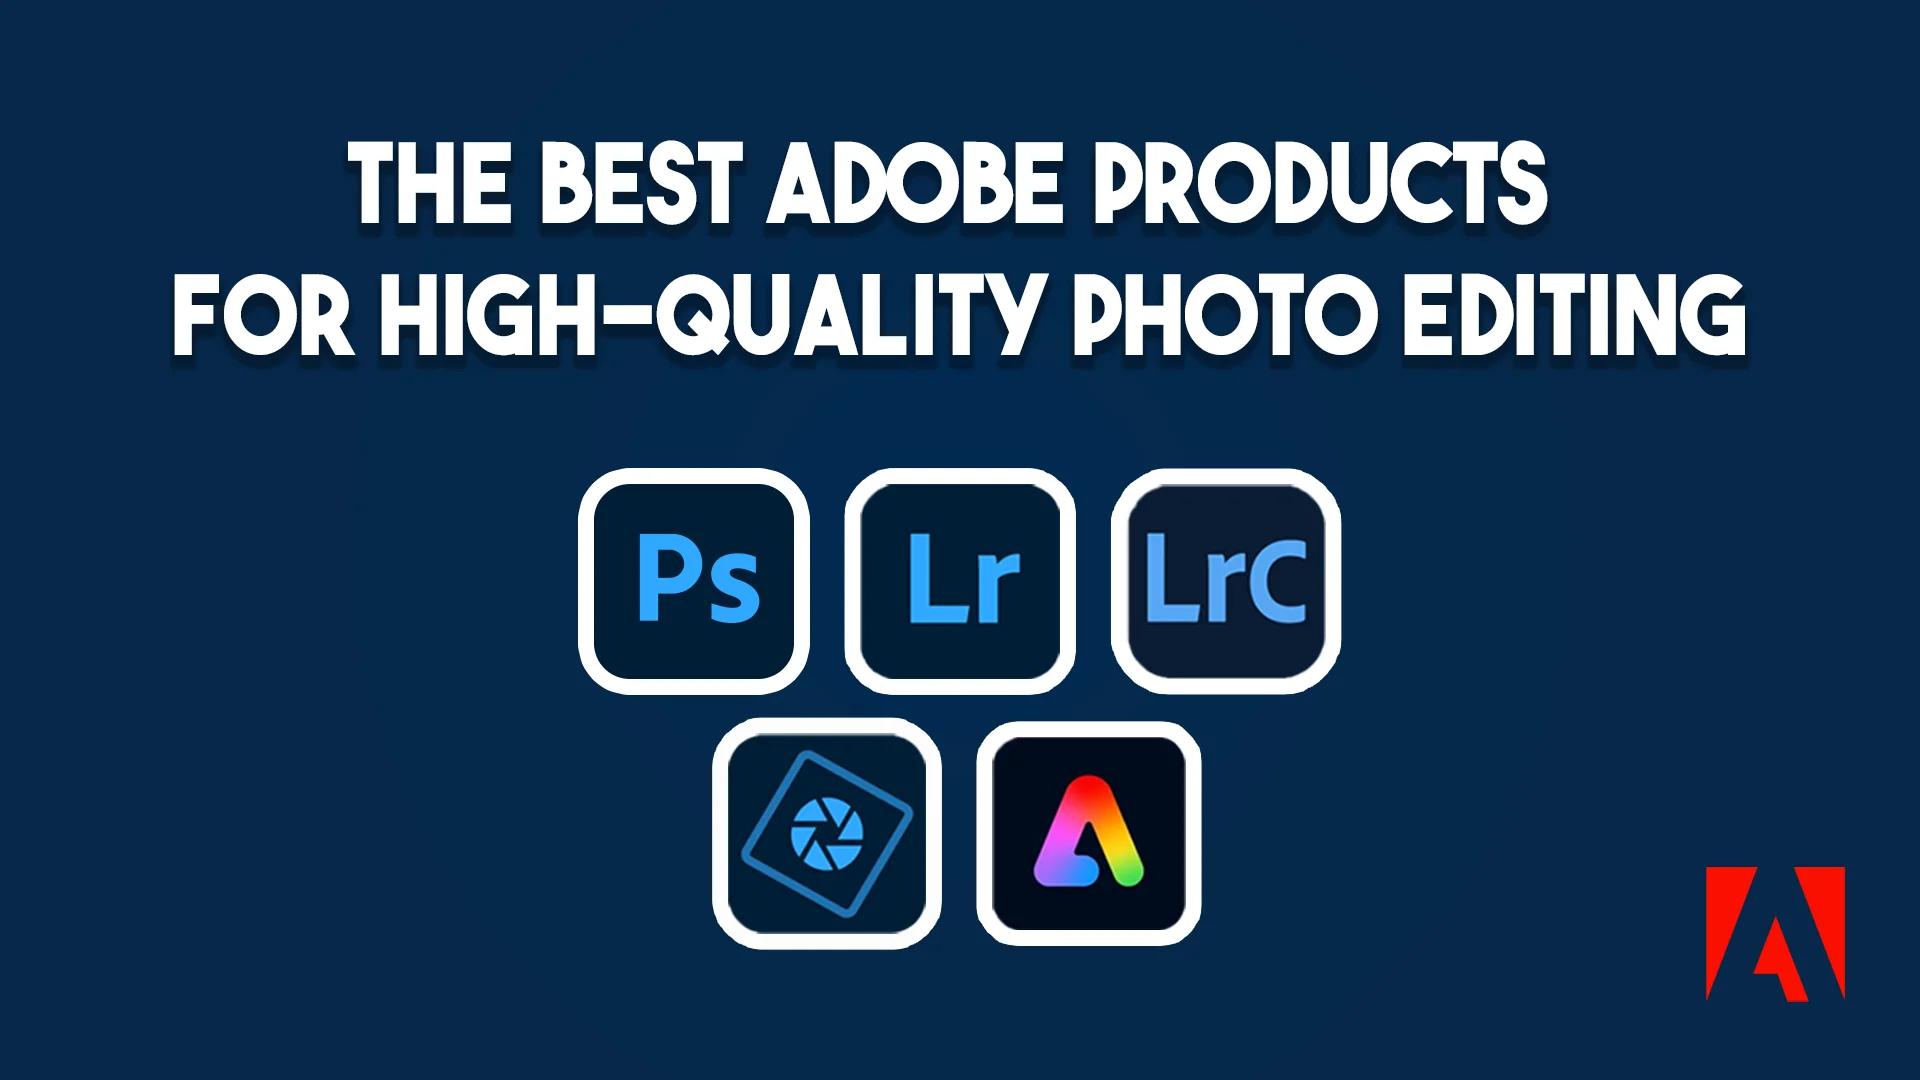
To edit product photos effectively, you need the right tools. Professional software such as Adobe Photoshop, Lightroom, and GIMP are widely used in the industry. These tools allow for precise adjustments, background removal, retouching, and color correction. If you prefer easier-to-use software, apps like Canva, Snapseed, and Pixlr can also help in editing product images without advanced skills.
Apart from software, a graphics tablet can be useful for detailed edits, while color calibration tools ensure accurate color representation. Using high-resolution images from a good camera also makes editing more effective, as higher quality images provide more details to work with.

Basic Product Photo Editing Techniques
One of the first steps in product photo editing is adjusting the brightness and contrast to make the product stand out. Correcting exposure ensures that the image is neither too dark nor too bright. Sharpness should also be adjusted to highlight the product’s details.
Another essential technique is cropping and resizing. A well-composed image draws the customer’s attention to the product. By removing unwanted elements and distractions, the product remains the main focus. Cropping can also help in making the product appear larger and more detailed.
Background removal is another key aspect of product photo editing. A plain white background is often preferred for e-commerce sites because it keeps the focus on the product. Using tools like the pen tool or background eraser in Photoshop, you can create a clean and professional look.

Advanced Product Photo Editing Techniques
For more advanced editing, color correction plays a crucial role. Sometimes, a camera may not capture the true colors of a product, leading to mismatched expectations. Using color balance, hue/saturation adjustments, and white balance correction, you can ensure that the colors appear accurate.
Shadow and reflection effects can also enhance product images. Adding soft shadows under a product gives it a realistic appearance, while reflections can make certain products, like jewelry or electronics, look more premium. These techniques help in making the image look more appealing without altering the actual product.
Retouching imperfections is another important step in product photo editing. Scratches, dust, or unwanted spots can be removed using the healing brush or clone stamp tool. Smoothing out surfaces while keeping them natural is key to a professional look.
Consistency in Product Photo Editing
For brands and online stores, maintaining consistency across all product images is vital. Using the same lighting, background, and editing style creates a cohesive and professional appearance. Consistency builds brand recognition and makes product listings look more polished.
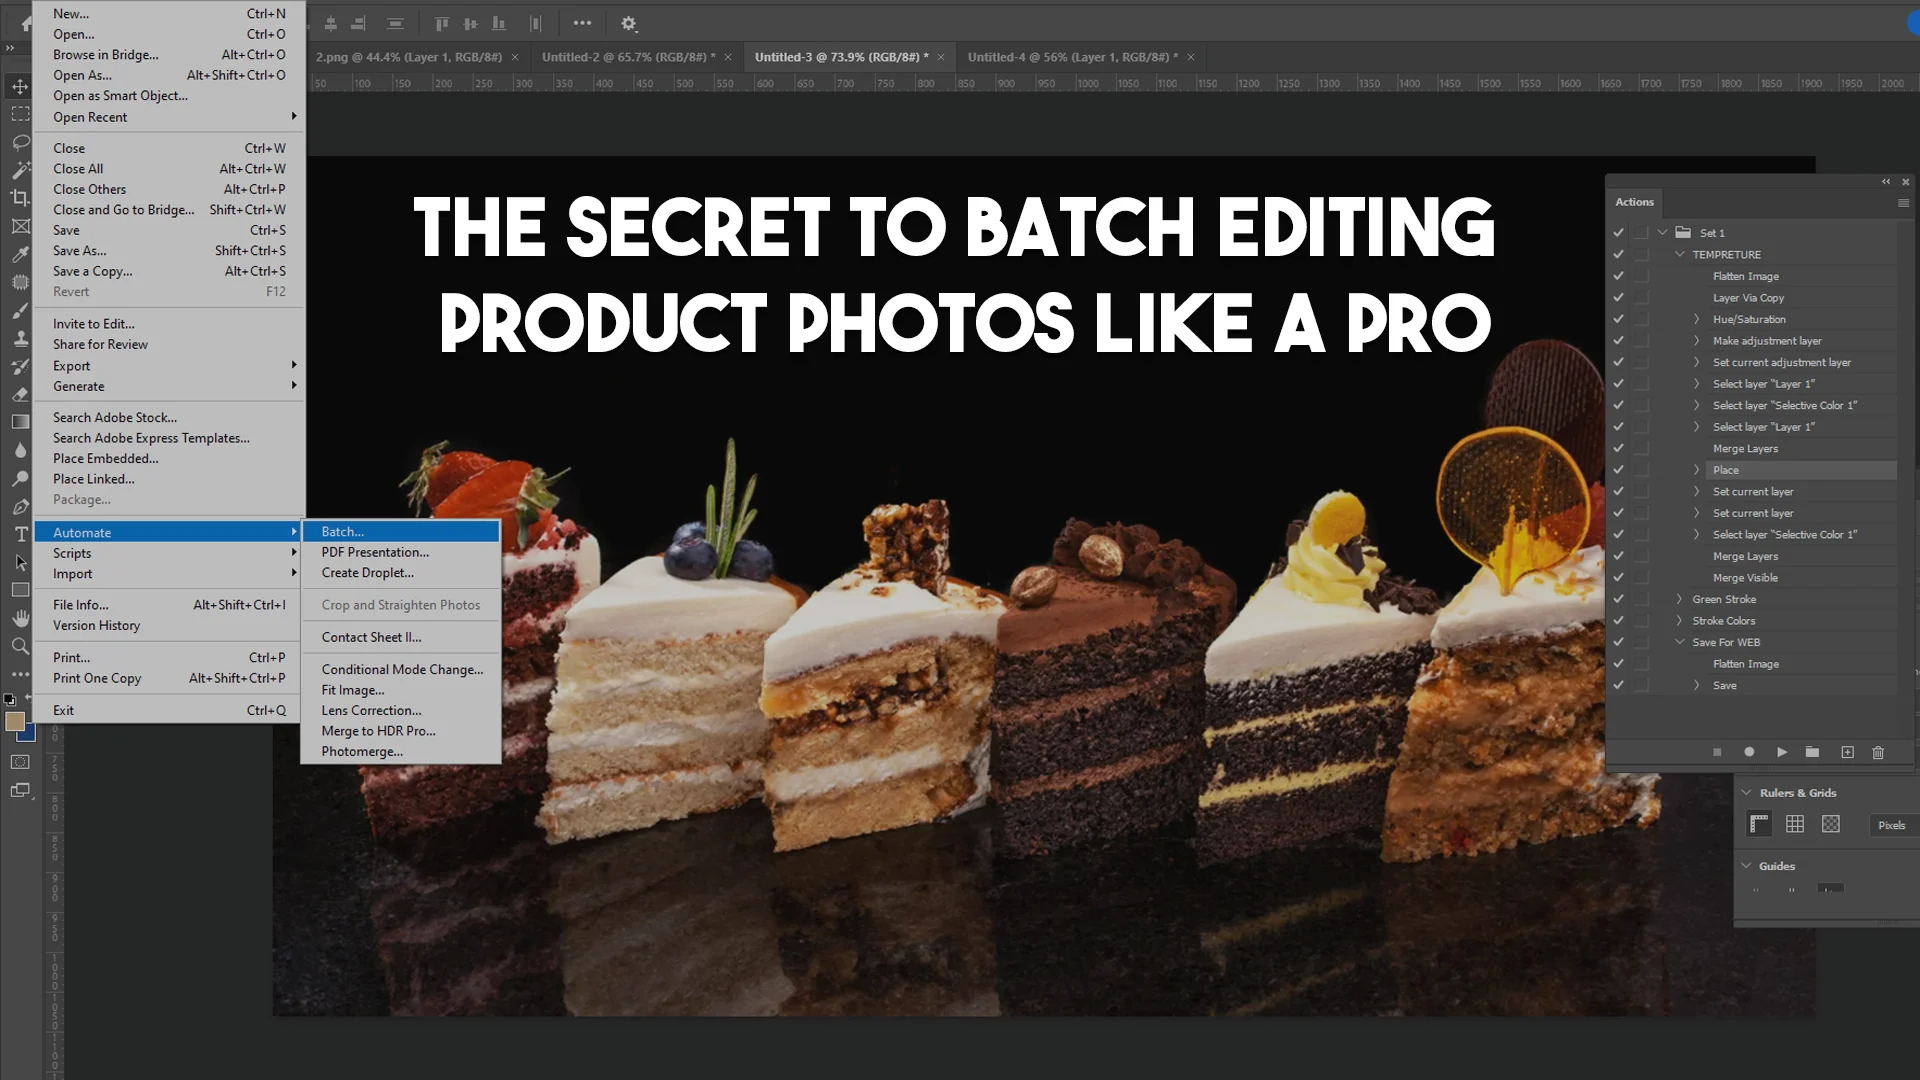
Batch editing can save time and ensure uniformity. Many editing software programs allow you to create presets that can be applied to multiple images at once. This ensures that all photos have the same adjustments, making the process more efficient.

Optimizing Product Photos for Online Use
After editing, it is important to optimize images for online use. Large files can slow down website loading times, which affects user experience and SEO rankings. Compressing images without losing quality ensures fast loading speeds.
Choosing the right file format is also important. JPEG is commonly used for e-commerce because it balances quality and file size, while PNG is ideal for images that need transparency. WebP is a newer format that offers high quality with smaller file sizes.
The Role of Product Photo Editing in E-Commerce Success
Product photo editing plays a direct role in increasing sales. A well-edited product image captures attention, provides a better shopping experience, and reduces return rates by accurately representing the product. In competitive markets, having visually appealing images can make a significant difference in conversion rates.
Investing time in learning product photo editing or hiring a professional editor can lead to long-term benefits. Whether you are selling on Amazon, Etsy, or your own website, high-quality images give you an edge over competitors.

Conclusion
Mastering product photo editing is a valuable skill that can transform your product images from average to outstanding. With the right tools, techniques, and attention to detail, you can create stunning product photos that attract customers and increase sales. Understanding the basics, applying advanced techniques, and maintaining consistency will ensure your images always look professional. As e-commerce continues to grow, high-quality product images remain one of the most important factors in online shopping success.
Frequently Asked Questions (FAQs)
What is the best software for product photo editing?
Adobe Photoshop and Lightroom are the most popular professional tools. However, beginner-friendly options like Canva, Snapseed, and Pixlr are also great choices for simple edits.
How do I remove the background from a product photo?
You can use tools like the Background Eraser in Photoshop or online tools like Remove.bg to remove backgrounds and create a clean, professional look.
Why do my product photos look different after uploading them online?
Website compression and screen color variations can affect how images appear. Always save images in the correct format and check how they look on different devices.
What file format should I use for product photos?
JPEG is commonly used for e-commerce because of its balance between quality and file size. PNG is best for images requiring transparency, and WebP is a great option for fast-loading web images.
How can I make my product images more attractive?
Ensure proper lighting, use a clean background, enhance sharpness, and adjust colors to be as accurate as possible. Adding soft shadows or reflections can also improve visual appeal.
How do I maintain consistency in product photos?
Use the same lighting setup, background, and editing style across all images. Creating presets or batch editing images helps maintain uniformity in product listings.


Amazon Product Photo Editing: Enhance Your Listings for Maximum Sales | Image Work India
[…] article, we’ll dive deep into the art of perfecting your Amazon product photos using advanced editing techniques. Whether you’re a beginner or a seasoned seller, these tips will help you create eye-catching […]
How Much Does Product Photo Editing Cost? A Pricing Guide - Image Work India
[…] we dive into product photo editing price, it’s important to know what product photo editing actually means. When you take photos of your products, they might not always look perfect right […]