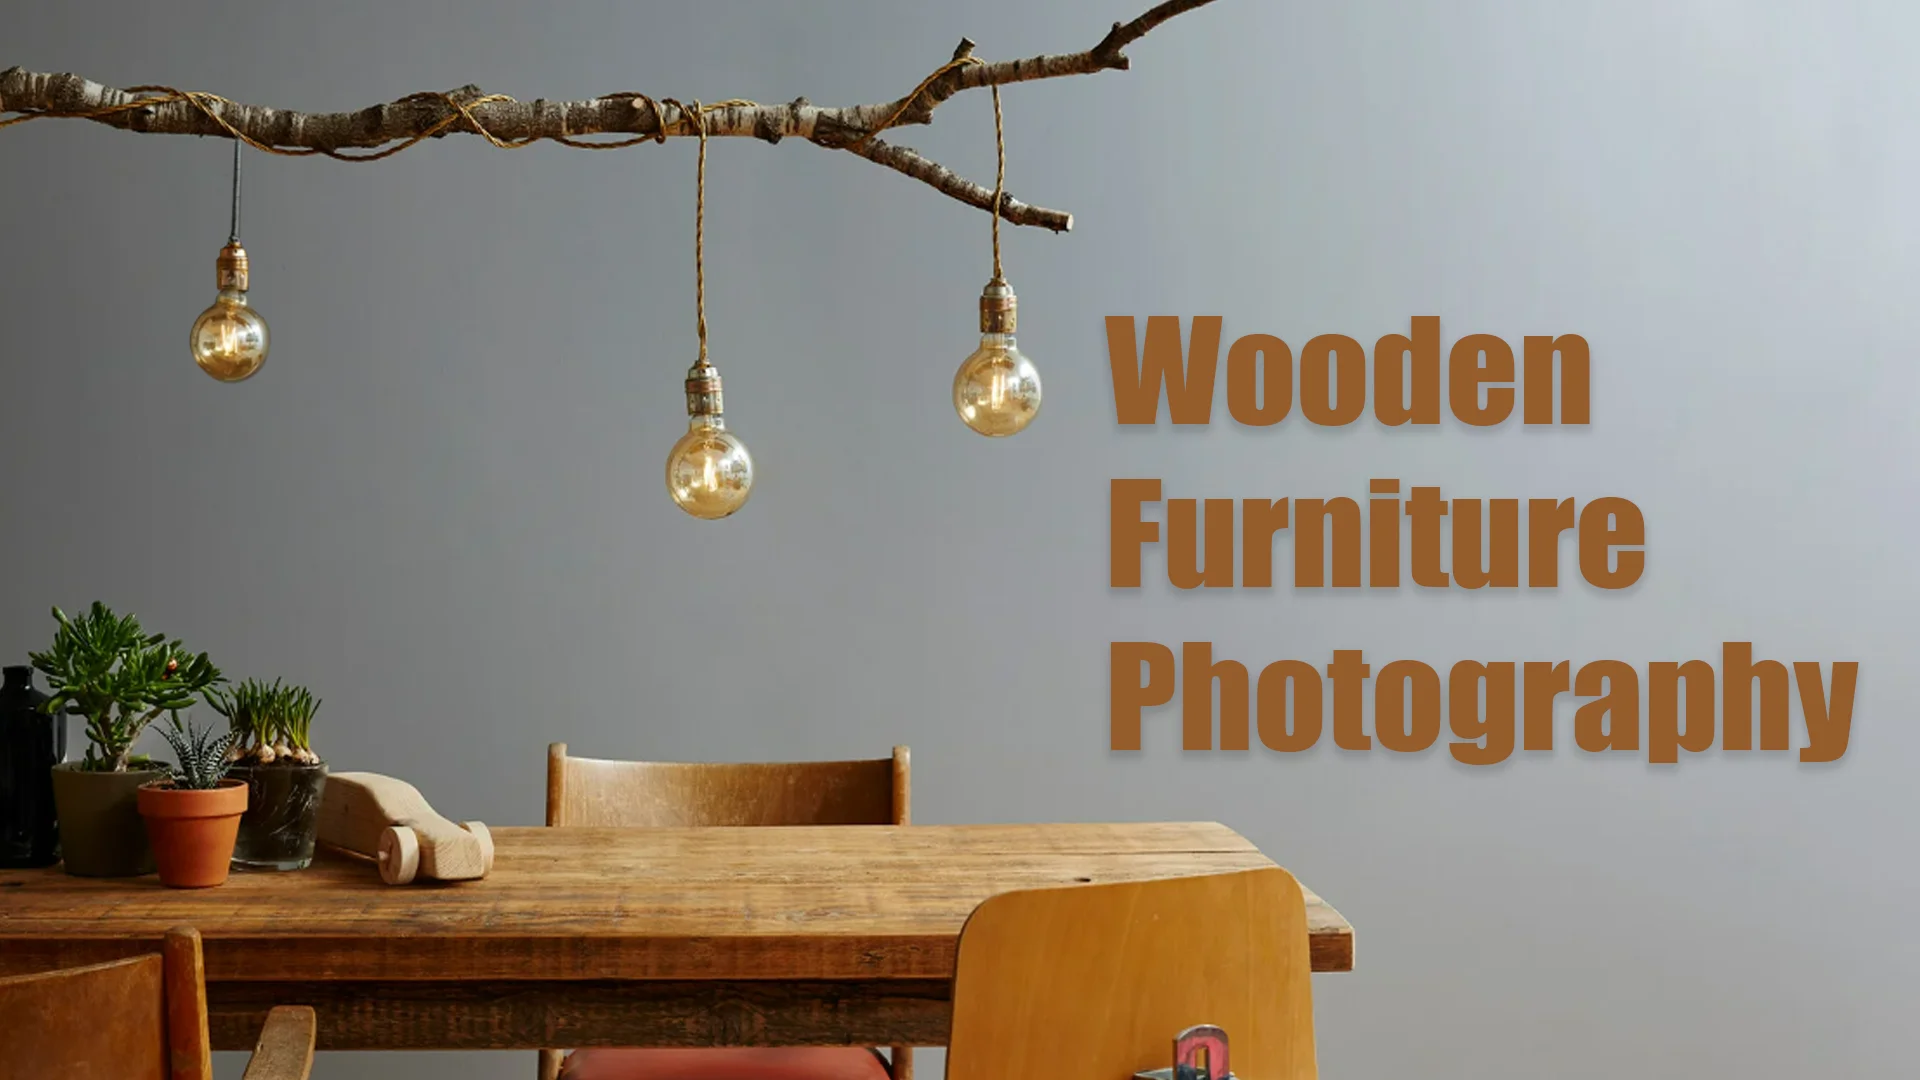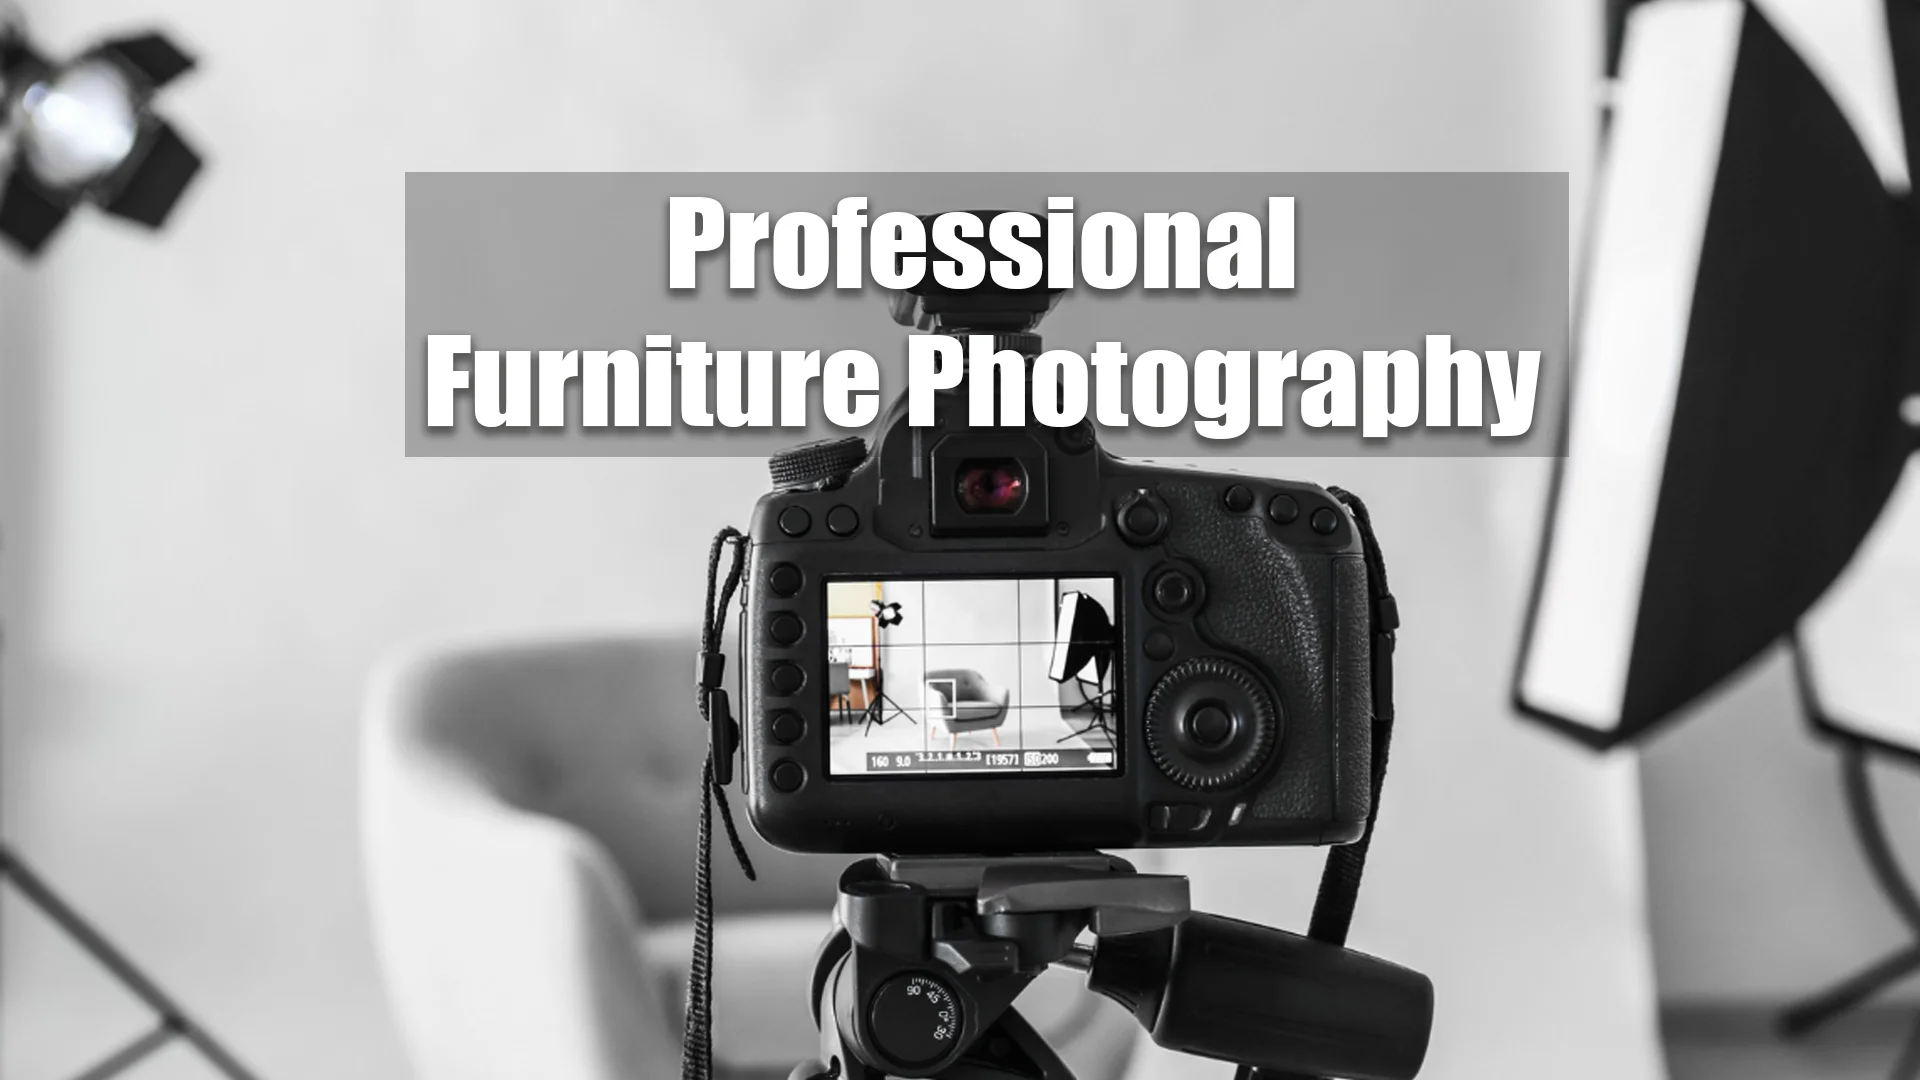
Capturing furniture in a way that highlights its beauty, texture, and functionality is an art. Whether you are a professional photographer, a furniture brand, or a business owner looking to improve your product images, mastering professional furniture photography is essential. High-quality photos can attract potential buyers, build trust, and boost sales. This guide will take you through the key steps, techniques, and expert insights to help you succeed in professional furniture photography.
Understanding the Importance of Professional Furniture Photography
In the digital world, visuals play a significant role in marketing and branding. Professional furniture photography ensures that each piece of furniture looks appealing, well-lit, and accurately represents its true design. When furniture is presented beautifully, it becomes more desirable to customers. A well-captured image can communicate the quality, craftsmanship, and details of a product far better than words alone.
E-commerce platforms, social media, and advertising campaigns all rely heavily on professional furniture photography to attract and engage potential customers. Poorly lit or unclear images can drive customers away, making them doubt the quality of the product. This is why professional furniture photography is essential for businesses looking to make an impact in the competitive market.

Choosing the Right Equipment for Professional Furniture Photography
Professional furniture photography starts with selecting the right equipment. A high-quality camera with a full-frame sensor is ideal, as it captures more detail and provides better image quality. Lenses also play a crucial role. A wide-angle lens is great for capturing larger pieces, while a prime lens can highlight details and textures.
Tripods are essential for stability, ensuring that images remain sharp and well-composed. Using a remote shutter release or a timer can further prevent camera shake. Additionally, reflectors and diffusers help control lighting and minimize harsh shadows, creating a more polished and professional look.
Mastering Lighting Techniques for Professional Furniture Photography
Lighting is one of the most important elements in professional furniture photography. Natural light is an excellent option, as it provides soft and even illumination. Shooting near large windows with diffused sunlight can help create a natural and inviting atmosphere.
For studio setups, artificial lighting such as softboxes and LED panels can provide consistent and controlled lighting. The key is to balance light sources and avoid harsh shadows. Positioning lights strategically can enhance textures and emphasize the craftsmanship of the furniture.
Another effective technique is using a combination of ambient and directional lighting to create depth. Experimenting with different lighting angles can bring out unique details and add dimension to the images.
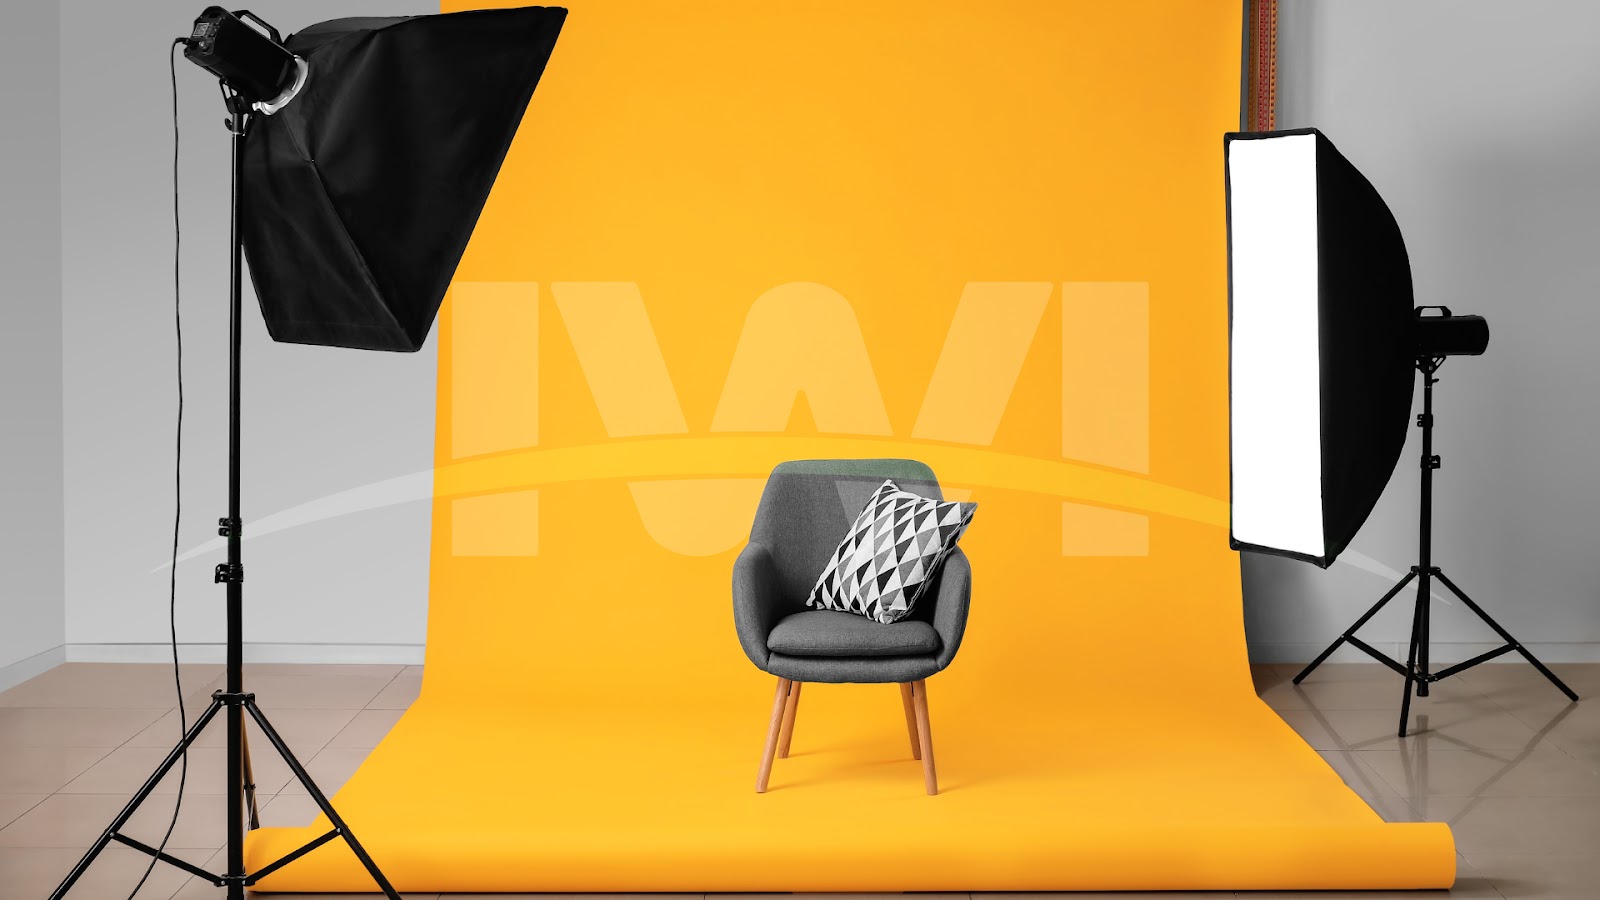
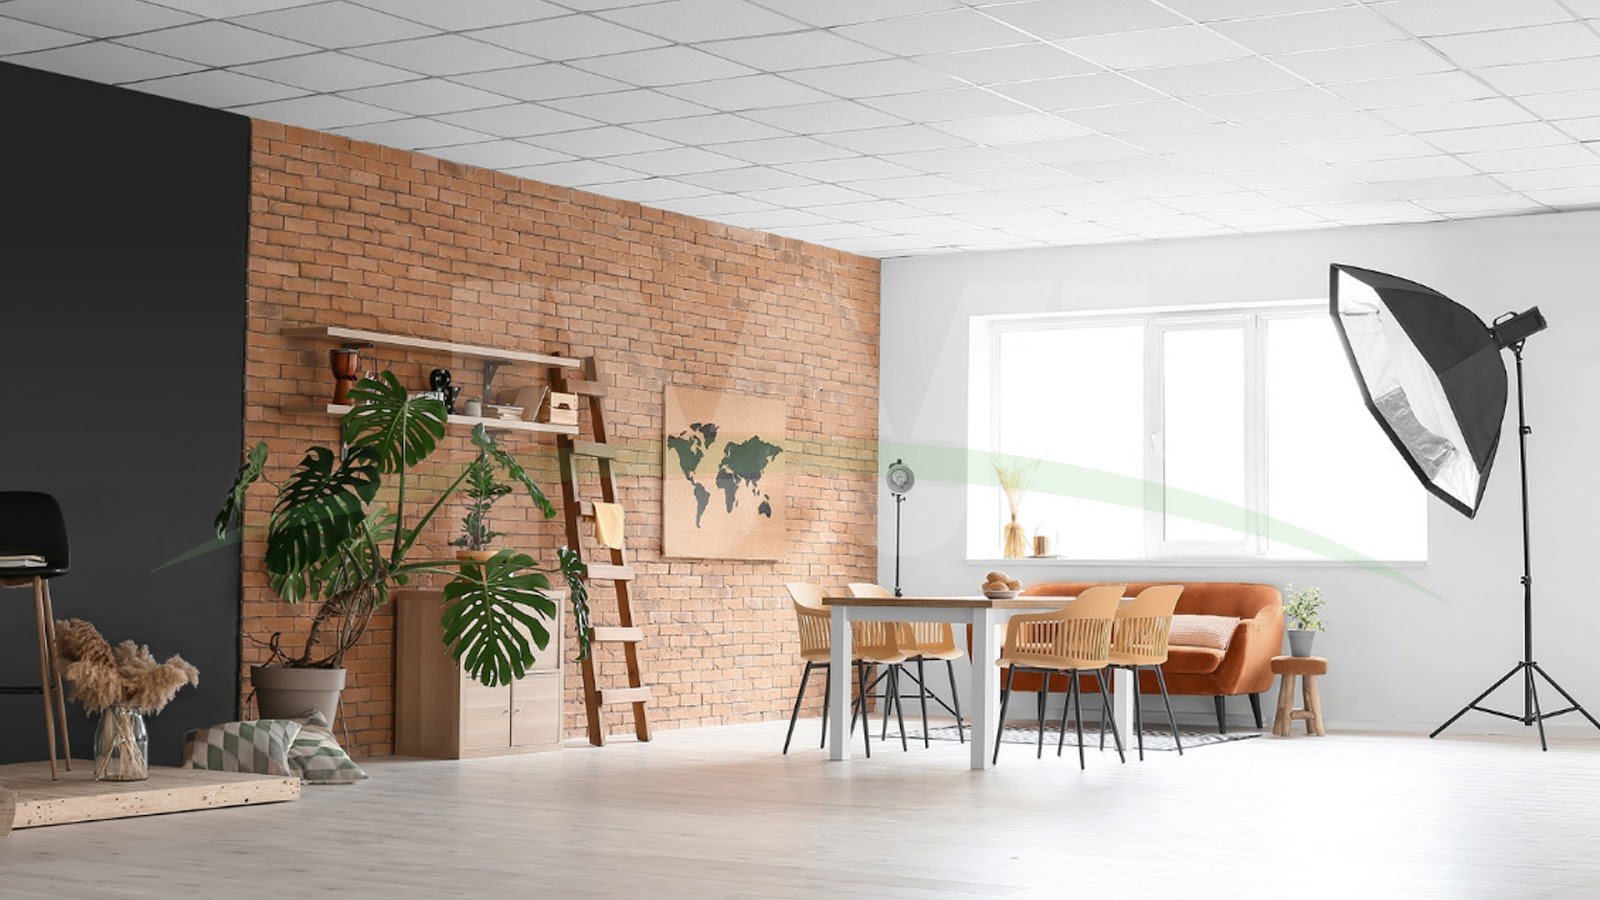
Setting Up the Perfect Background for Professional Furniture Photography
The background plays a significant role in making furniture stand out. A cluttered or distracting background can take attention away from the furniture itself. Neutral backgrounds, such as white, gray, or soft pastels, work well to keep the focus on the product.
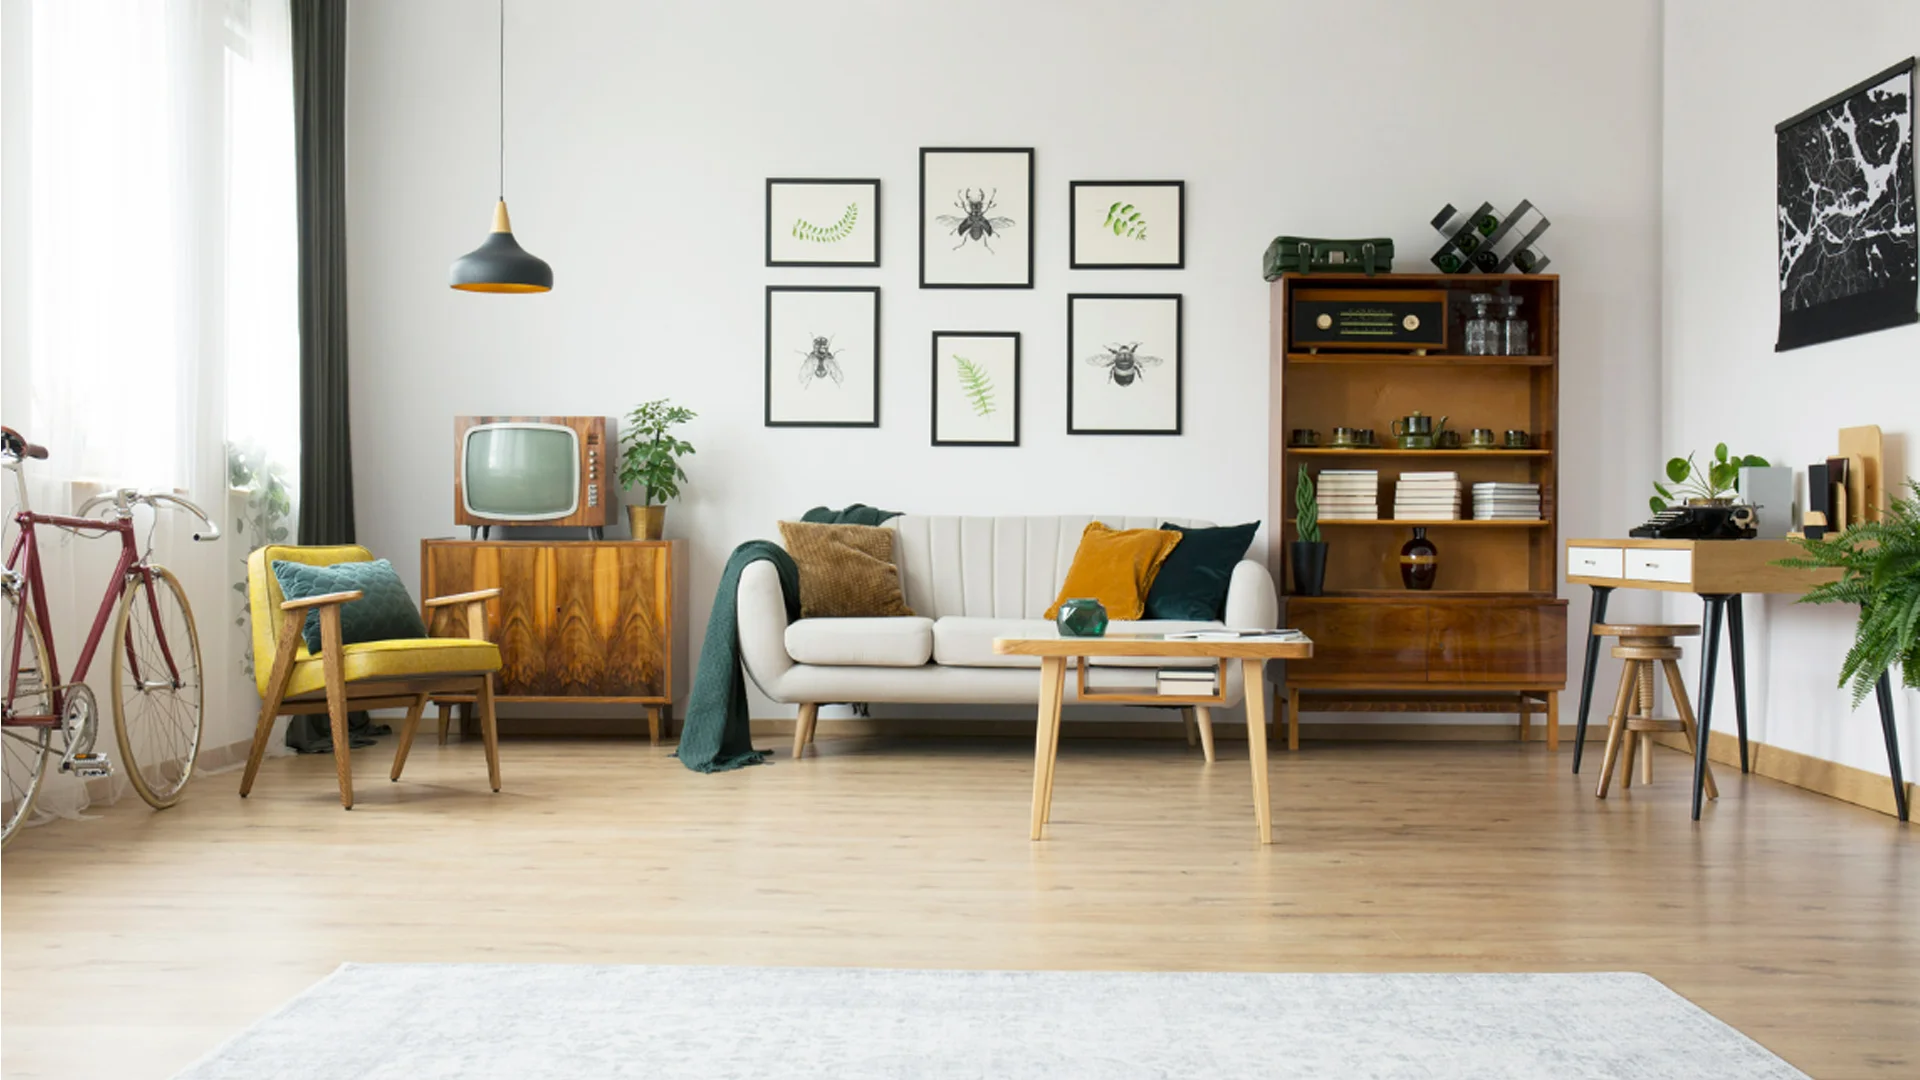
For lifestyle shots, setting up a room scene with complementary decor can help customers visualize how the furniture will look in their space. However, it’s essential to keep the setup minimal and avoid overwhelming the main subject.
Using seamless paper backdrops or fabric backdrops can create a clean and professional look. When photographing furniture for e-commerce, a plain white background is preferred, as it ensures that all attention remains on the product.
Composing the Perfect Shot in Professional Furniture Photography
Composition plays a crucial role in making furniture look appealing. The rule of thirds is a useful guideline for placing furniture in a balanced and visually appealing way. Avoid shooting from too high or too low, as this can distort proportions. Instead, shoot from eye level or slightly above for the most natural perspective.
Experimenting with different angles can bring out unique design elements. Shooting straight-on can emphasize symmetry, while angled shots can create depth and dimension. It’s also important to leave some space around the furniture to allow for cropping or adding text in post-production.
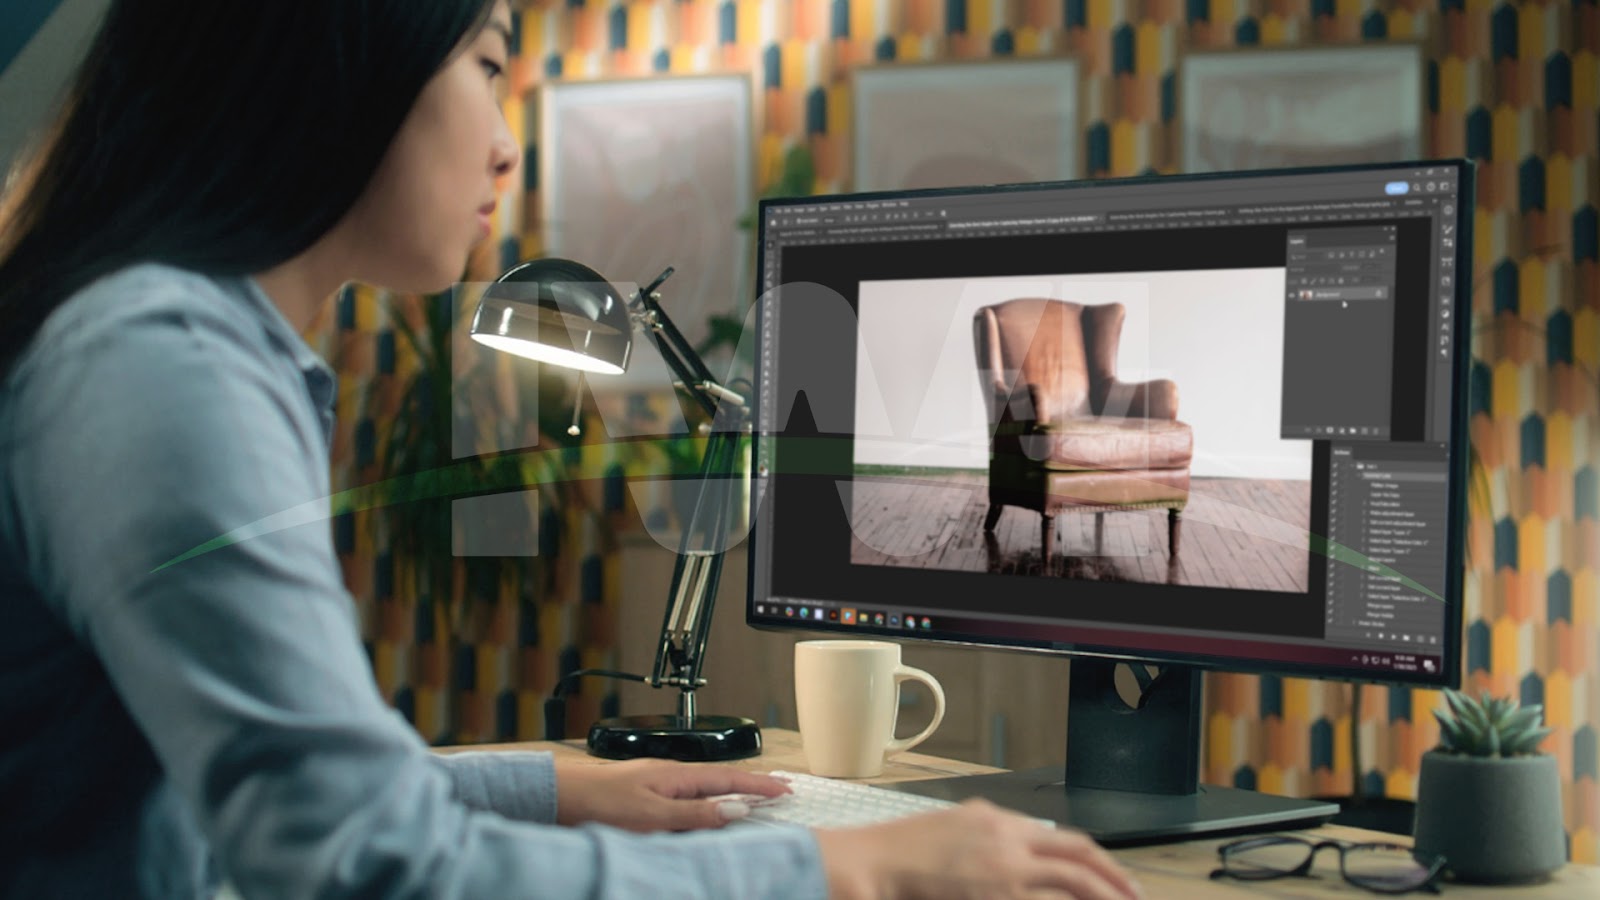
Editing and Retouching for Professional Furniture Photography
Post-processing is an essential step in professional furniture photography. Even the best raw images can benefit from a few adjustments. Editing software like Adobe Photoshop or Lightroom allows photographers to fine-tune brightness, contrast, sharpness, and color balance.
Removing minor imperfections, adjusting shadows, and enhancing textures can make furniture look more appealing. However, it’s important to keep the editing realistic and avoid over-processing, as customers expect accurate representations of the products.
Using color correction tools ensures that the furniture’s color appears true to life. White balance adjustments help prevent unnatural color casts, especially when working with mixed lighting sources.
Common Mistakes to Avoid in Professional Furniture Photography
Several mistakes can hinder the quality of professional furniture photography. One common issue is poor lighting, which results in dull and unappealing images. Overexposure or underexposure can also affect how the furniture looks in photos.
Another mistake is neglecting to clean or prepare the furniture before shooting. Dust, fingerprints, or uneven cushions can make the final image look unprofessional. Taking the time to stage and refine each piece before photographing ensures a polished outcome.
Ignoring perspective and proportions can also impact the final result. Wide-angle lenses should be used carefully to prevent distortion, and straight lines should be maintained to avoid making furniture appear skewed.
Conclusion
Professional furniture photography is a skill that requires the right equipment, lighting techniques, composition strategies, and post-processing skills. High-quality images help businesses showcase their products in the best possible way, attract customers, and increase sales. By mastering these essential techniques, photographers can create visually stunning furniture images that leave a lasting impression.
Frequently Asked Questions (FAQs)
What camera settings are best for professional furniture photography?
A low ISO setting (100-200) helps reduce noise, while an aperture of f/8 to f/11 ensures sharpness. A slow shutter speed combined with a tripod can help maintain clarity and detail.
How can I achieve the best lighting for furniture photography?
Using natural light from large windows or artificial lighting setups with softboxes can create well-balanced illumination. Avoid direct harsh lighting, which can create unwanted shadows.
Should I use a wide-angle lens for furniture photography?
A wide-angle lens can be useful for capturing large furniture pieces, but it should be used carefully to avoid distortion. A prime lens can be better for highlighting details and textures.
How important is editing in professional furniture photography?
Editing enhances image quality by adjusting brightness, contrast, and sharpness. It ensures colors appear accurate and eliminates minor imperfections while keeping the image realistic.
Can I use a smartphone for professional furniture photography?
While a smartphone can capture decent images, a high-quality camera with manual settings provides better control over lighting, focus, and depth, resulting in more professional-looking images.
What is the best background for professional furniture photography?
A clean, neutral background such as white, gray, or soft pastels keeps the focus on the furniture. Lifestyle setups with minimal decor can also enhance visual appeal without distraction.