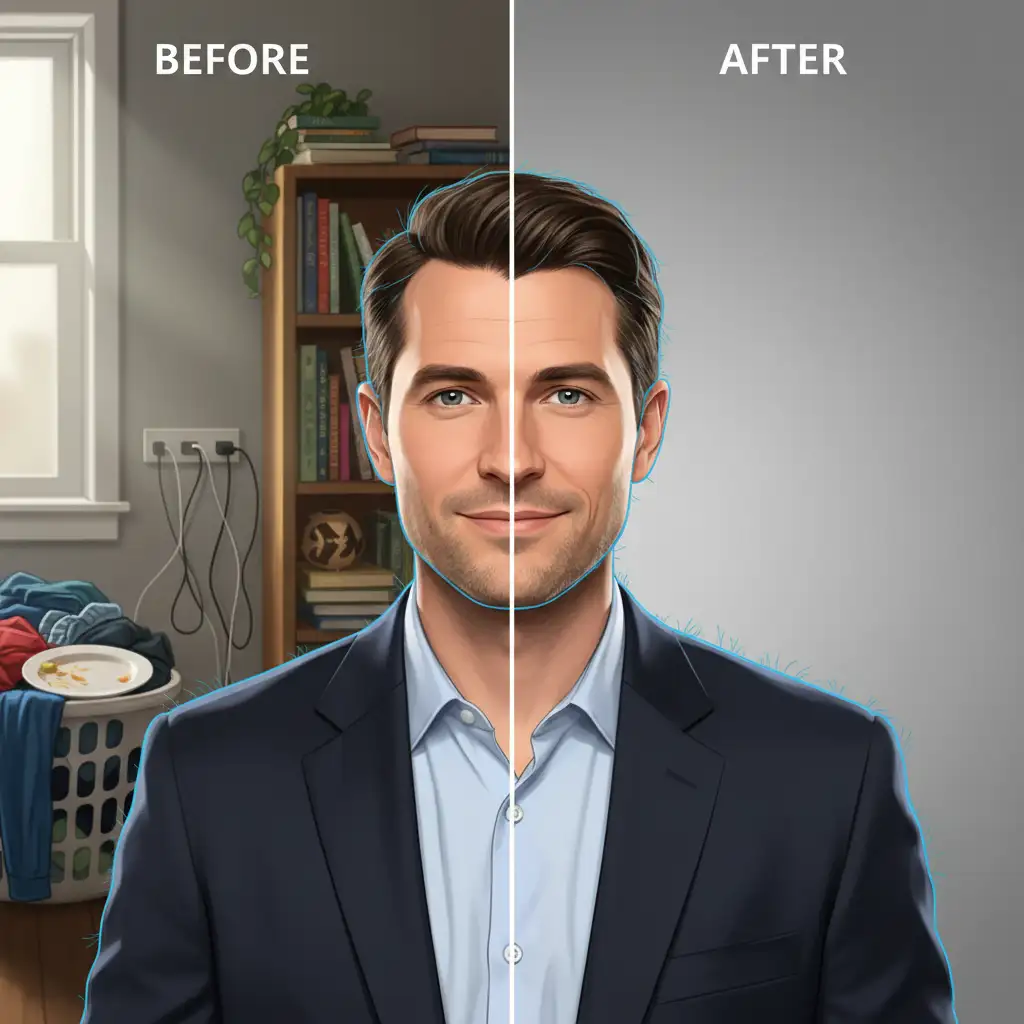
Building a cohesive “Our Team” page is a nightmare when your remote employees are submitting smartphone selfies from their home offices, living rooms, and cars. You end up with conflicting color temperatures, distorted focal lengths, and chaotic directional lighting. Instead of a professional corporate directory, your website looks like a disorganized collage.
Standardizing lighting for mismatched corporate headshots is the only way to establish brand authority and trust. In Photoshop v25.x and v26.x, this requires defining a single “anchor image” and systematically adjusting the luminosity, white balance, and shadow density of every other submission to match it.
Here is the definitive guide to unifying your remote team’s headshots, ranging from quick automated fixes to professional manual color grading.
The Foundation: Choosing Your Anchor Image
Before touching any sliders, you must establish an anchor image. This is the single best photo in your roster-the one with the ideal exposure, neutral White Balance, and the exact background style you want for the entire company. Every subsequent edit will involve Luminance Mapping and color correction to force the mismatched photos to mimic this anchor.
Method A: The Quick Fix (Automated Matching)
If you are dealing with a massive volume of submissions and need a rapid turnaround, Photoshop’s built-in AI and matching tools can get you 80% of the way there.
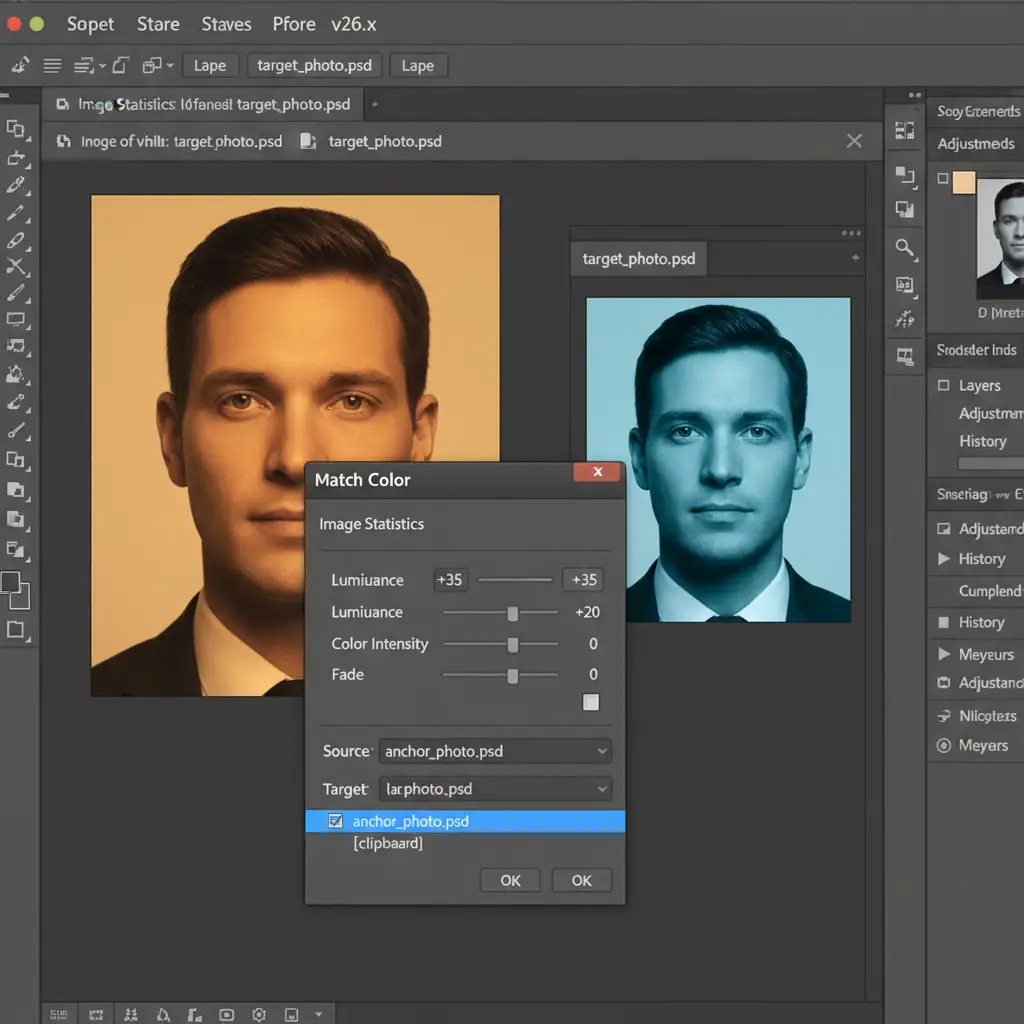
1. The Match Color Tool
The Match Color feature is a legacy tool that remains incredibly effective for mapping the color palette and luminance of your anchor image directly onto a poorly lit submission.
- Open both your anchor image and the mismatched headshot in Photoshop.
- On the mismatched image, navigate to Image > Adjustments > Match Color.
- In the dialog box, go to the ‘Source’ dropdown and select your anchor image document.
- Adjust the Luminance and Color Intensity sliders until the skin tones and overall exposure align.
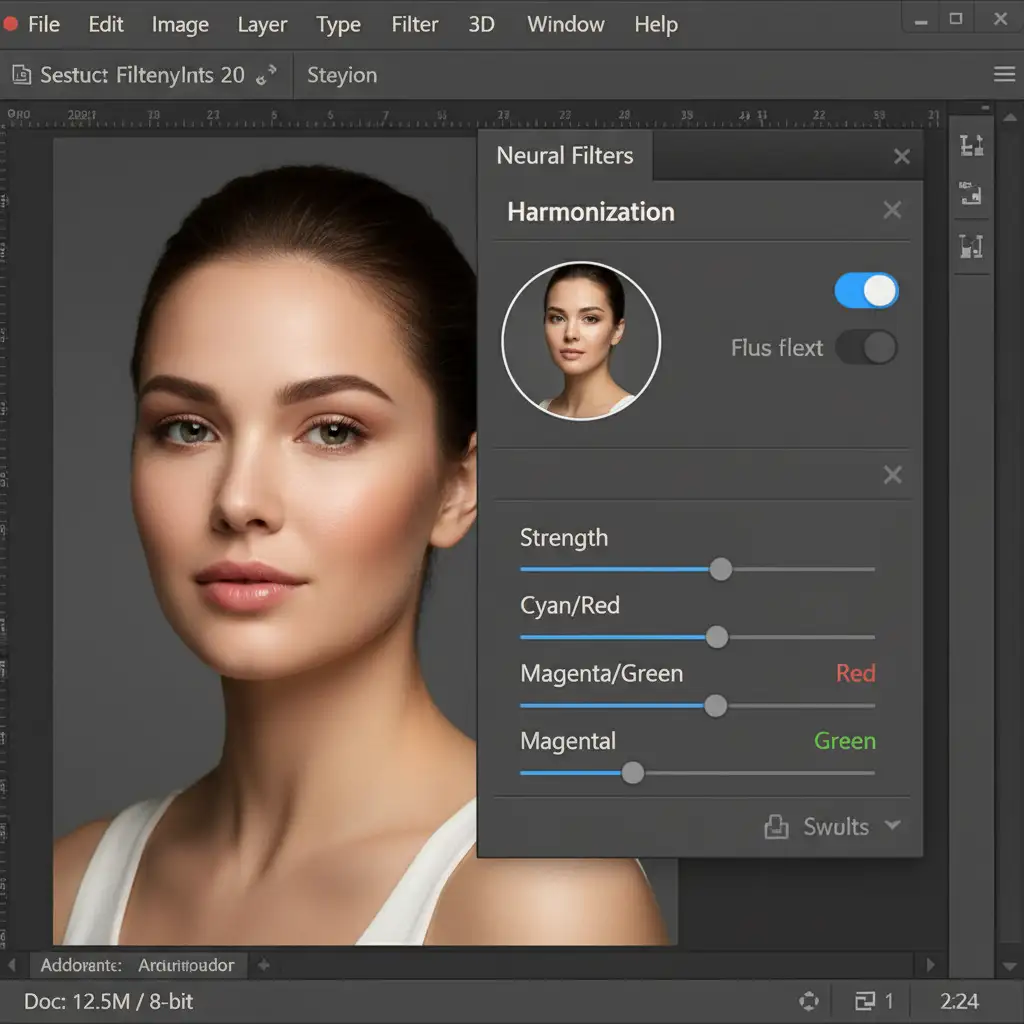
2. The Harmonization Neural Filter
For a more modern approach, the Harmonization Neural Filter utilizes Adobe’s Sensei AI to intelligently blend lighting conditions.
- Go to Filter > Neural Filters.
- Toggle on Harmonization.
- Select your anchor image as the reference layer.
- Photoshop will automatically calculate the conflicting color temperatures (e.g., tungsten vs. daylight) and neutralize them.
Method B: The Pro Workaround (Manual Control)
Automated tools struggle with complex, directional lighting (like a subject standing next to a bright window). To achieve true studio consistency, you must manually standardize the environment and reshape the light.
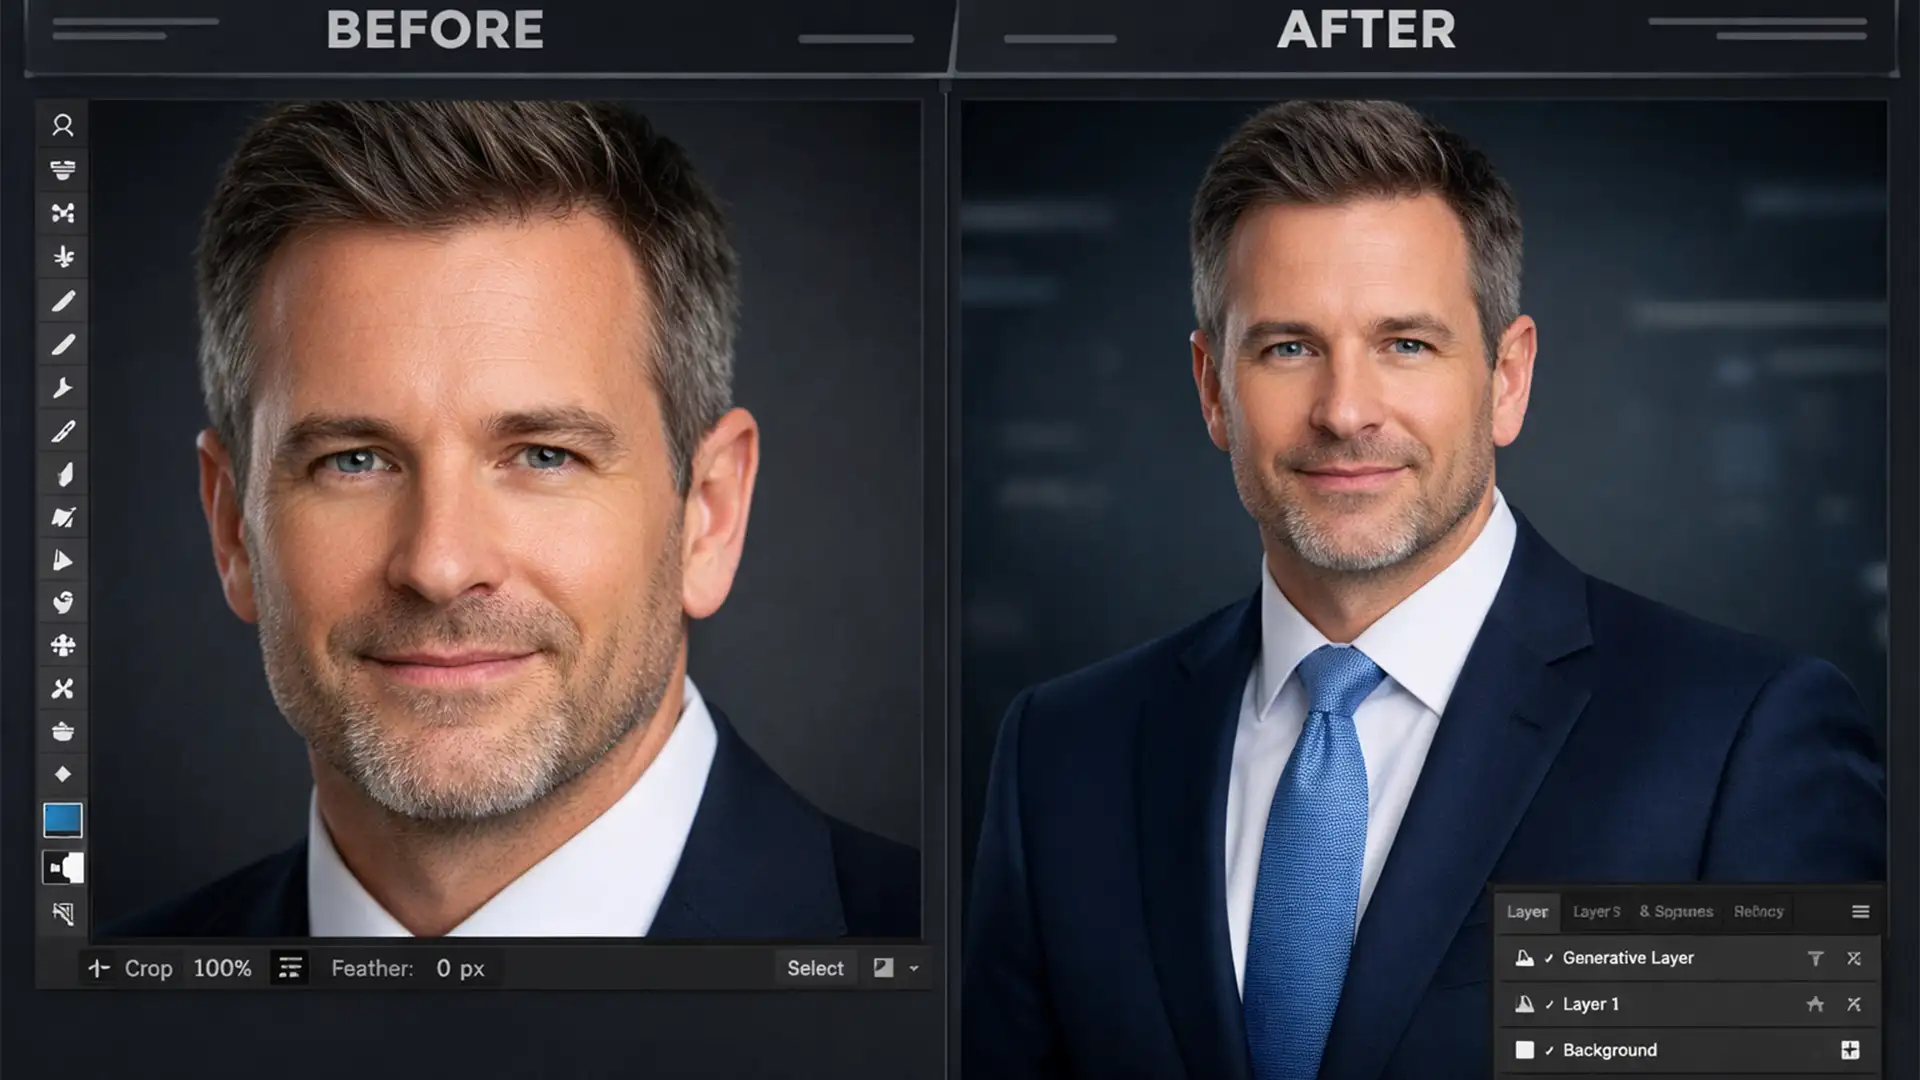
1. Standardizing Backgrounds
A unified background instantly ties mismatched photos together.
- Use the Subject Selection tool (Select > Subject) to isolate the employee.
- Refine the hair edges using Select and Mask.
- Mask out the original background and place the subject onto your standardized corporate backdrop (e.g., a seamless gray gradient or branded office environment).
2. Curves Adjustment and Dodge & Burn
Once the background is uniform, you must fix the light falling on the subject.
- Curves Adjustment: Create a Curves Adjustment layer and clip it to your subject layer (Alt/Option + Click between layers). Manually adjust the Red, Green, and Blue channels to match the highlight and shadow color outputs of your anchor image.
- Dodge and Burn: Create a new layer, fill it with 50% gray, and set the blending mode to Overlay. Use the Dodge and Burn tools with a soft brush at a low exposure (5-10%) to manually paint in highlights and carve out shadows. This allows you to reshape conflicting directional lighting, making a window-lit selfie look like it was shot with a studio strobe.
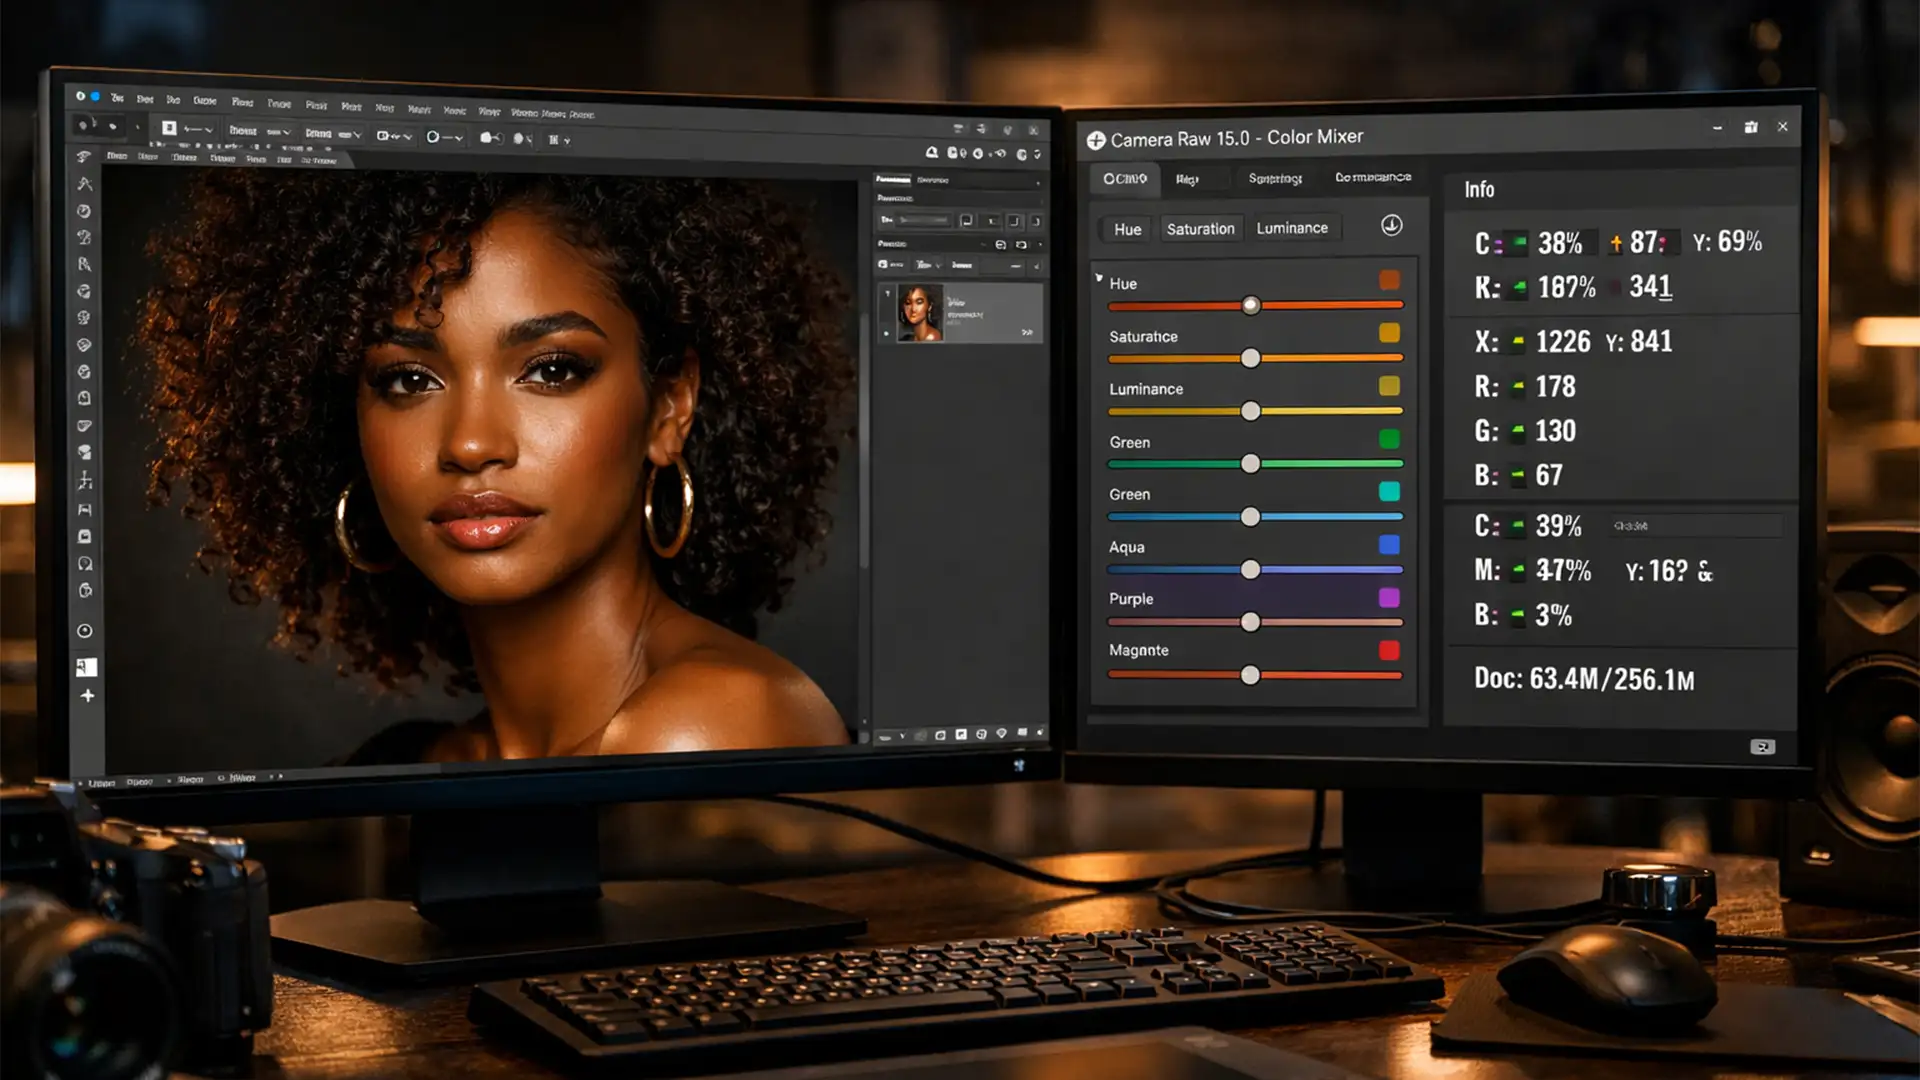
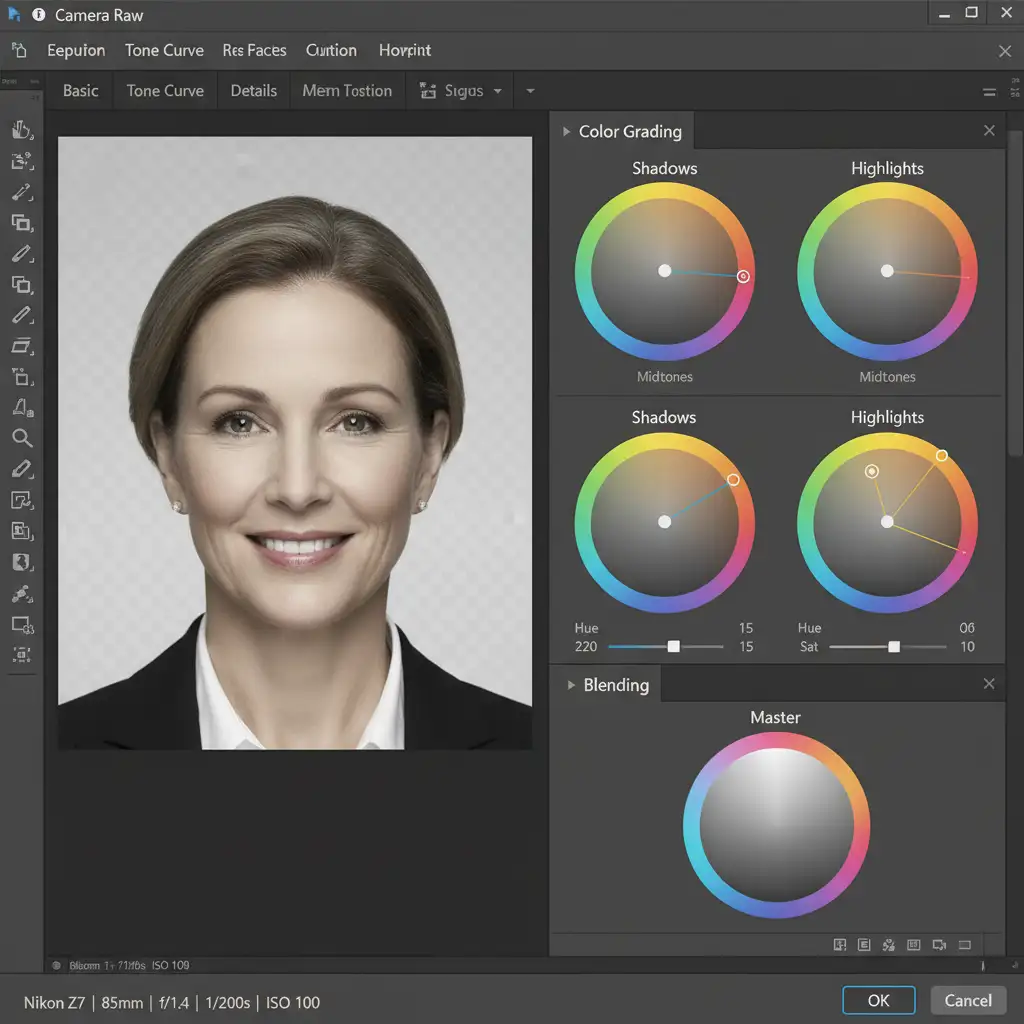
Method C: Technical Deep-Dive (Camera Raw Color Grading)
For the highest level of precision, professional retouchers rely on the Camera Raw Filter to globally unify image data.
- Convert your isolated subject layer into a Smart Object (Right-click > Convert to Smart Object). This ensures non-destructive editing.
- Go to Filter > Camera Raw Filter.
- Basic Panel: Manually neutralize the White Balance using the Temperature and Tint sliders. Equalize the exposure curve to match the contrast ratios of your anchor image.
- Color Grading: Navigate to the Color Grading panel. Here, you can inject a uniform tint into the shadows, midtones, and highlights across all team member photos. Applying a very subtle, uniform cool tint to the shadows and a warm tint to the highlights across all headshots acts as a visual glue, guaranteeing maximum consistency.
Stop Struggling with Mismatched Team Photos
Standardizing lighting for mismatched corporate headshots is a highly technical process that requires a deep understanding of color theory, luminance mapping, and advanced masking. If your remote team is growing and you need your “Our Team” page to look flawless without the hassle of manual editing, we are here to help.
Image Work India and Cloud Retouch specialize in premium corporate headshot editing and background standardization. Whether you have 10 employees or 10,000, our expert retouchers will take your team’s smartphone selfies and transform them into a unified, premium studio gallery.
Stop letting bad lighting hurt your brand’s professionalism. Contact Image Work India and Cloud Retouch today for bulk headshot retouching services that guarantee a cohesive, polished look.