In today’s digital landscape, the importance of high-quality imagery cannot be overstated. Whether you run an e-commerce store, a corporate website, or a personal blog, the images you present significantly impact user engagement and perception. A well-edited image enhances aesthetics, reinforces brand identity, and improves website performance. However, to achieve professional-grade visuals, it is crucial to understand the fundamental aspects of website photo editing, file optimization, and proper implementation. In this guide, we delve into the essential techniques required to edit website photos effectively, ensuring that they are visually compelling while maintaining optimal performance.
The Significance of Professional Website Imagery
Images play a pivotal role in user engagement and website credibility. A poorly edited or unoptimized image can make a website appear unprofessional, while high-quality visuals can create a lasting impression on visitors. Professional imagery is essential for multiple reasons. First, it enhances user engagement. A striking, well-composed image immediately captures attention, encouraging visitors to explore the site further. Studies have shown that users process visual information faster than text, making imagery one of the most effective ways to communicate key messages quickly.
Furthermore, well-edited images help reinforce brand identity. Every brand has a unique visual style, and using consistent, high-quality images strengthens that identity. Whether through color grading, specific compositions, or uniform filters, maintaining a cohesive aesthetic across all images helps create a recognizable brand presence. Additionally, professional imagery directly impacts conversion rates. In e-commerce, product images significantly influence purchasing decisions. High-quality photos that accurately represent products, highlight details, and create an emotional connection with buyers can increase sales and reduce return rates.
Selecting the Appropriate Image File Types
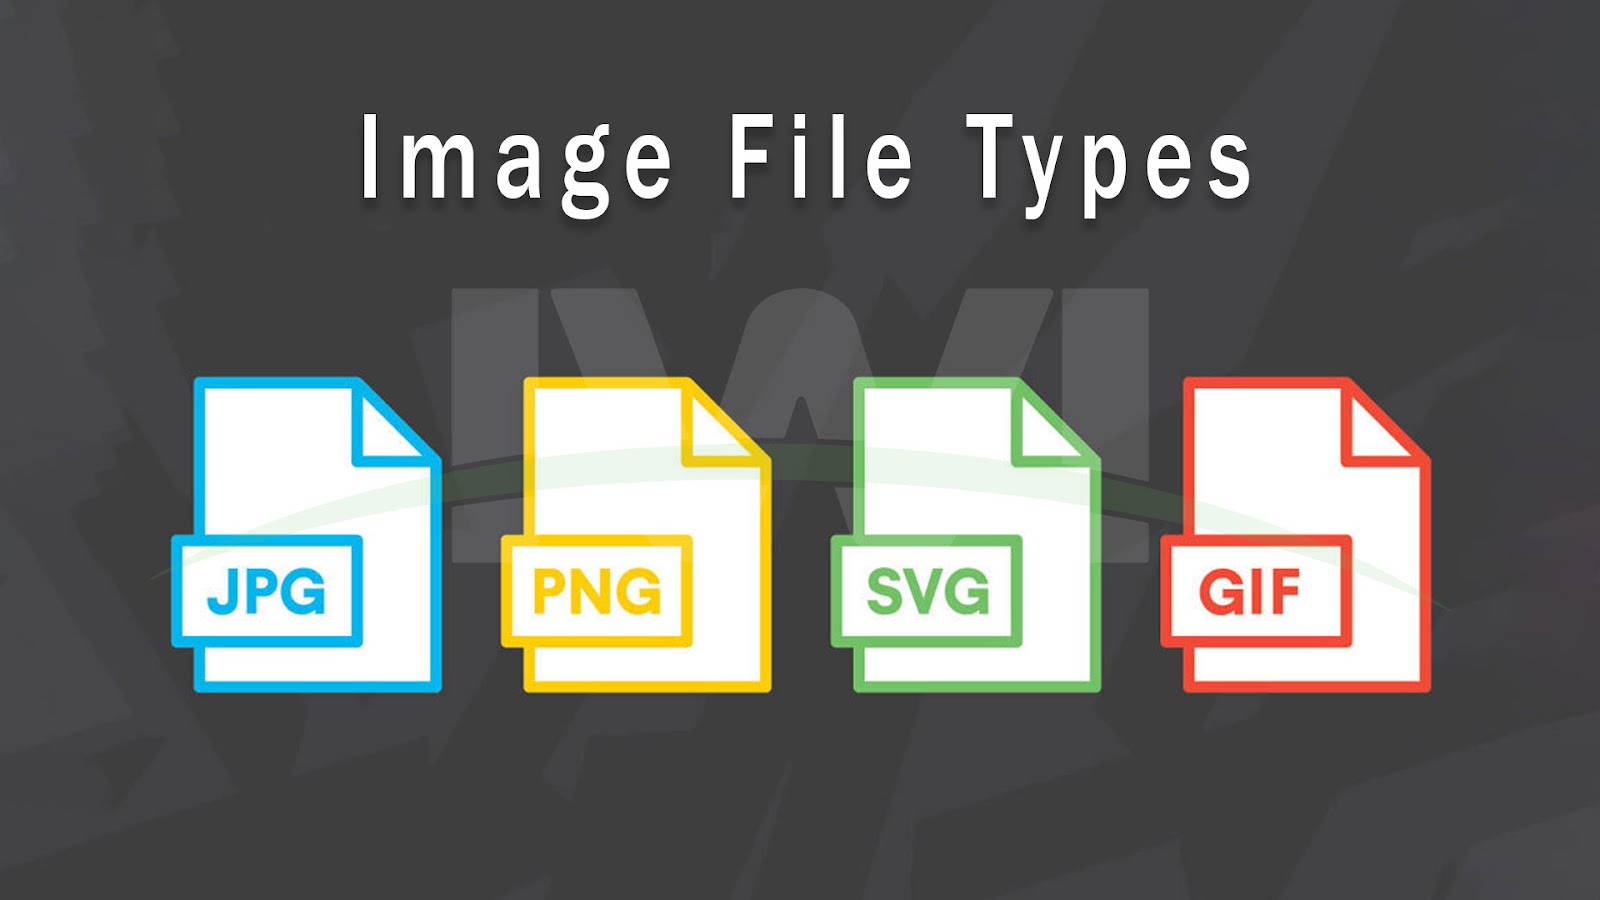
Choosing the correct image file format is essential to balance quality and performance. Each format serves a distinct purpose, and selecting the right one ensures that images appear crisp while maintaining fast load times. JPEG is the most commonly used format for website photo editing, particularly for complex images such as product shots, landscapes, and portraits. It supports millions of colors and employs efficient compression to reduce file size while preserving quality. However, repeated editing and saving can degrade image quality due to lossy compression.
PNG, on the other hand, is ideal for graphics, logos, and images requiring transparency. Unlike JPEG, PNG uses lossless compression, which means image quality remains intact regardless of how many times the file is edited. The downside is that PNG files are generally larger, which can impact page speed if not optimized properly. Another crucial format is SVG, a vector-based file type that is perfect for logos, icons, and illustrations. Since SVGs are resolution-independent, they remain sharp and clear at any size, making them excellent for responsive design.
By selecting the right file format based on the image type, website owners can ensure that visuals are high-quality while minimizing unnecessary strain on page loading times.
Advanced Photo Editing Techniques
Editing website photos goes beyond simple resizing and cropping. To achieve professional results, one must apply advanced techniques that enhance composition, clarity, and overall visual appeal.
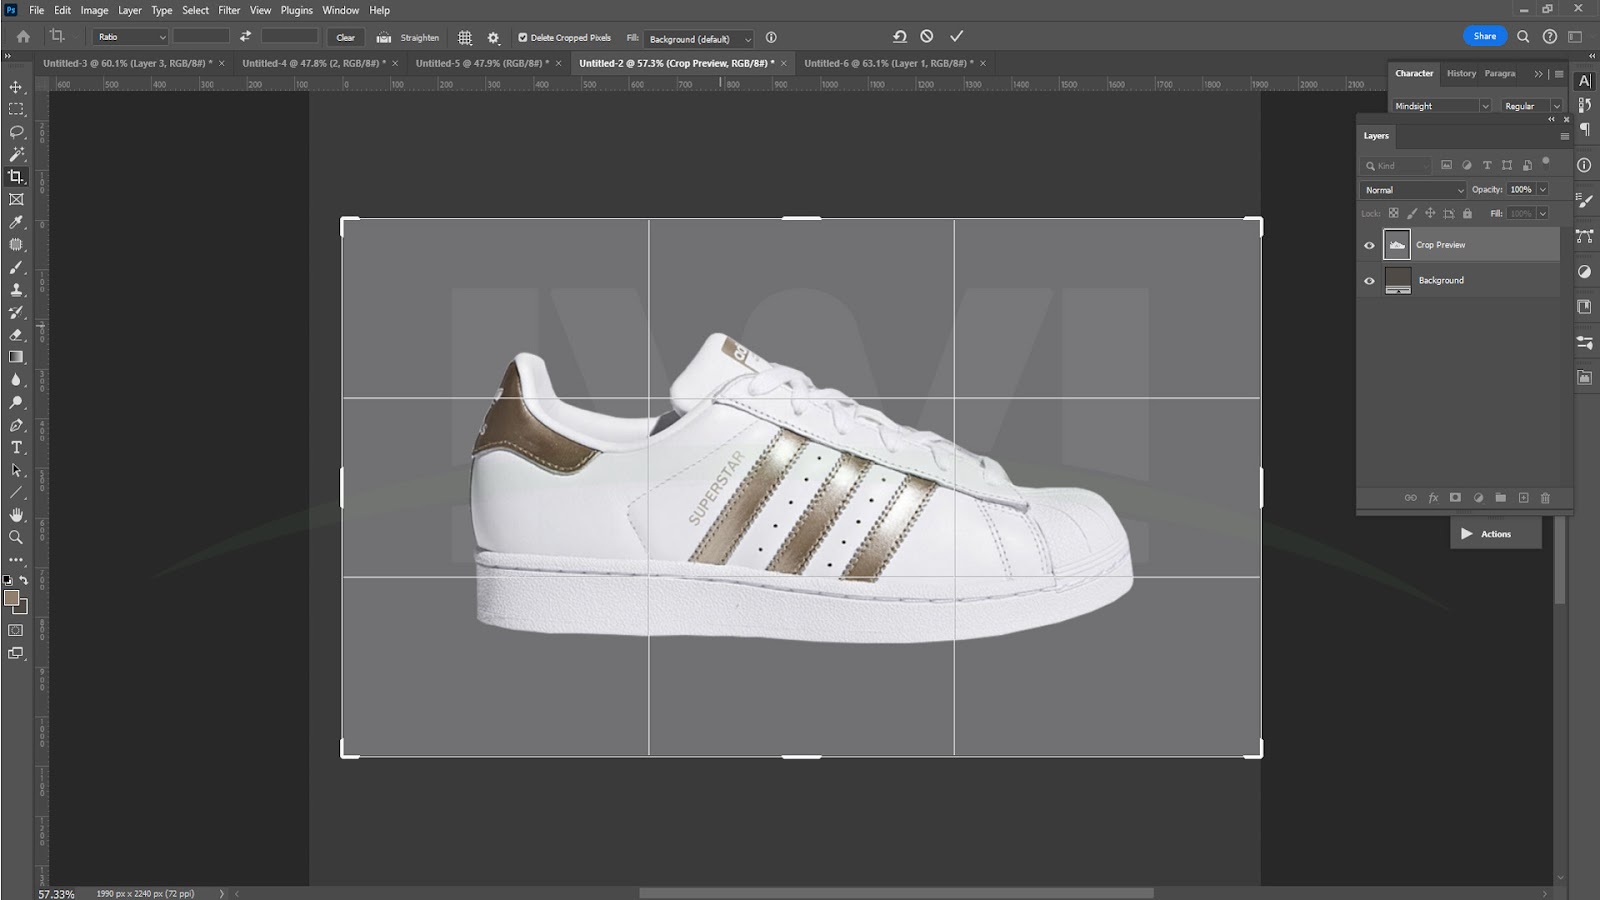
1. Precision Cropping and Composition
Cropping is one of the most fundamental yet powerful editing tools. It allows you to remove distractions, focus on key elements, and create a more engaging composition. One widely used technique in composition is the rule of thirds. By dividing an image into a 3×3 grid and positioning the subject along the intersection points, you can create a visually balanced and aesthetically pleasing photo. Cropping can also be used to eliminate empty space, making the image more impactful and aligned with the website’s layout.
Maintaining aspect ratios is equally important. Images should be cropped in a way that preserves their original proportions, ensuring consistency across all visuals on a website. A mismatched aspect ratio can distort images, making them appear unprofessional or poorly designed.
2. Color Correction and Grading
Color correction is essential for ensuring that images appear natural and true to life. This process involves adjusting the white balance, contrast, saturation, and exposure to achieve accurate colors. White balance adjustments remove color casts caused by different lighting conditions, making whites appear truly white and other colors more vibrant.
Beyond color correction, color grading allows you to establish a unique mood and aesthetic. For example, e-commerce stores might opt for bright and neutral tones to highlight product details, while travel websites may use warm, golden hues to evoke emotion. Consistent color grading across all images helps create a cohesive visual identity, reinforcing brand perception.
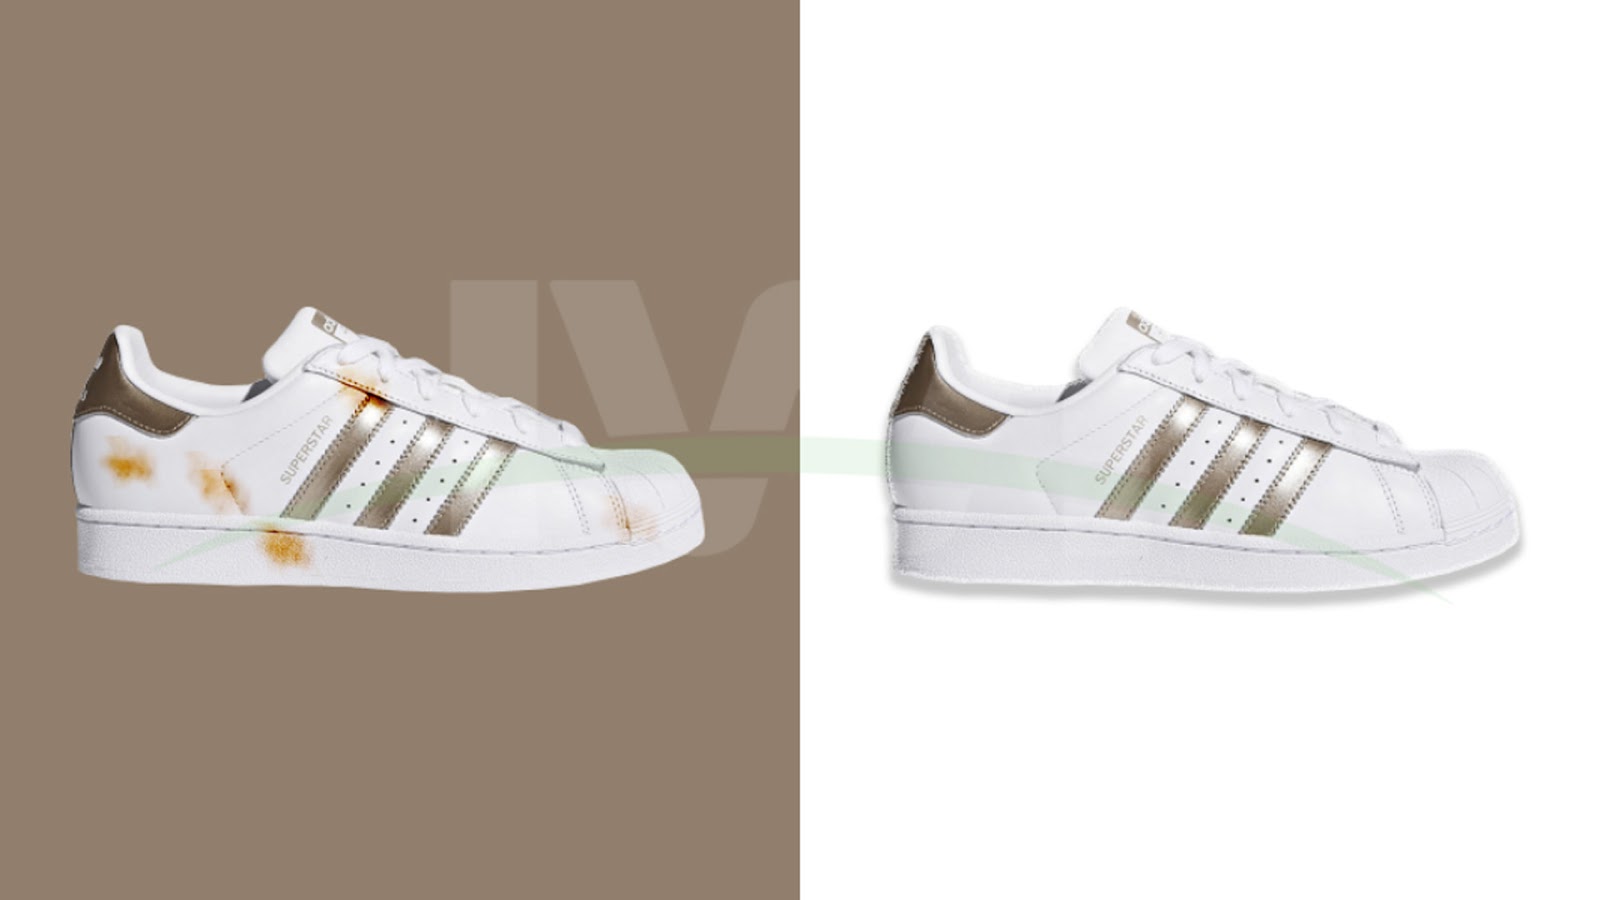
3. Image Sharpening and Clarity
Sharpening techniques enhance the details in an image, making it more visually striking. The unsharp mask technique is commonly used to increase contrast along edges, creating the illusion of a sharper image. Additionally, clarity adjustments enhance mid tone contrasts, adding depth without affecting overall brightness. These adjustments are particularly useful for showcasing intricate details in product images or portraits.
However, excessive sharpening can introduce unwanted artifacts, such as halos or noise. It is crucial to find a balance where details are enhanced without compromising the image’s natural look.
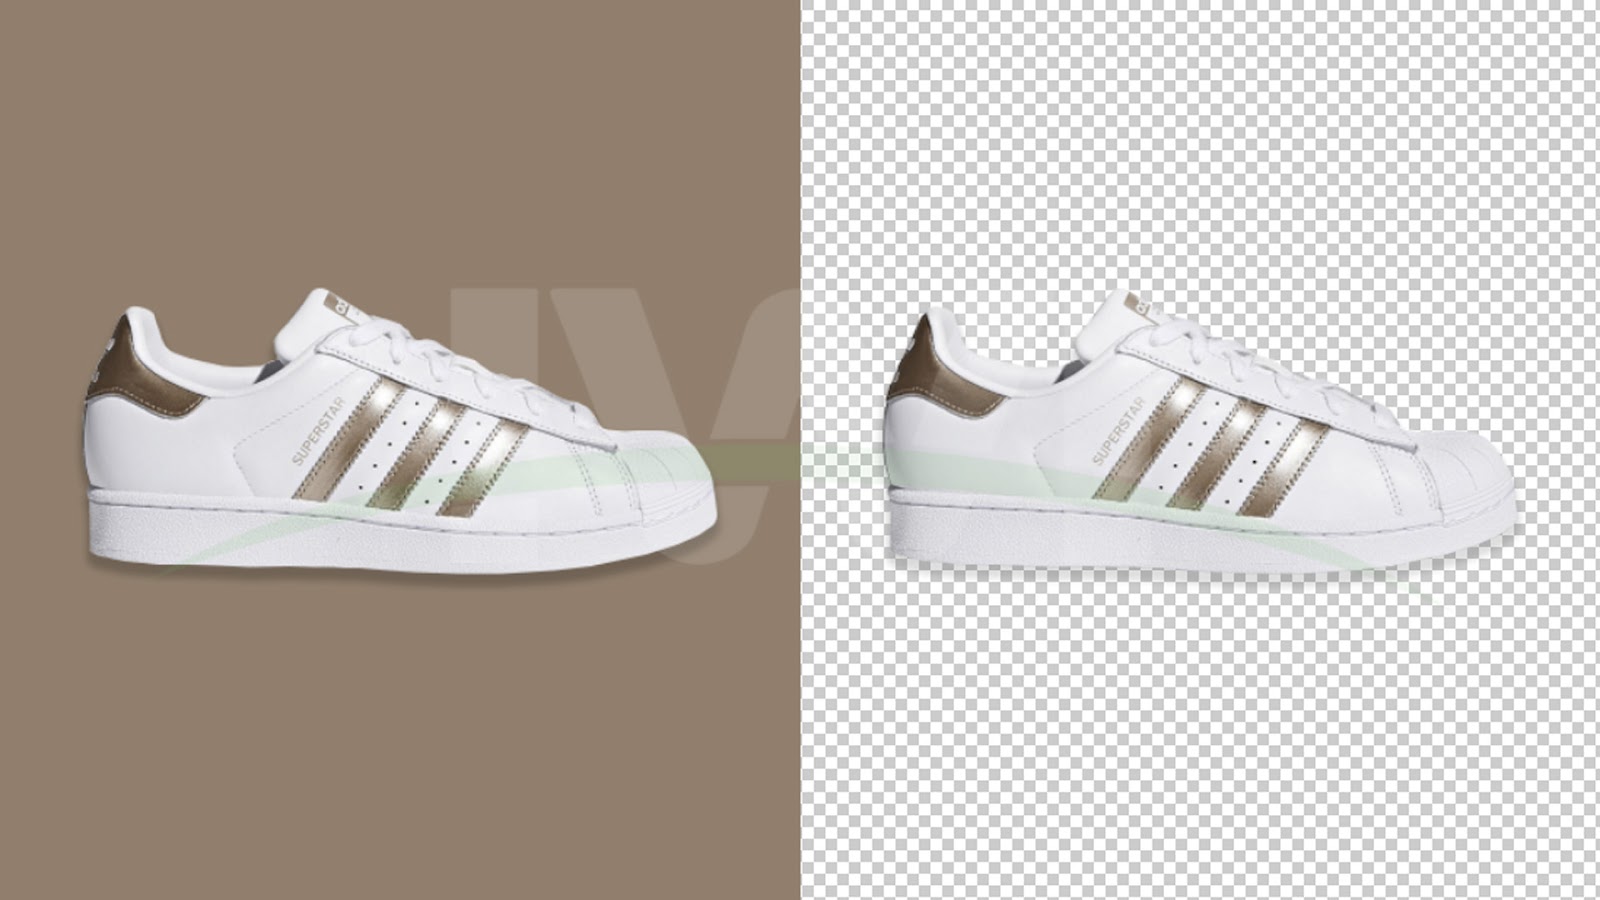
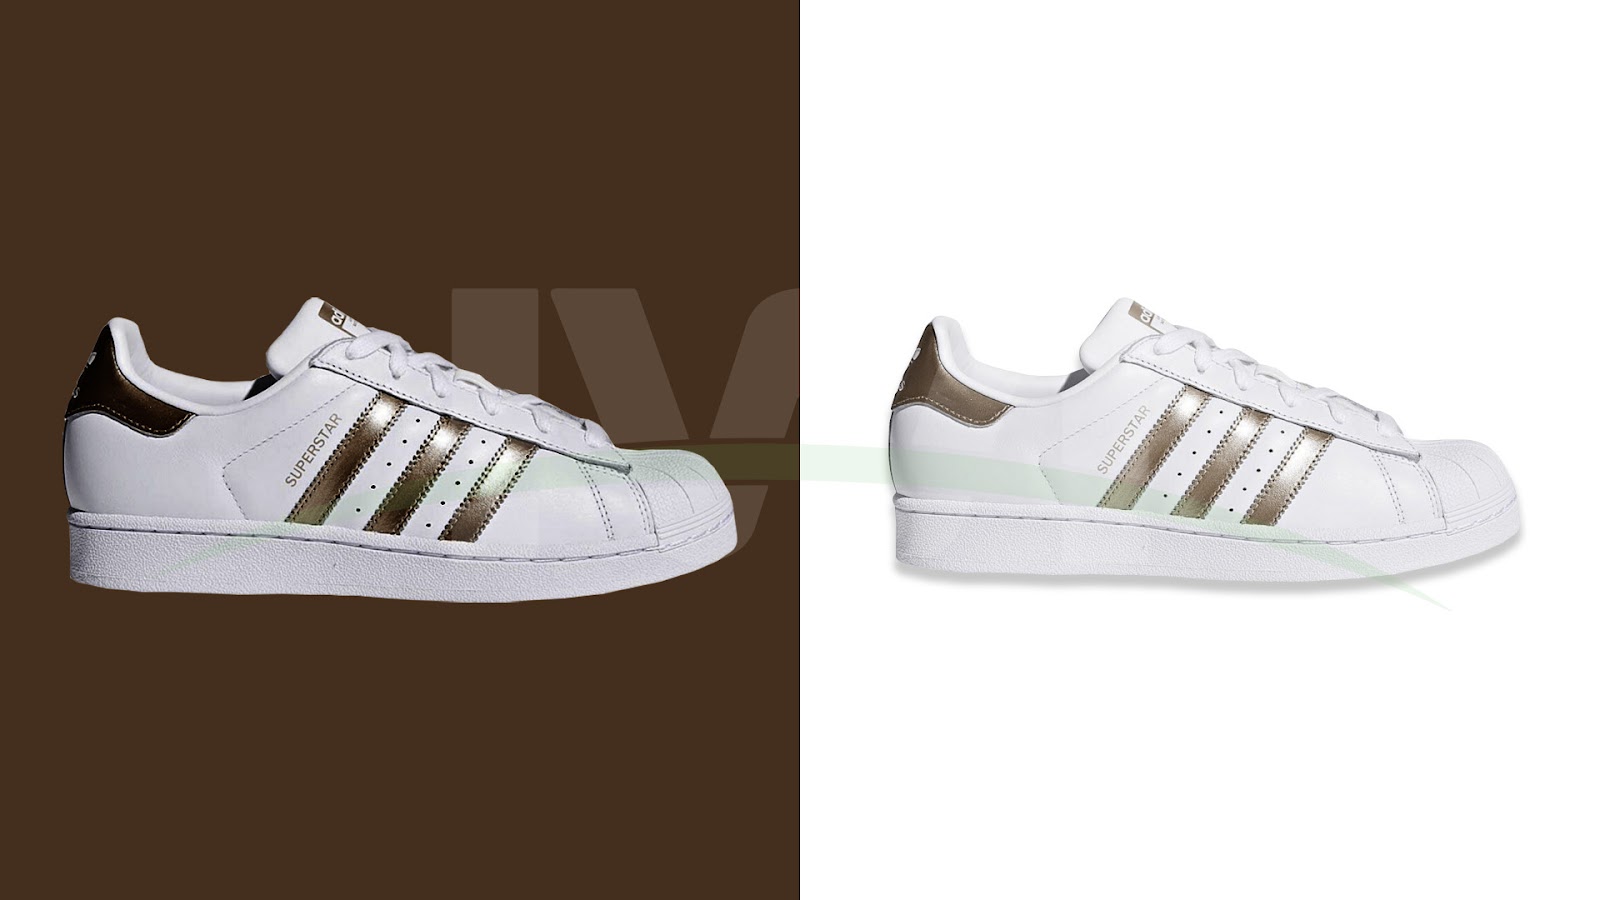
4. Background Removal and Isolation
In e-commerce and product photography, background removal is an essential editing step. A clean, distraction-free background allows the subject to stand out, making the product the focal point. There are two main methods for background removal: manual selection tools and AI-assisted software.
Manual selection tools, such as the Pen Tool in Adobe Photoshop, offer precise control, making them ideal for complex images. However, they require more time and expertise. AI-assisted background removal tools, such as Remove.bg, provide a faster and more accessible alternative, automating the process while maintaining accuracy.
5. Consistent Styling with Filters and Presets
To maintain brand consistency, many businesses use custom filters and presets. Presets apply predefined editing adjustments, ensuring that all images share a uniform color tone, contrast, and overall style. This technique is particularly beneficial for social media content and website banners, where visual consistency strengthens brand recognition.
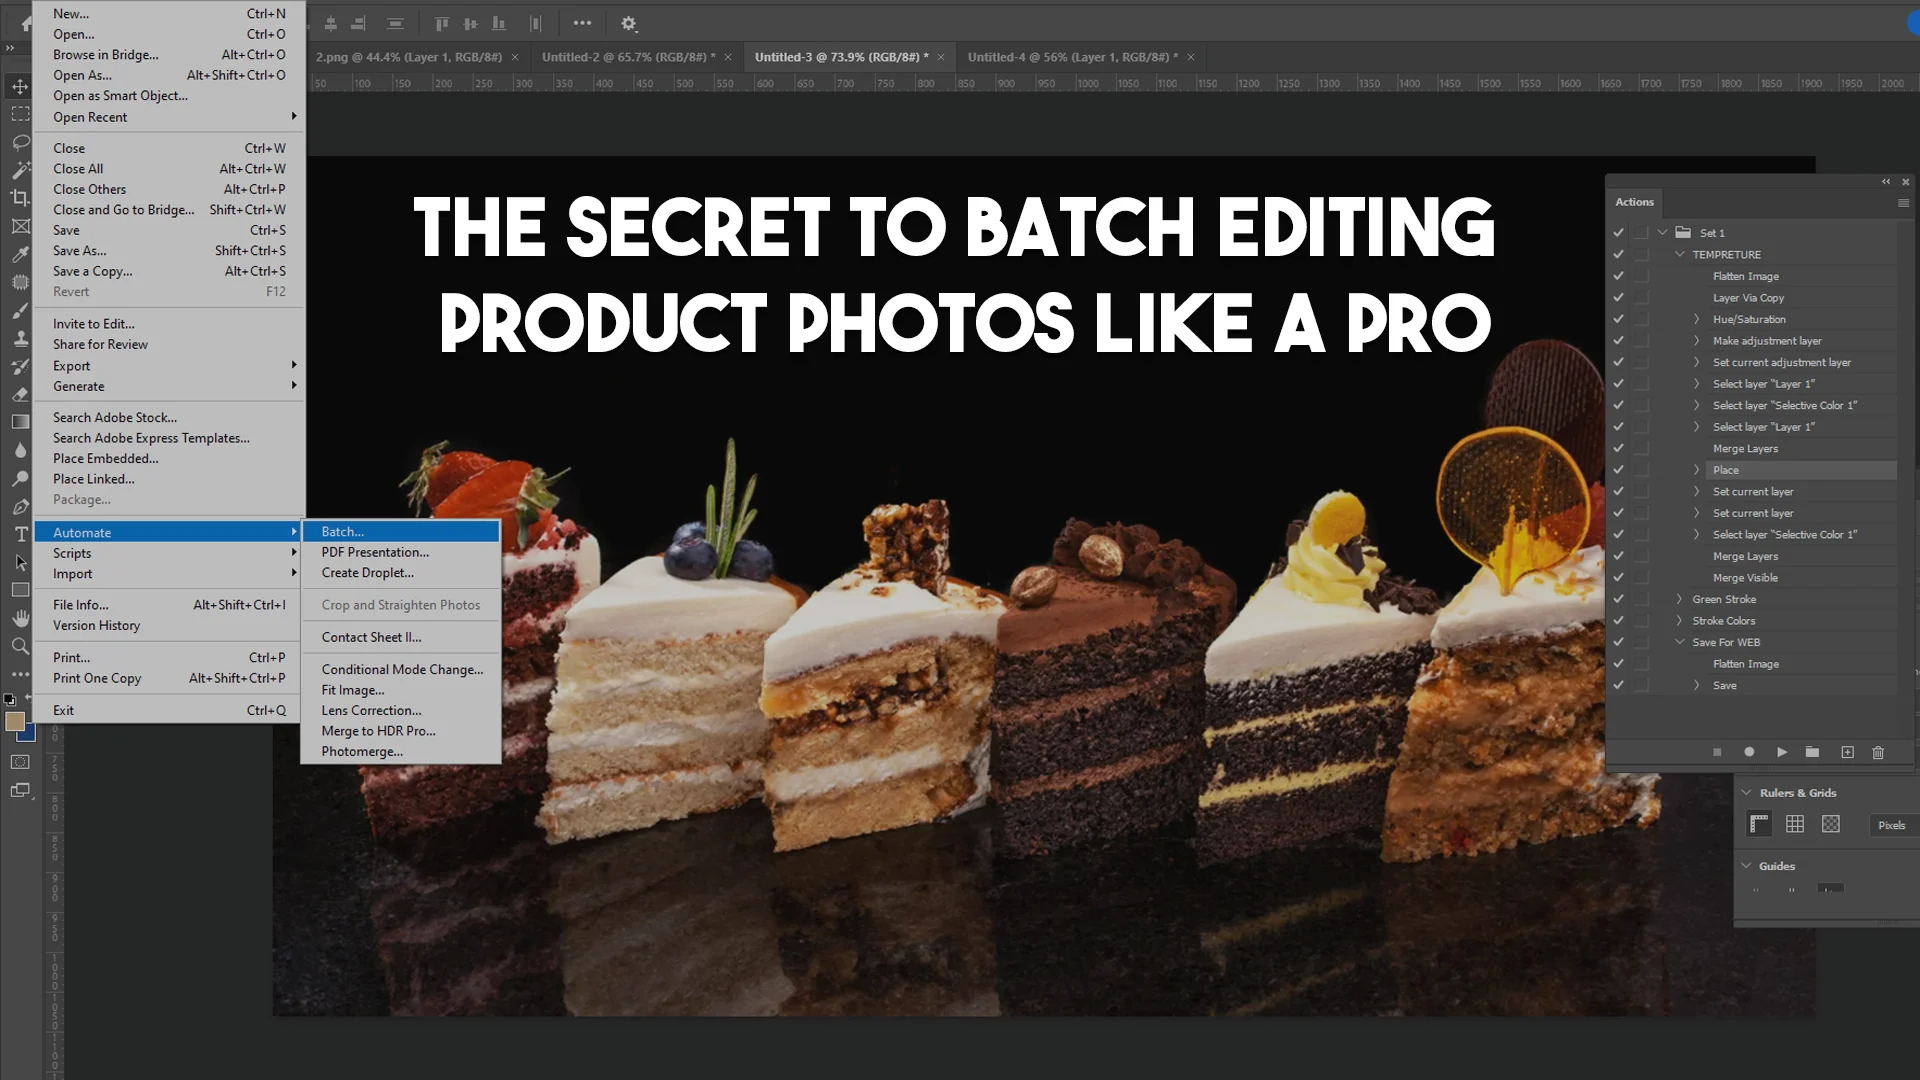
Batch processing can further streamline the website photo editing process by allowing multiple images to be edited simultaneously, saving time while maintaining quality.
Optimizing Images for Web Performance
High-resolution images can slow down a website, negatively affecting user experience and SEO rankings. Optimizing images ensures that they load quickly while maintaining visual quality. Compression techniques play a crucial role in reducing file sizes. Lossless compression retains image quality while minimizing size, whereas lossy compression significantly reduces file size at the cost of slight quality degradation. Tools such as TinyPNG and JPEG Optimizer help achieve efficient compression without compromising appearance.
Responsive image scaling ensures that images adapt to different screen sizes, improving performance on both desktop and mobile devices. Using multiple image versions optimized for various resolutions enhances website speed and user experience.
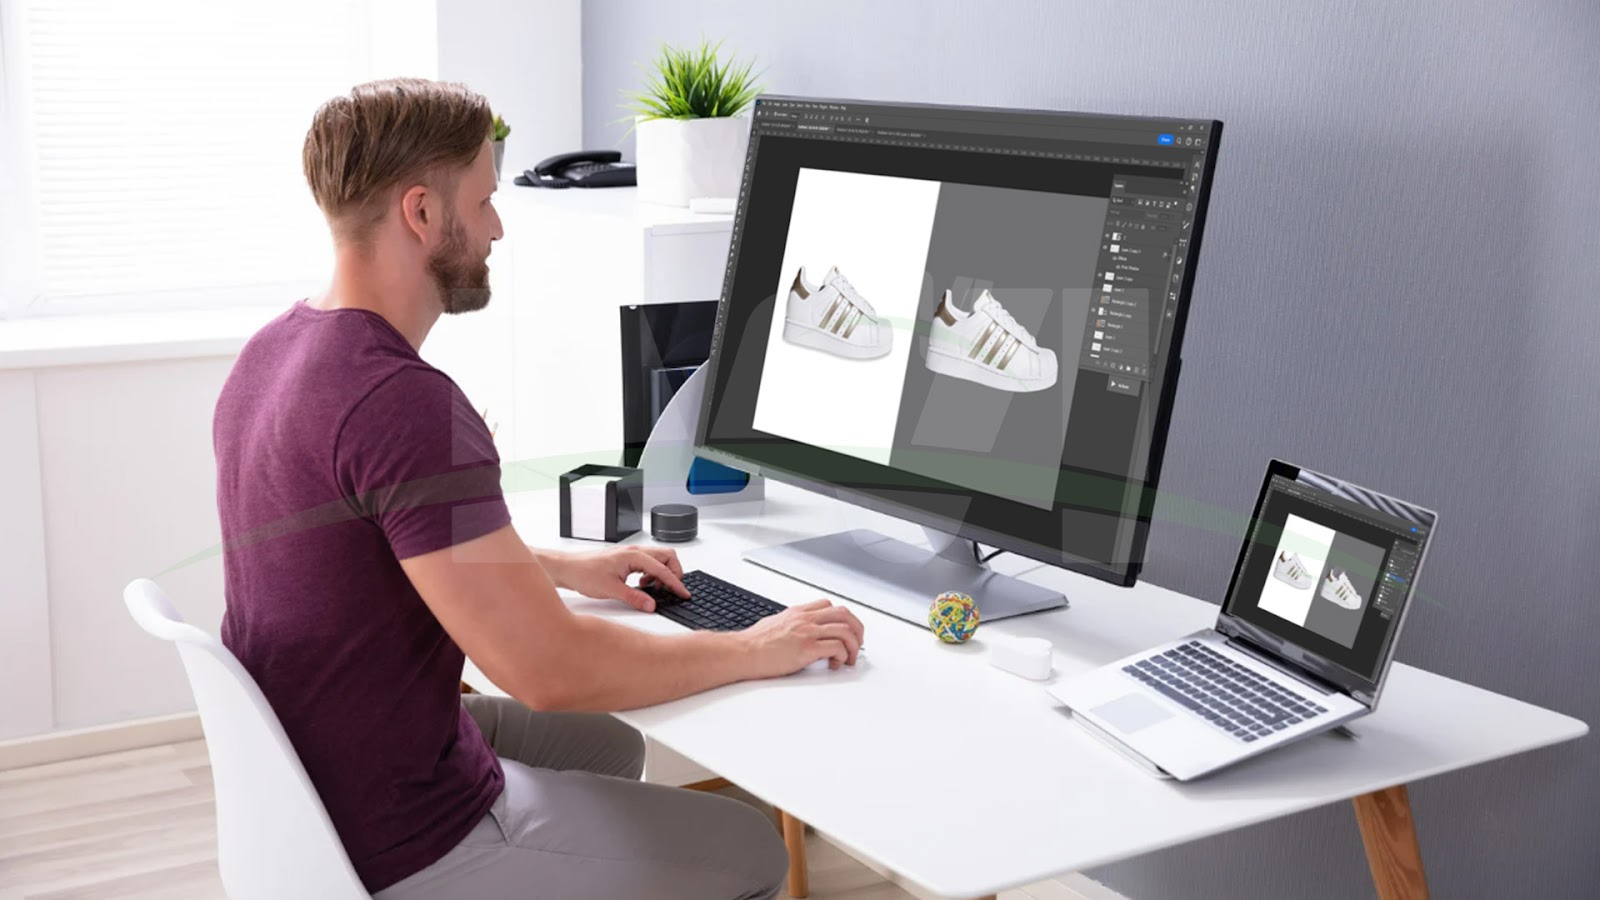
Recommended Photo Editing Tools
Choosing the right photo editing software is essential for achieving professional results. Adobe Photoshop remains the industry standard, offering extensive tools for advanced website photo editing. For those seeking a free alternative, GIMP provides robust features suitable for professional-grade edits. Canva, a user-friendly platform, is excellent for quick edits, social media graphics, and template-based designs.
Implementing Images into Your Website
After editing, properly integrating images into a website is crucial for accessibility and SEO. Adding alt text descriptions improves search engine rankings and ensures accessibility for visually impaired users. Additionally, maintaining consistent image dimensions creates a uniform look, enhancing website aesthetics.

Conclusion
Mastering website photo editing requires a combination of artistic vision, technical expertise, and strategic optimization. From selecting the right file formats to applying advanced editing techniques and ensuring web performance, every step plays a vital role in enhancing website imagery. By investing in high-quality website photo editing, businesses can elevate their online presence, create a visually engaging experience, and ultimately drive better user engagement and conversions. With the right tools and techniques, anyone can transform website images into powerful visual assets that leave a lasting impression.
Frequently Asked Questions (FAQs)
What is the best software for editing product photos?
Adobe Photoshop and Lightroom are the most popular tools for professionals, but beginners can use free tools like GIMP, Canva, or Snapseed for basic website photo editing.
Why do product photos need a white background?
A white background helps focus attention on the product, creates a clean and professional look, and is preferred by most e-commerce platforms like Amazon and Shopify.
How can I make my product photos look more professional?
Use high-resolution images, adjust brightness and contrast, remove backgrounds, enhance colors, and apply sharpening and retouching techniques to make your product photos look more professional.
What file format should I use for product images?
JPEG is the best format for web use because it offers a good balance between quality and file size. PNG is useful for images that require a transparent background.
How do I resize product images without losing quality?
Use tools like TinyPNG for Photoshop’s export settings to reduce file size while maintaining image quality. Always save images in the correct resolution for web use.
Should I use filters on product photos?
Filters can help maintain consistency, but avoid over-editing. Customers expect realistic product images that accurately represent what they will receive.